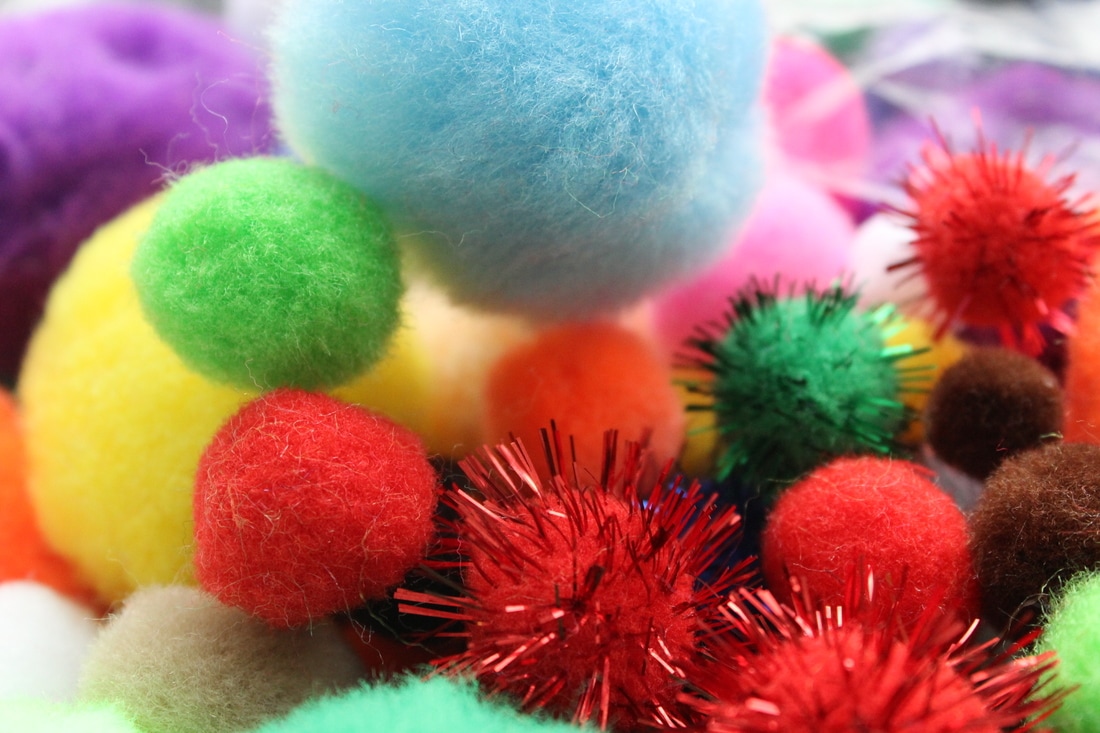
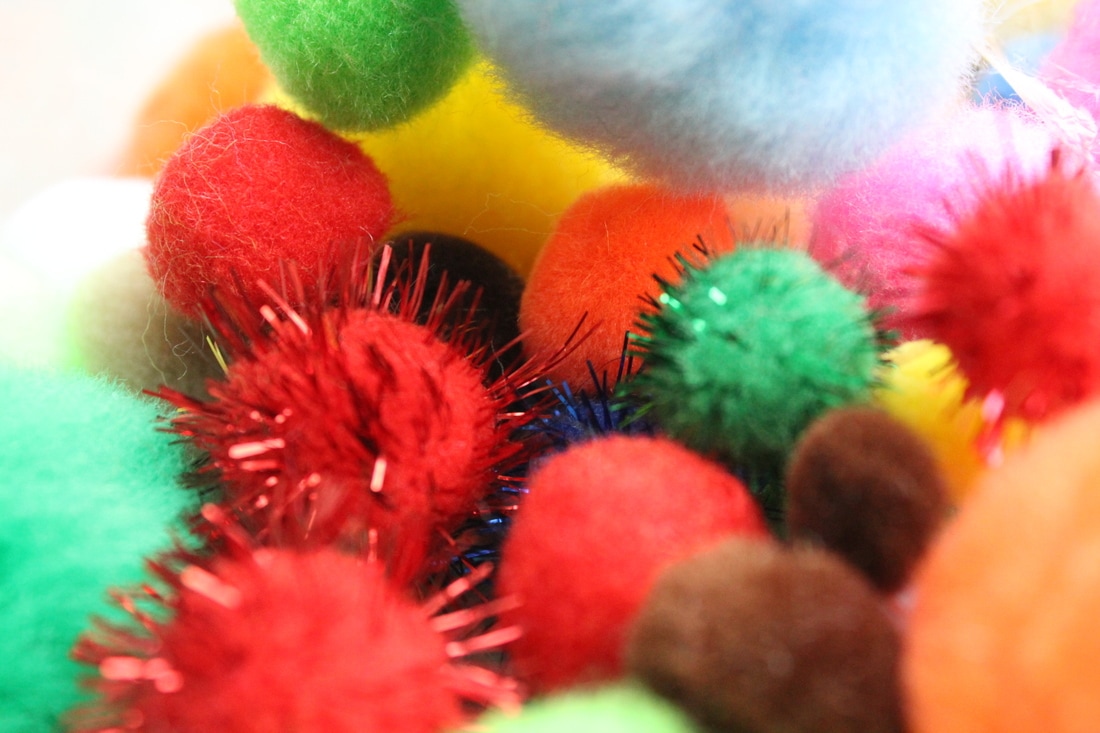
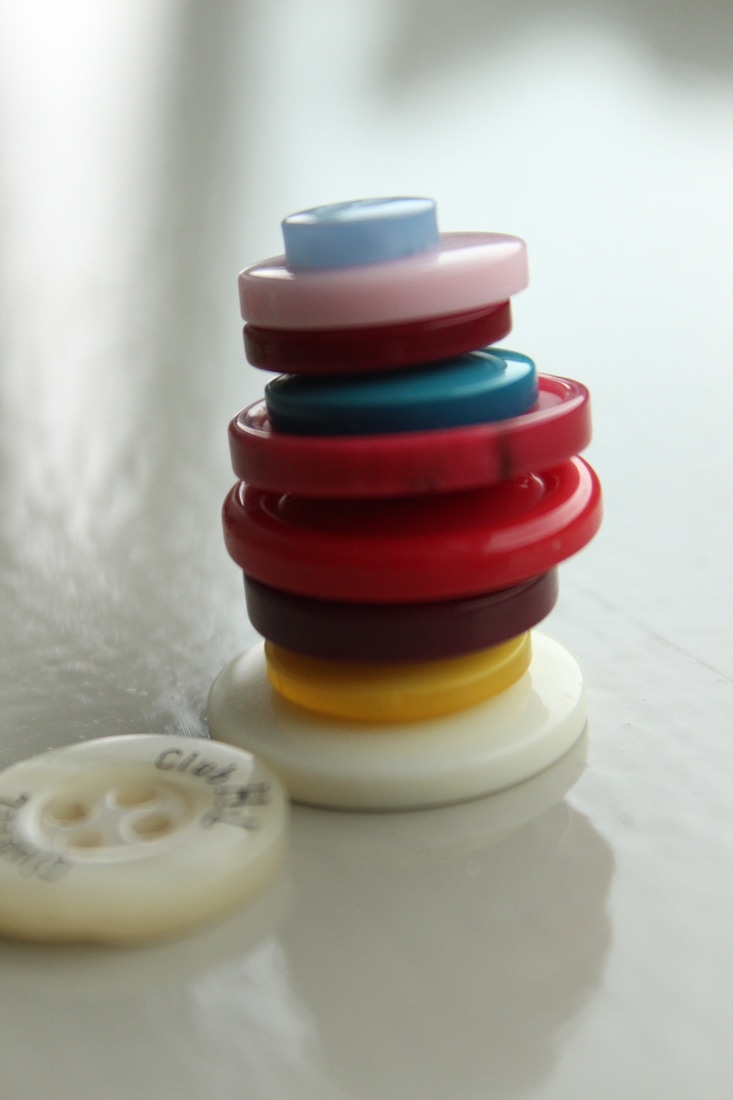
Detail: Plan


Question: many photographers have explored detail. Using careful control of aperture, focus, lighting and background, Jo Whaley explores the detail in textures of groups of manufactured ad natural objects. Henry Troup and Phil Straus have used camera position and control of depth of field to explore detail in close-up views of features in the landscape such as sand, water and surface of rocks.
Research appropriate sources and produce your own work that explores the visual qualities of detail
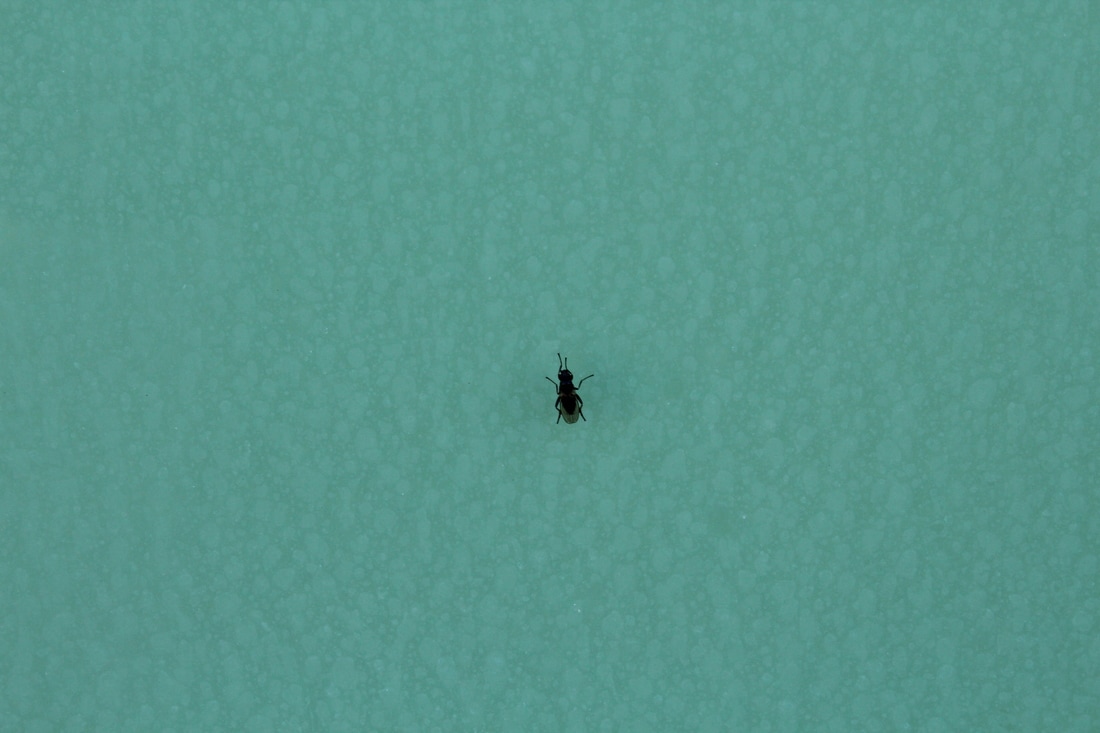
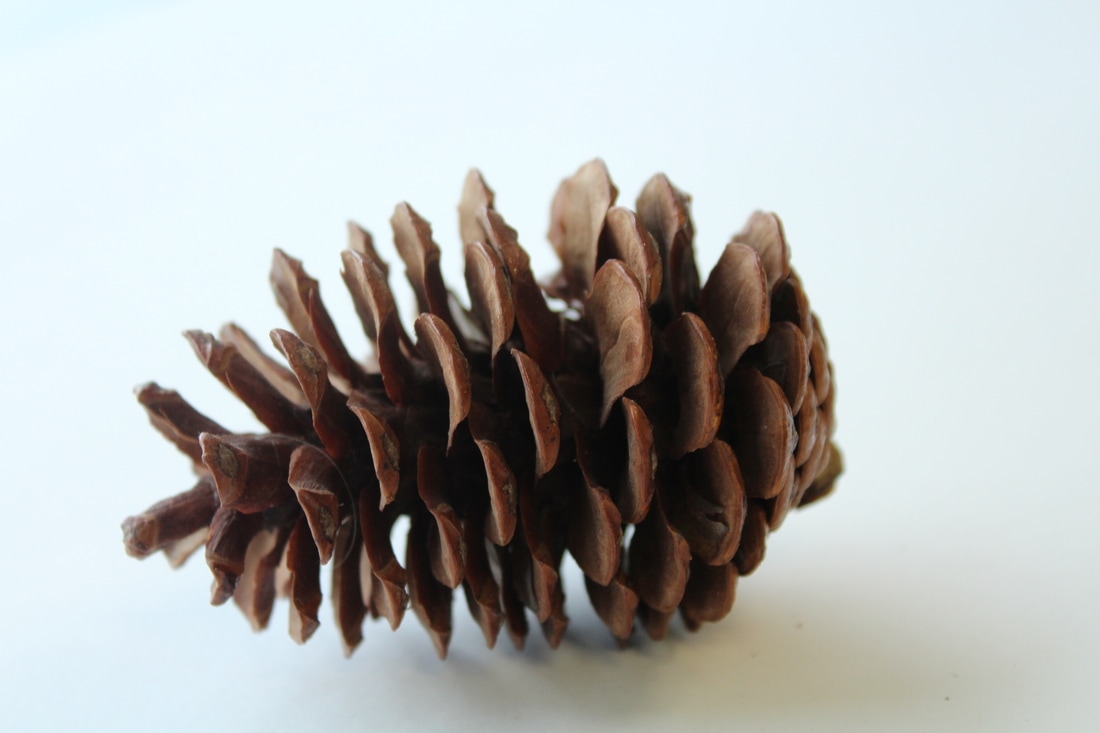
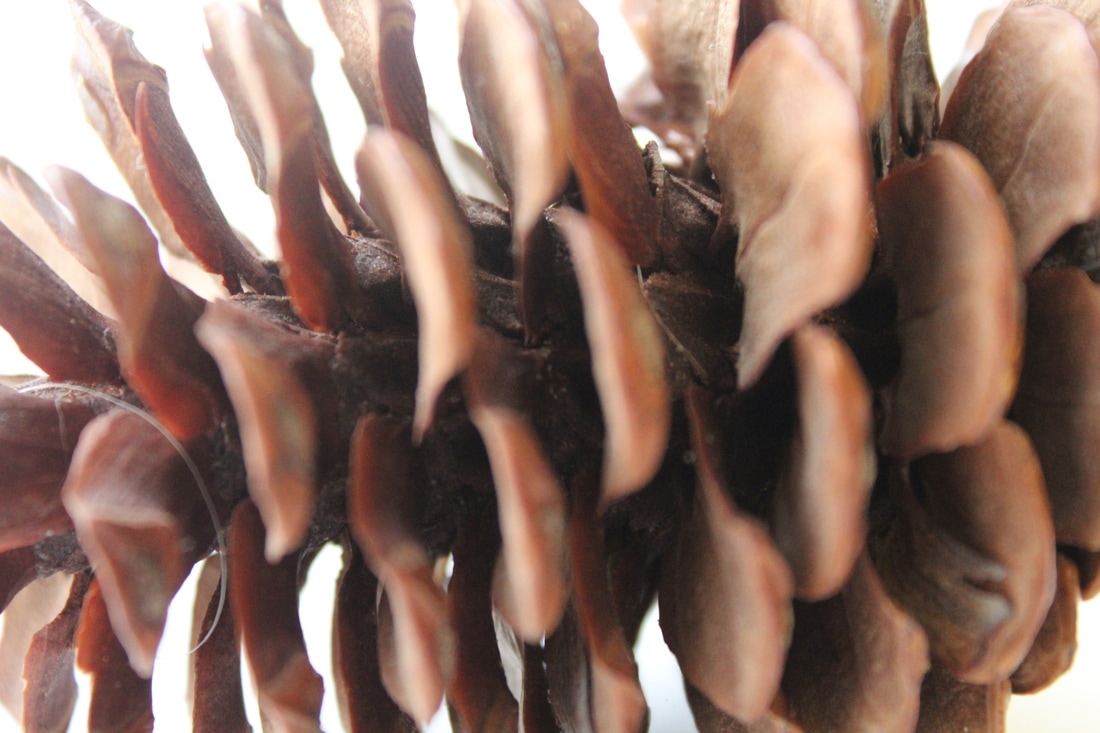
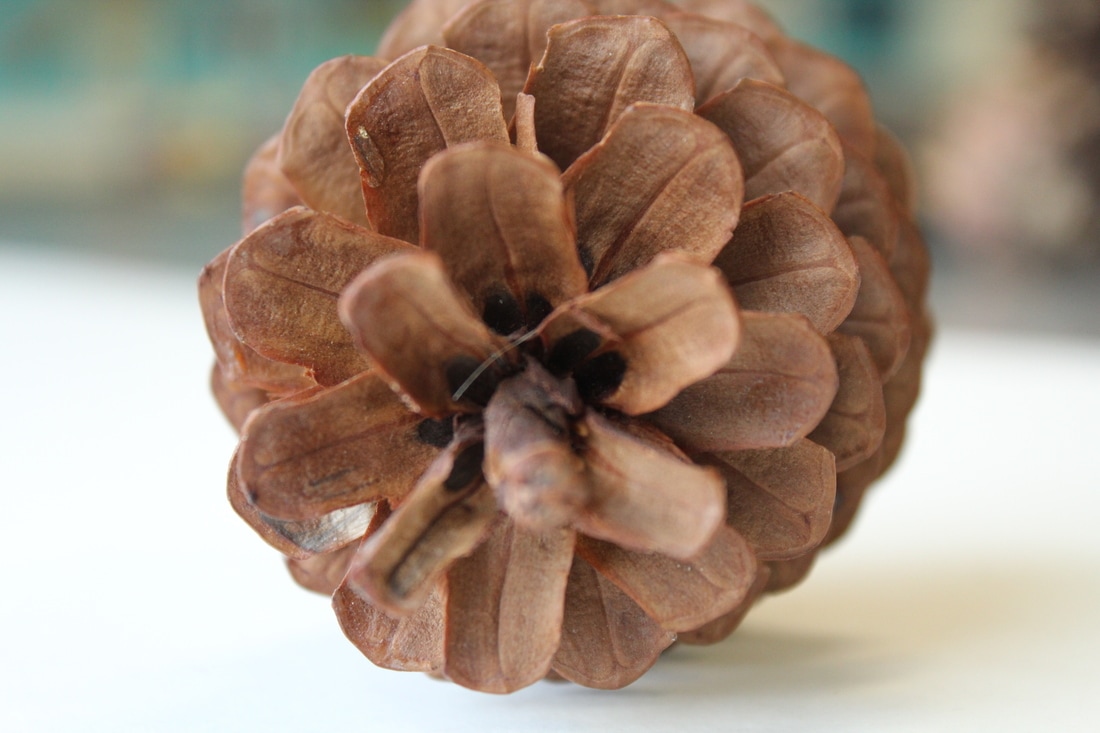
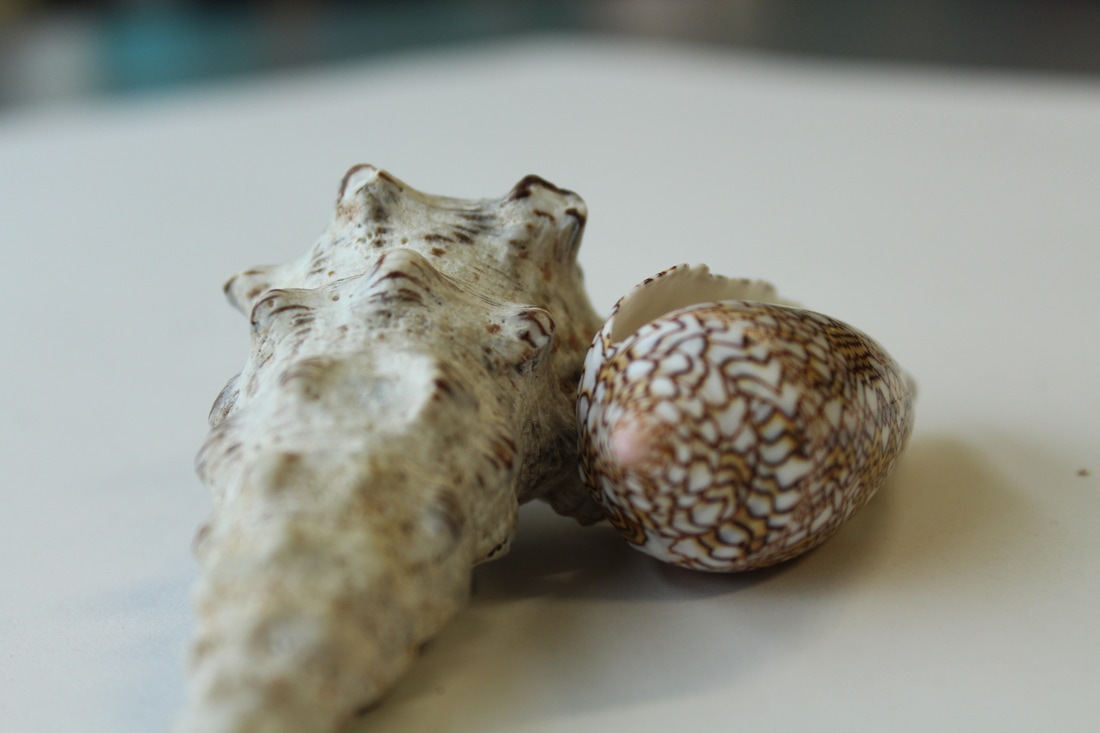
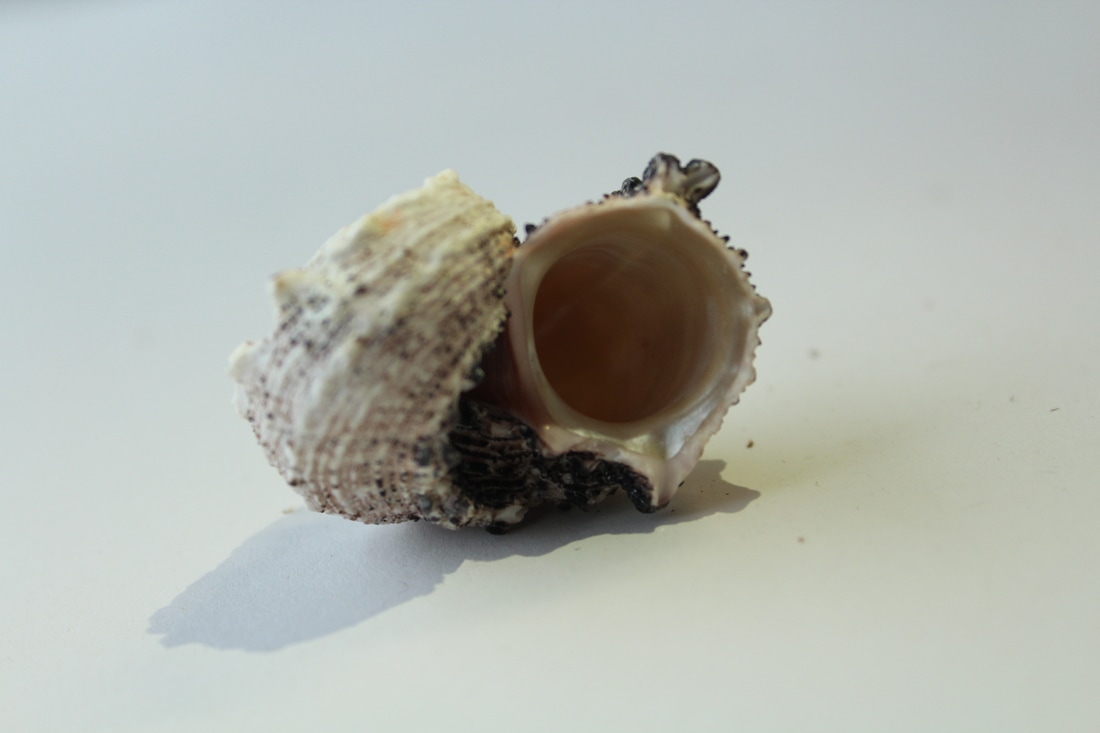
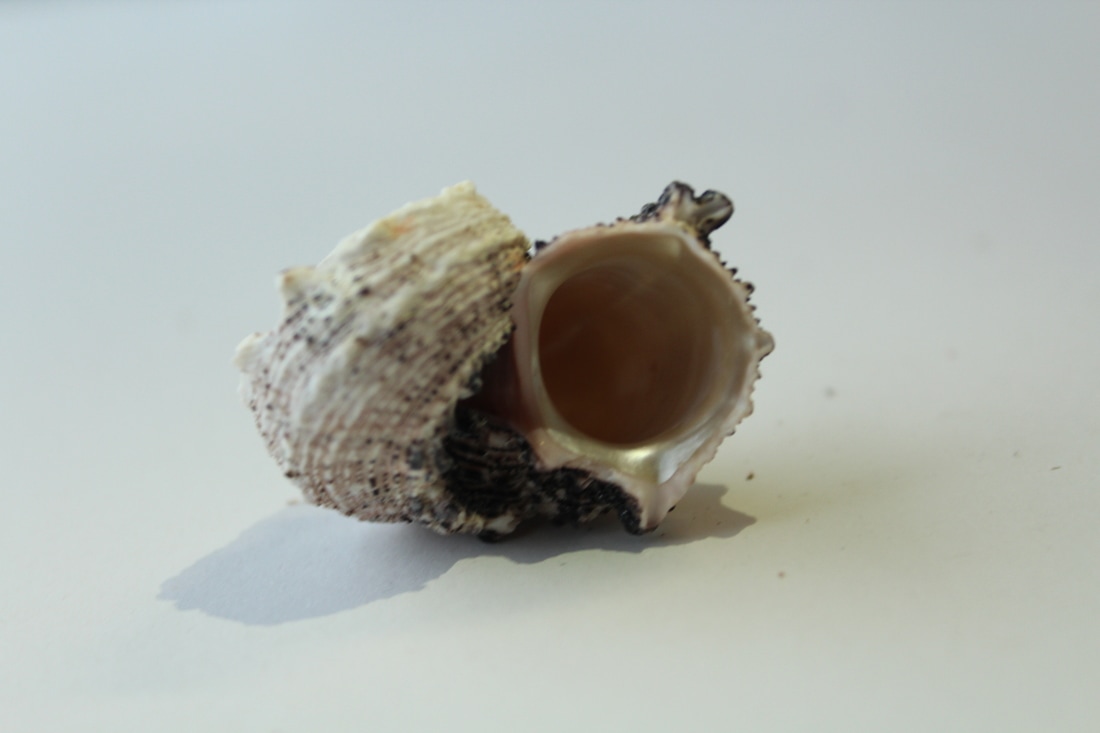
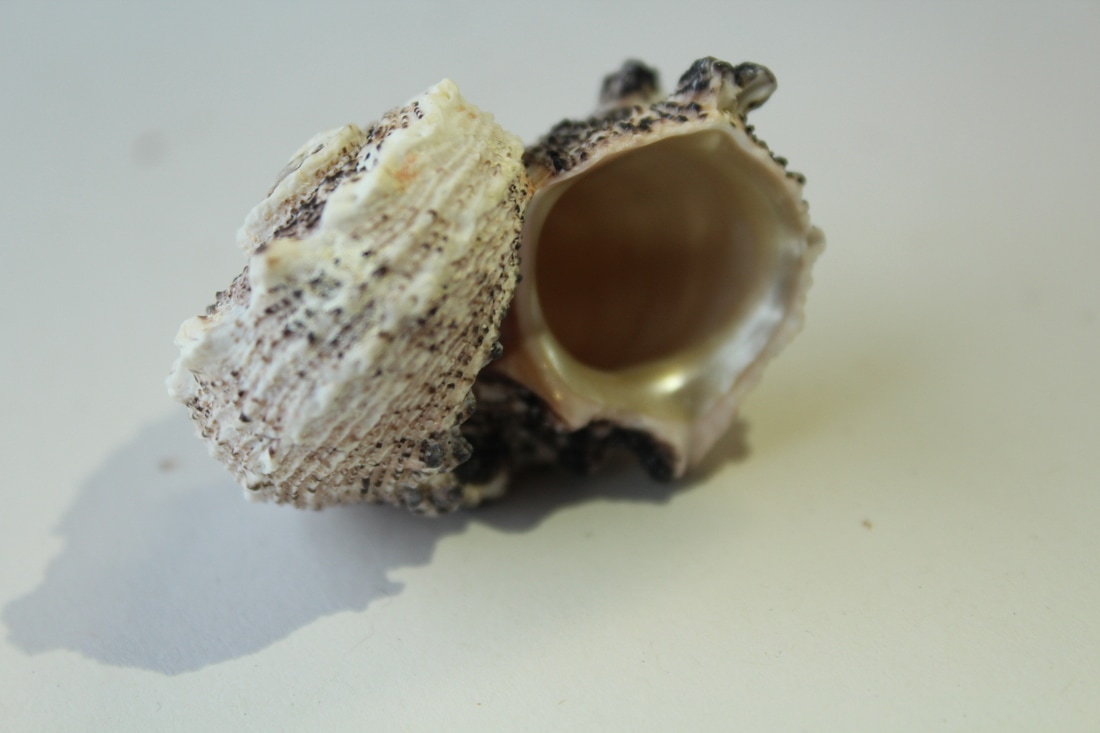
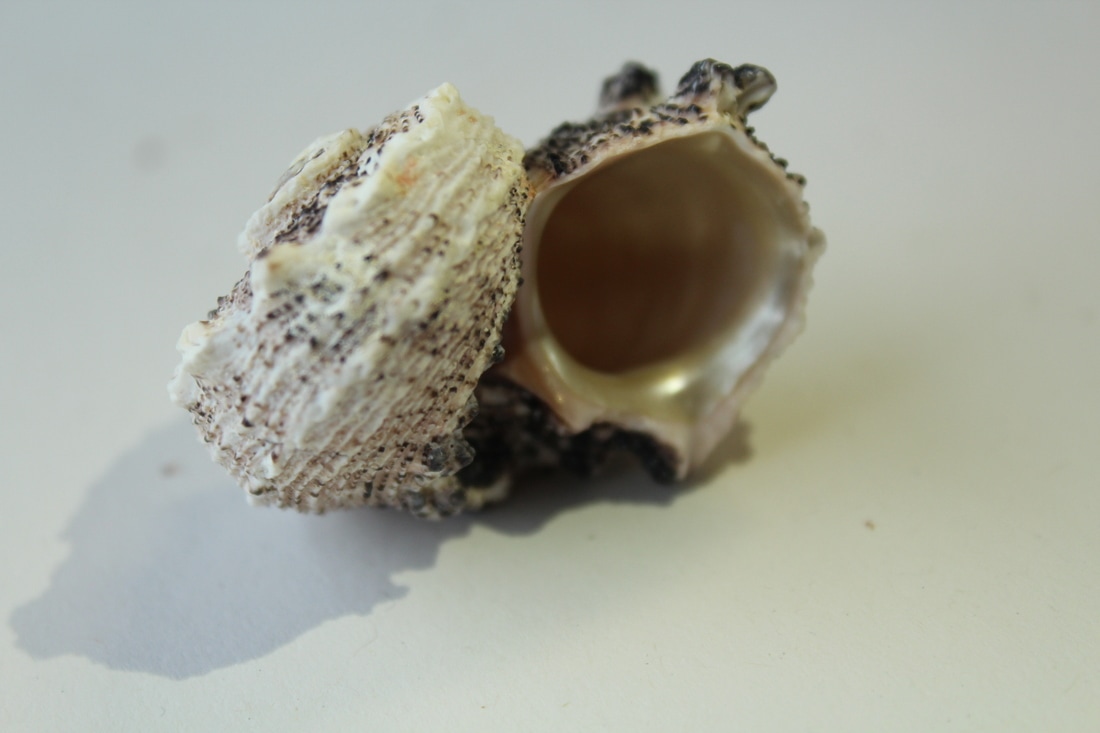
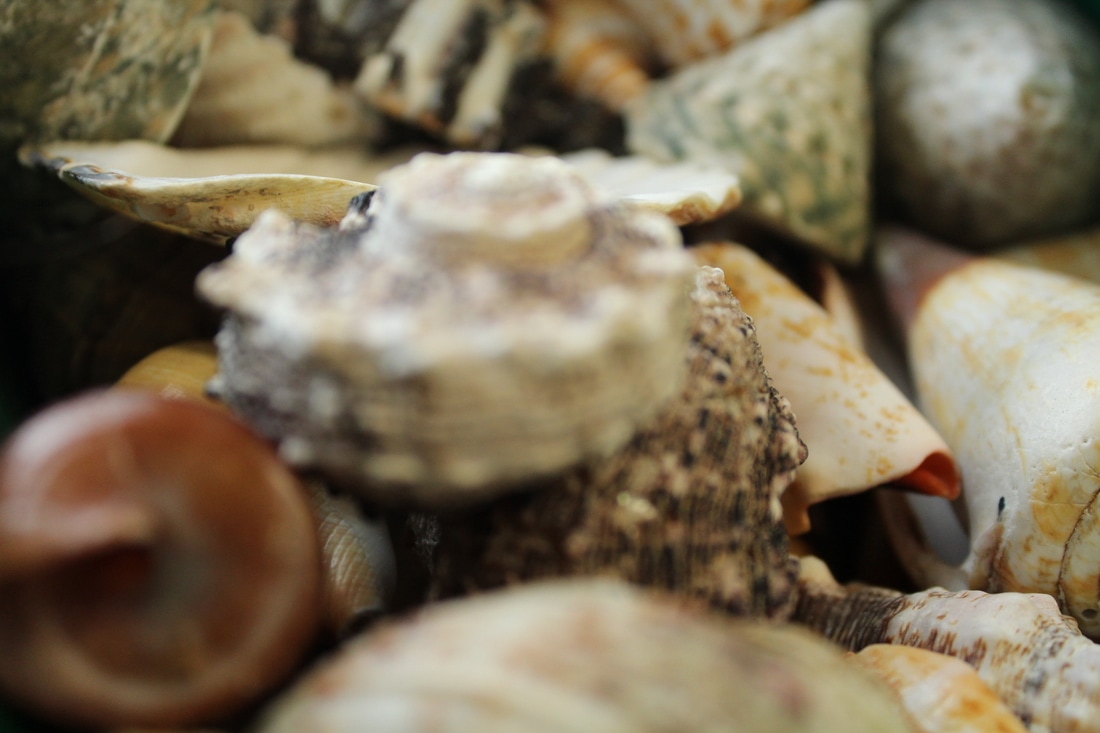
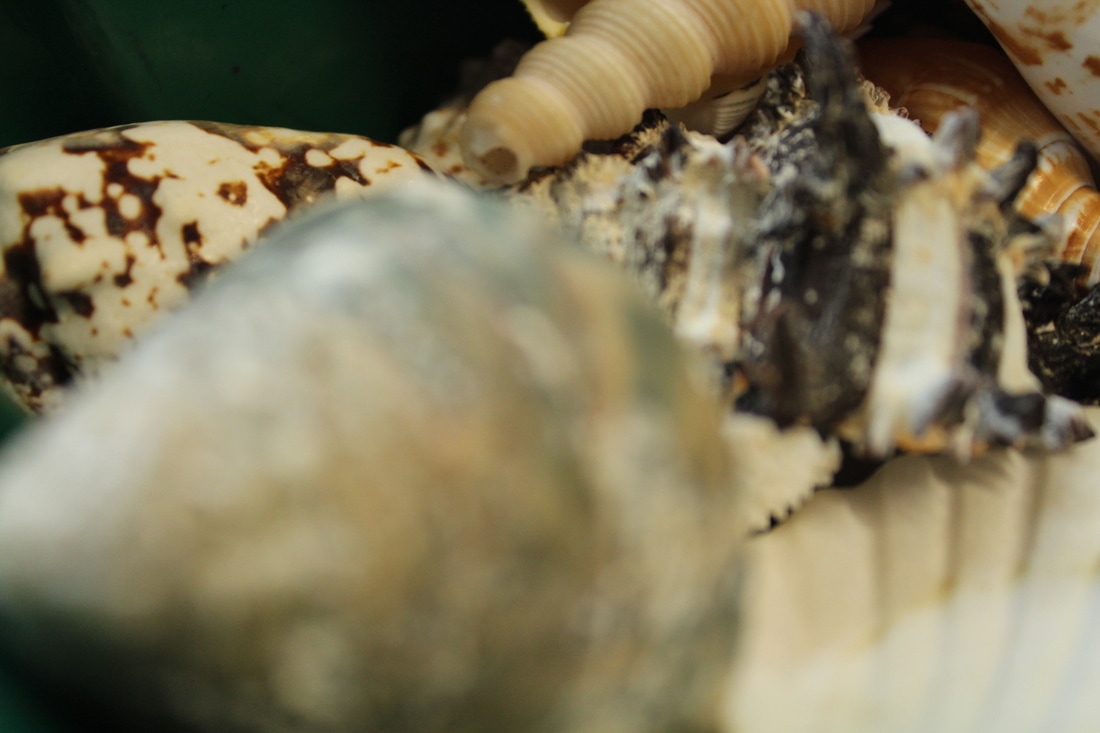
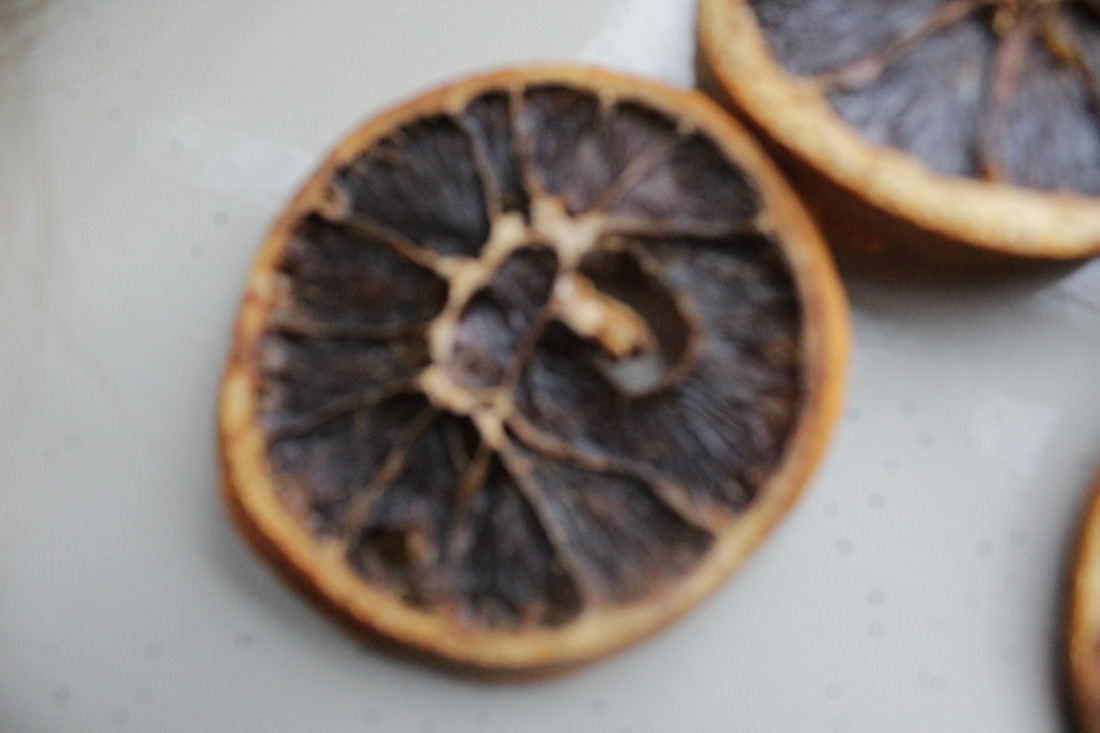
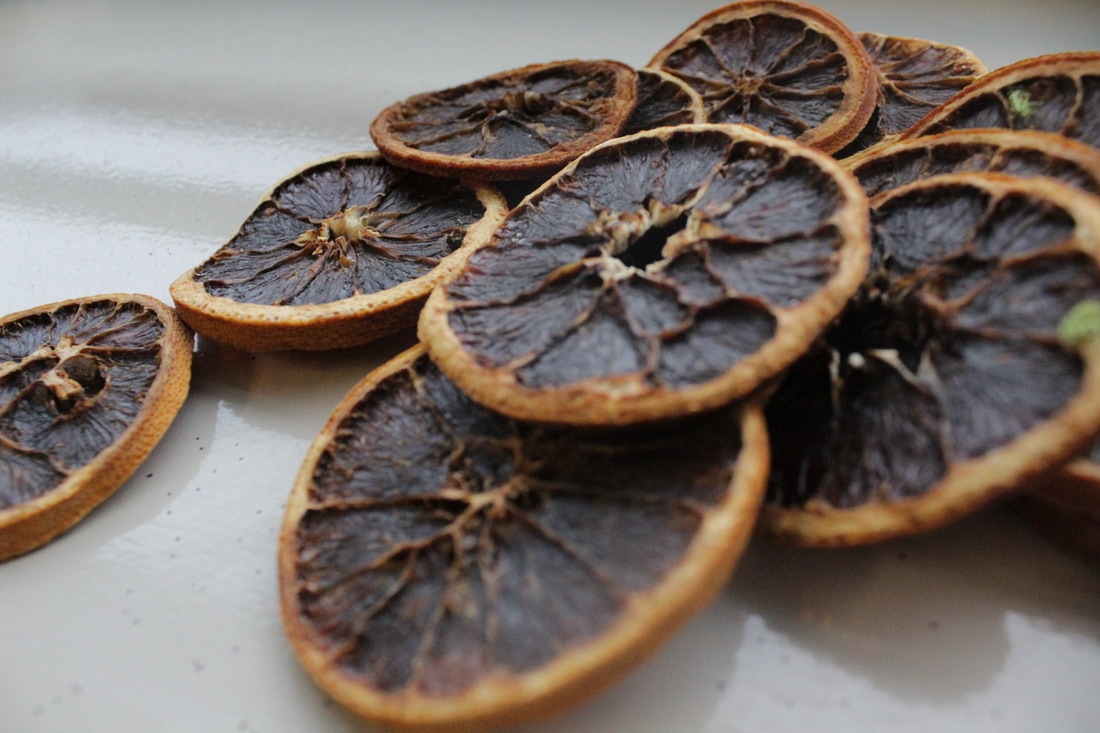
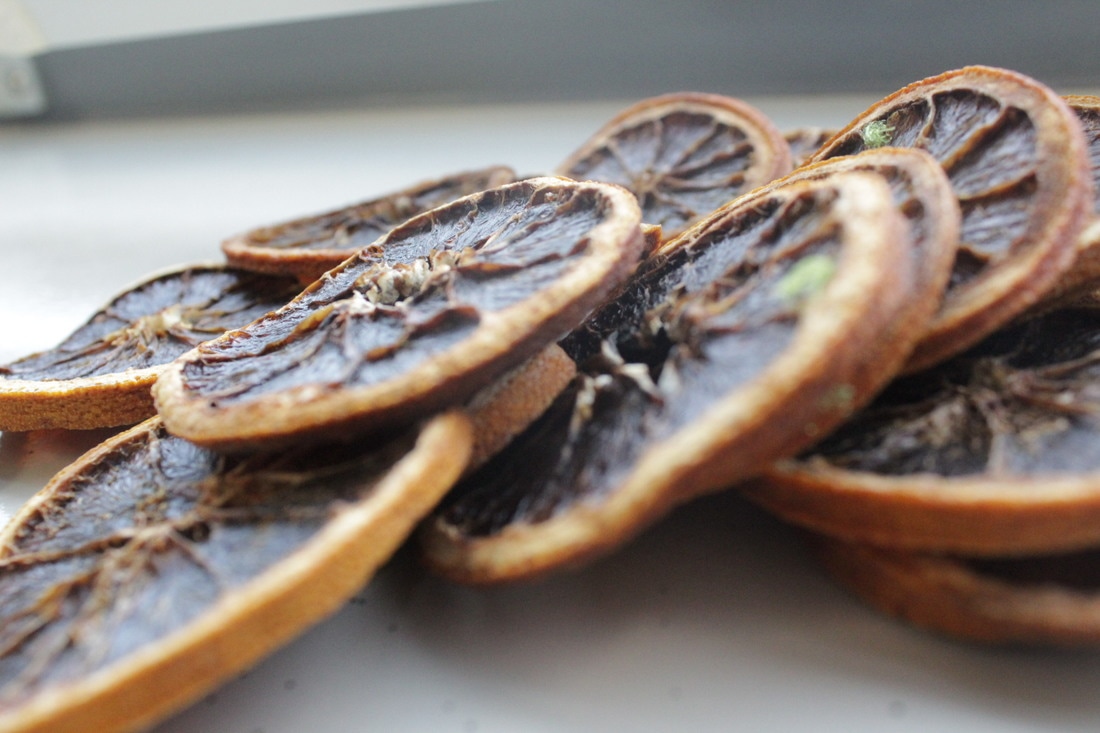
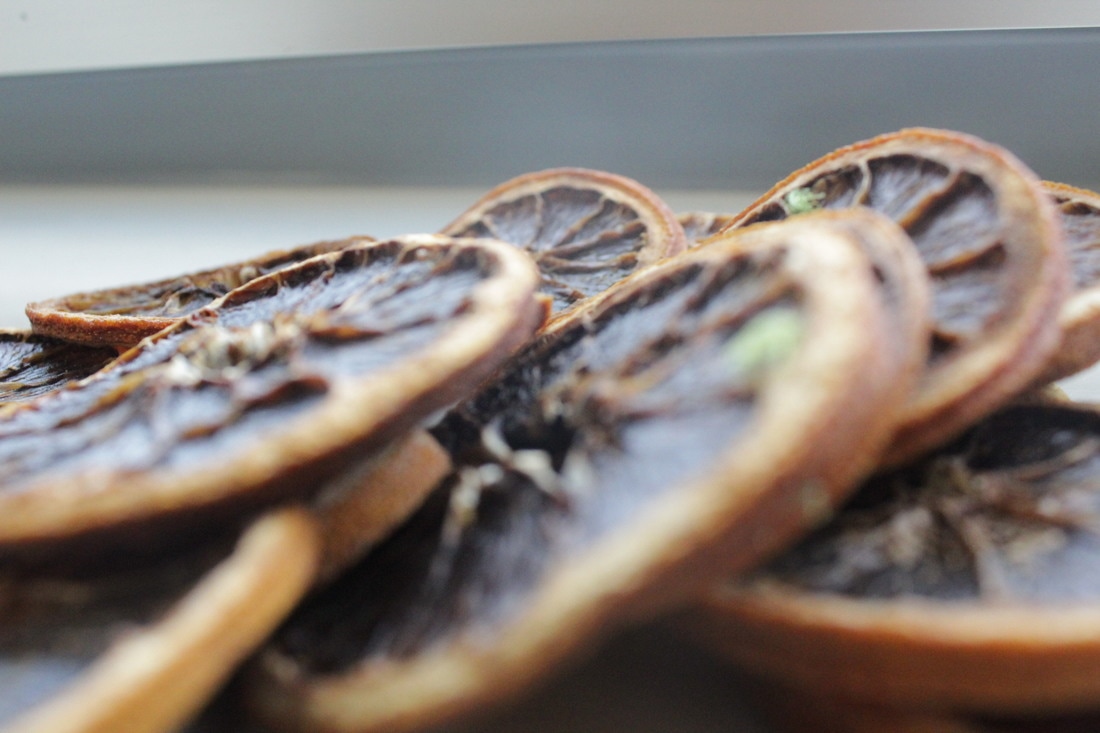
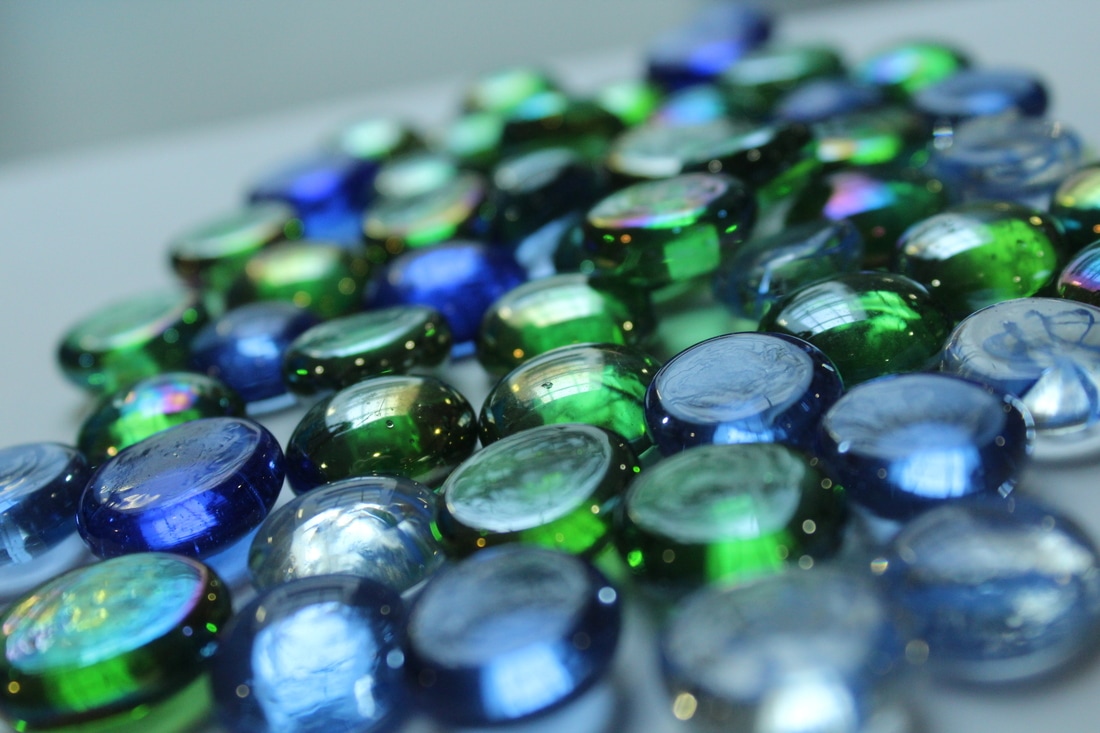
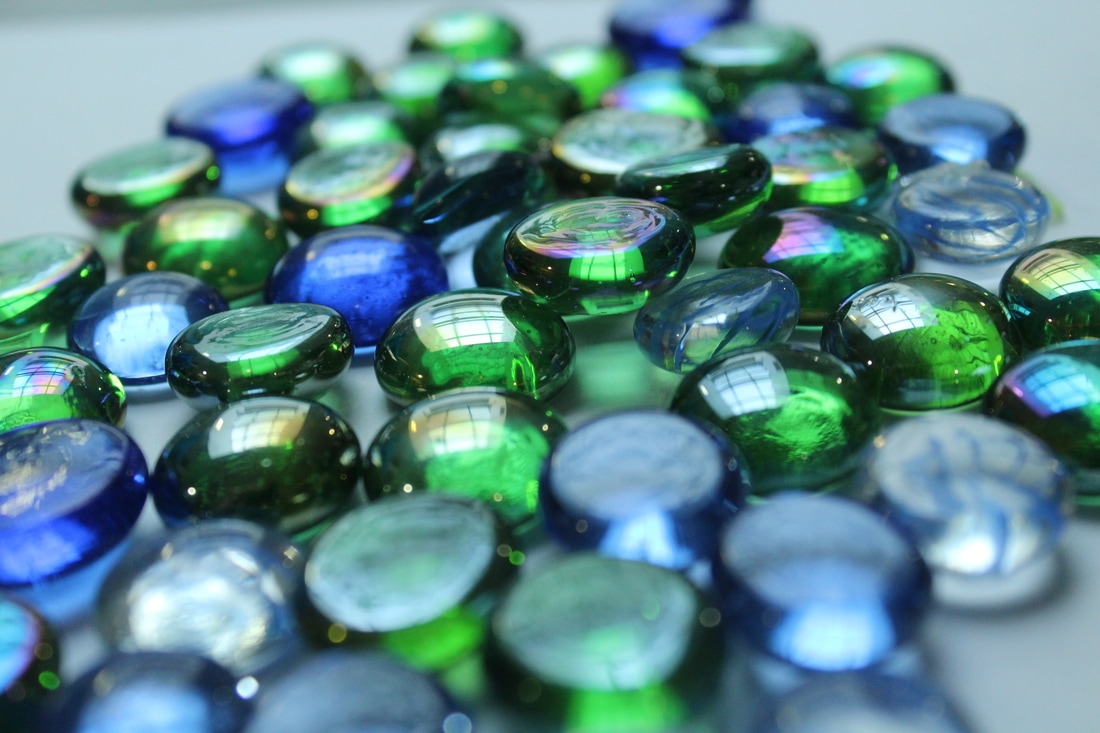
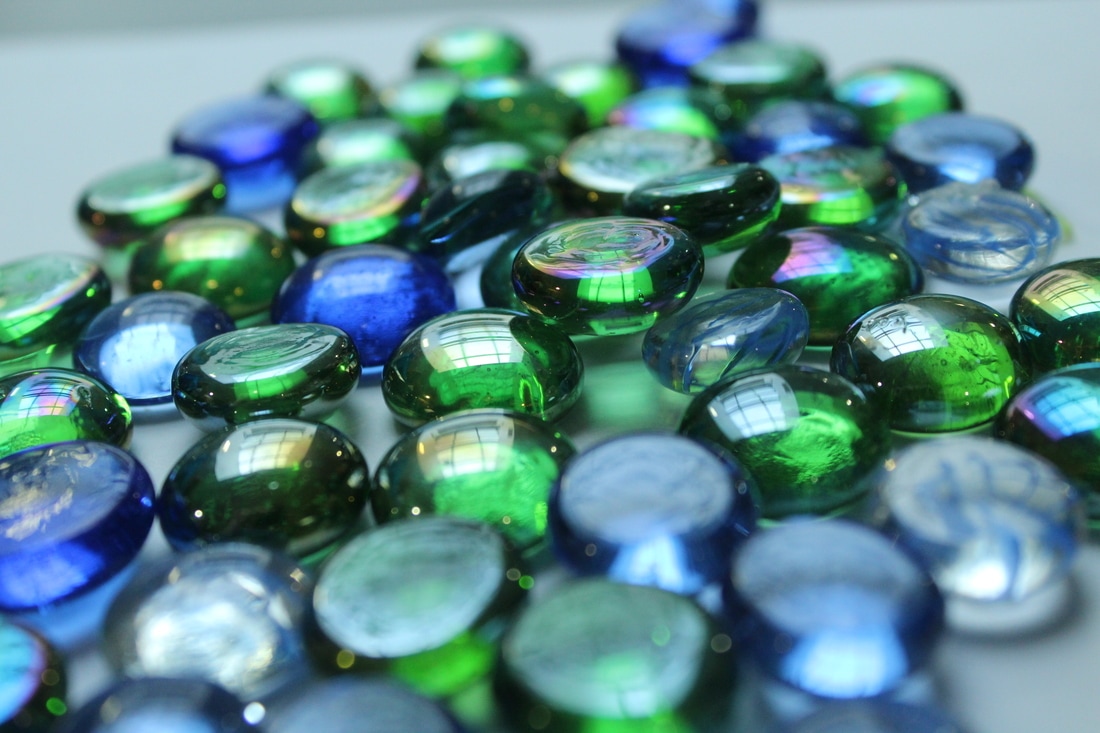
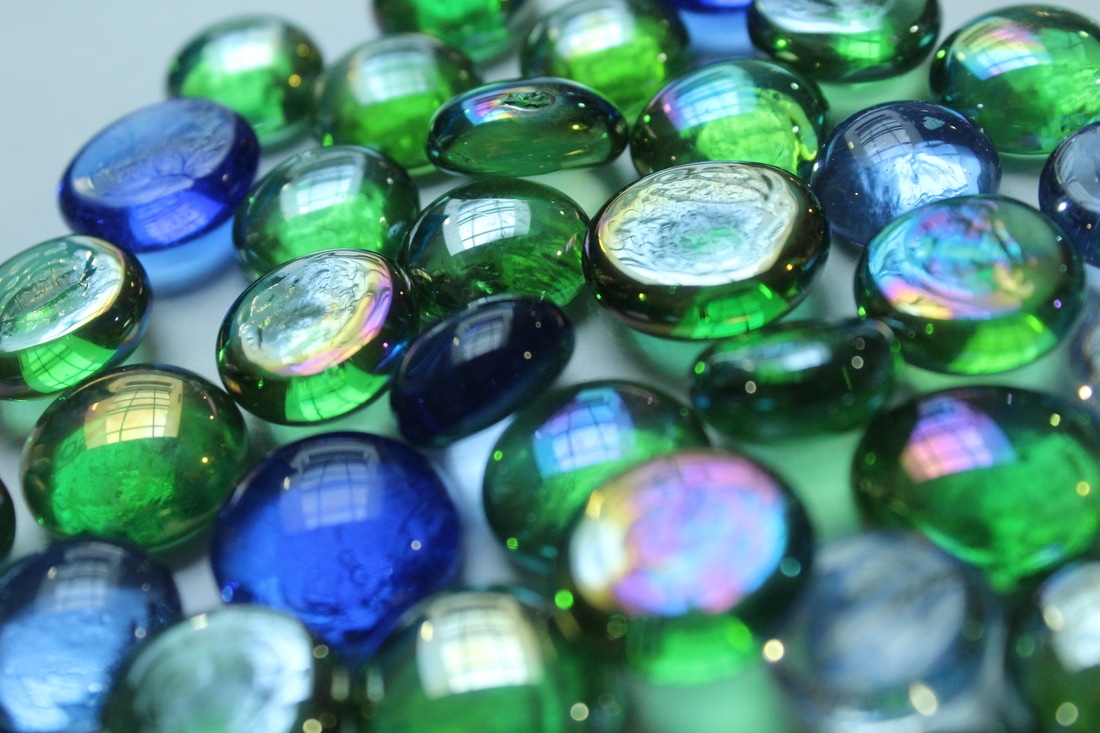
Detail photography uses the macro photography effect to show the really chose details of things. I chose to do detail because I like how the photographer/camera has captured the detail of many things like animals and surfaces. I feel like I will be able to get many photos to fit in with this topic.
Research appropriate sources and produce your own work that explores the visual qualities of detail
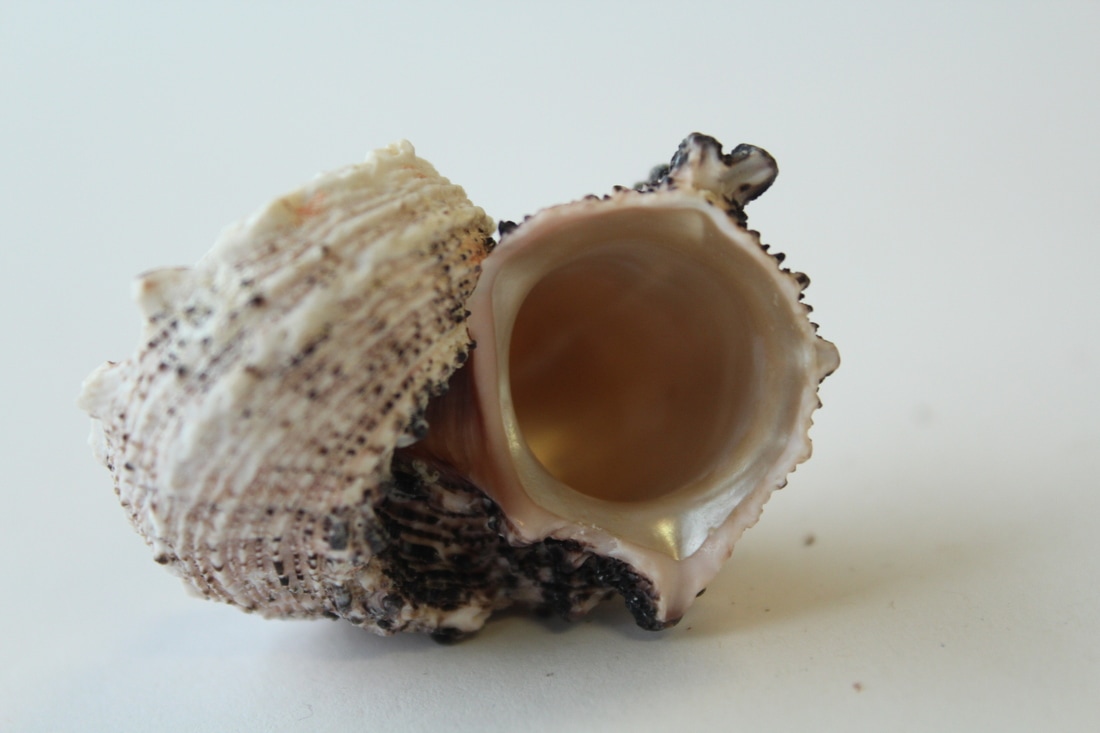
Detail photography uses the macro photography effect to show the really chose details of things. I chose to do detail because I like how the photographer/camera has captured the detail of many things like animals and surfaces. I feel like I will be able to get many photos to fit in with this topic.
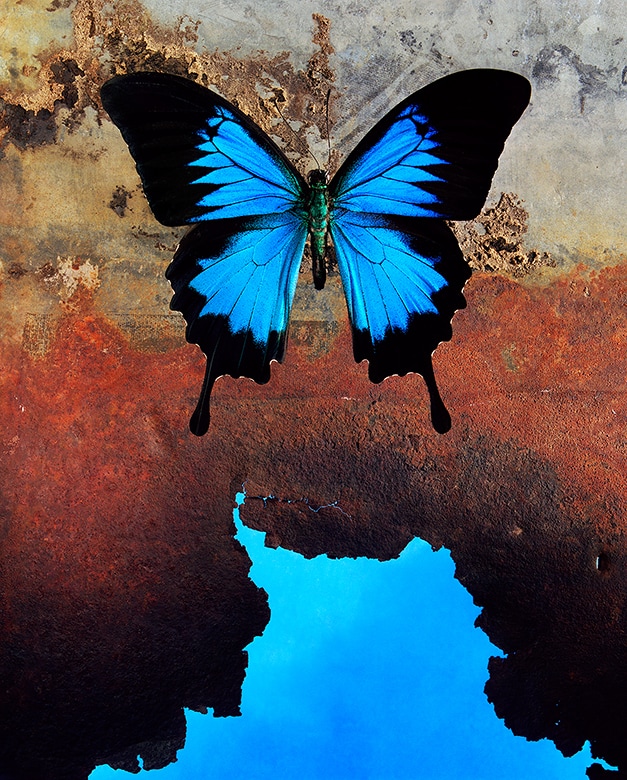
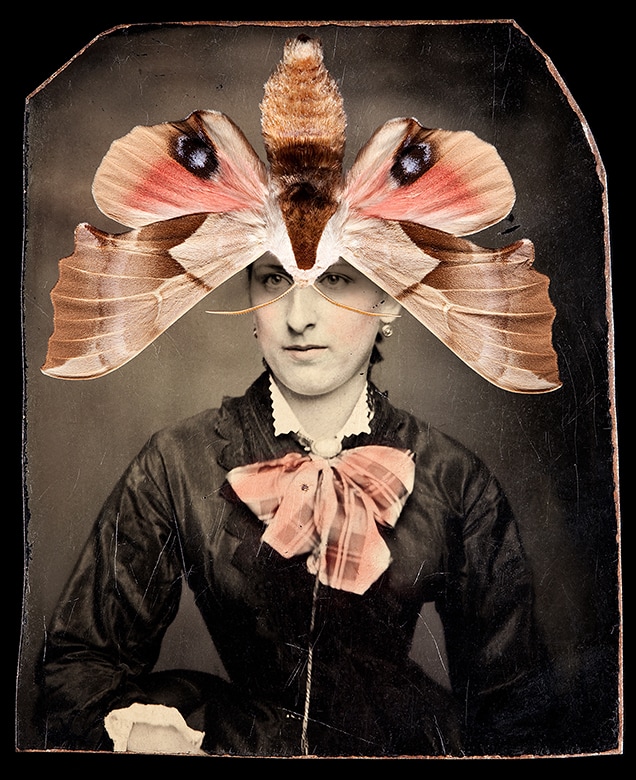
Jo Whaley
Jo Whaley had earned advanced degrees in Art and Photography from the University of California, Berkeley by 1980. First she was a painter then later took a day job as a scenic artist for the San Francisco Opera but ended up as a photographer. Jo Whaley chose to use insects in the still life as their presence alluded to the ephemeral nature of life.
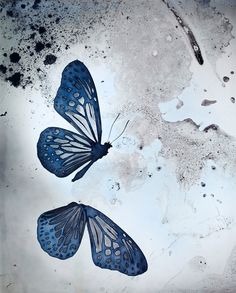

Worst
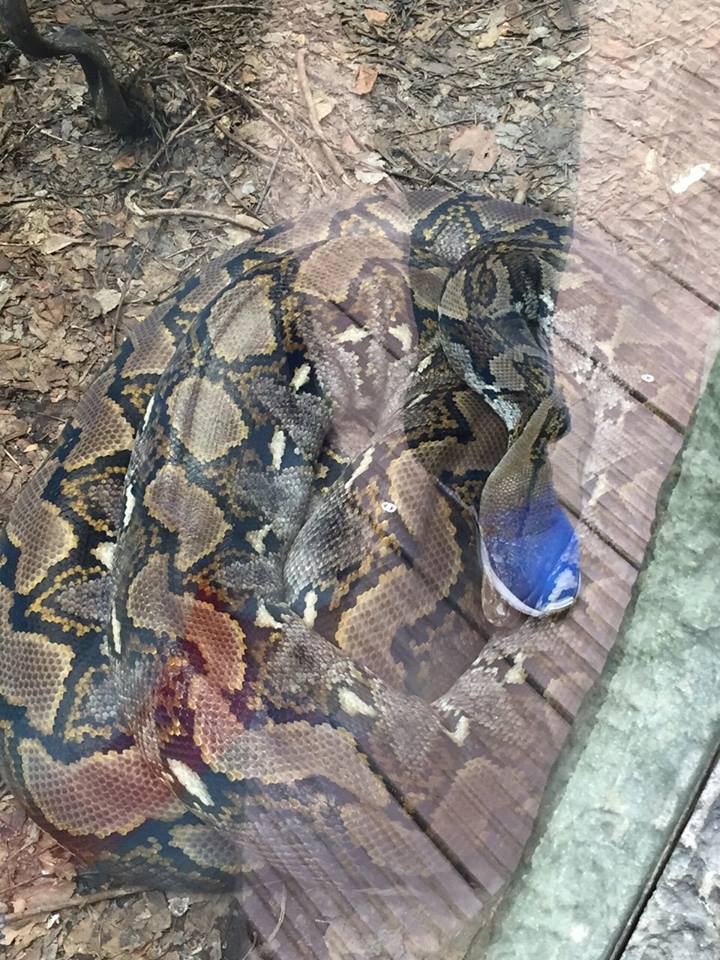
I don't like this photo because it is weird and doesn't show a lot of detail. In the photo you can see the use of image manipulation where two photos have been layered.

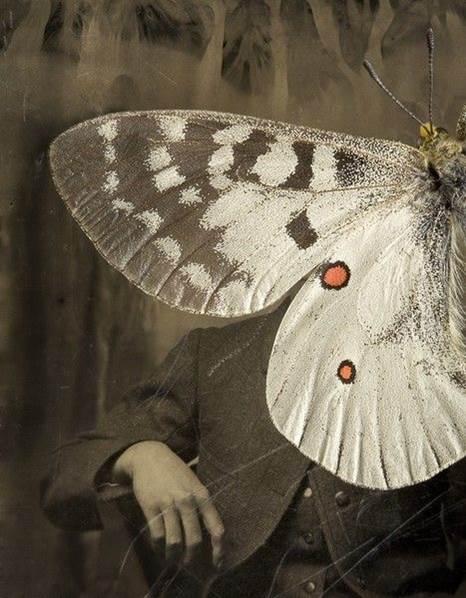
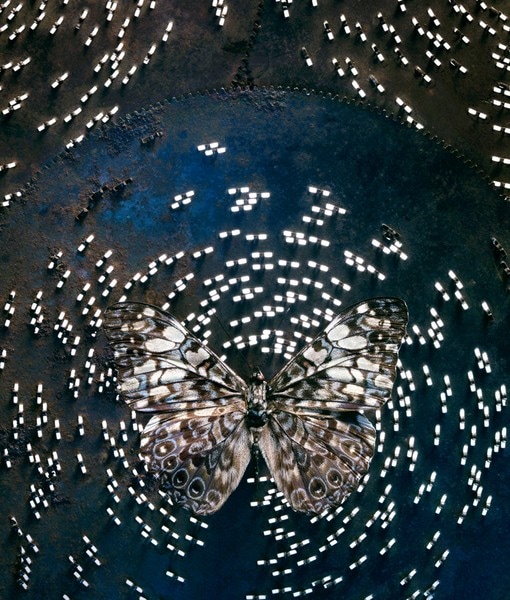
Best
I like this photo because it shows the pattern on the butterfly in a lot of detail and the little white lights make the butterfly stand out more. I want to try and recreate this photo in a shoot. The photo is at birds eye view to capture the detail.

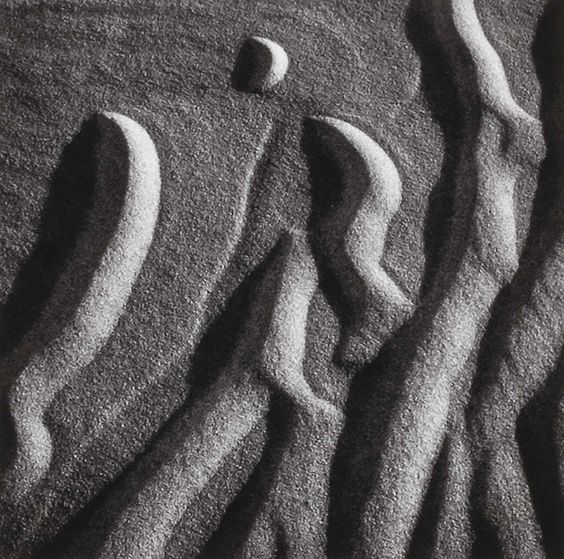
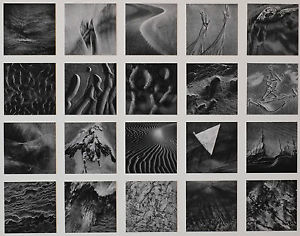
Henry Troup
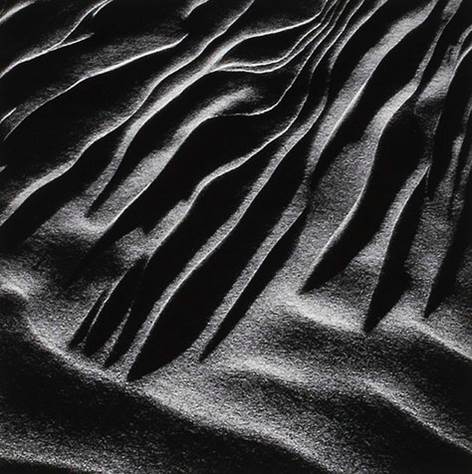
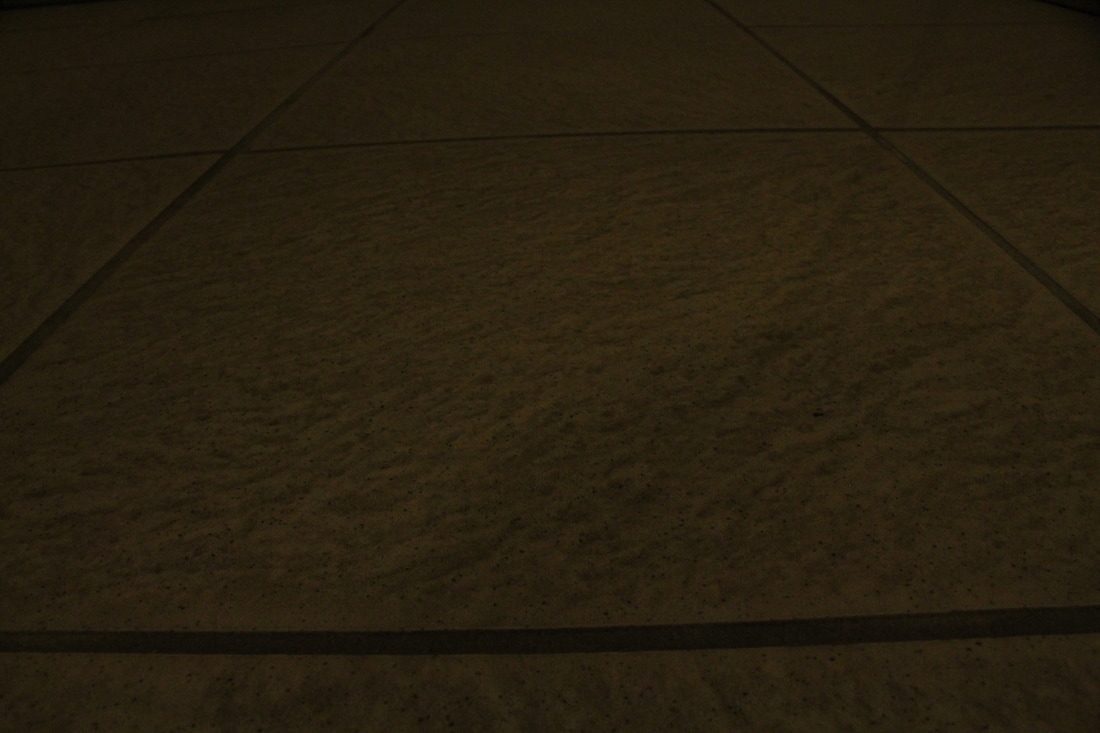
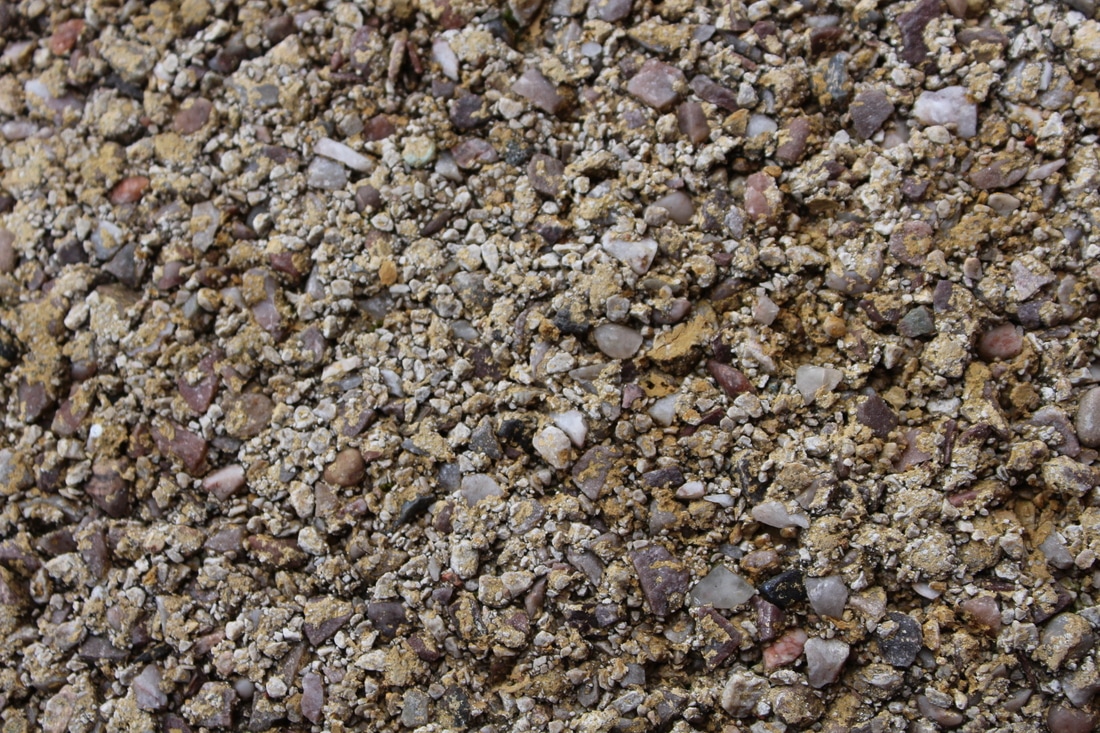
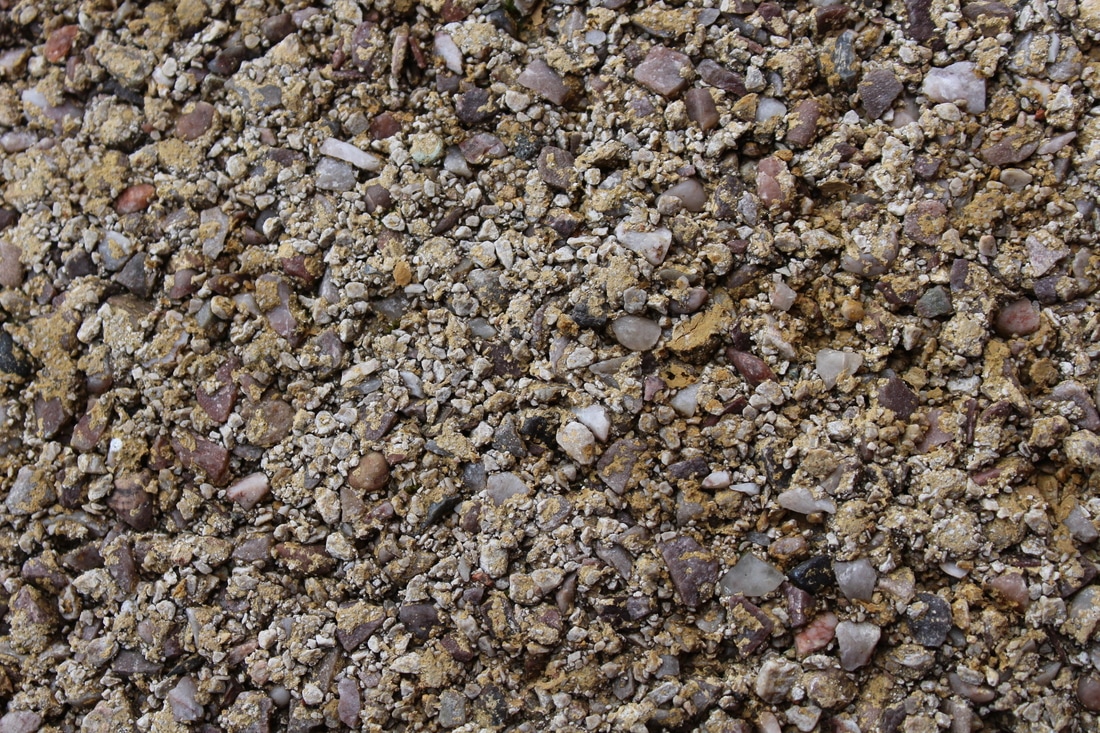
Henry Troup is a photographer who takes photos that show the detail and texture of things. After retiring from commercial work, Henry pursued fine art image making and printing and soon found himself appreciated by the photography community at large. His photographs were primarily abstracts of patterns in beach sand and have been collected by The Art Museum at Princeton University; Baltimore Museum of Art; The Bibliotheque Nationale De France, Paris etc. Unfortunately he passed away in 2012.
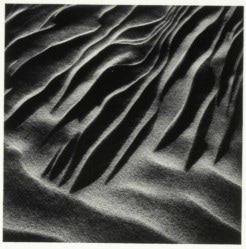

Worst
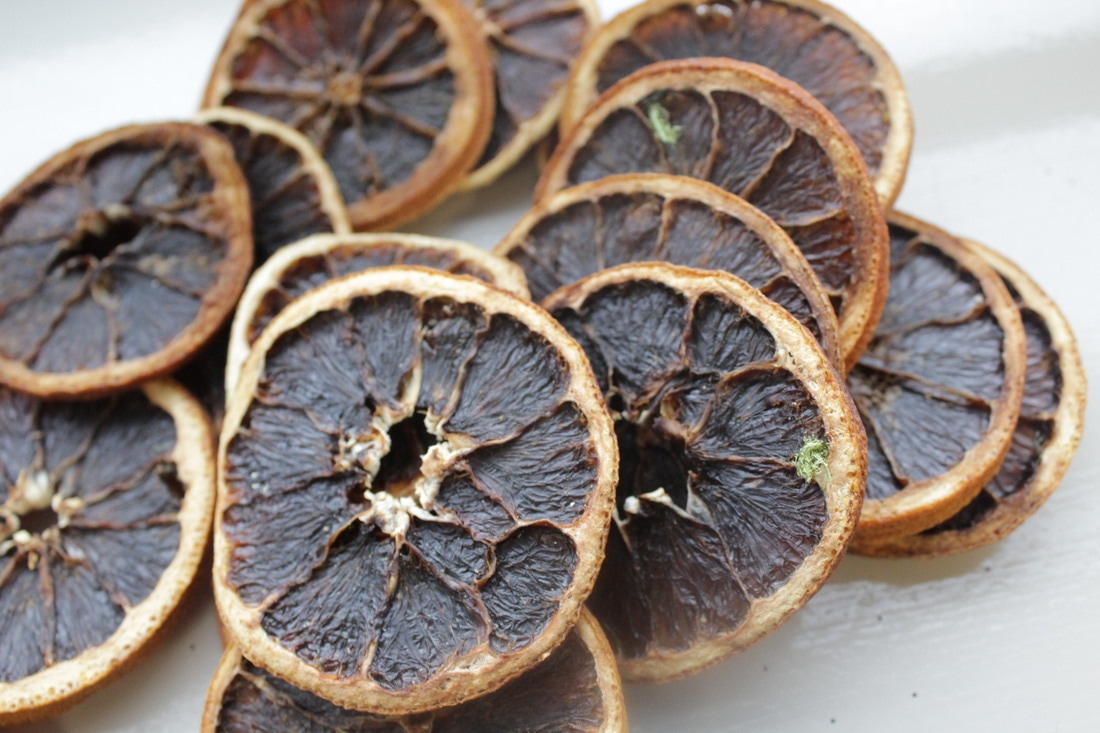
Henry Troup has put together two different textures.I don't like this photo because it doesn't show much depth. Although there are two different textures of sand I feel the photo is quiet flat.

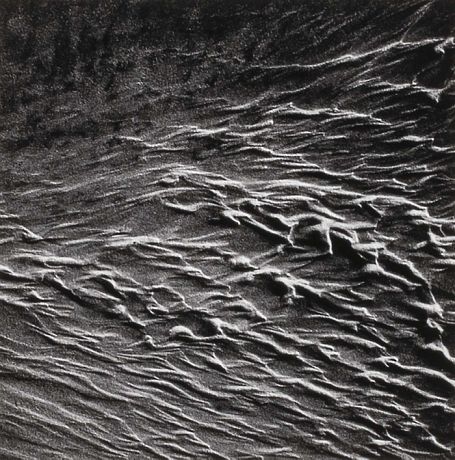
Best
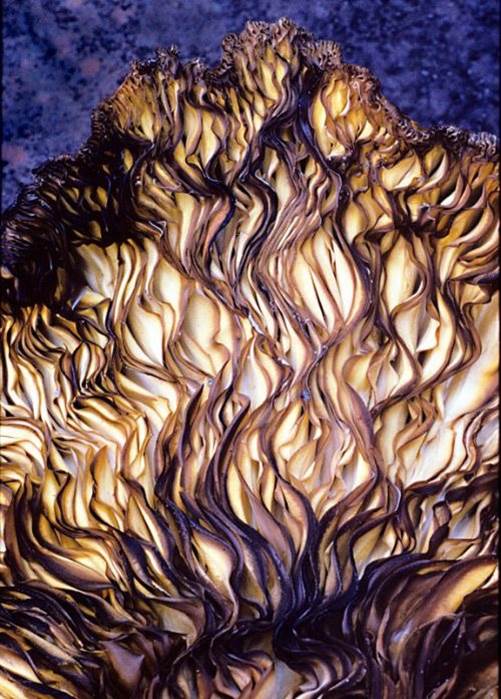
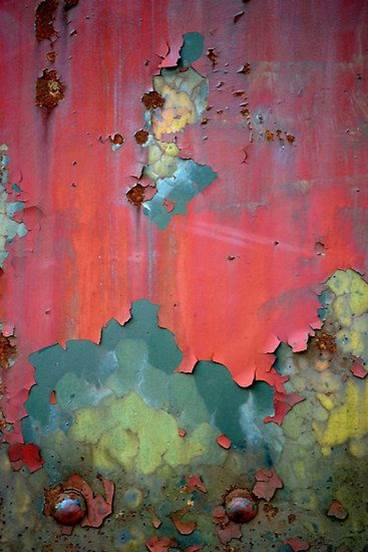
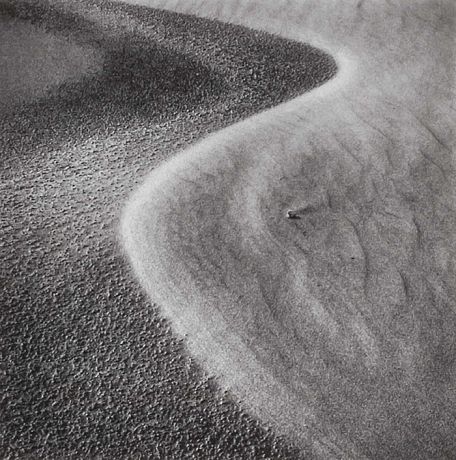
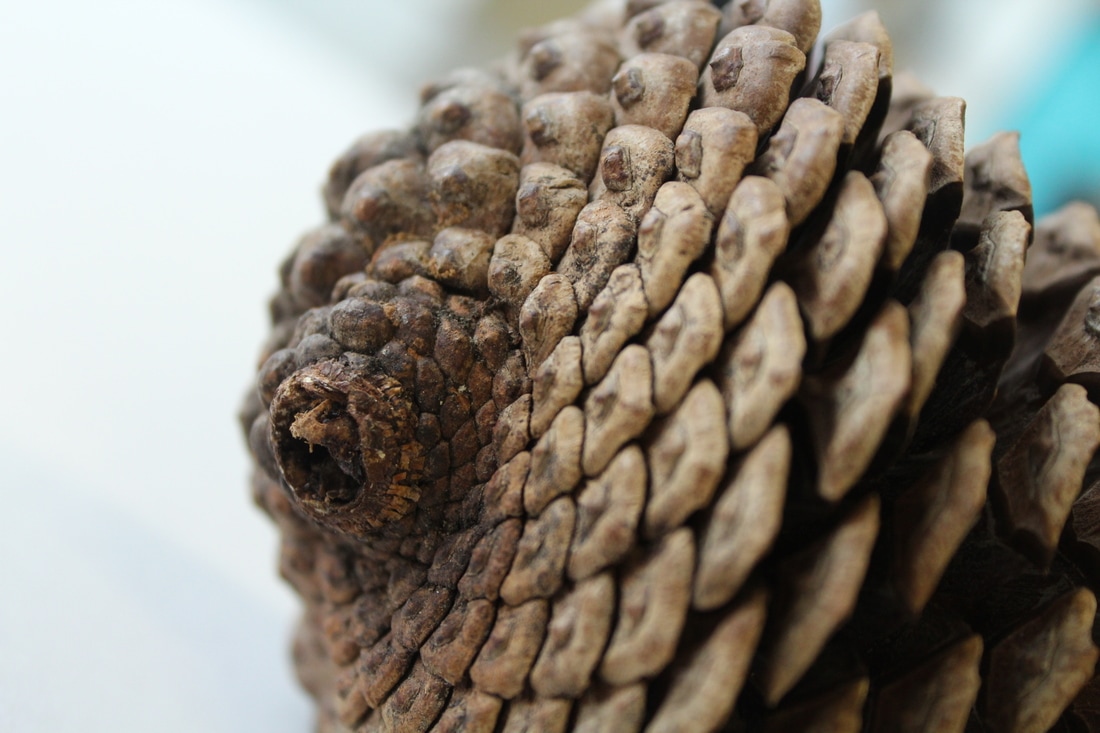
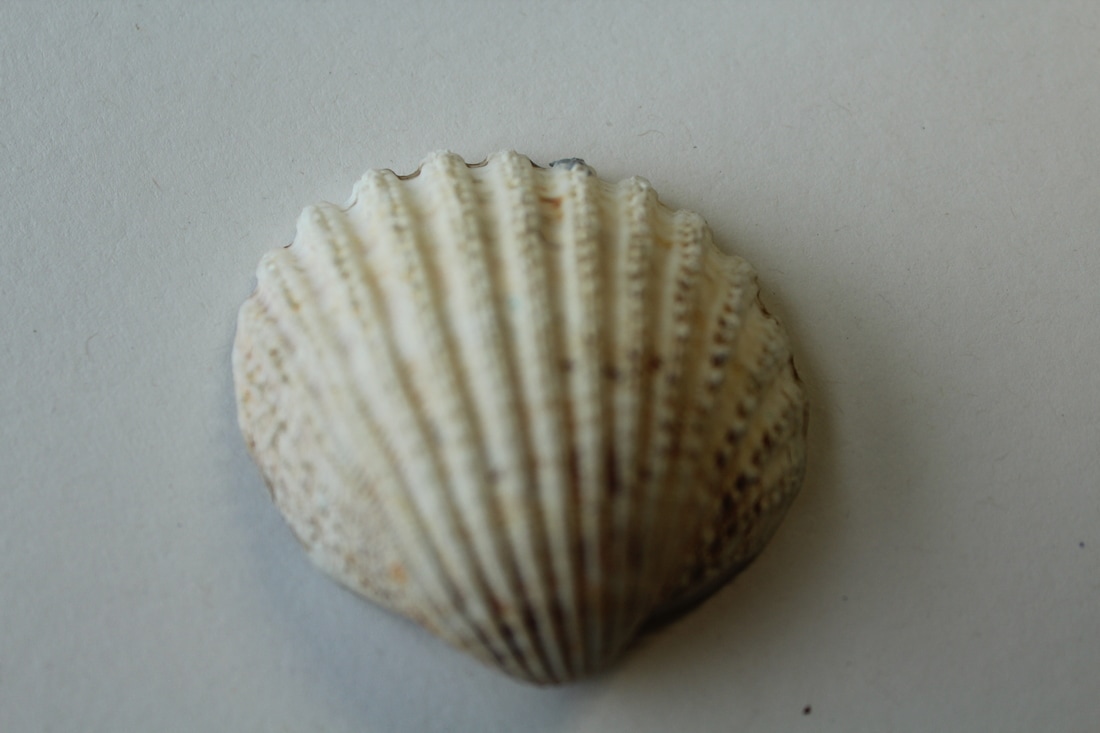
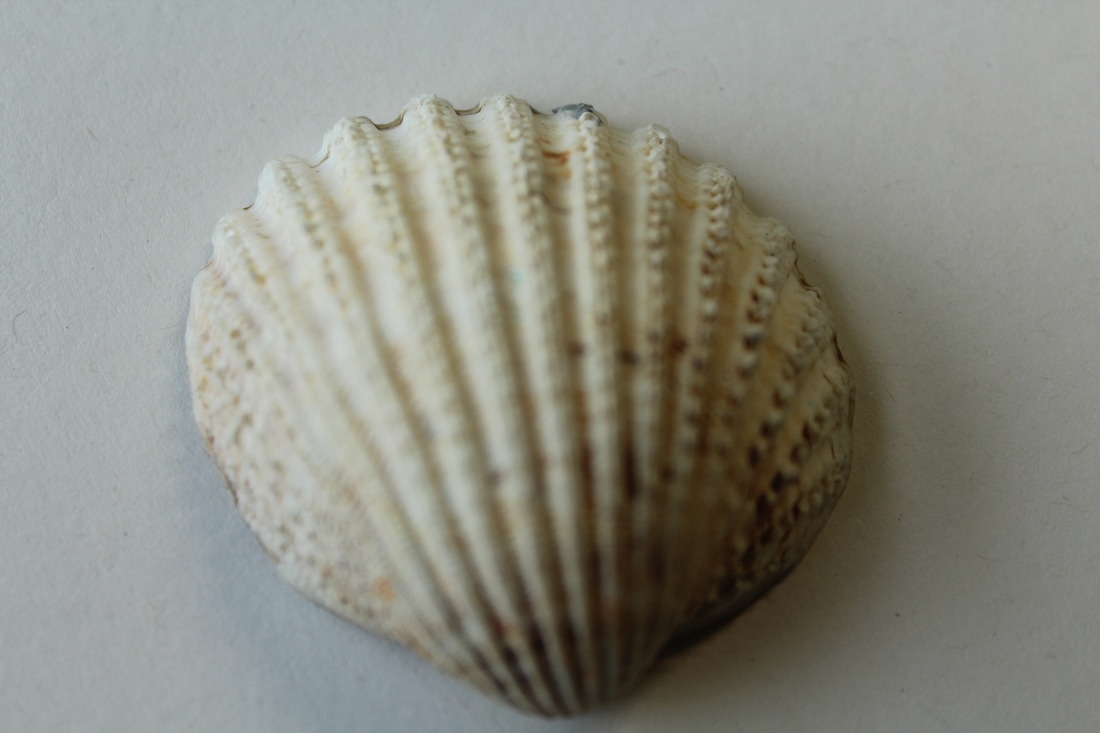
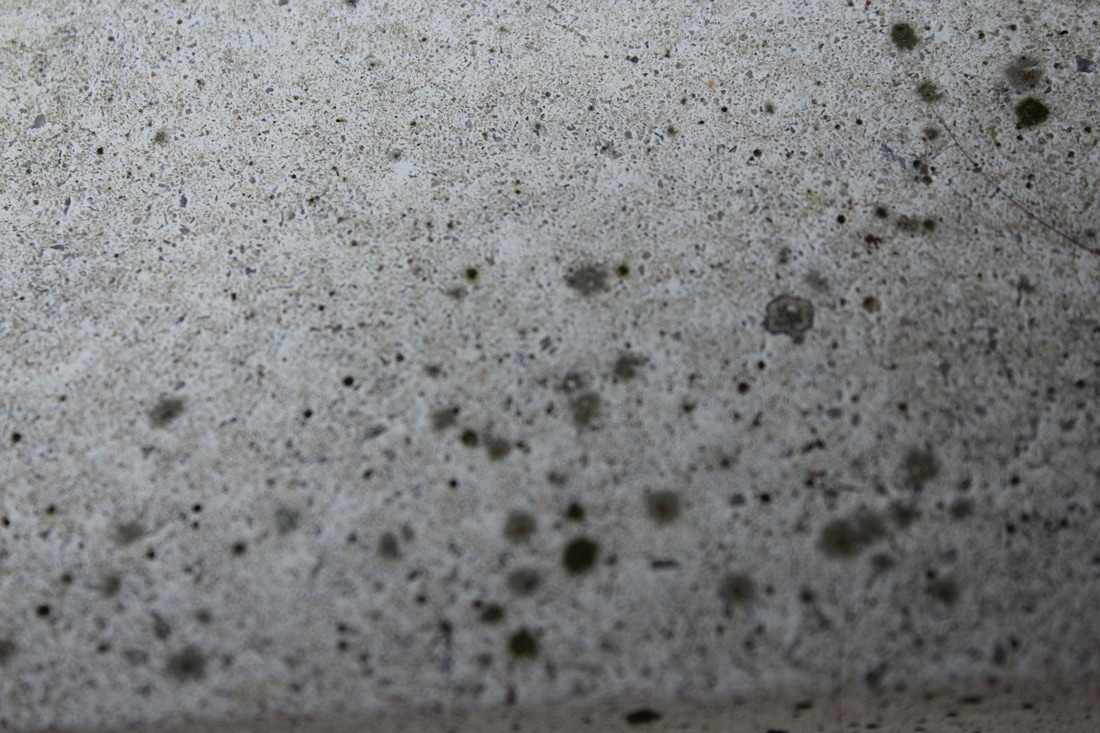
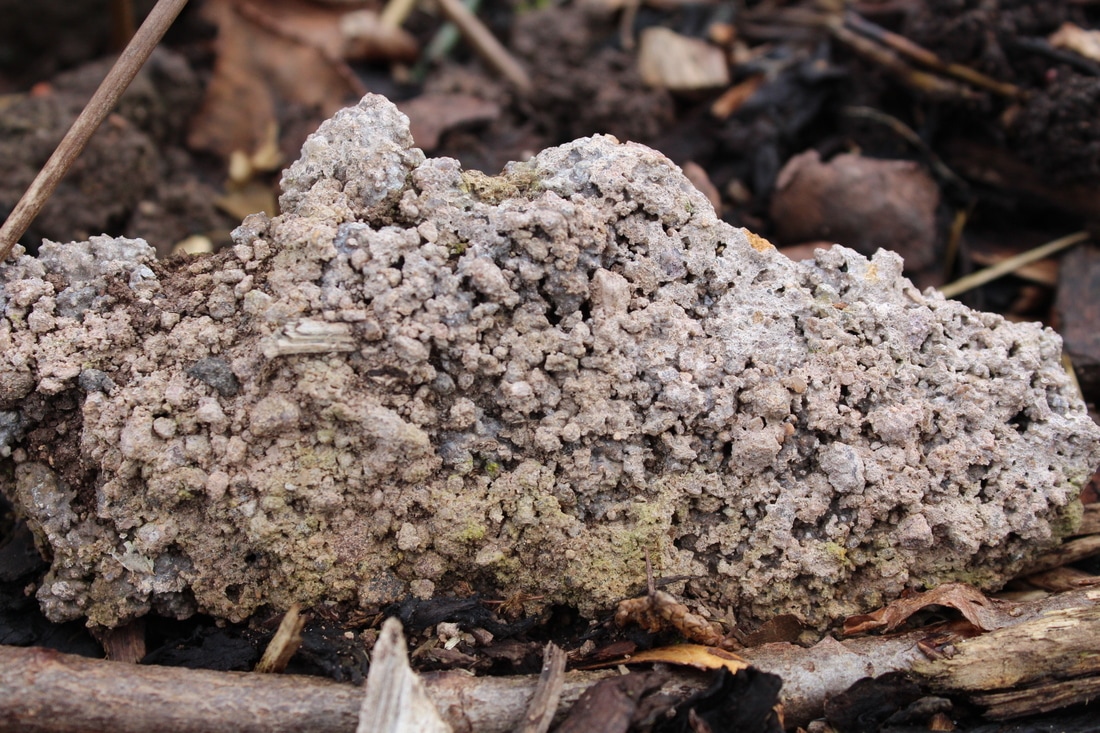
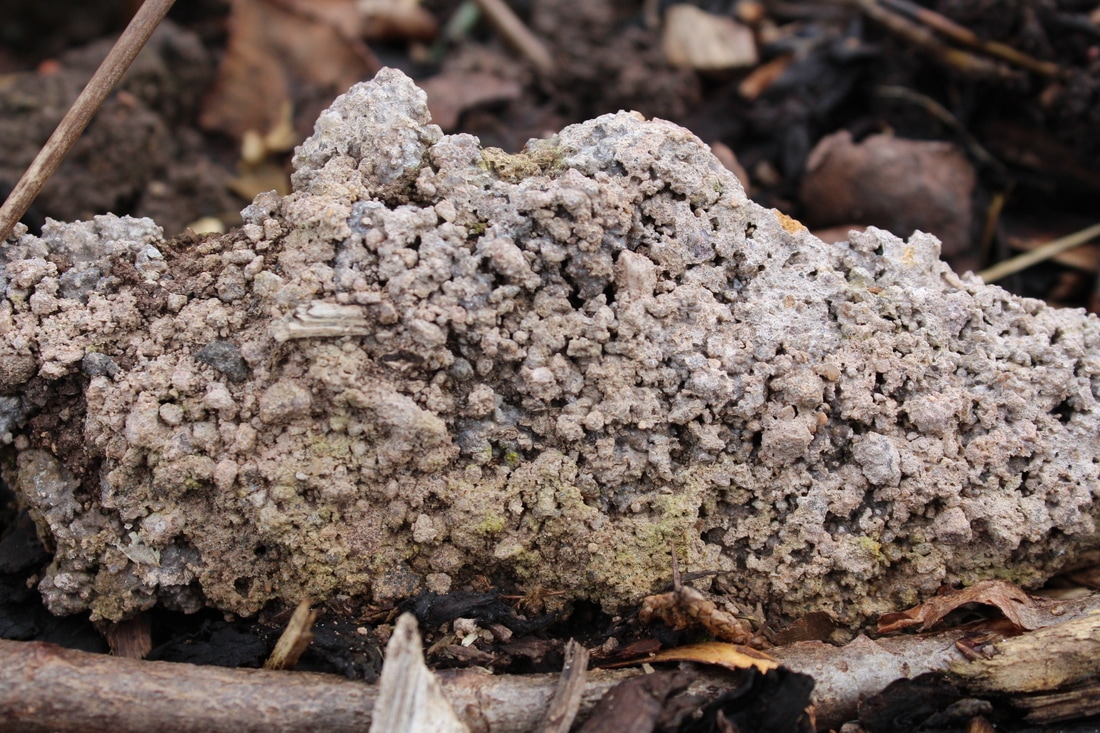
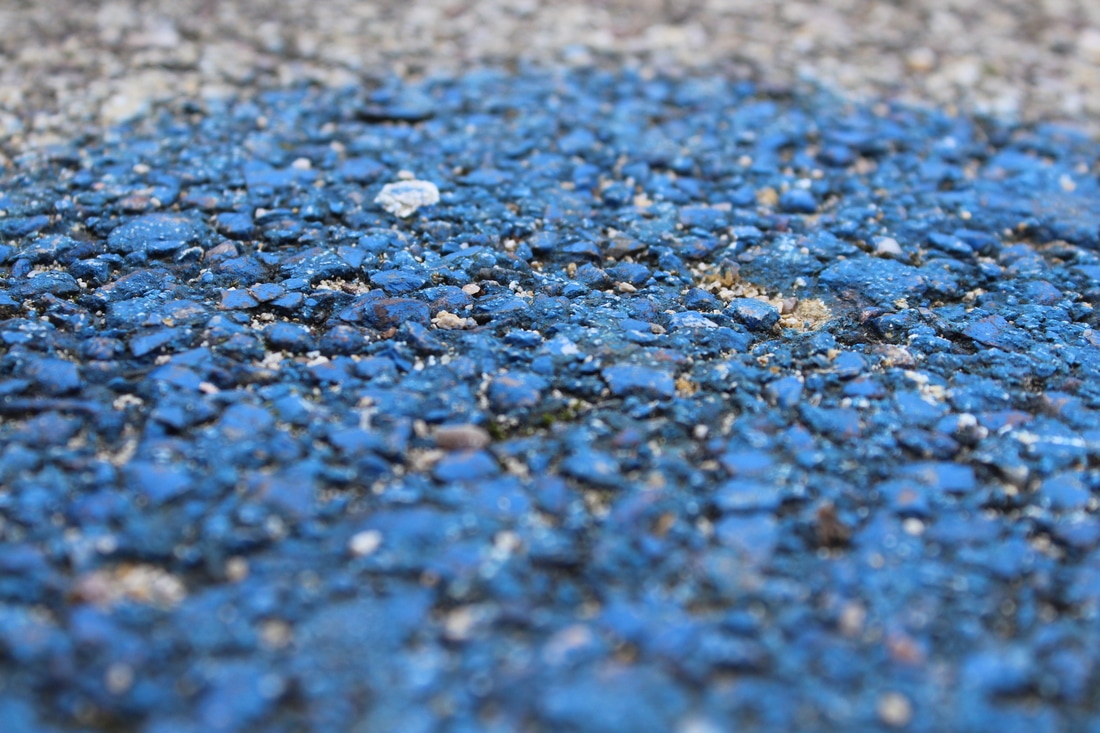
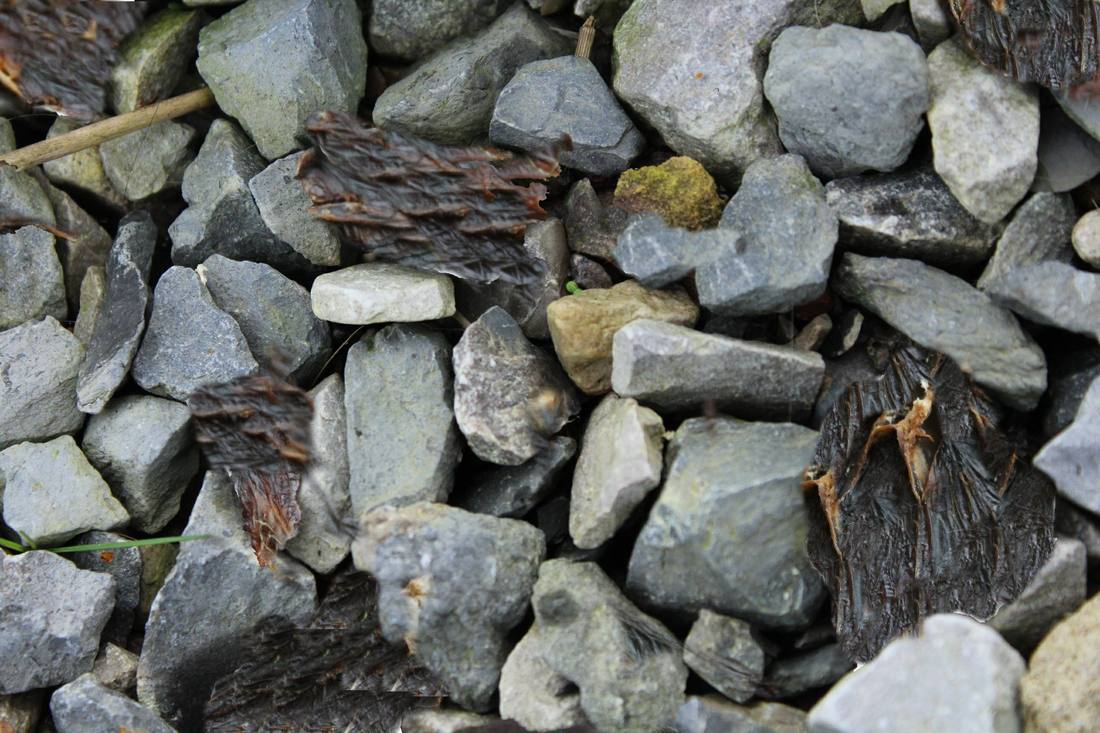
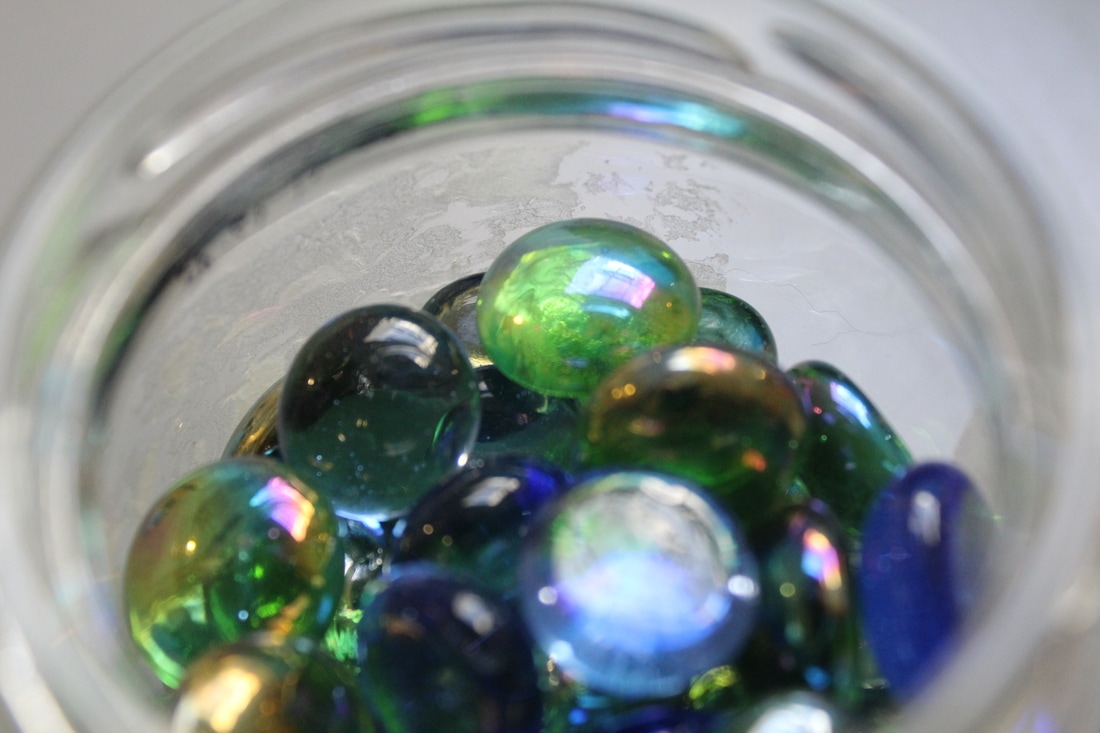
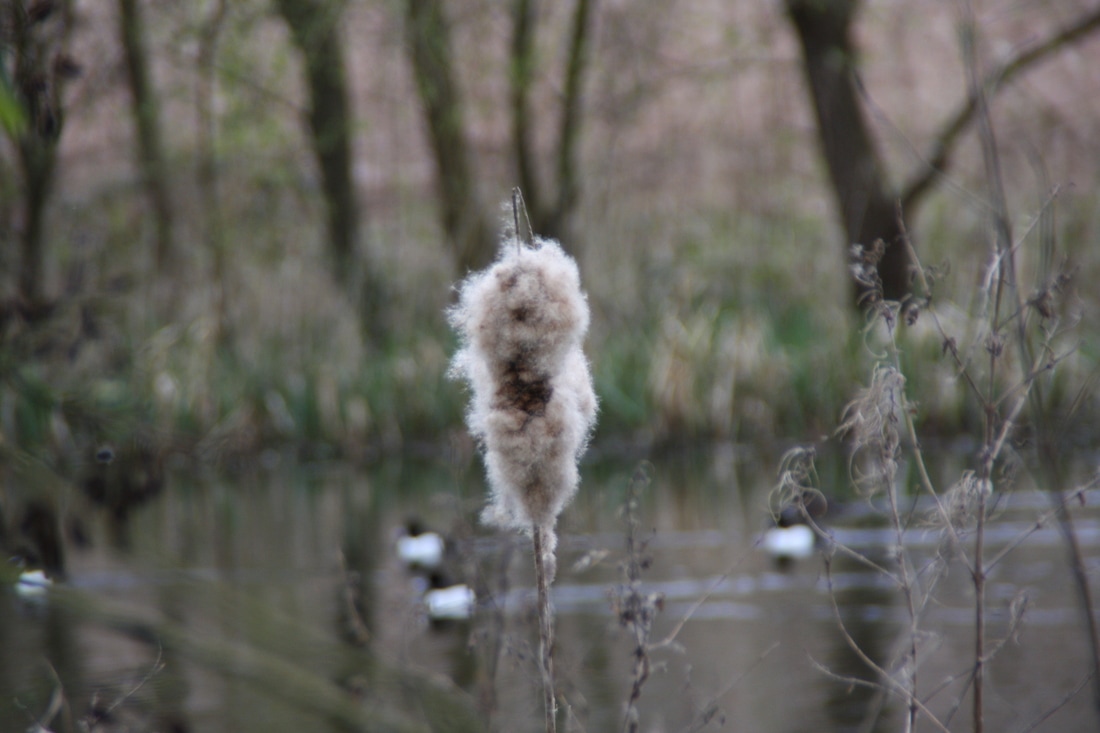
This photo feature the macro photography effect as it has zoom in and shows really good detail. I like this photo because it shows a contrast between the light and dark areas of the photo and has the right exposure. The contrast brings out the detail of the white sand waves. In the photo you can see the element of shape and pattern which gives different intentions to what the photo is actually representing.

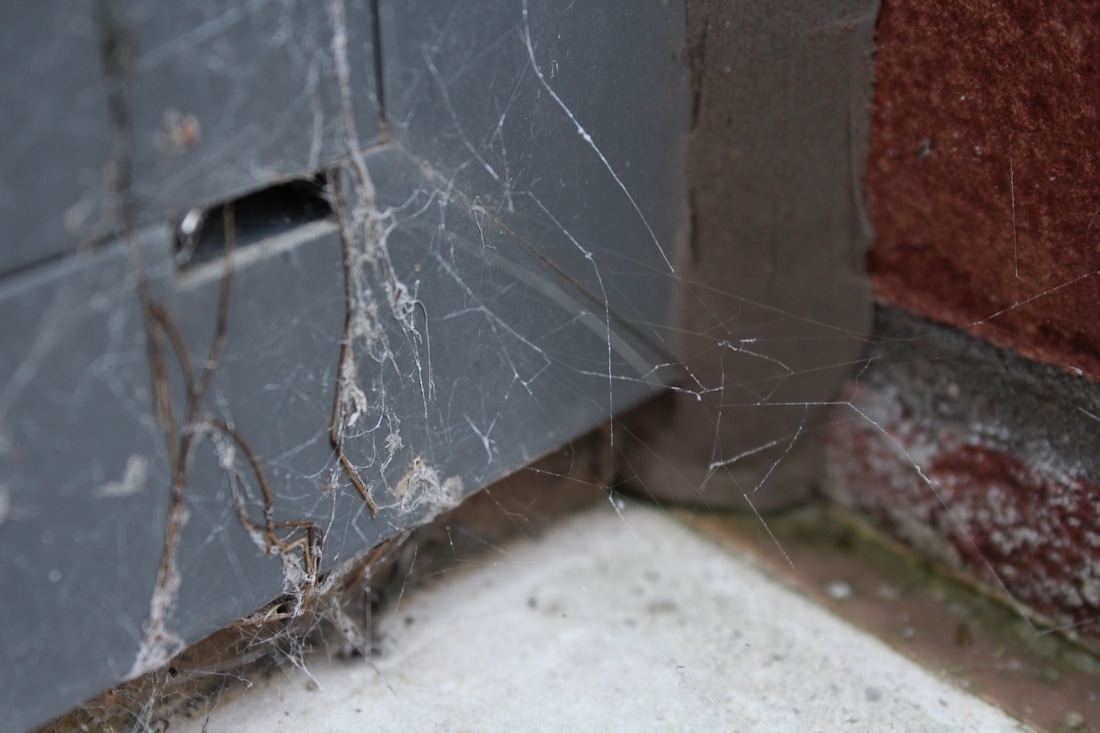
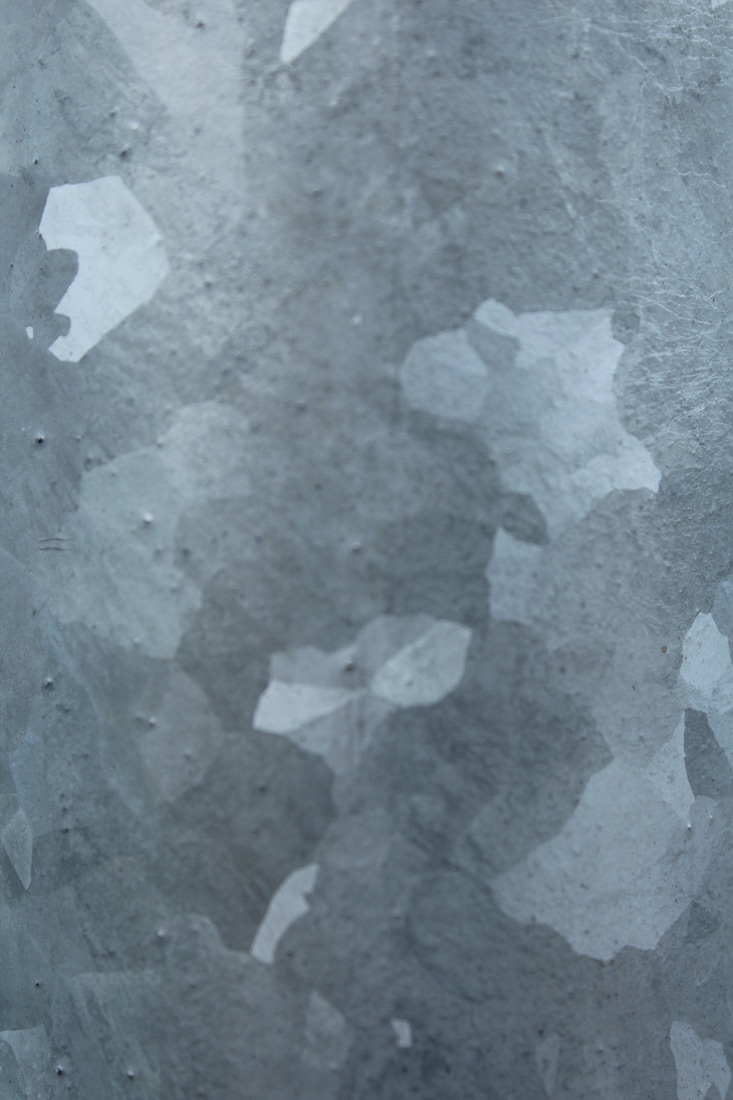
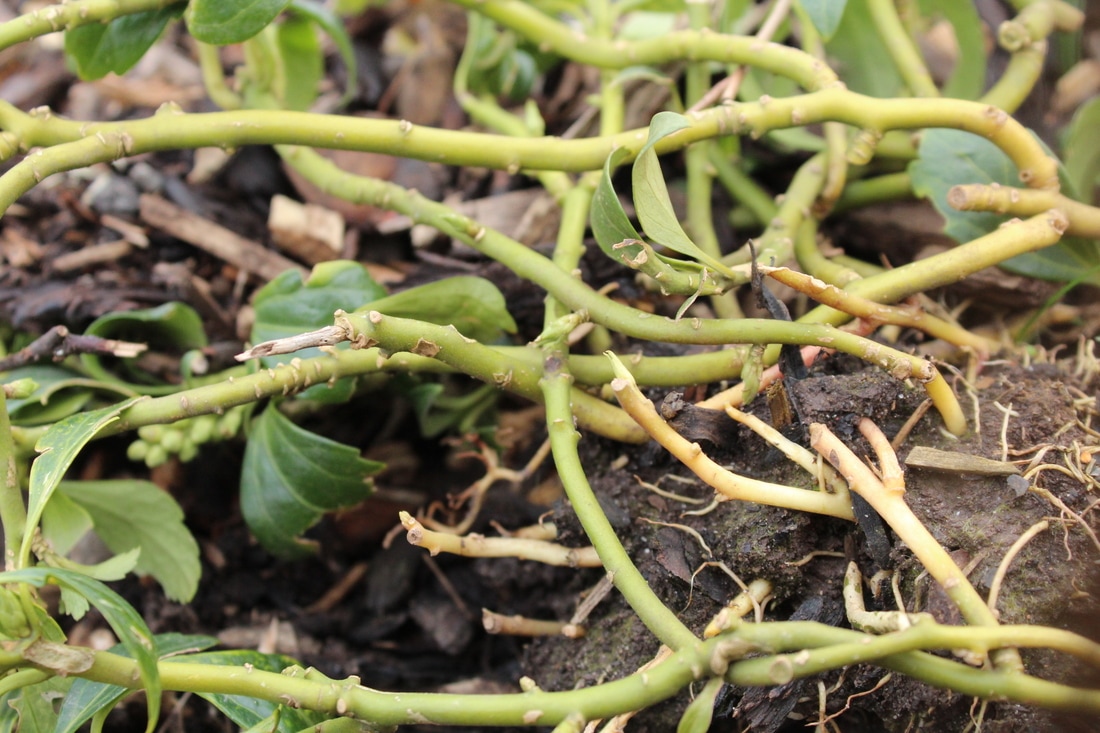
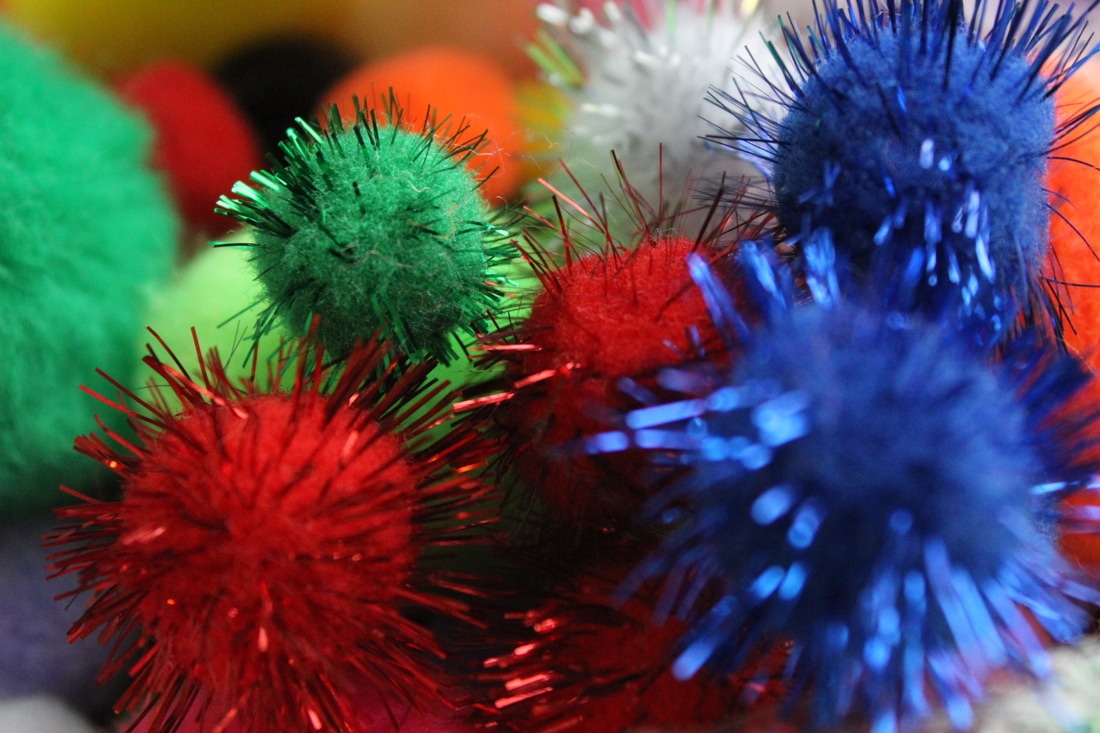
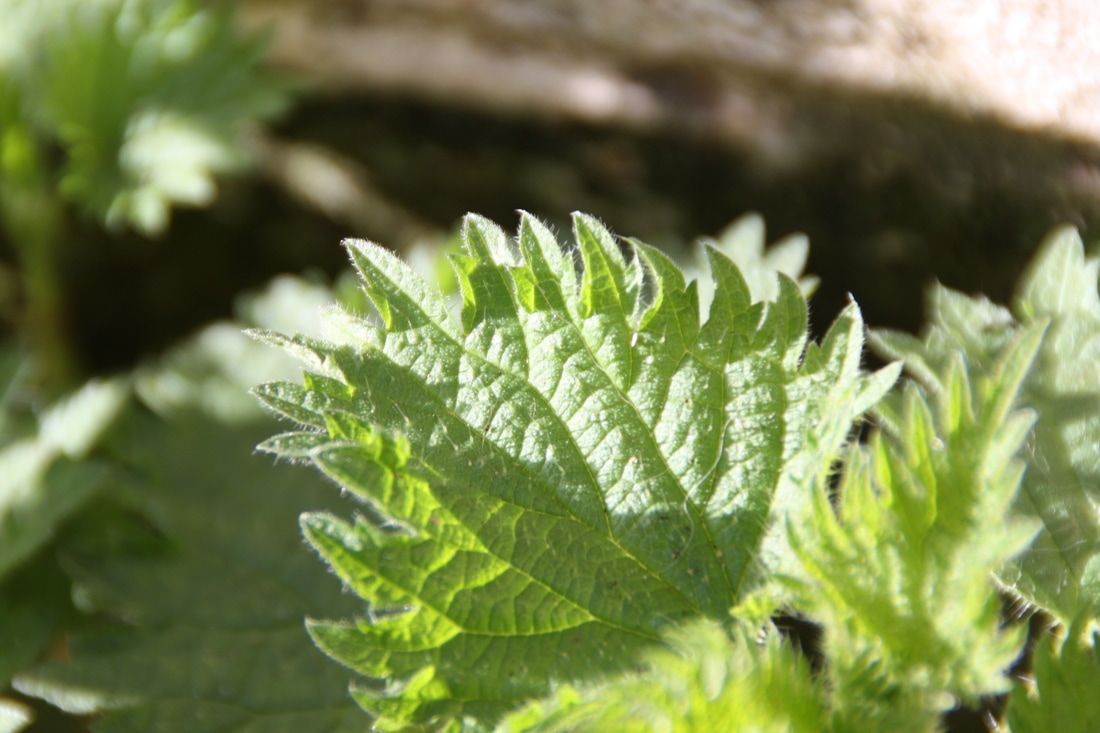
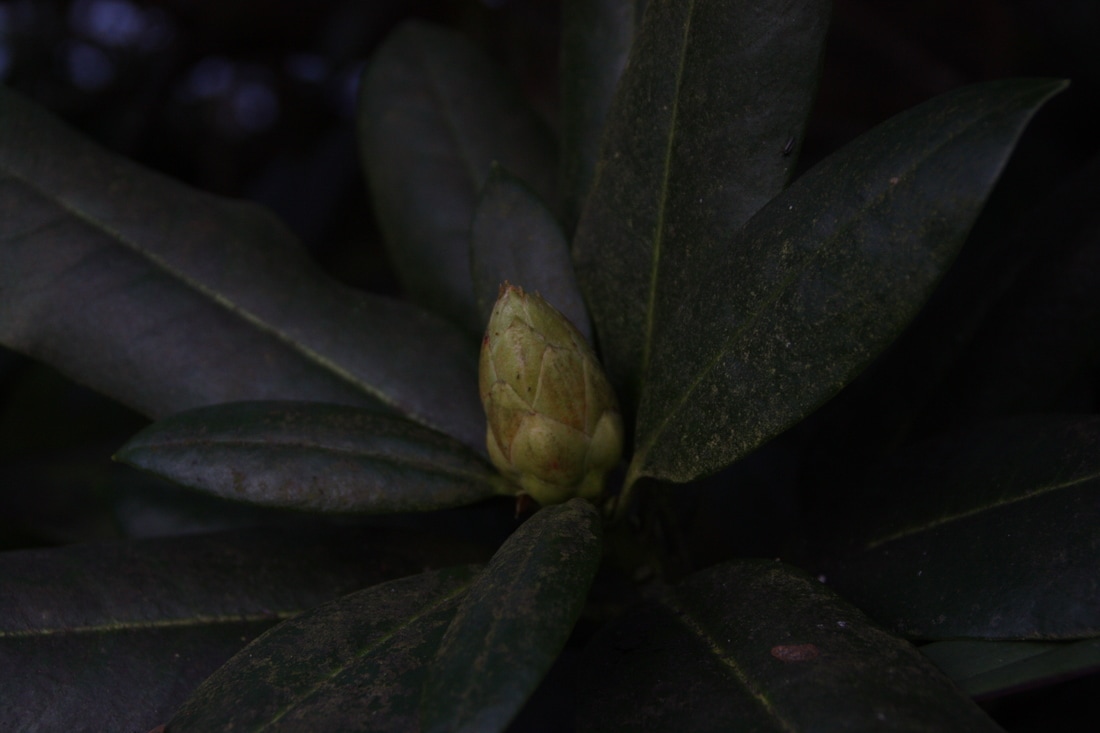
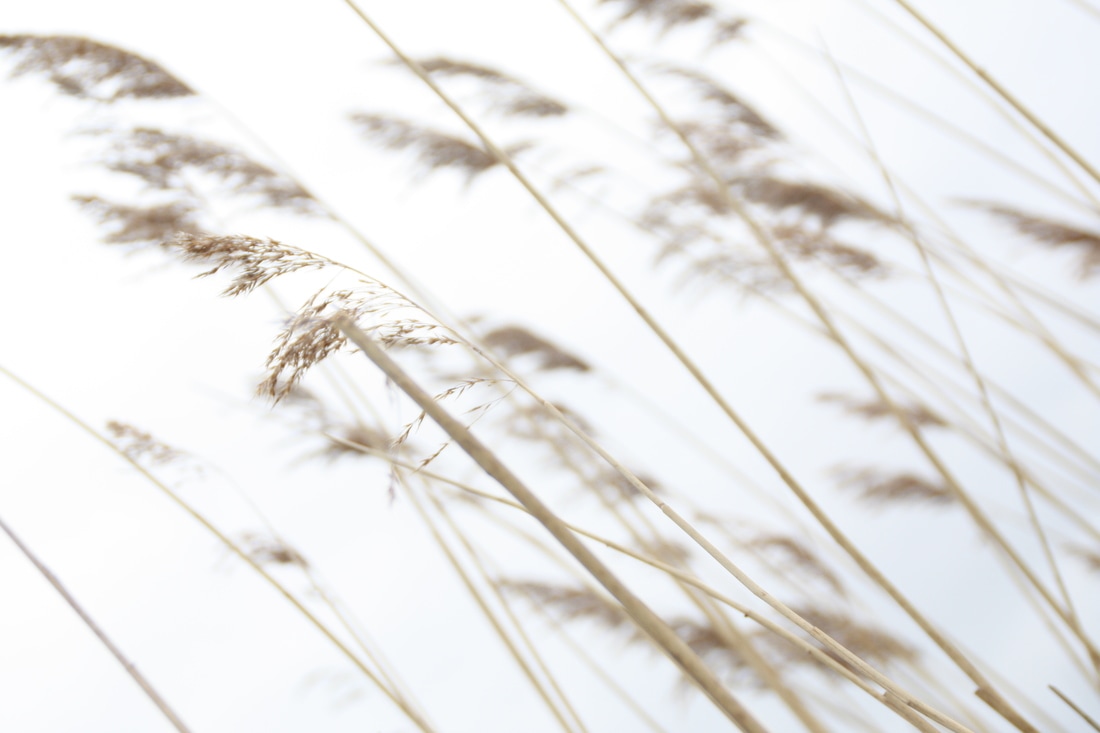
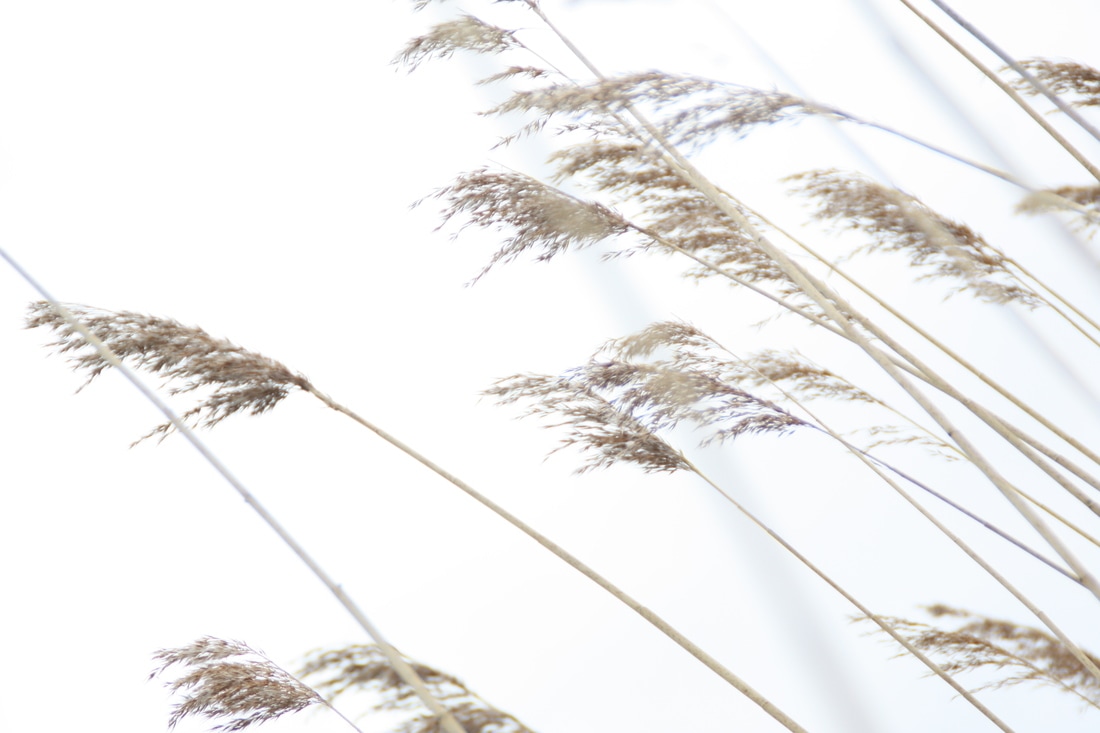
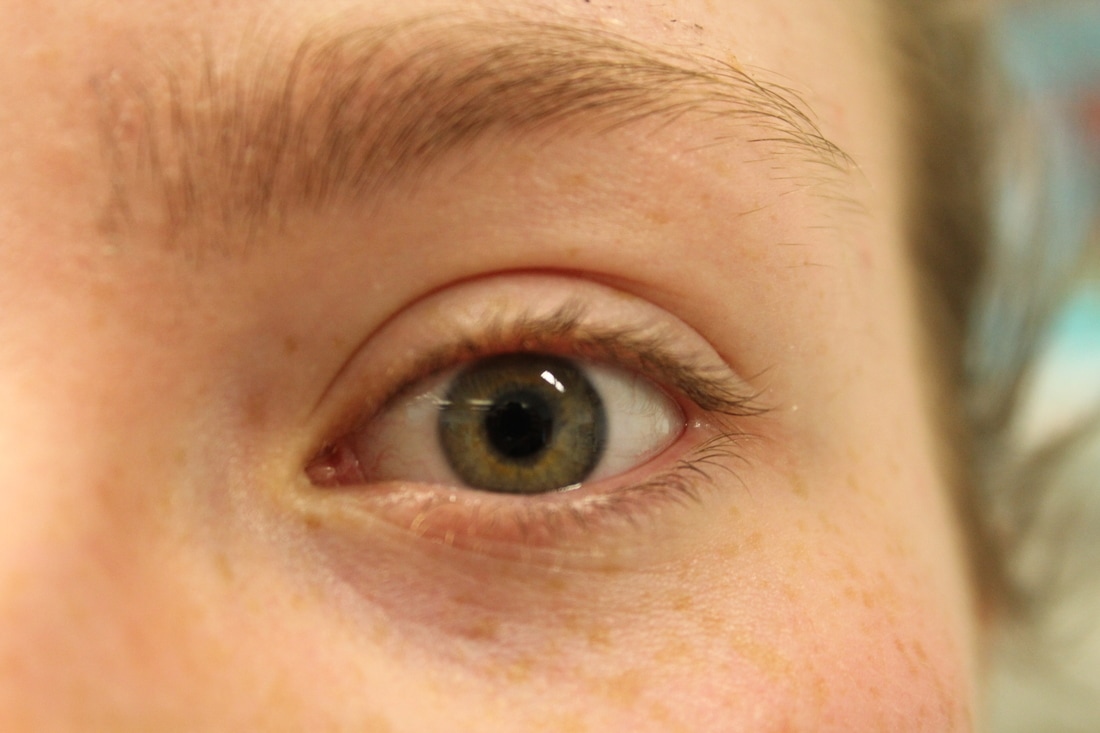
Experimenting taking close ups


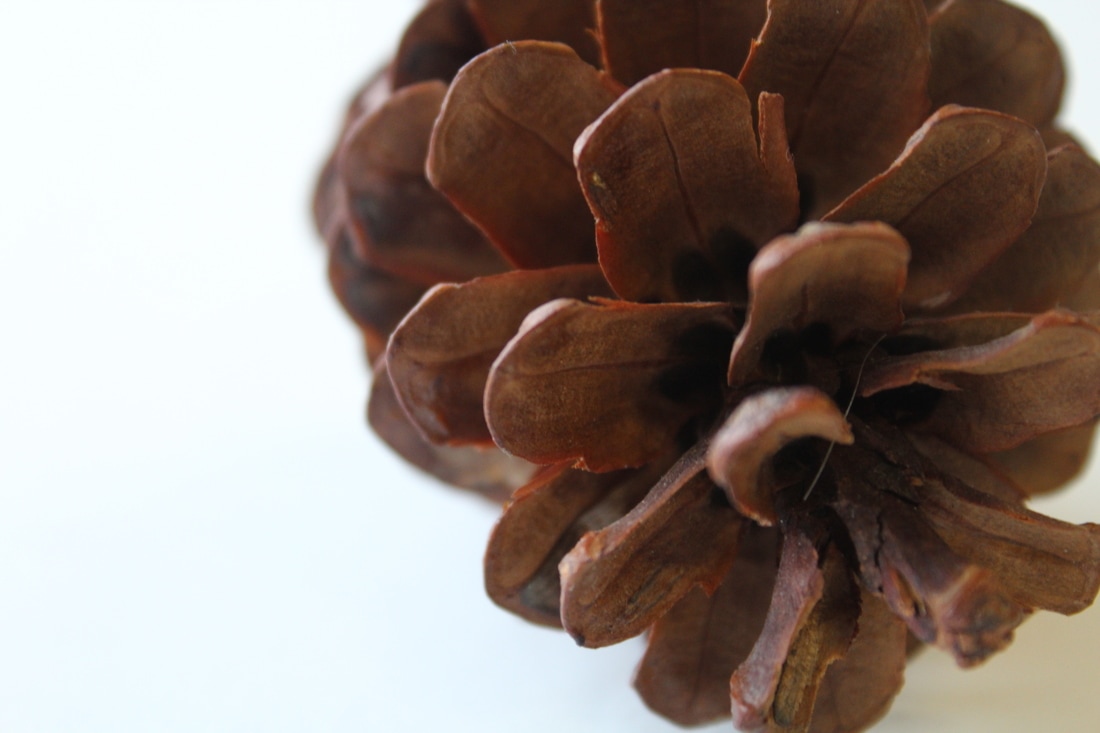
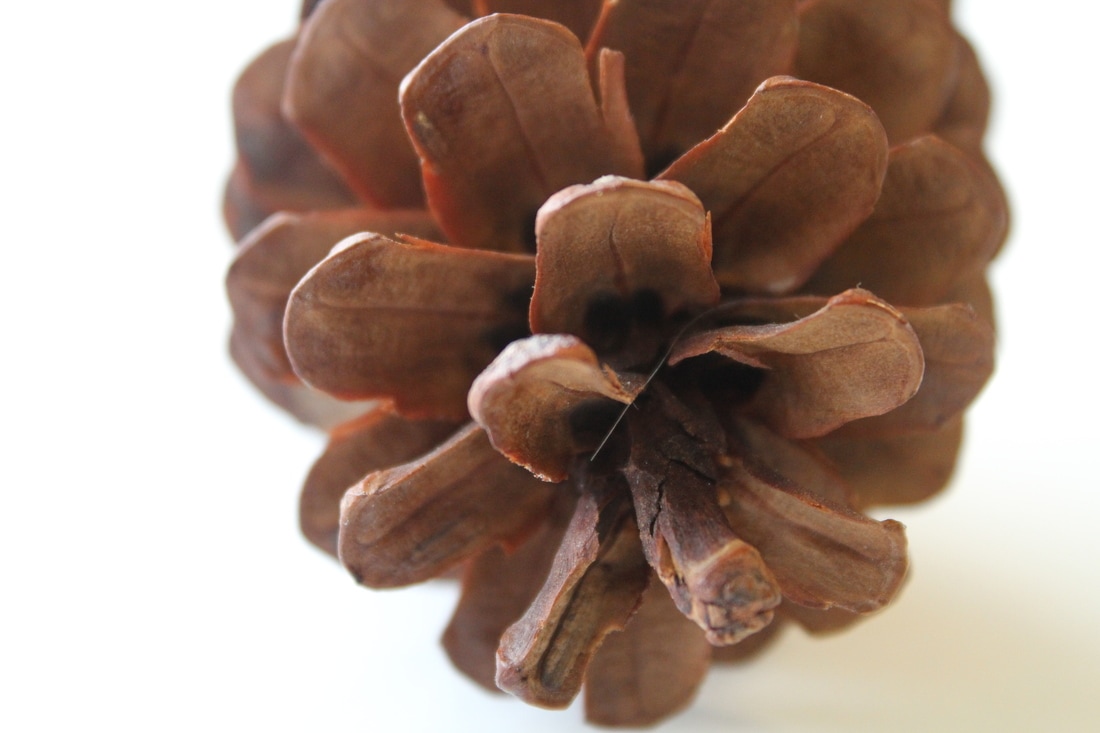
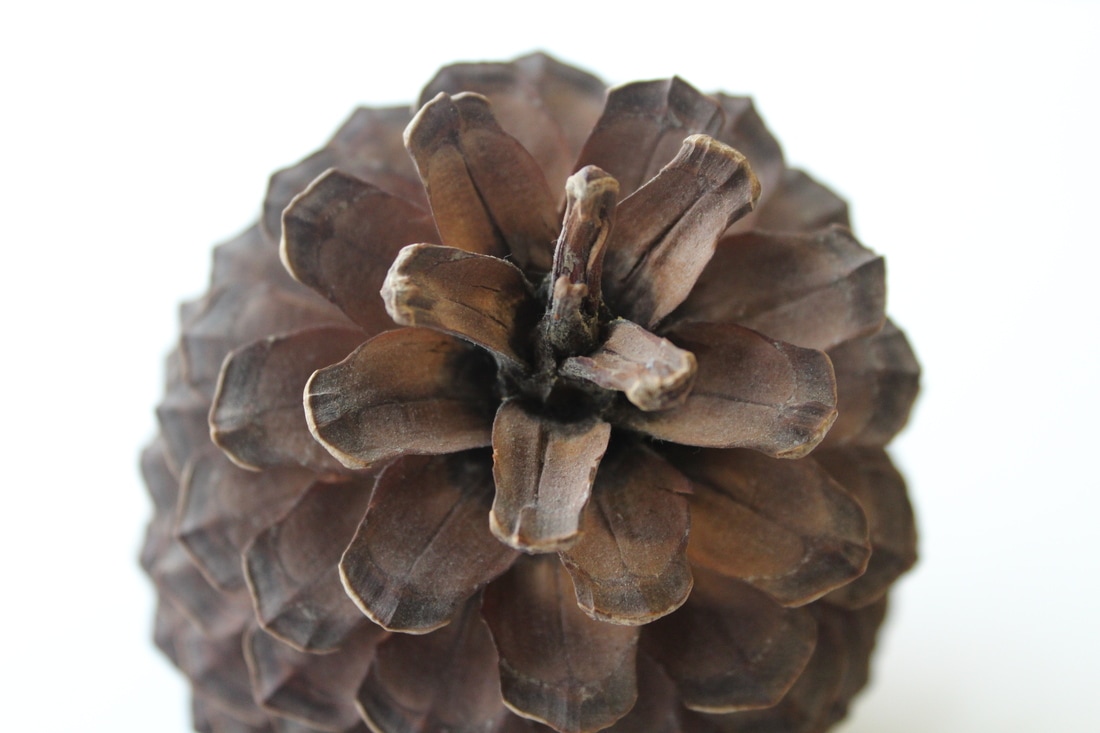
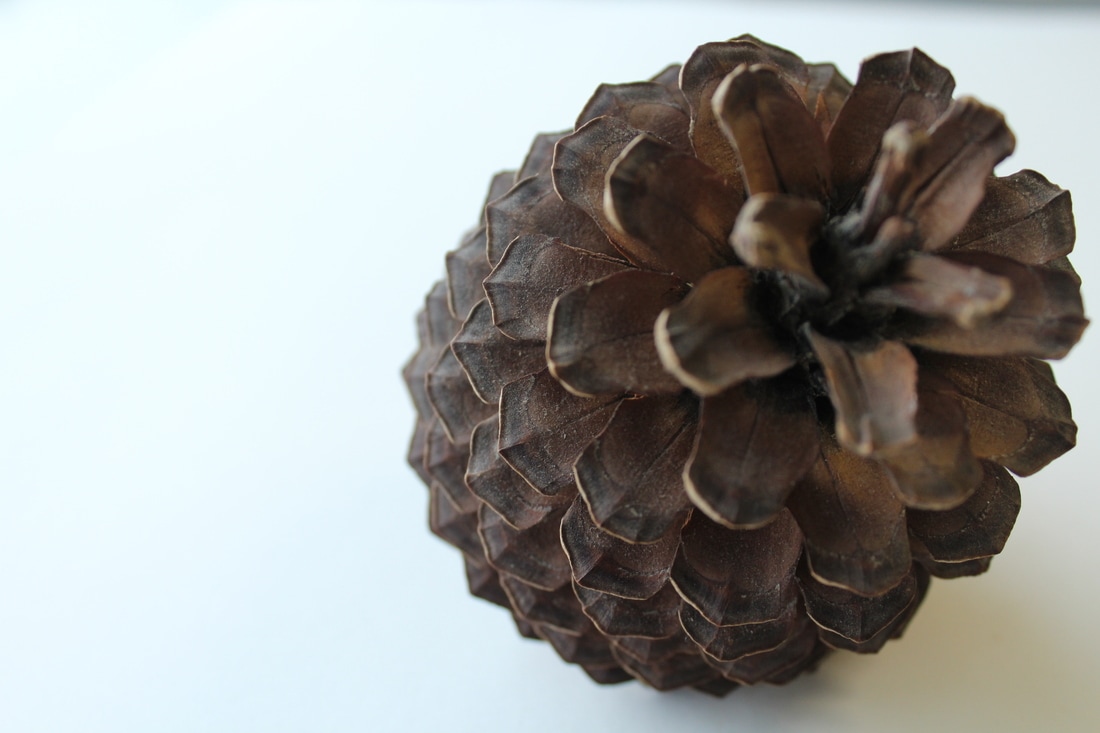

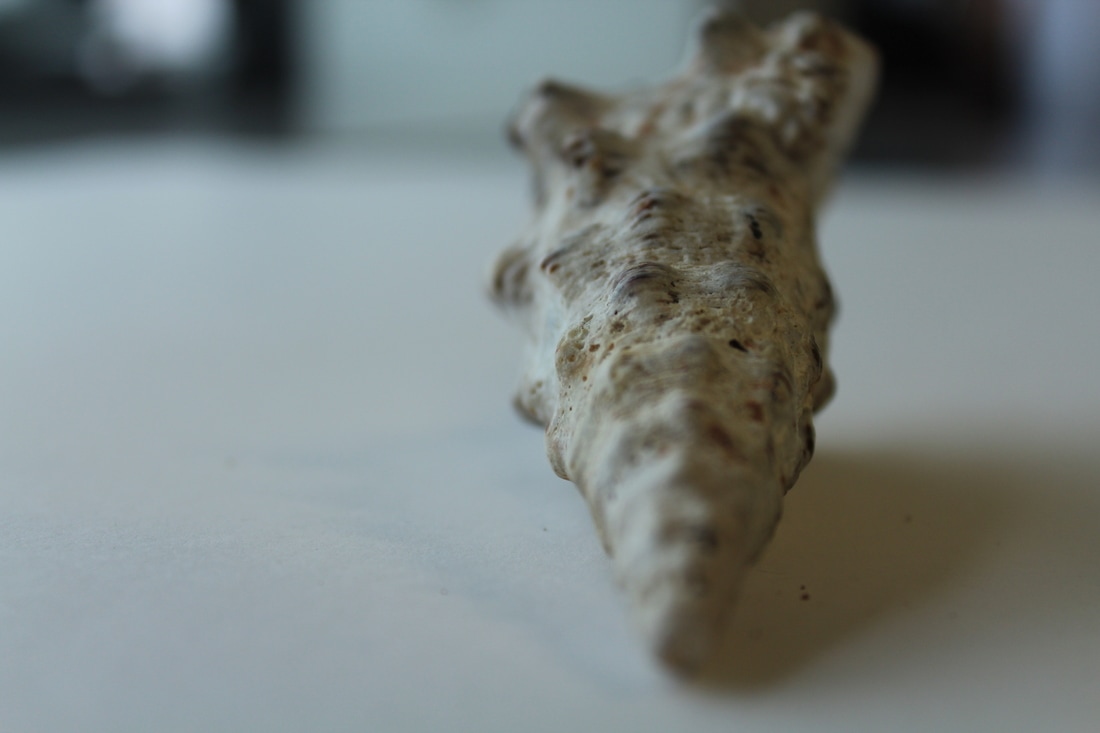
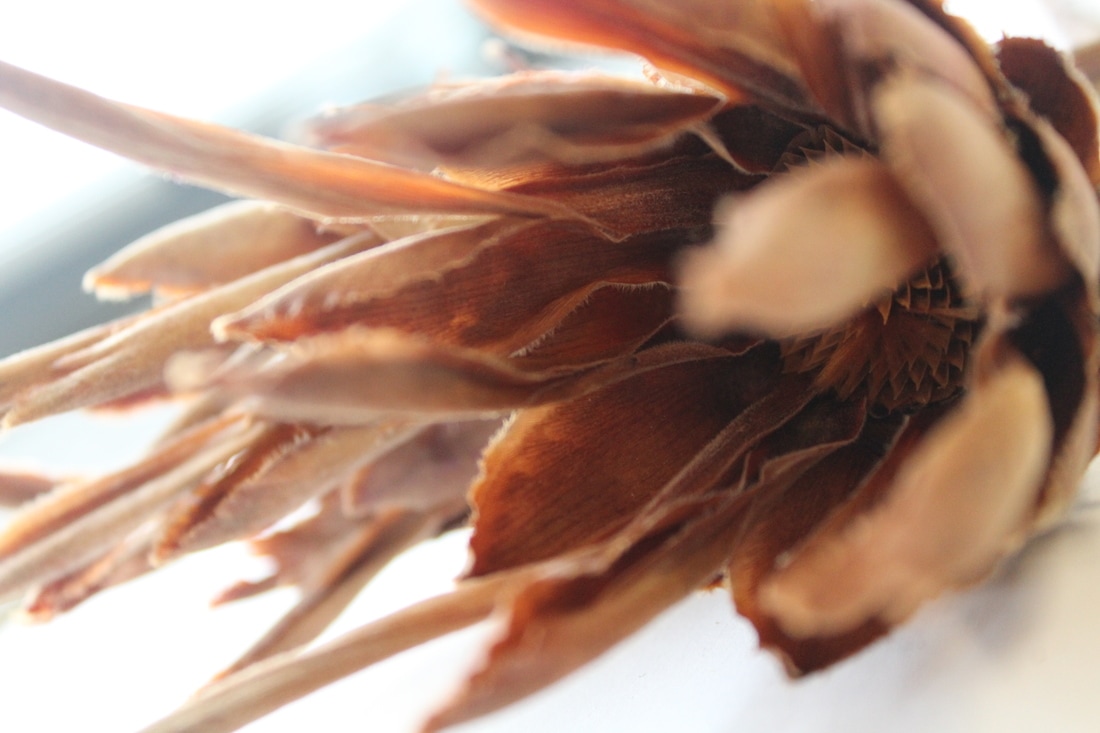
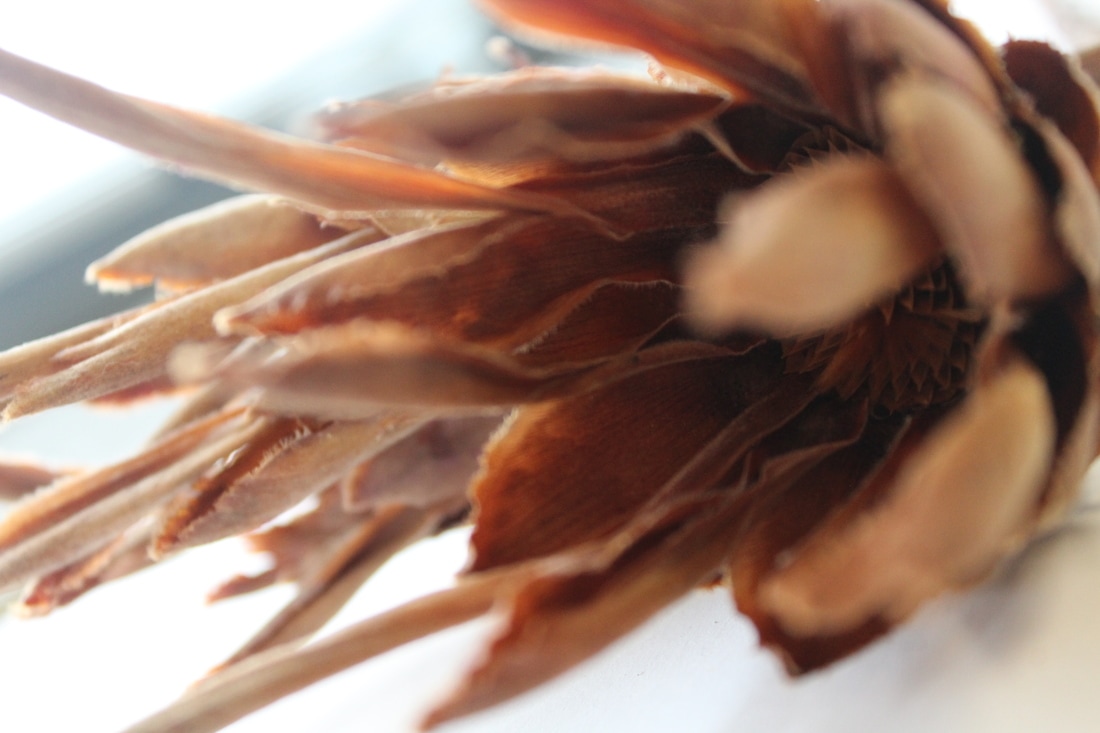
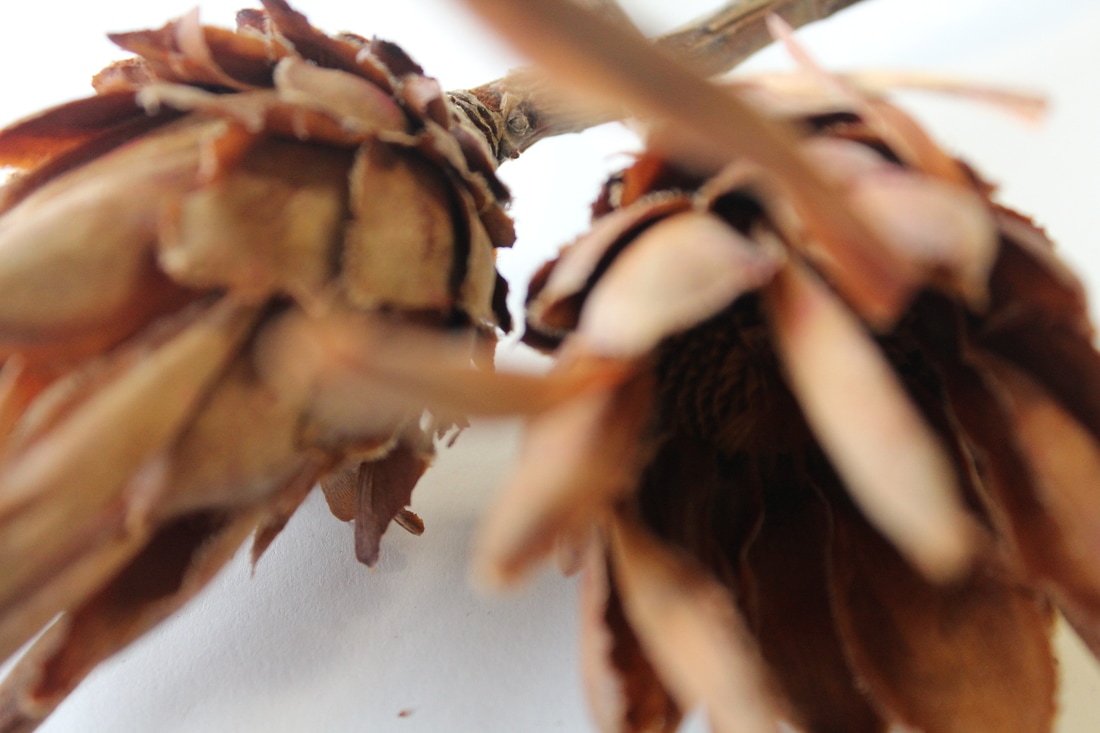
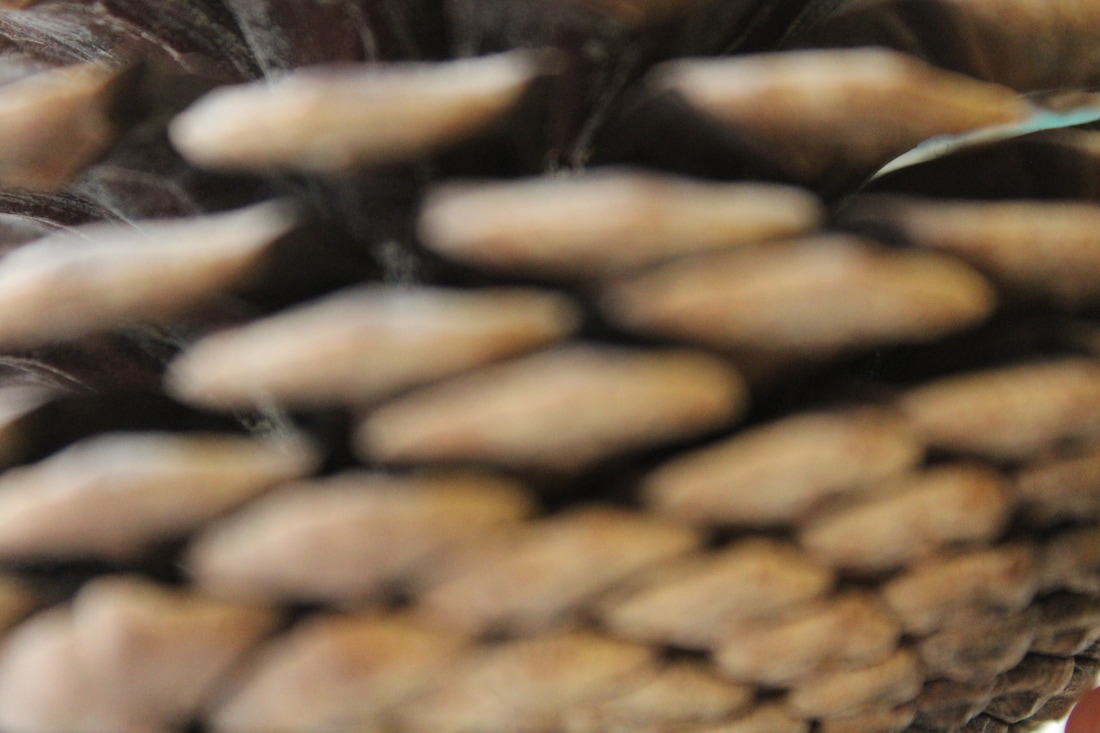
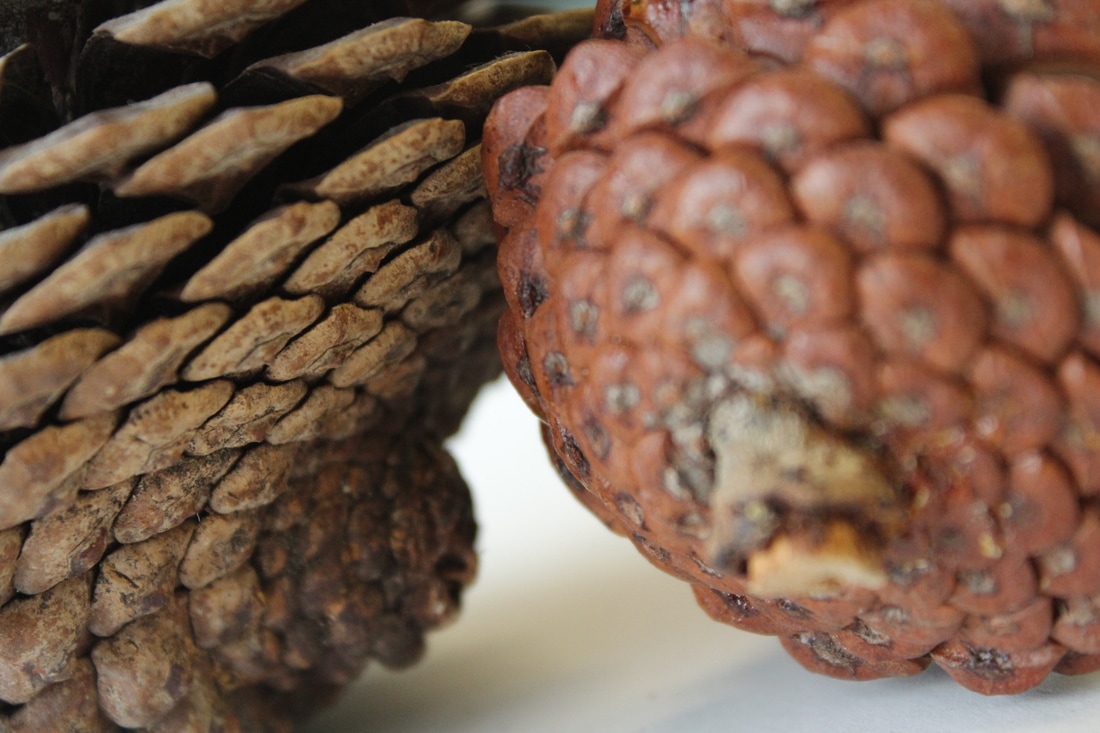
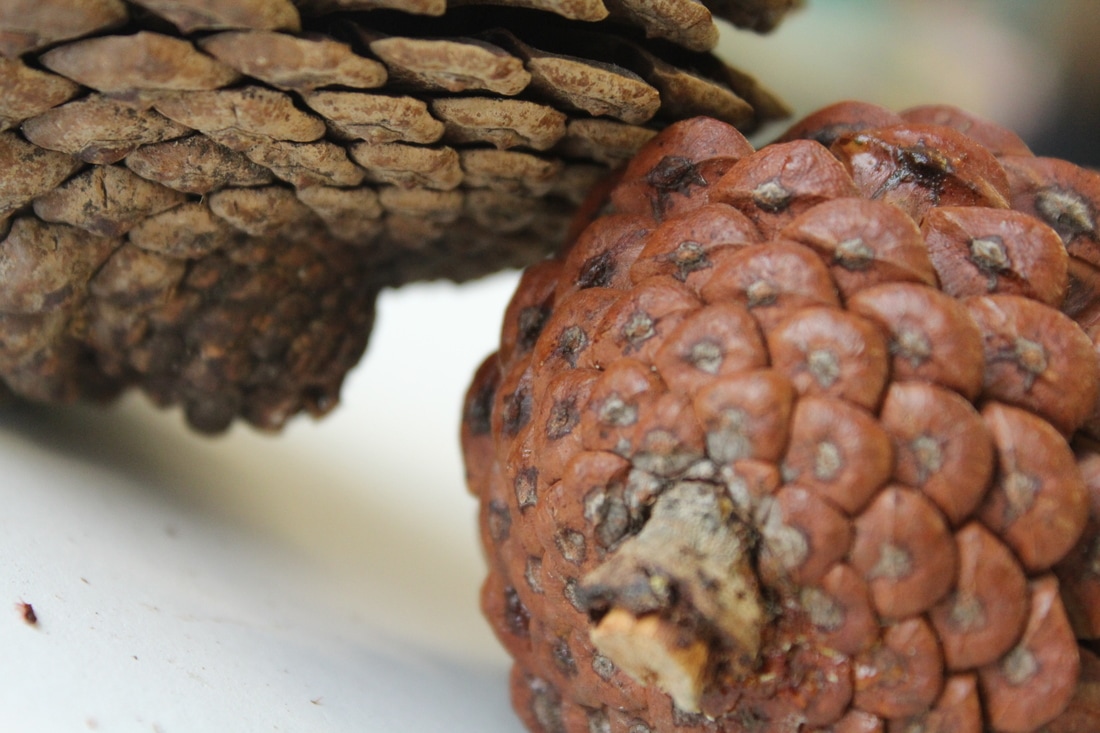
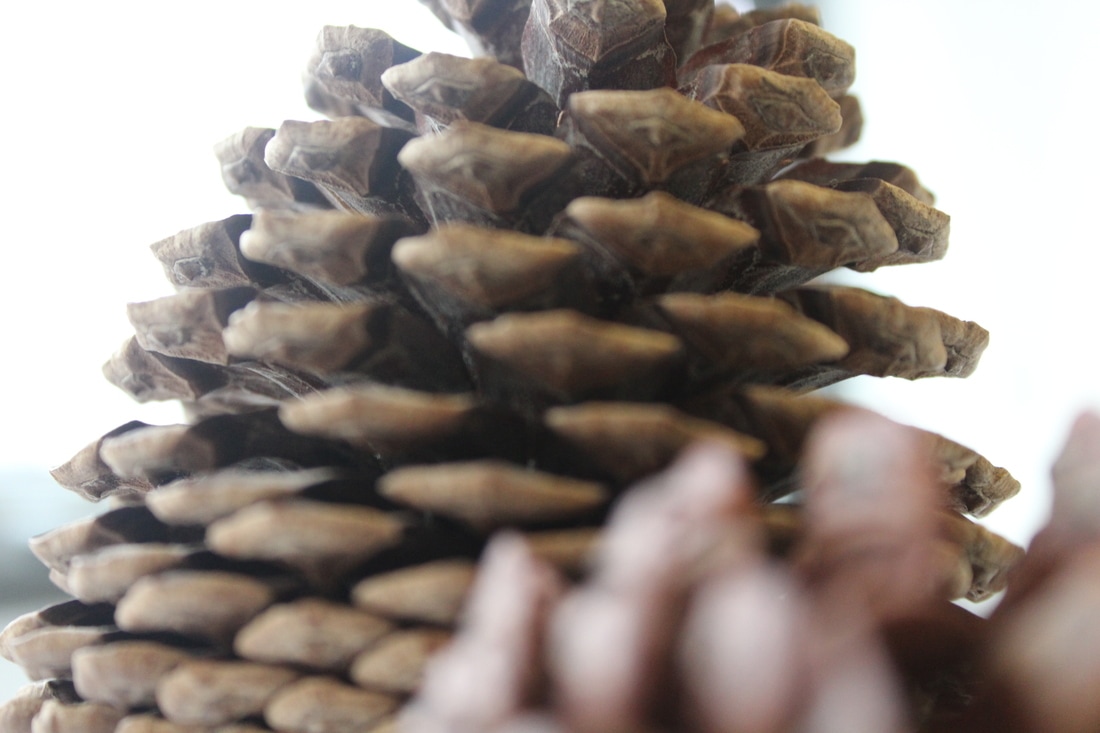
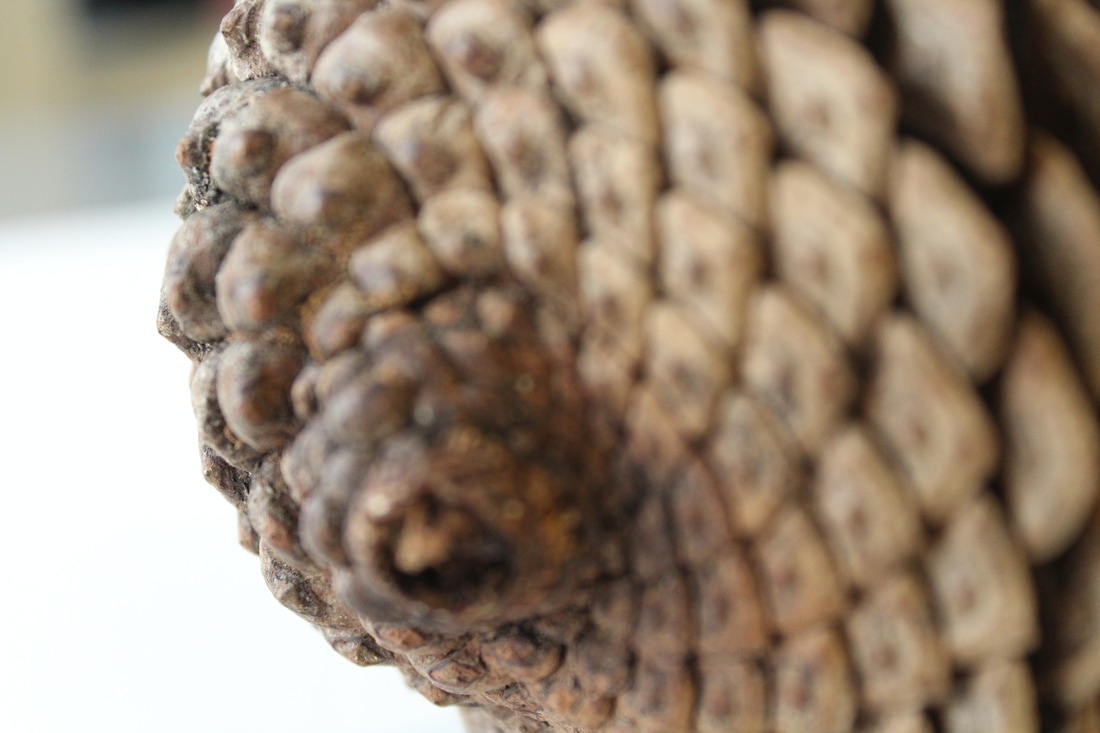


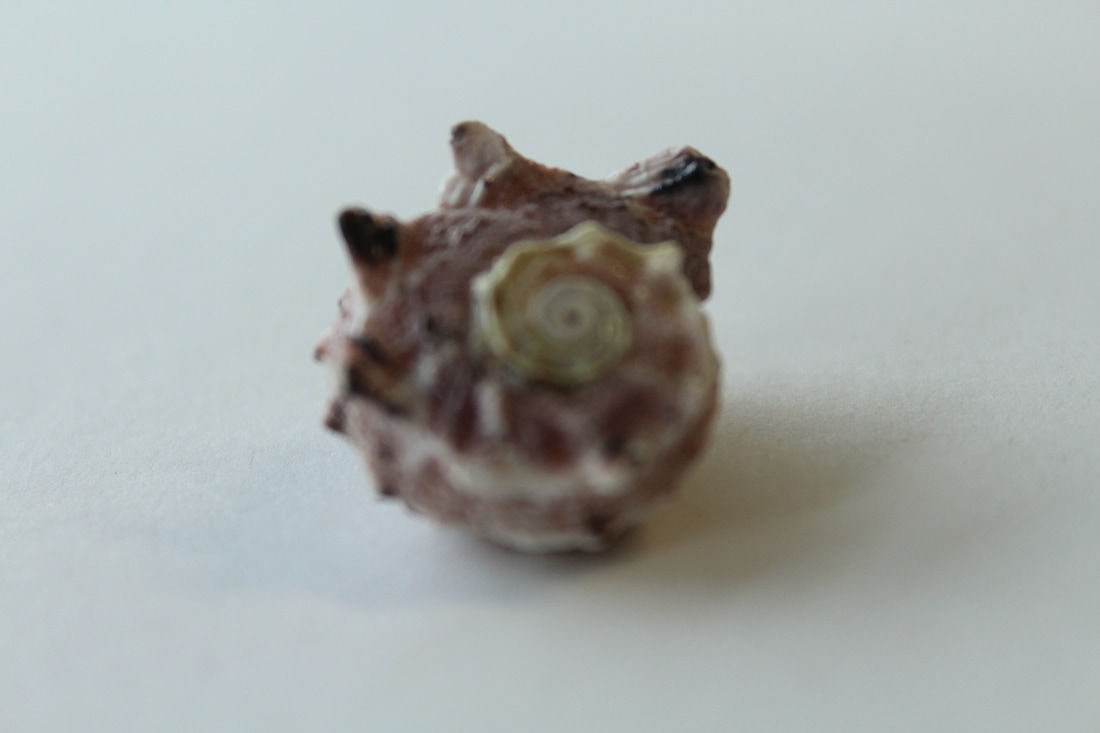
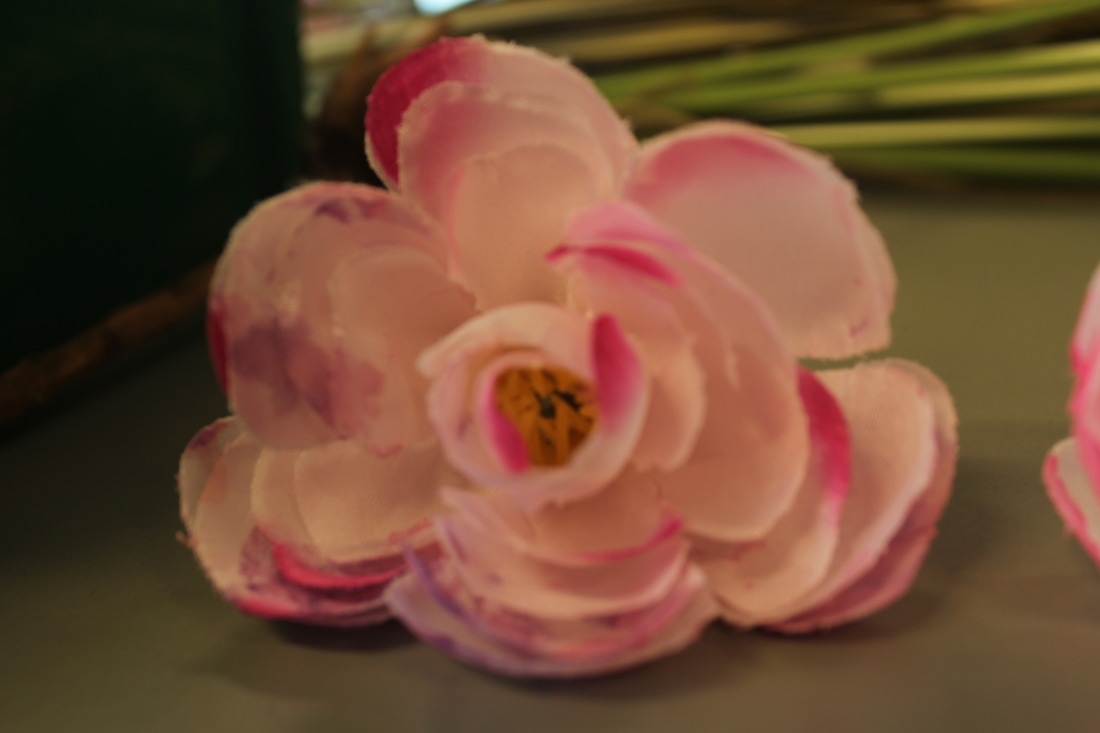
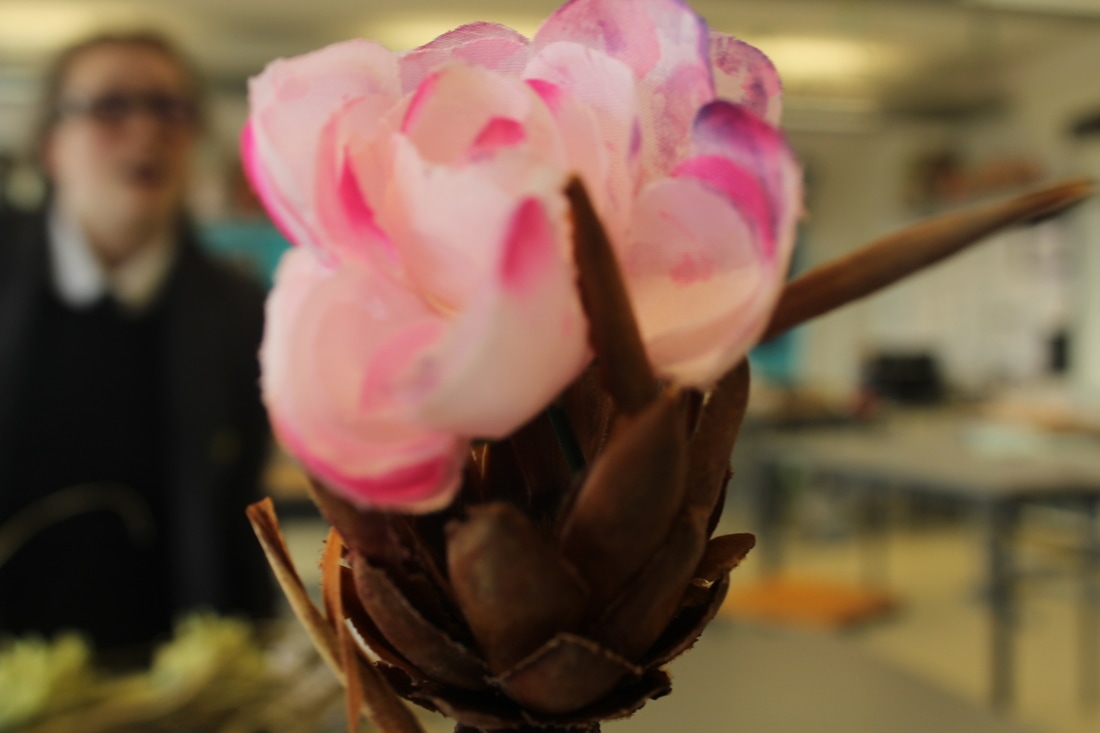
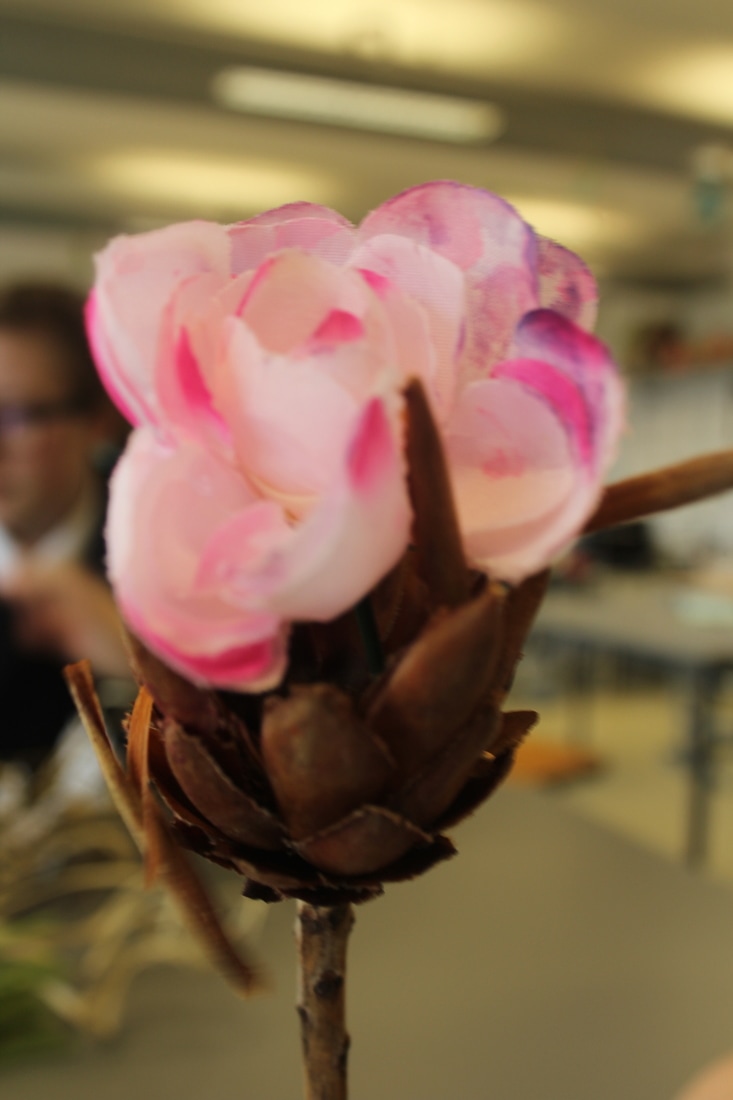
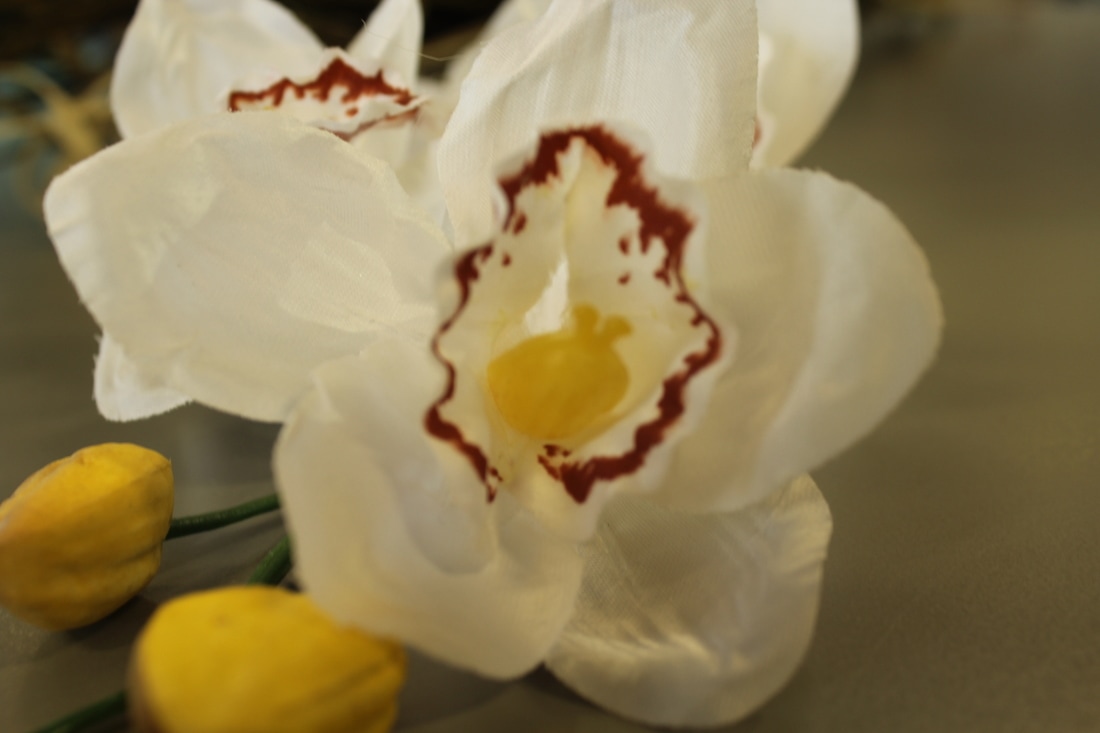
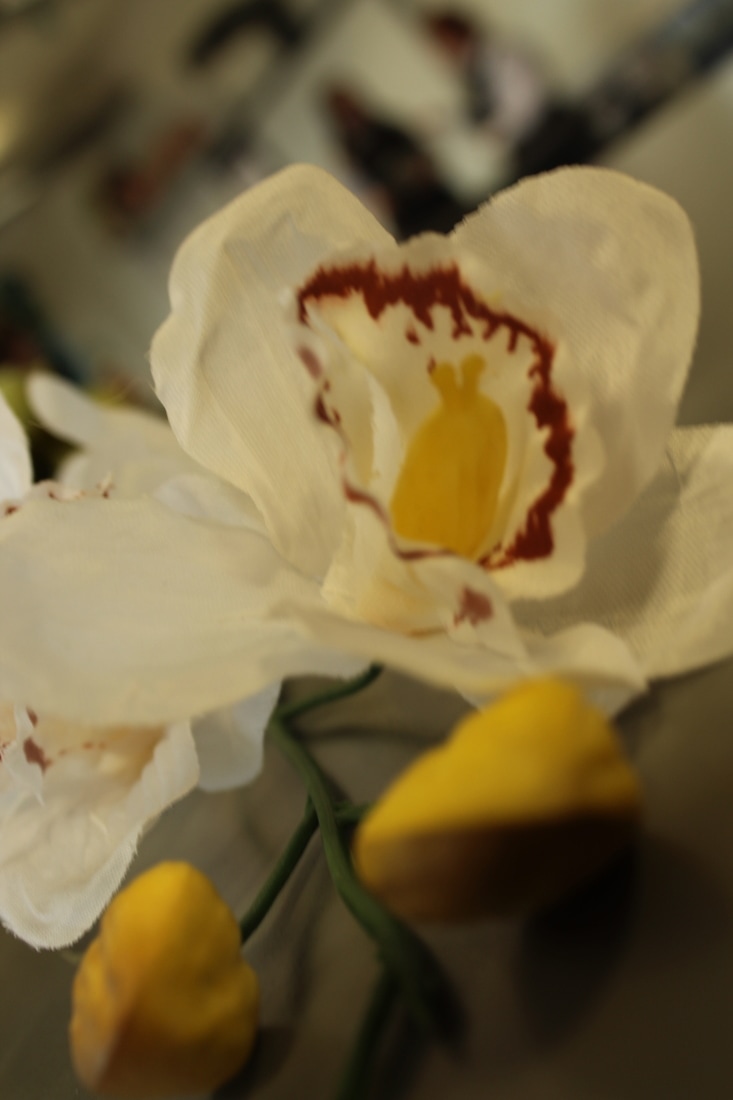


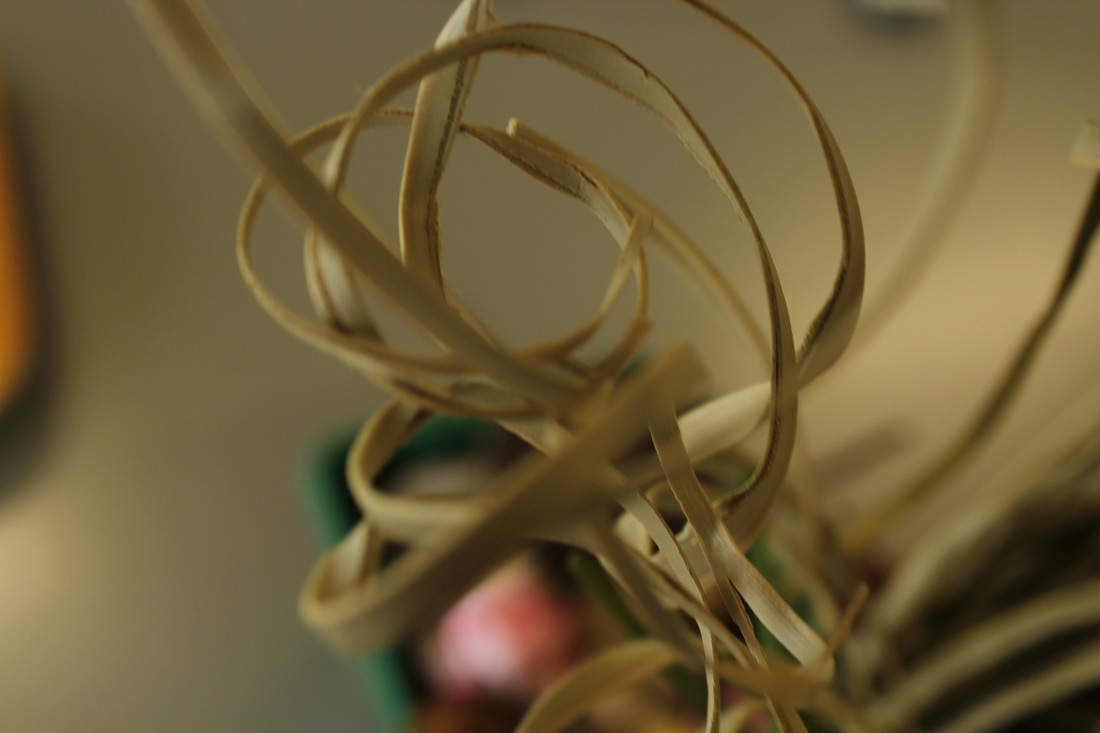
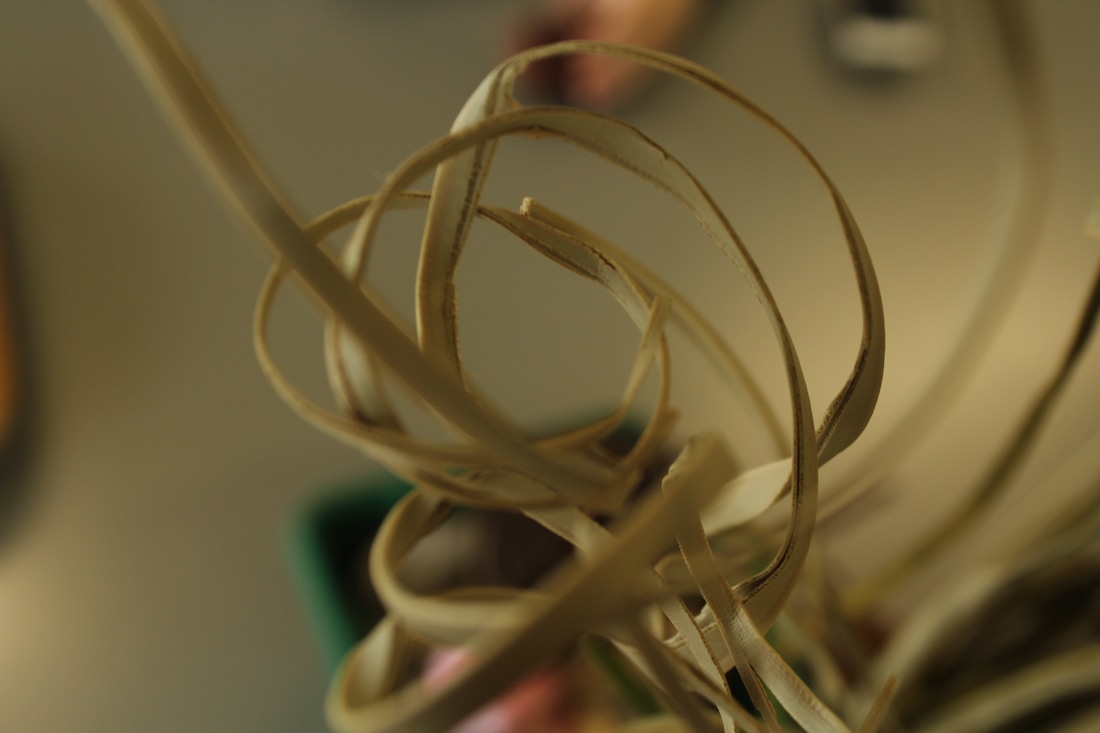
Shoot 1
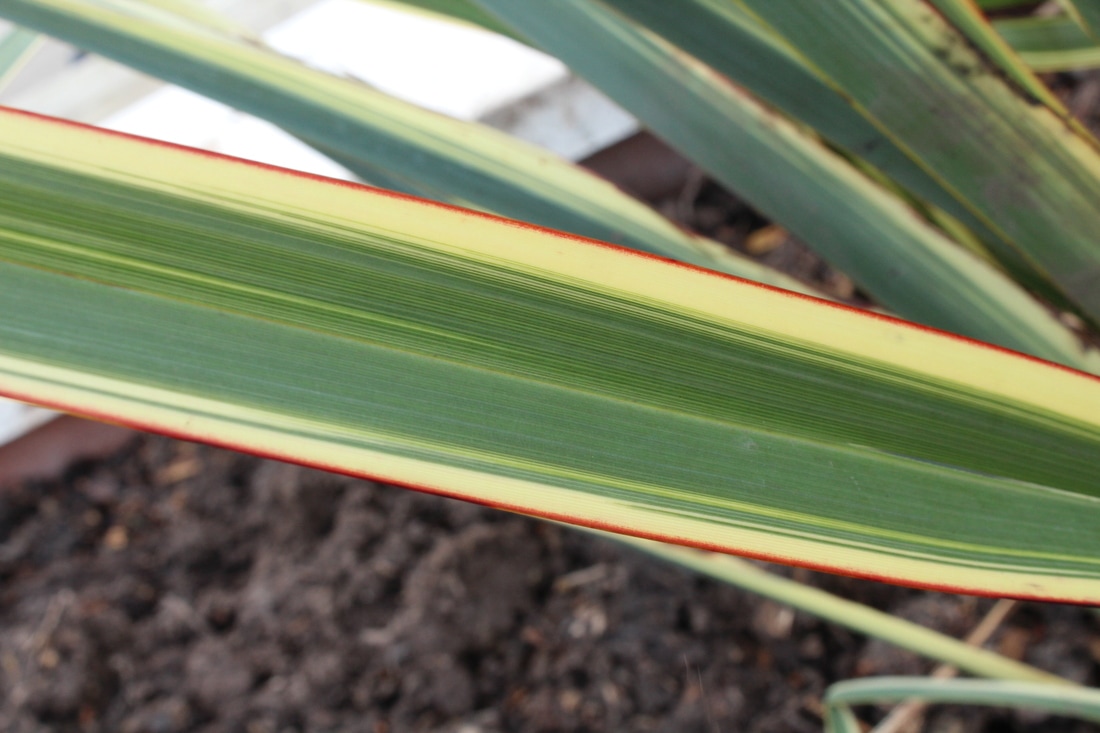
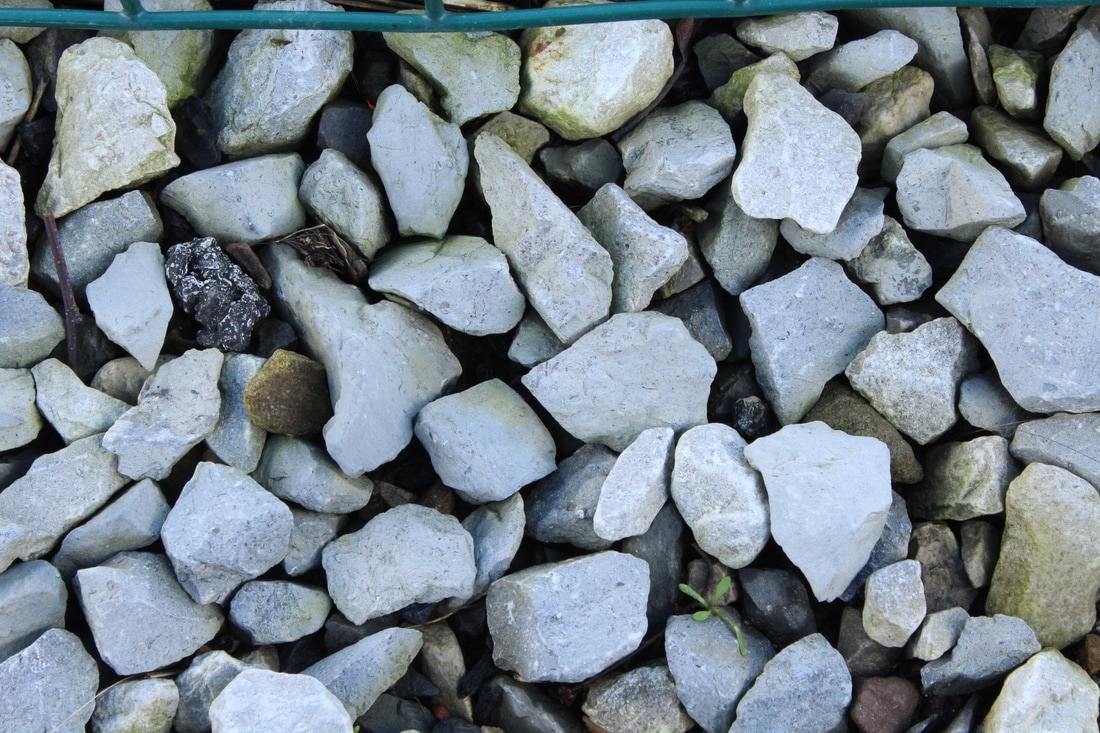
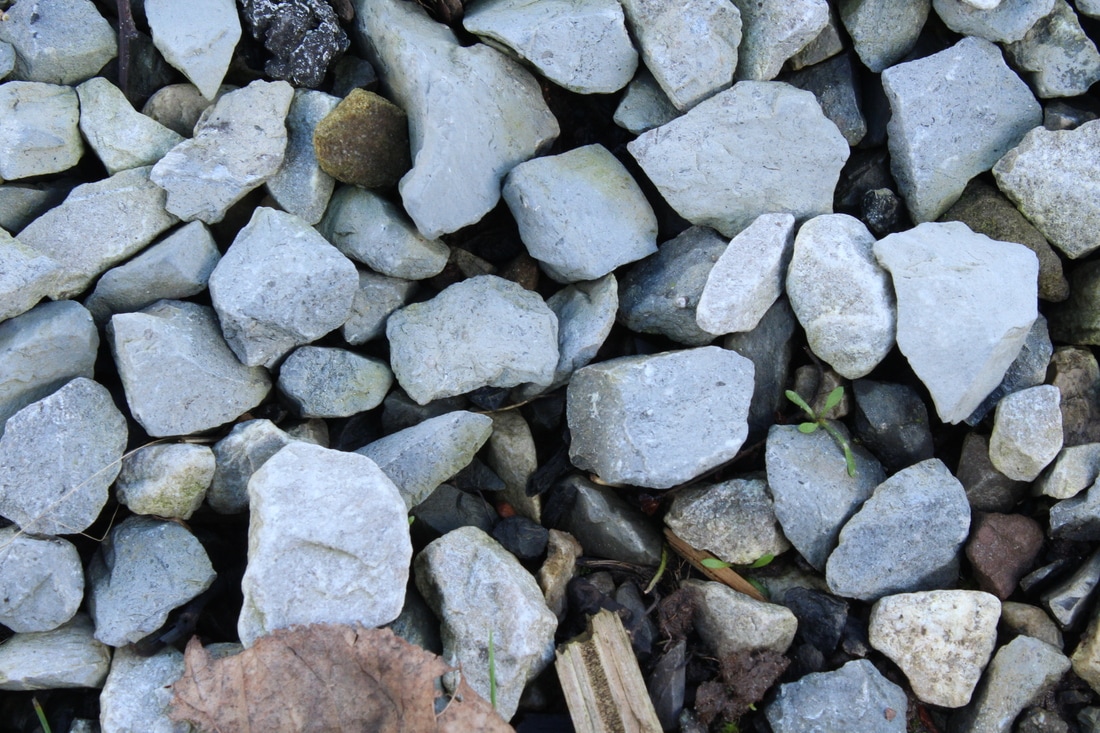
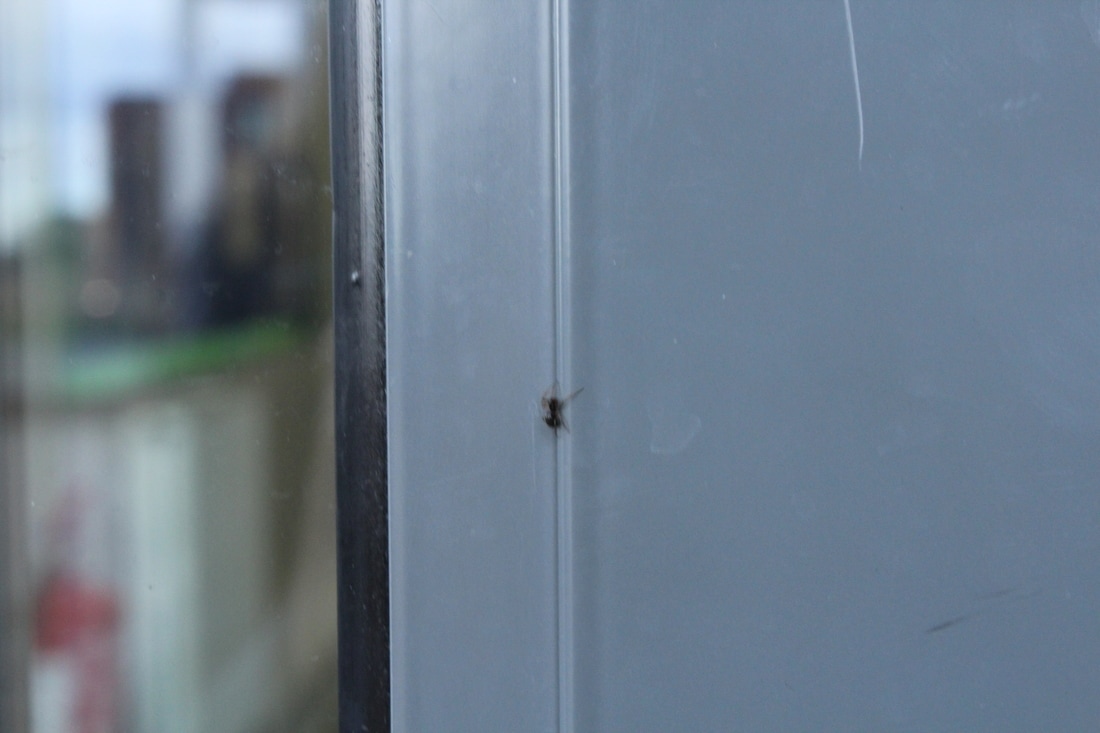
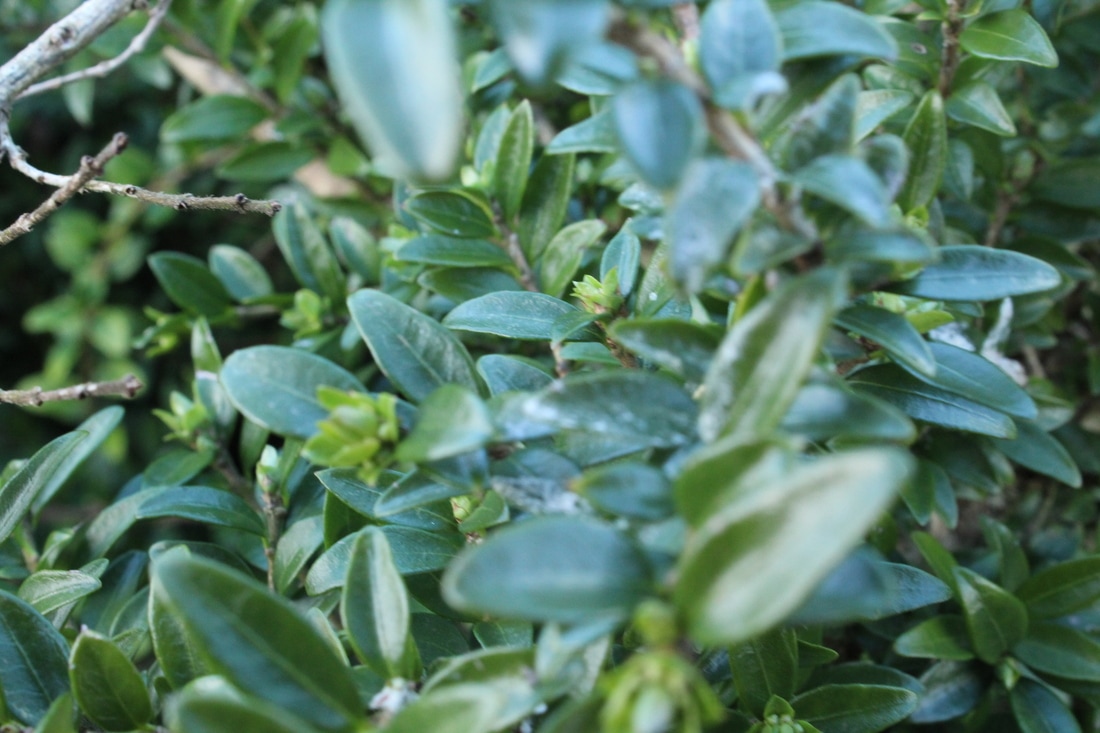
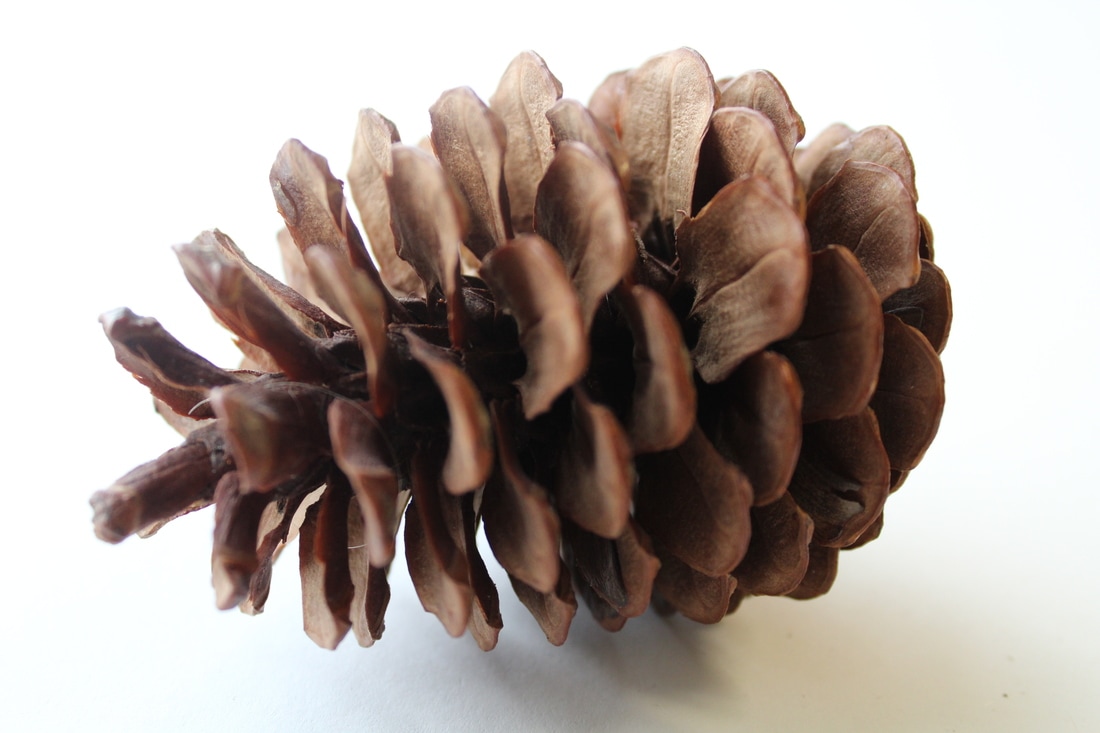
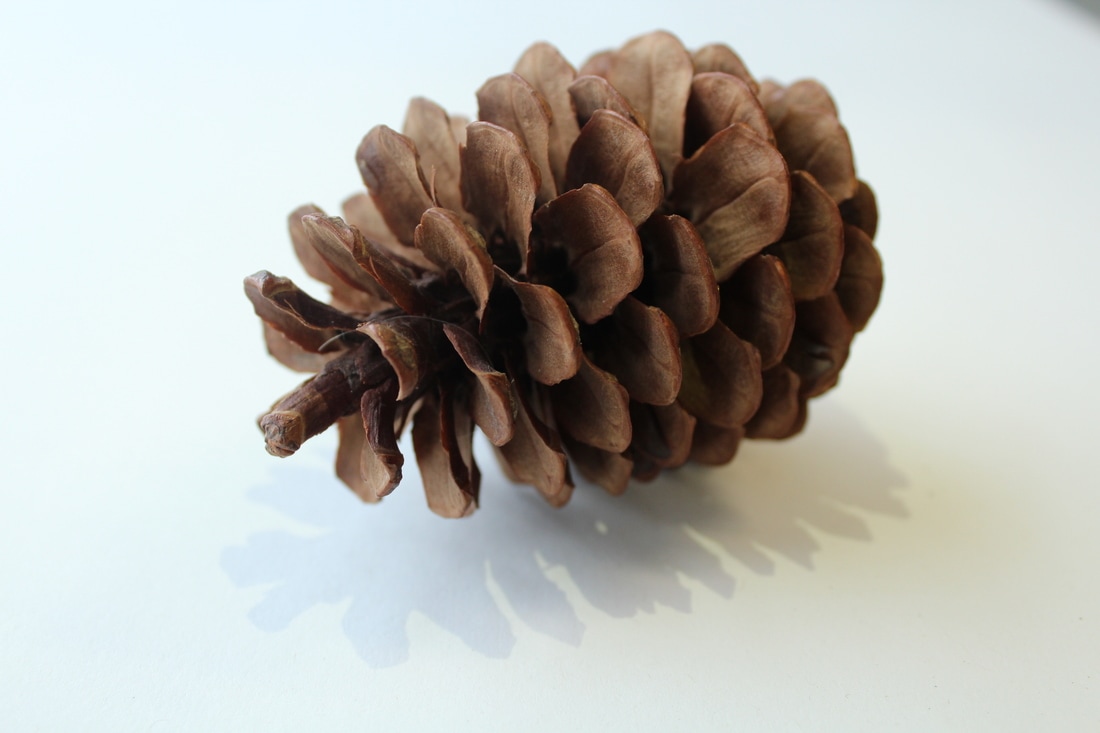
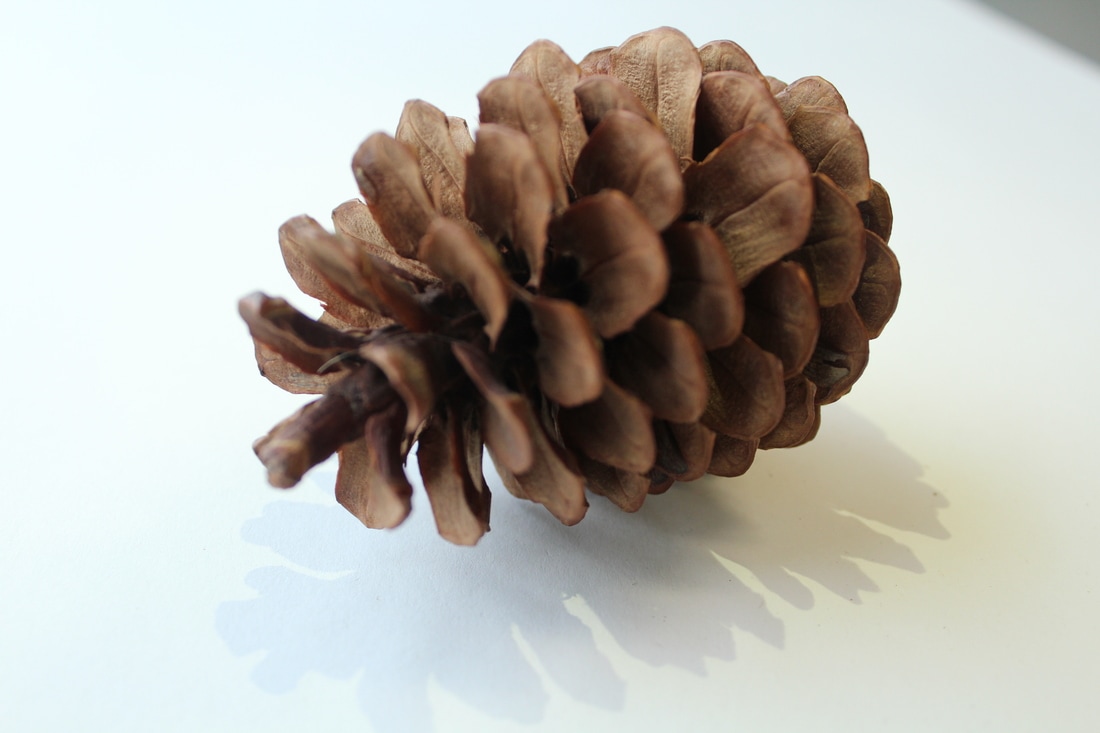
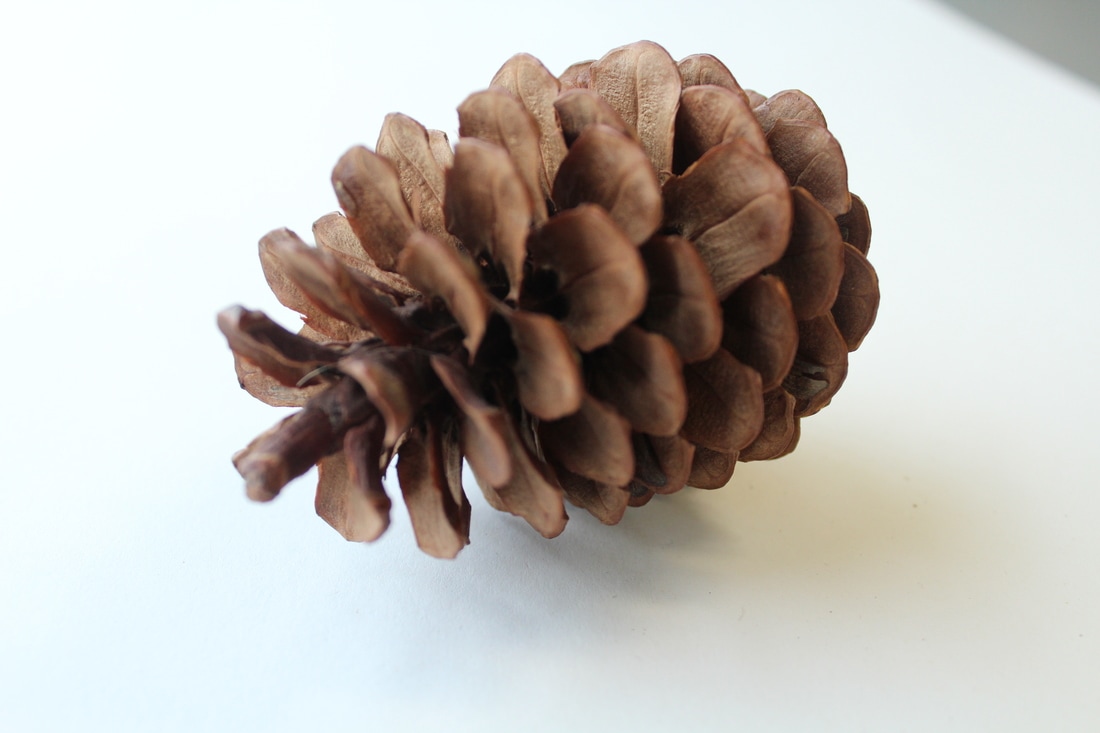
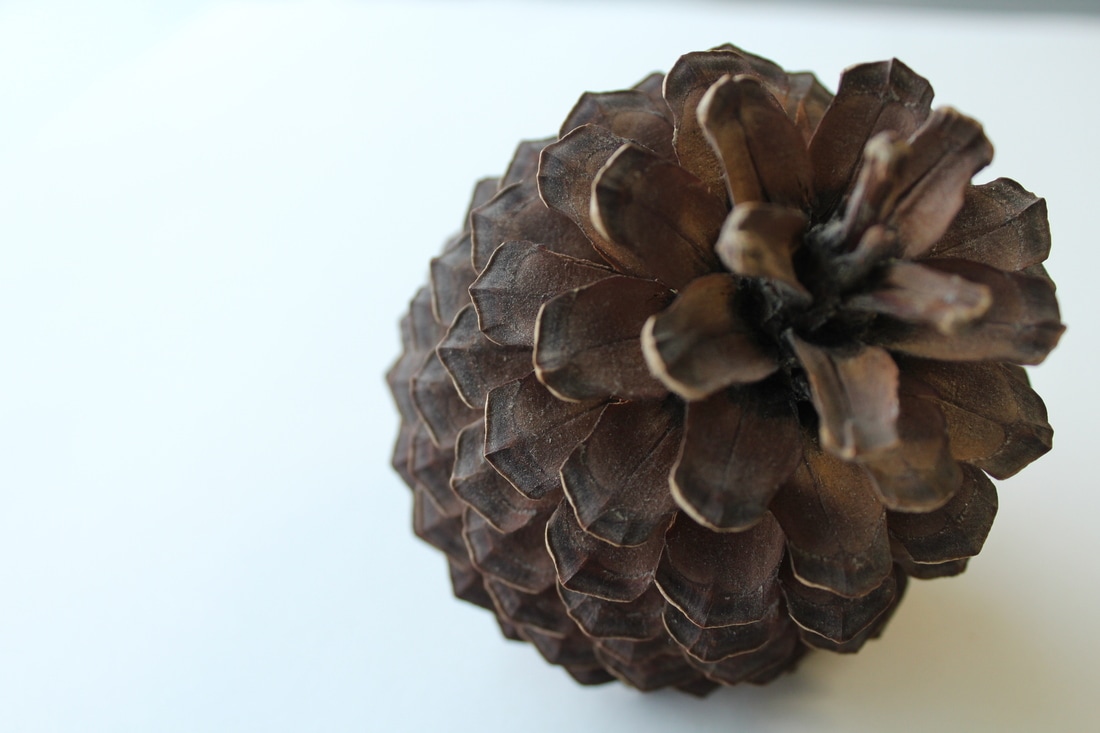
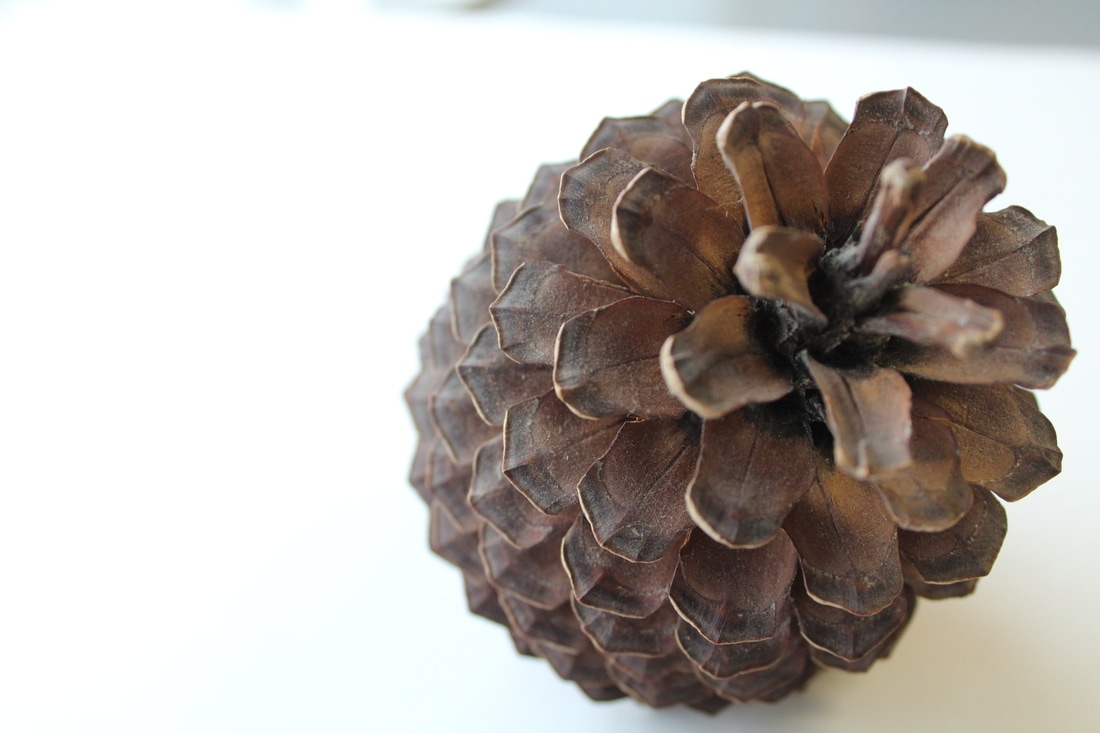
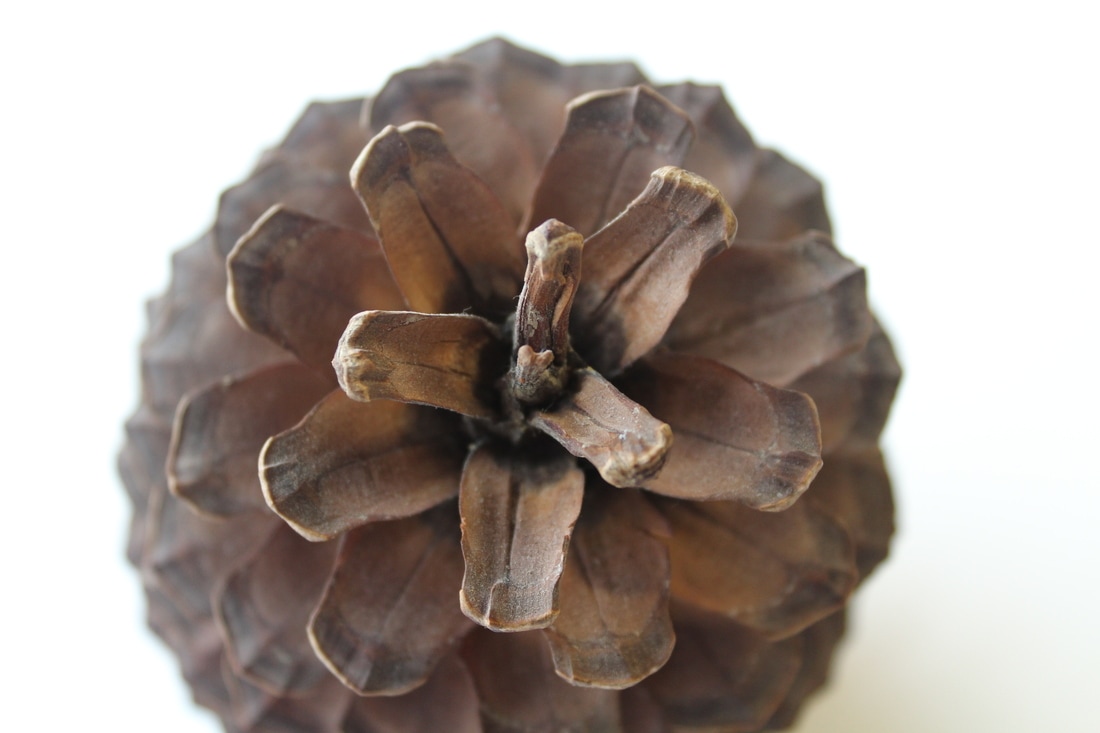
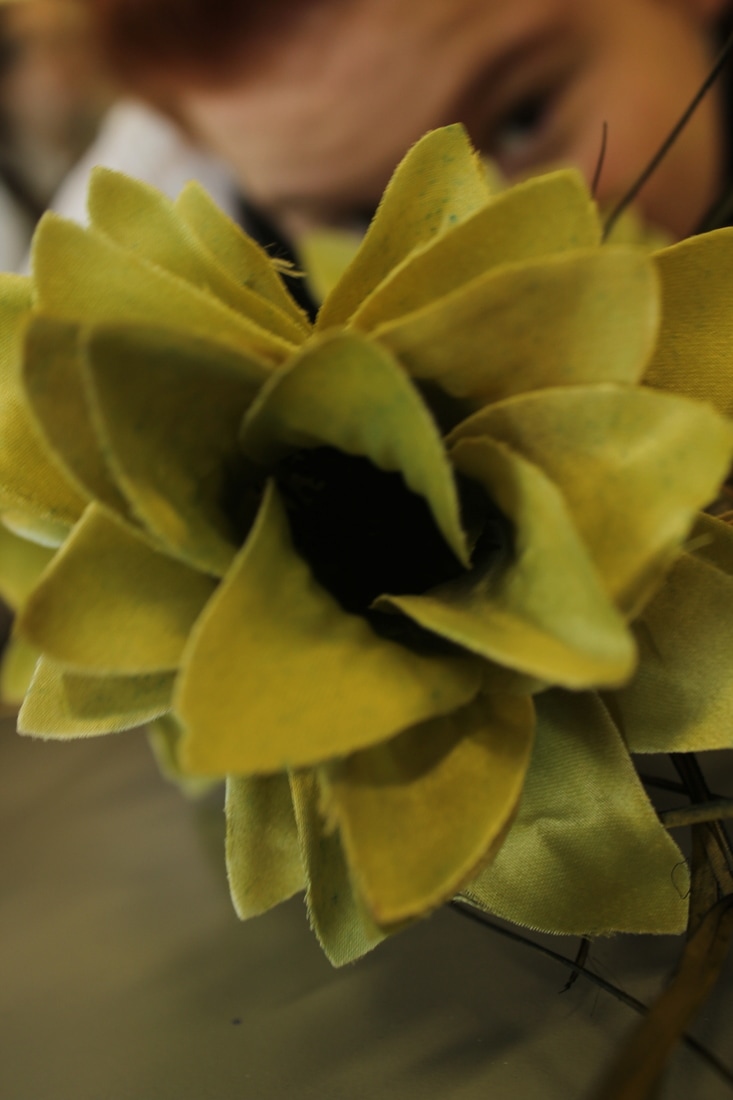
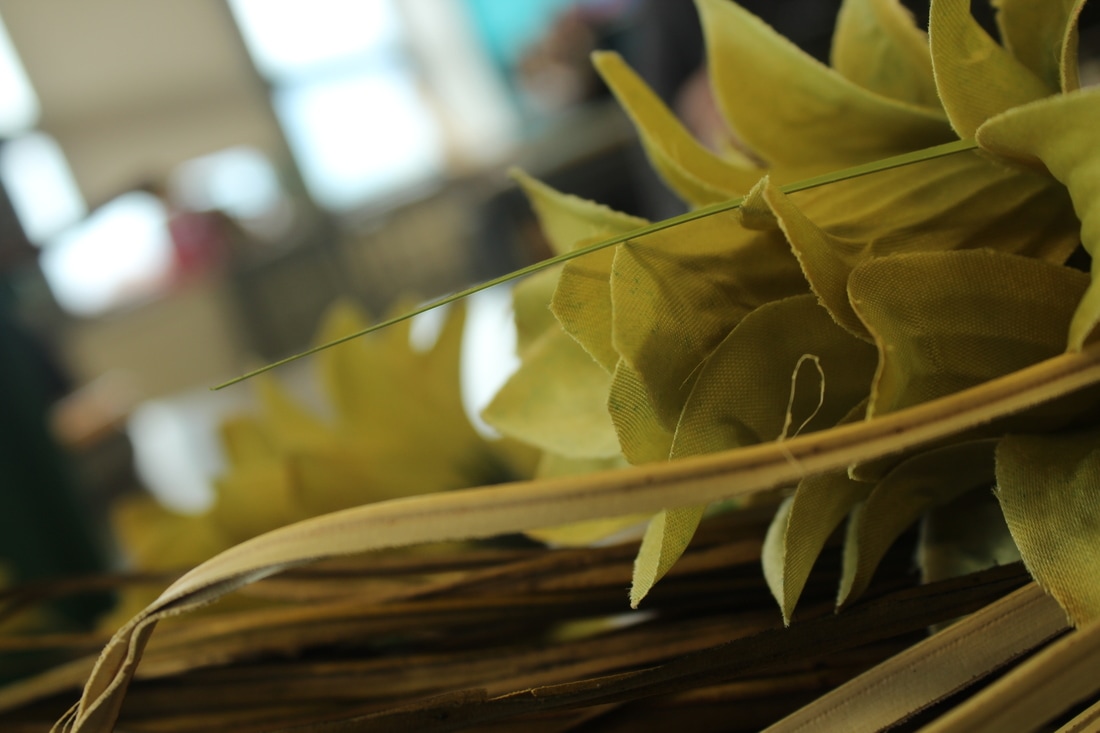
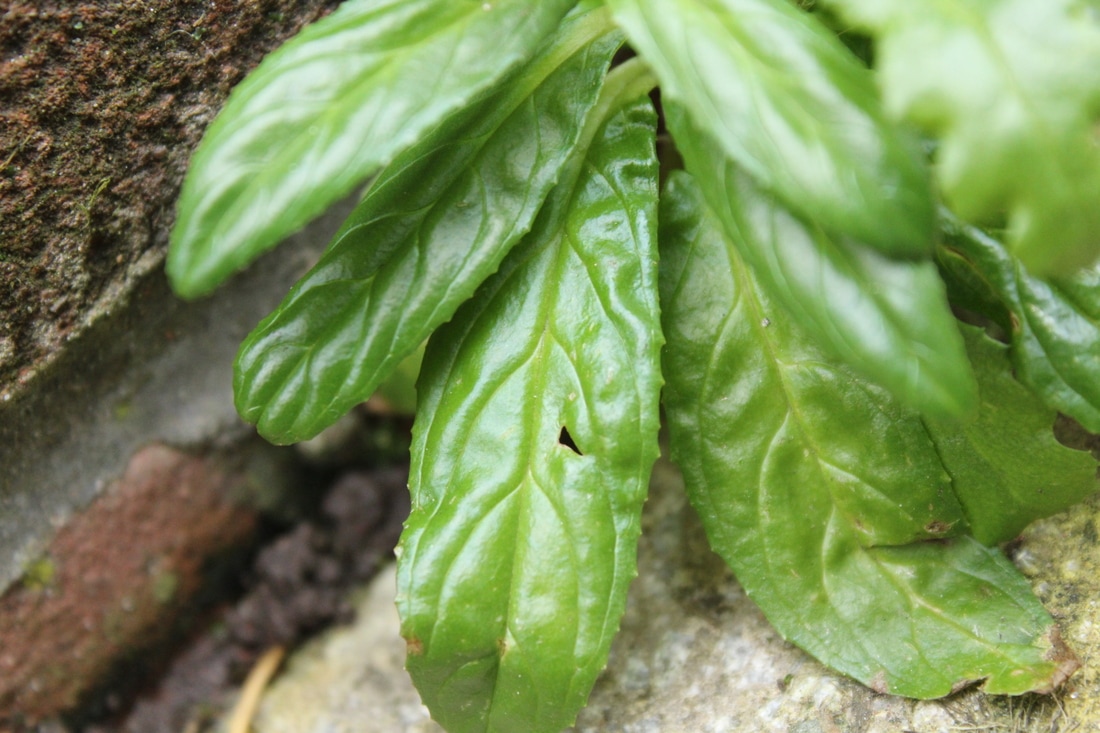
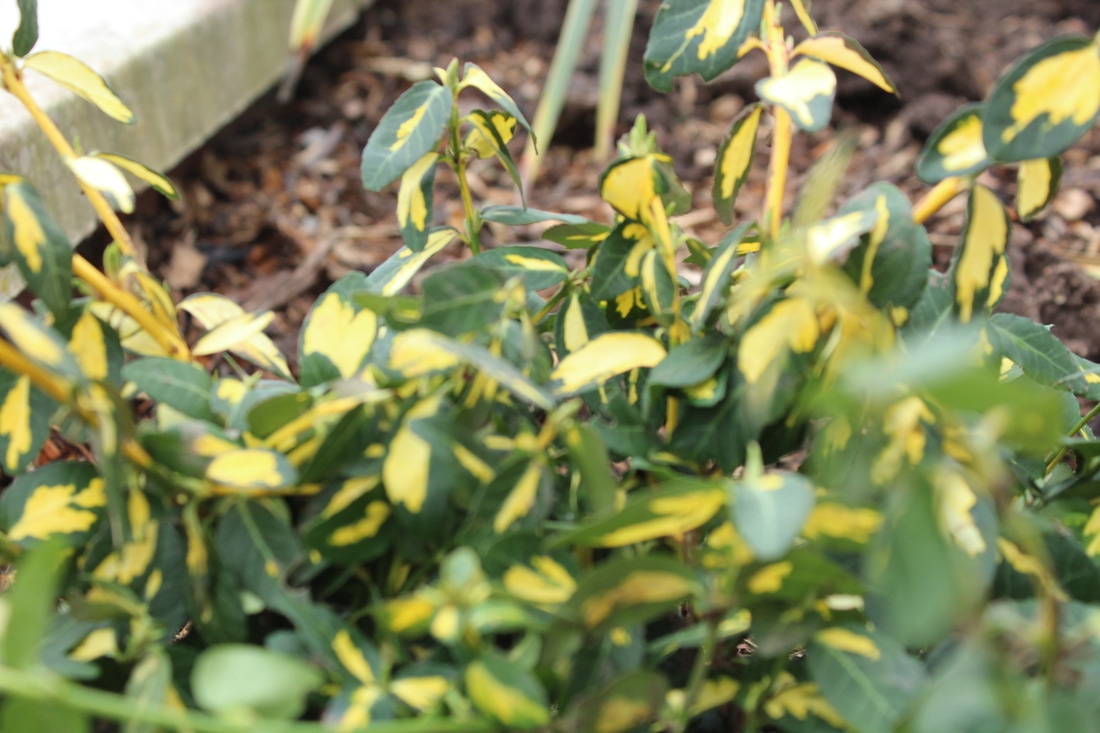
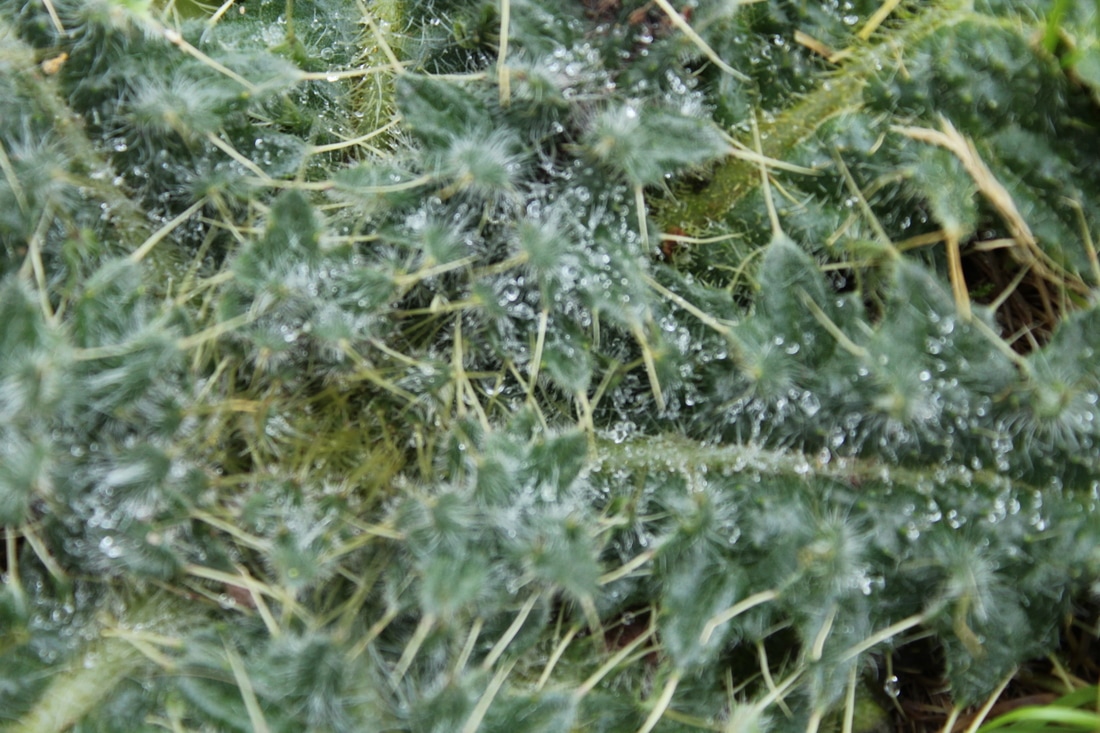
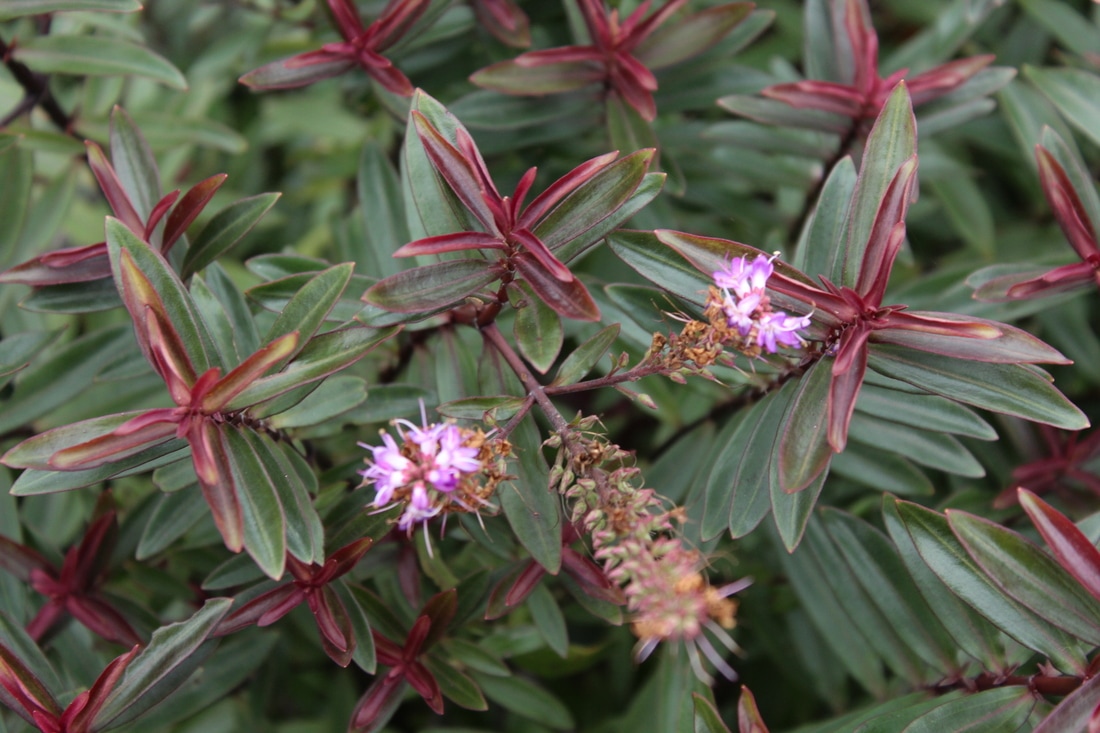
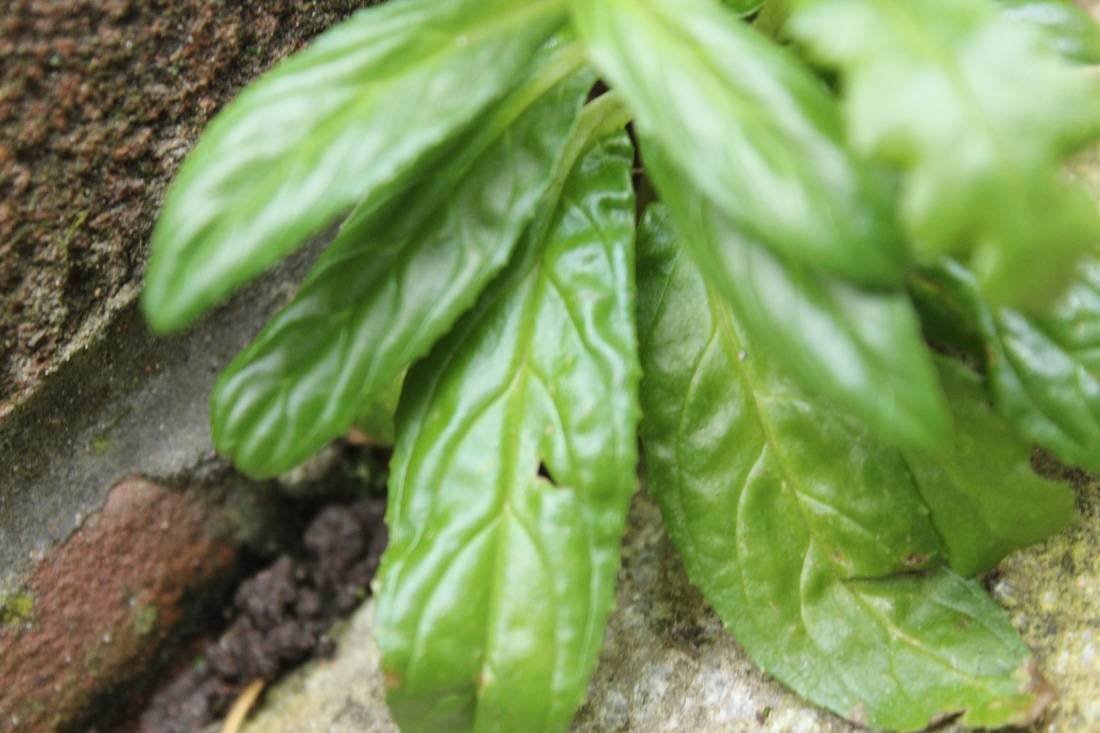
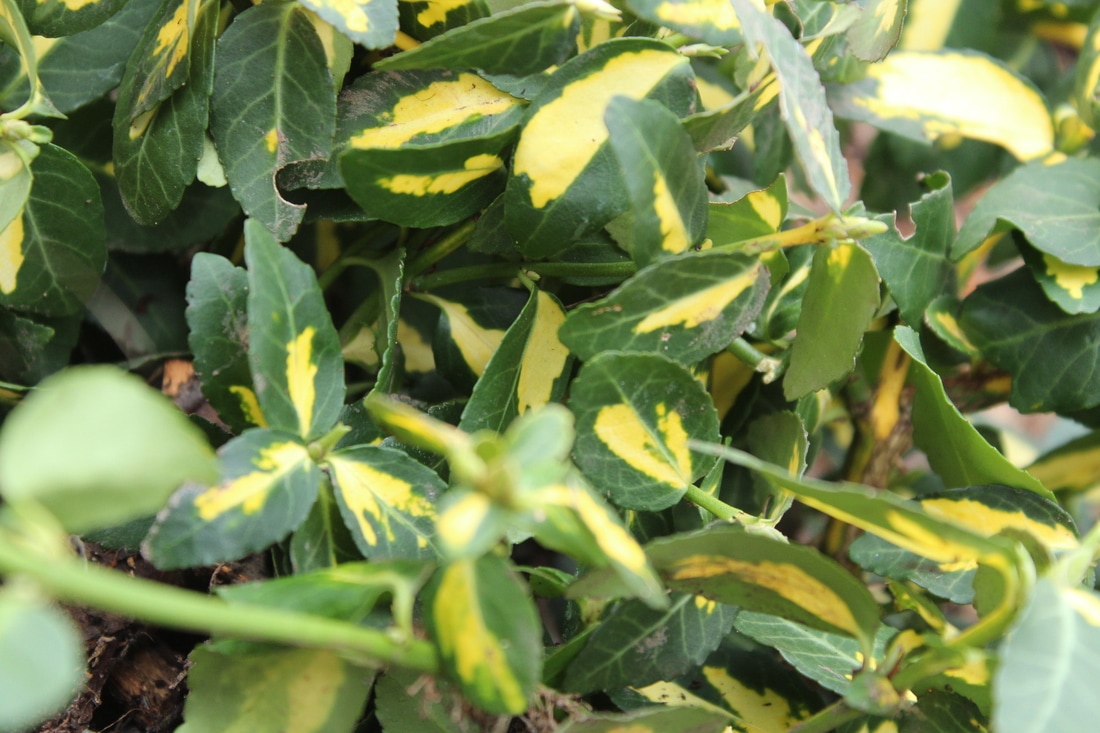
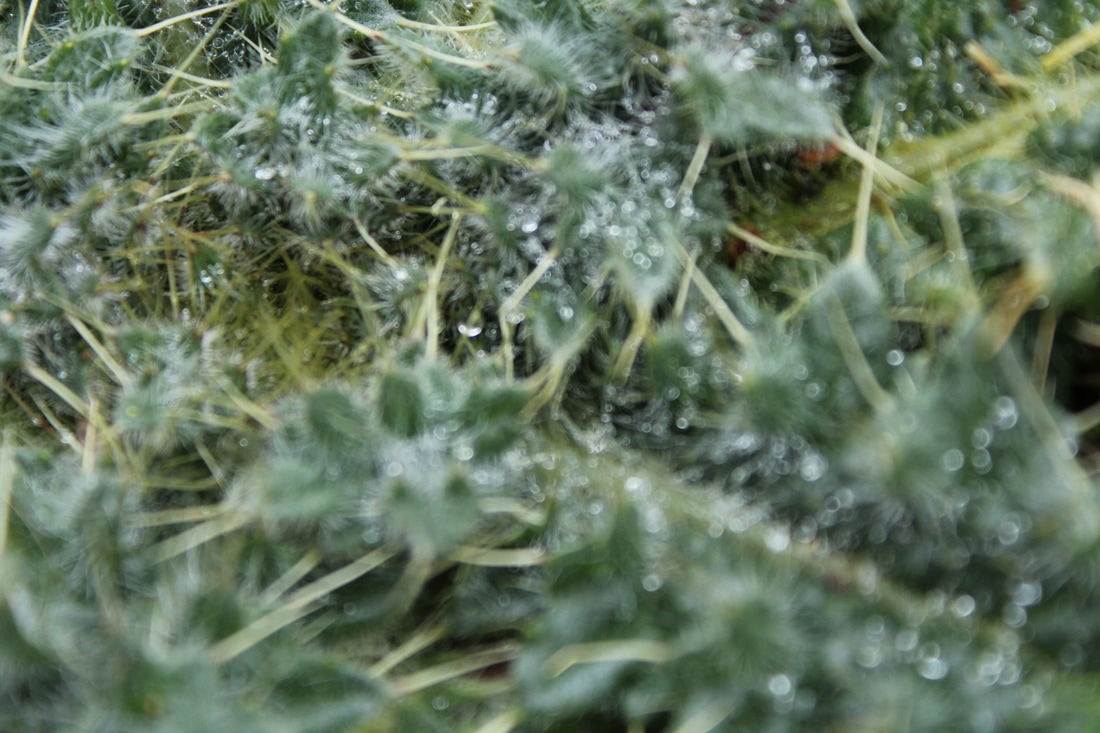
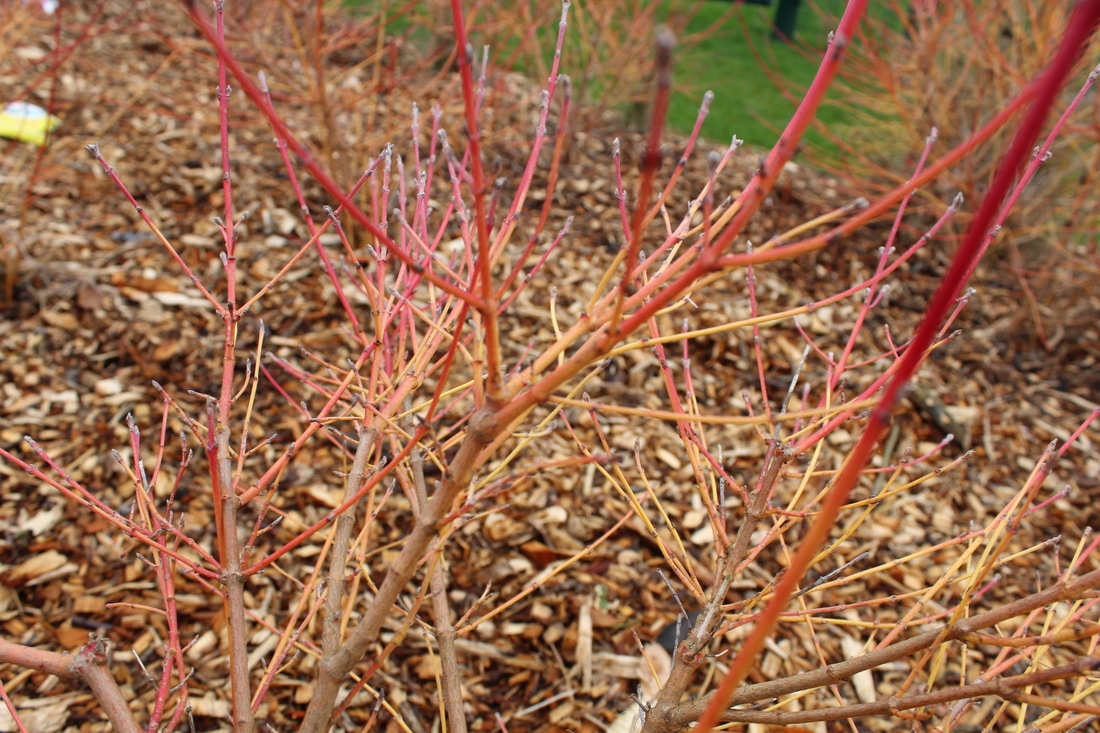
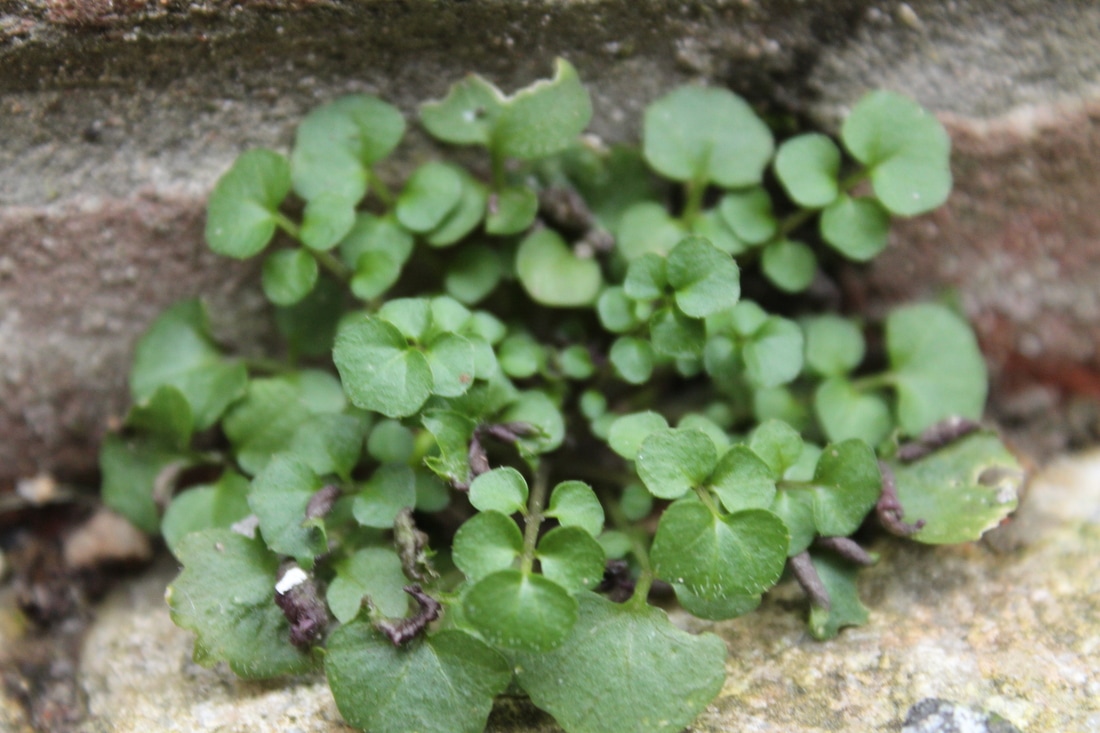
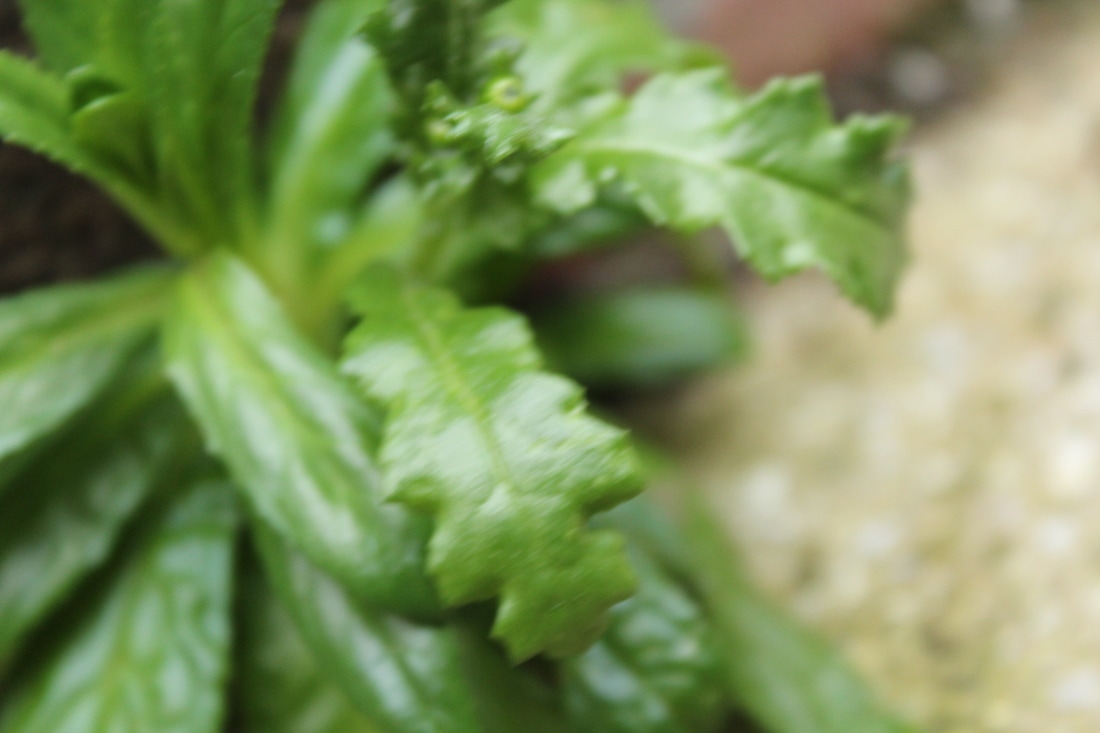
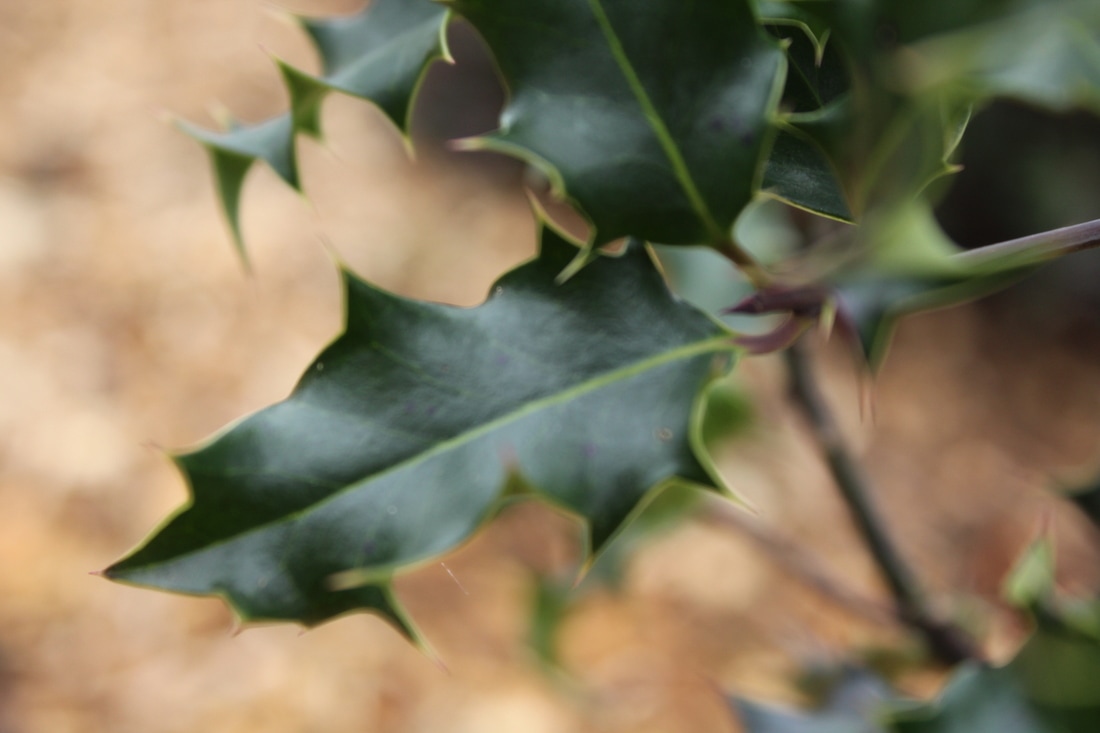
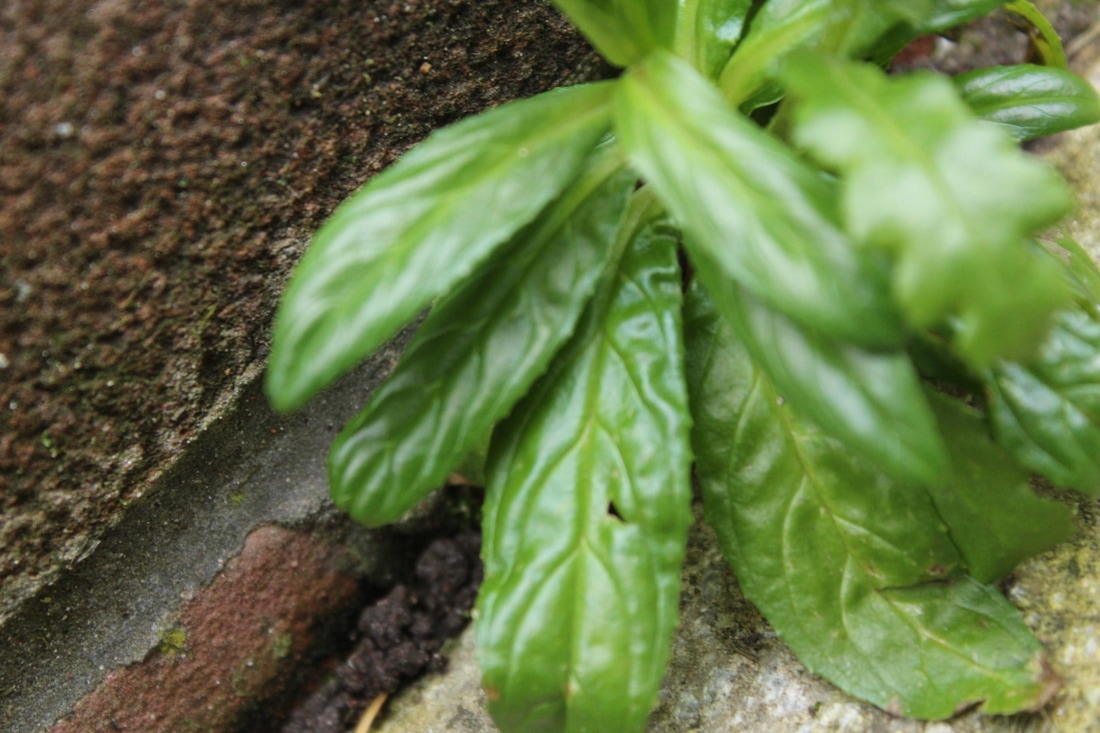
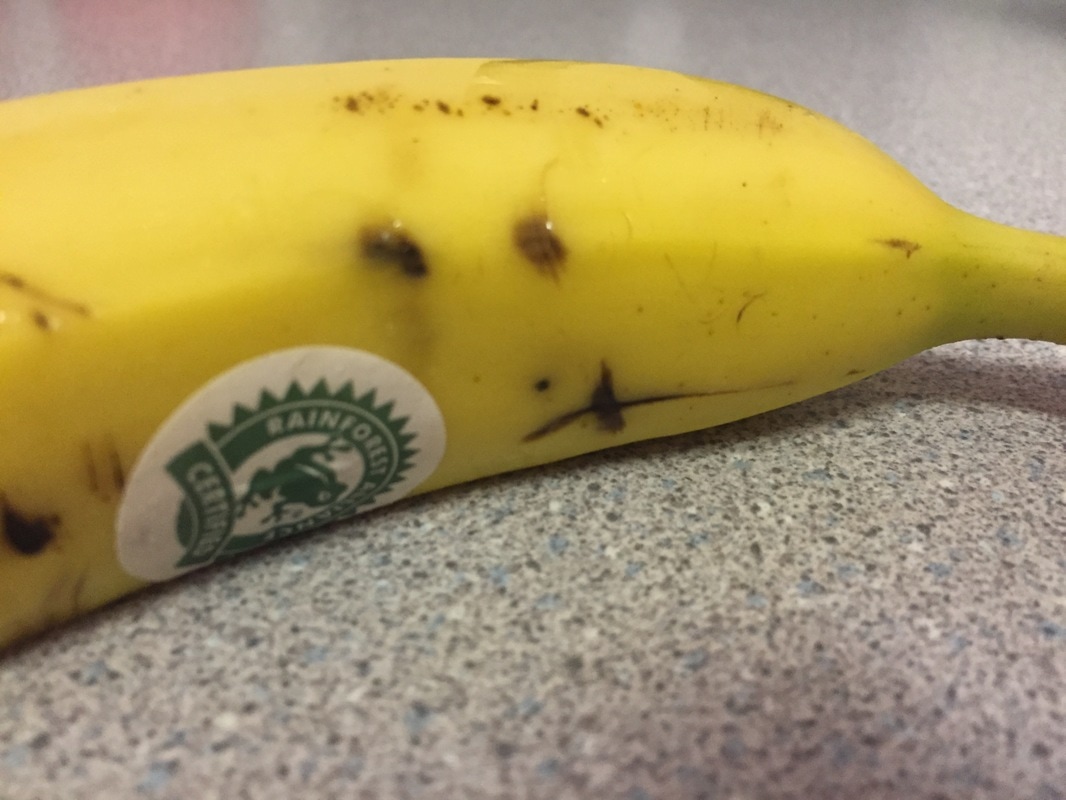
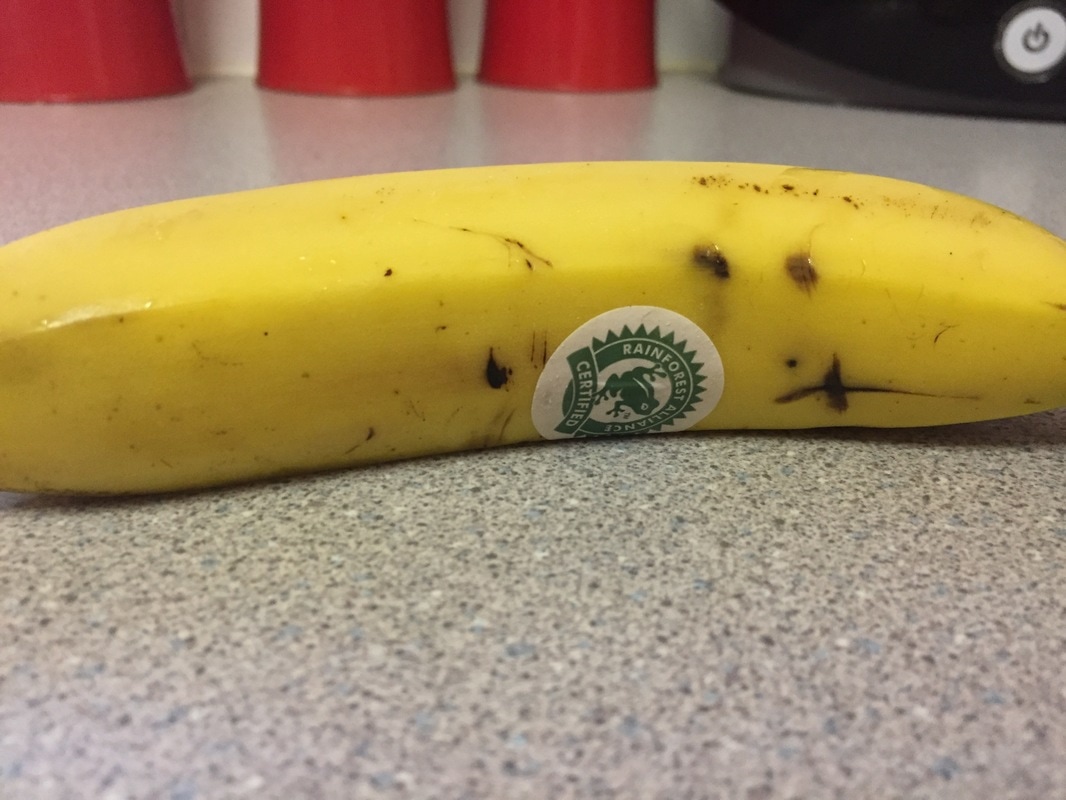
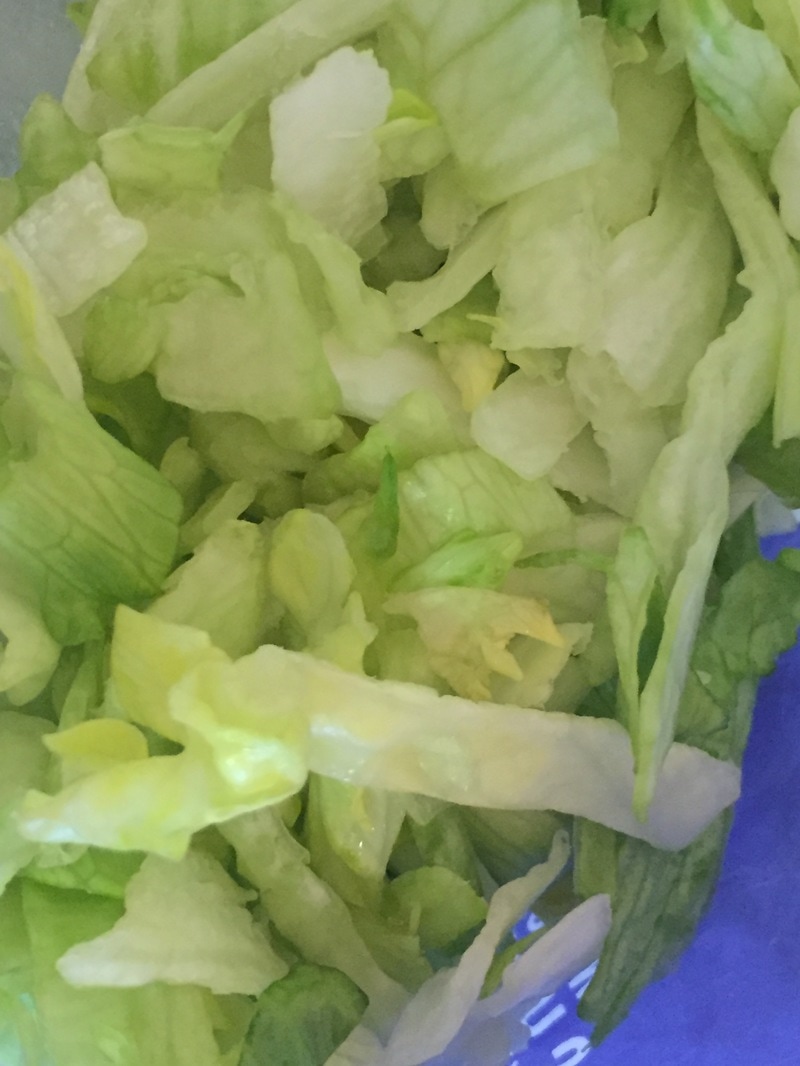
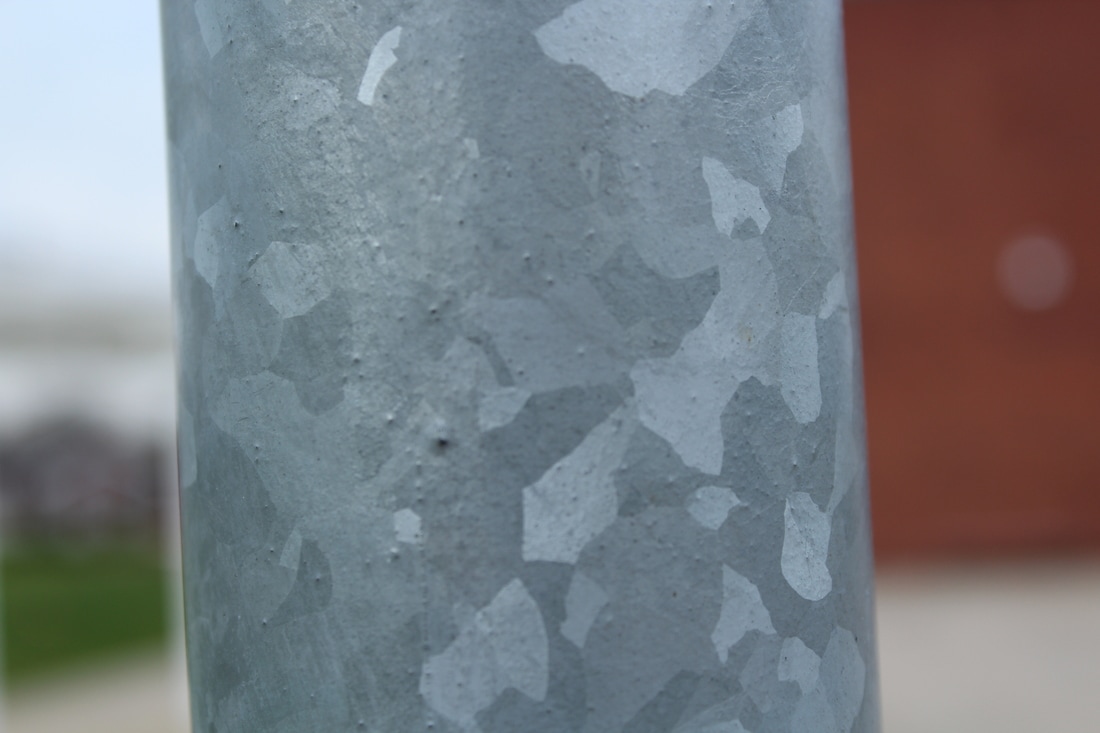
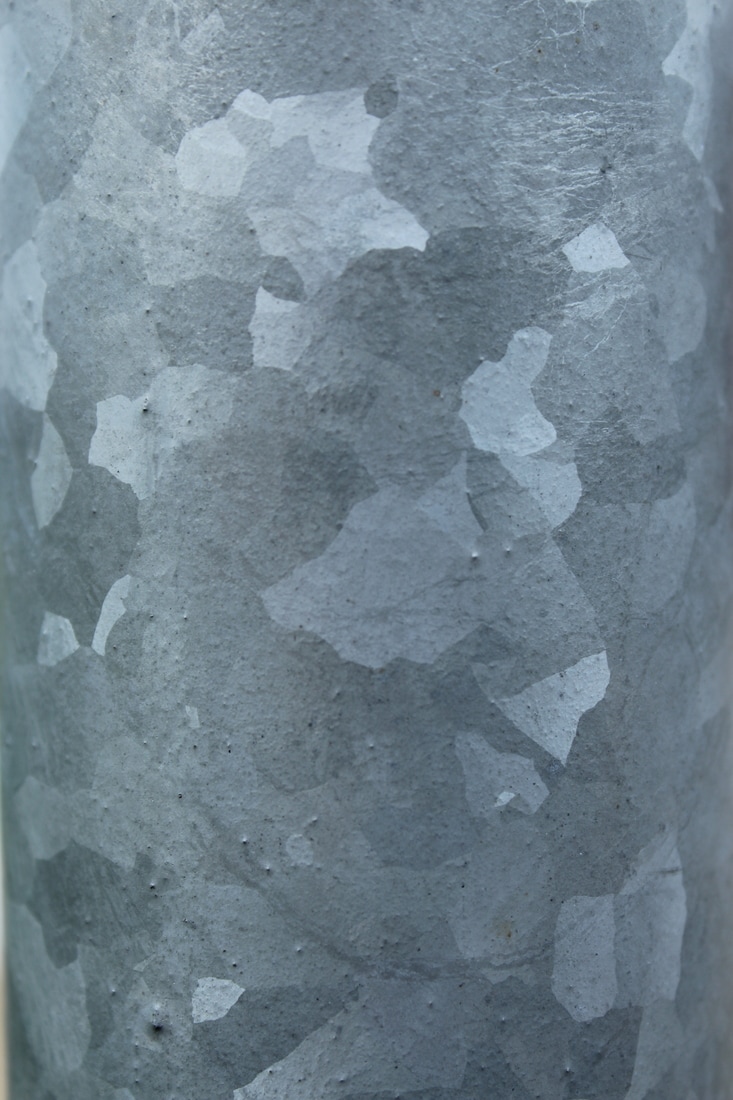
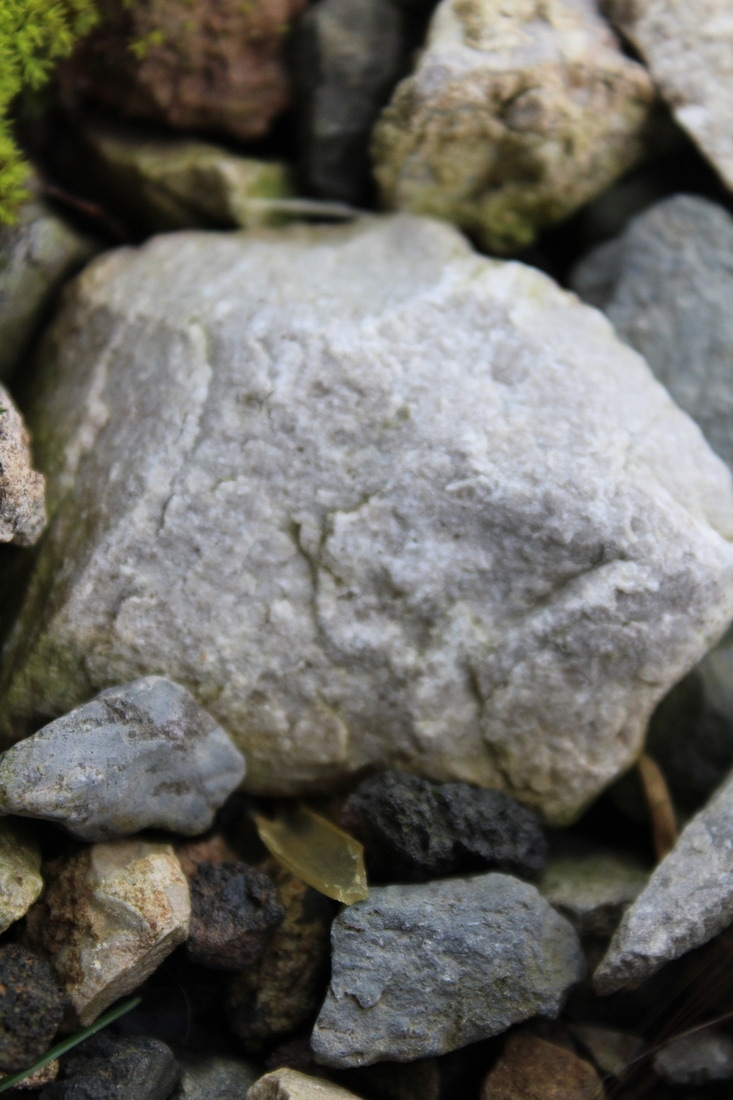
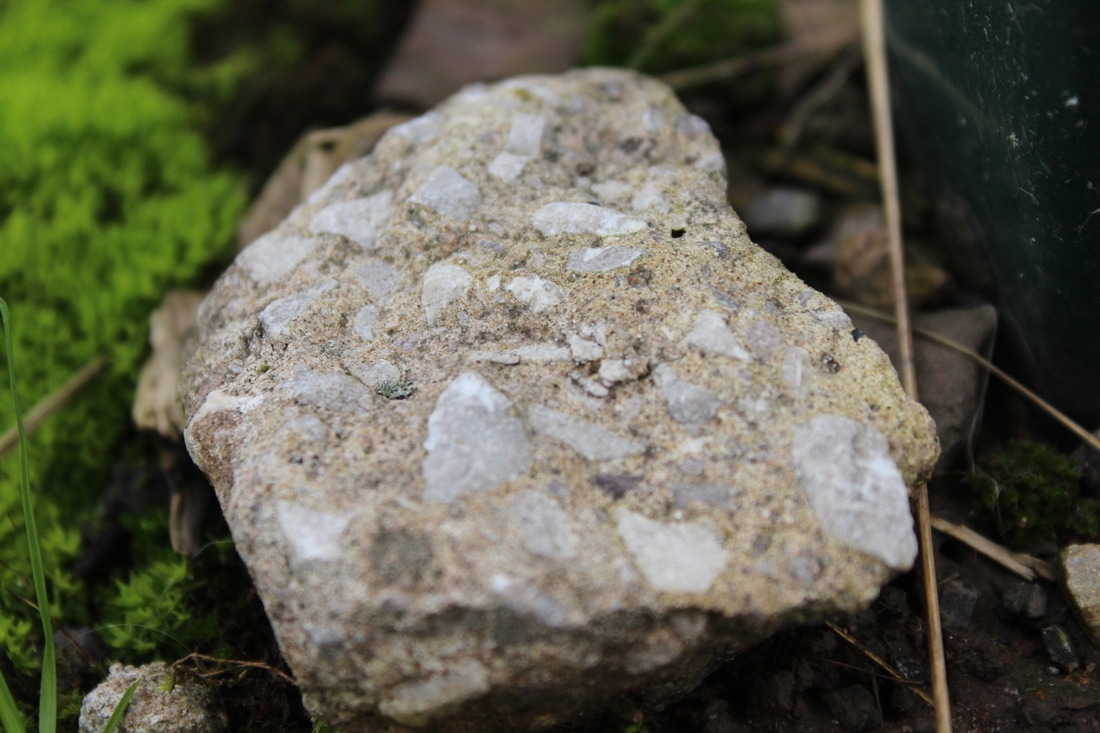
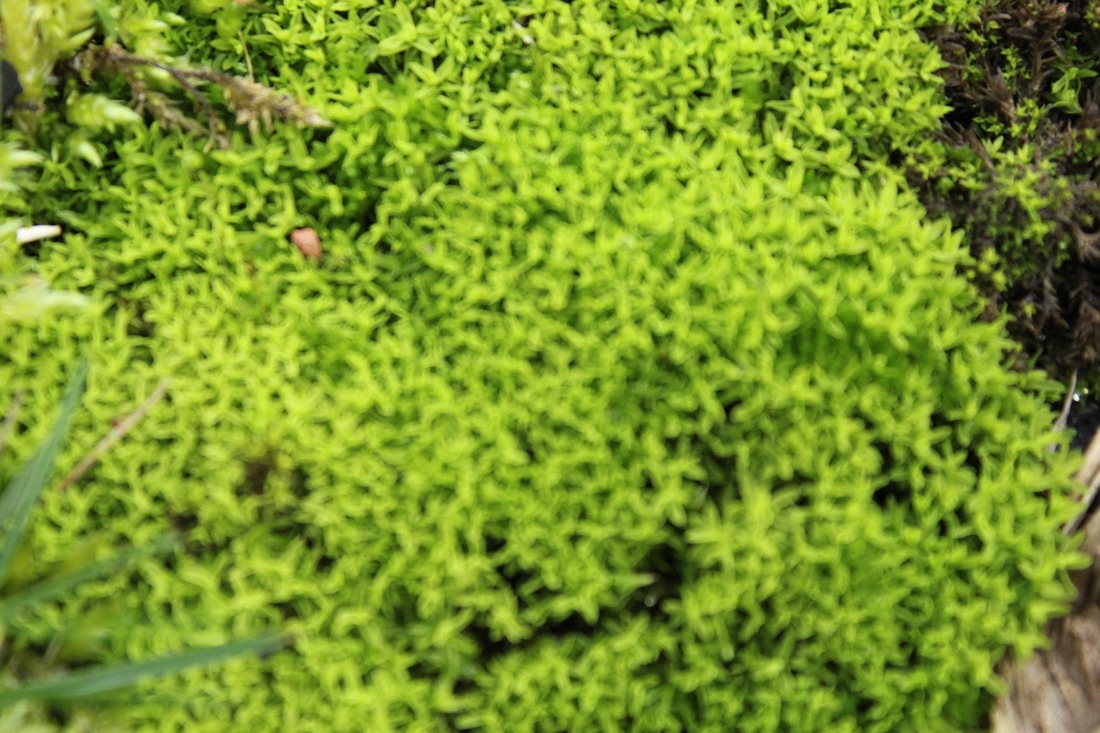
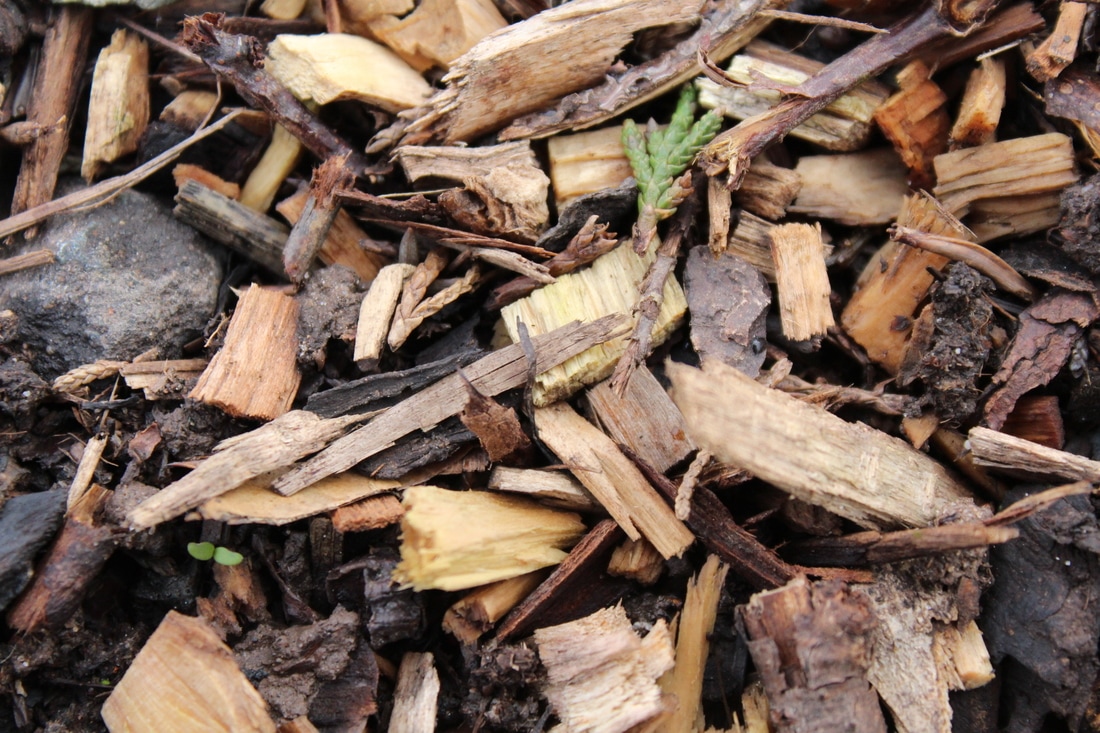
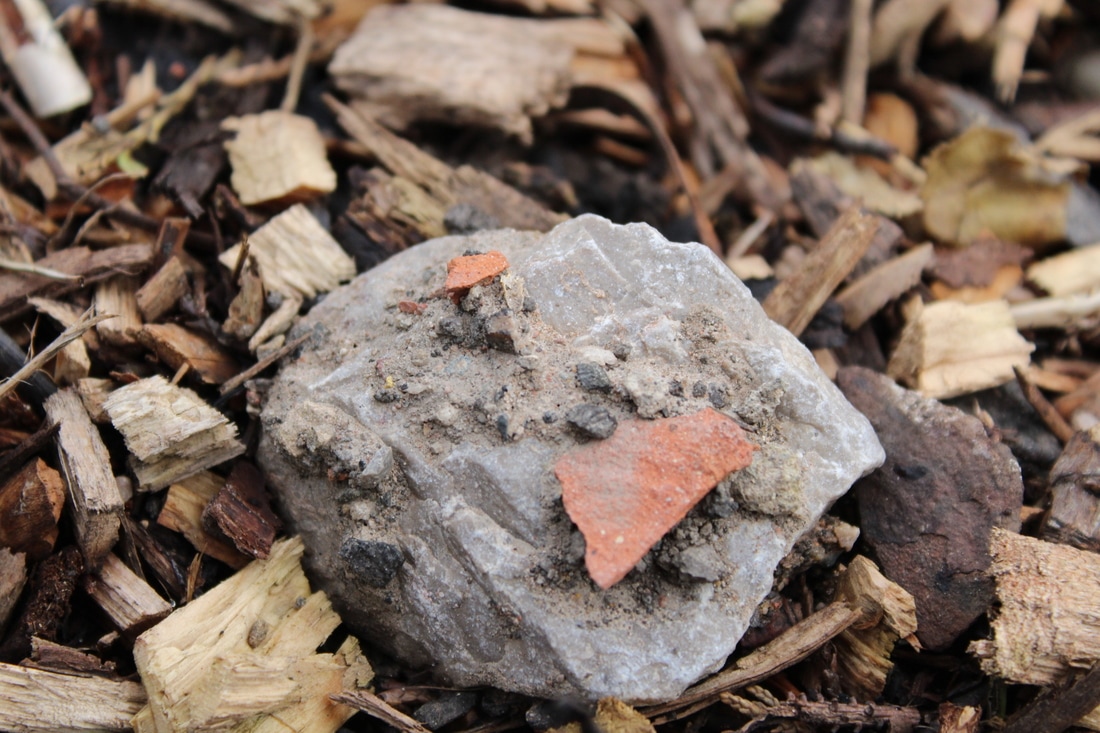
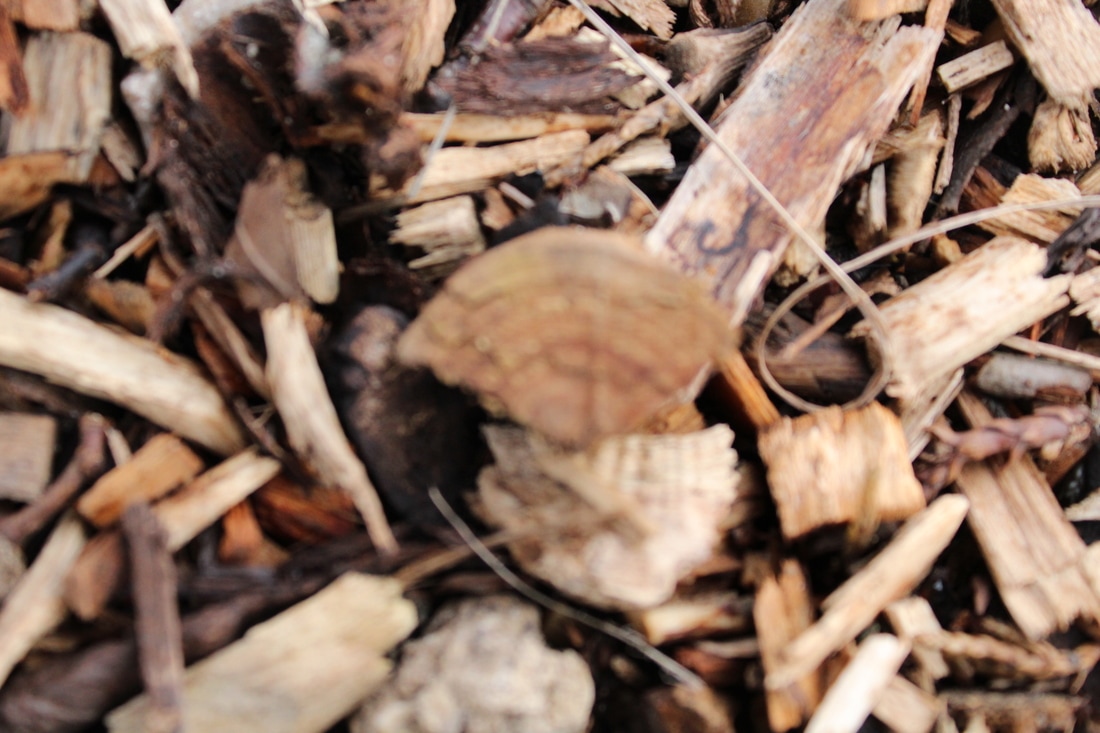
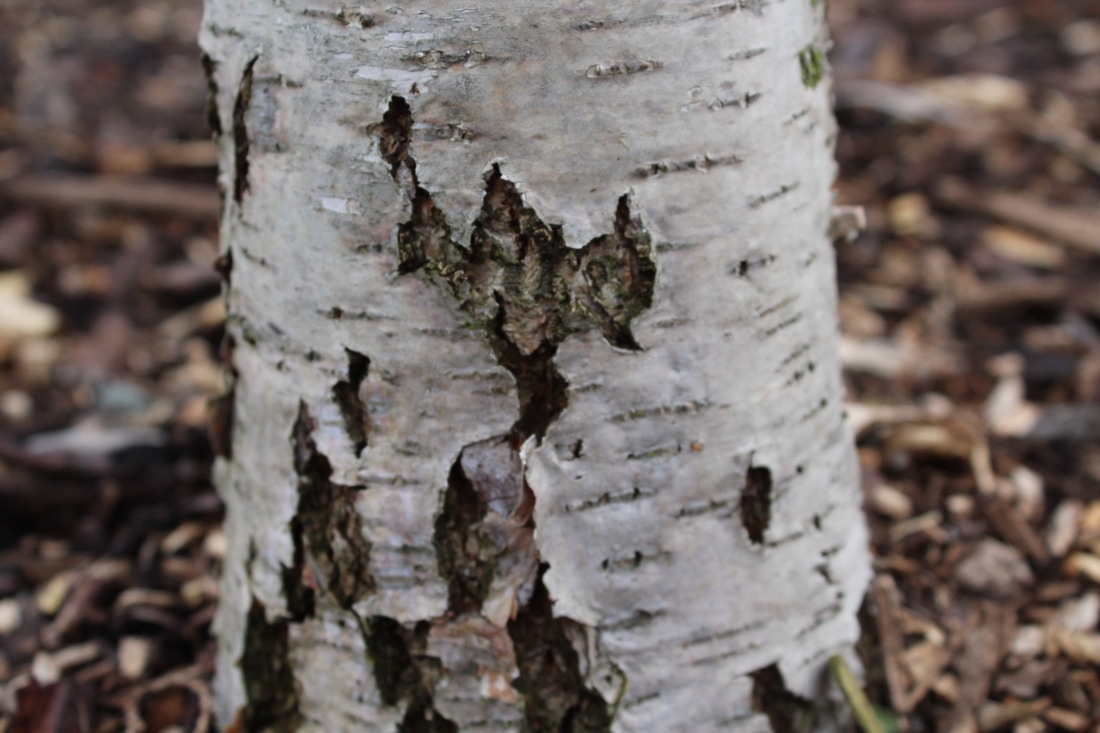
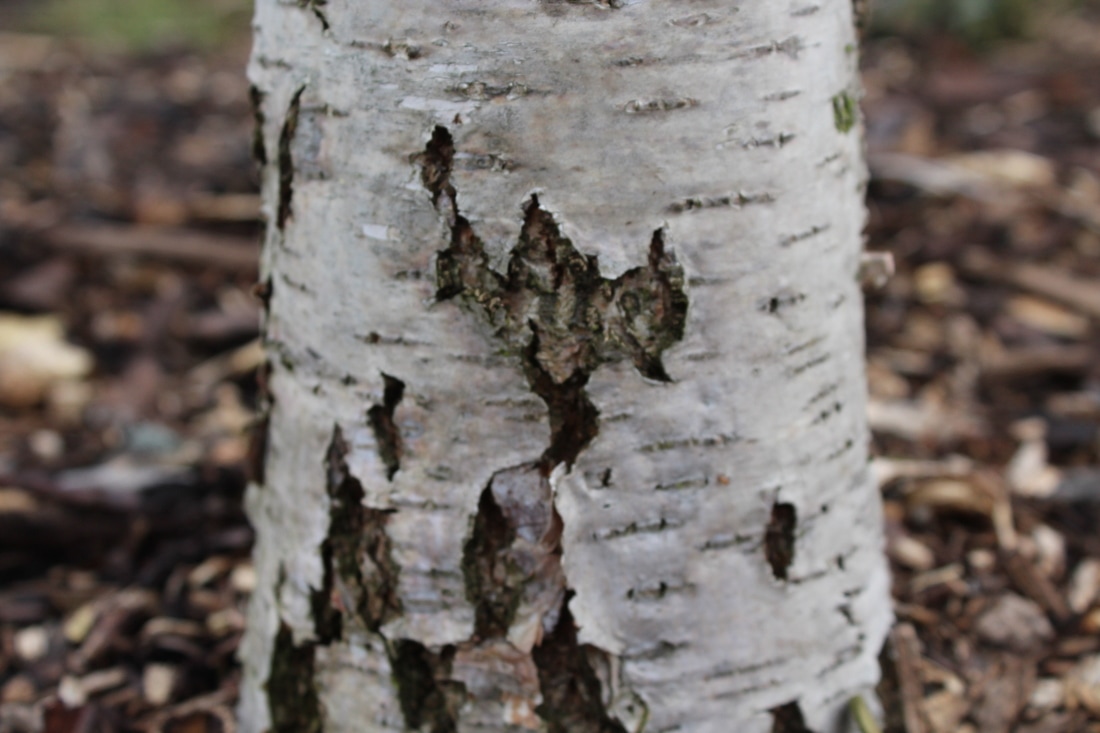
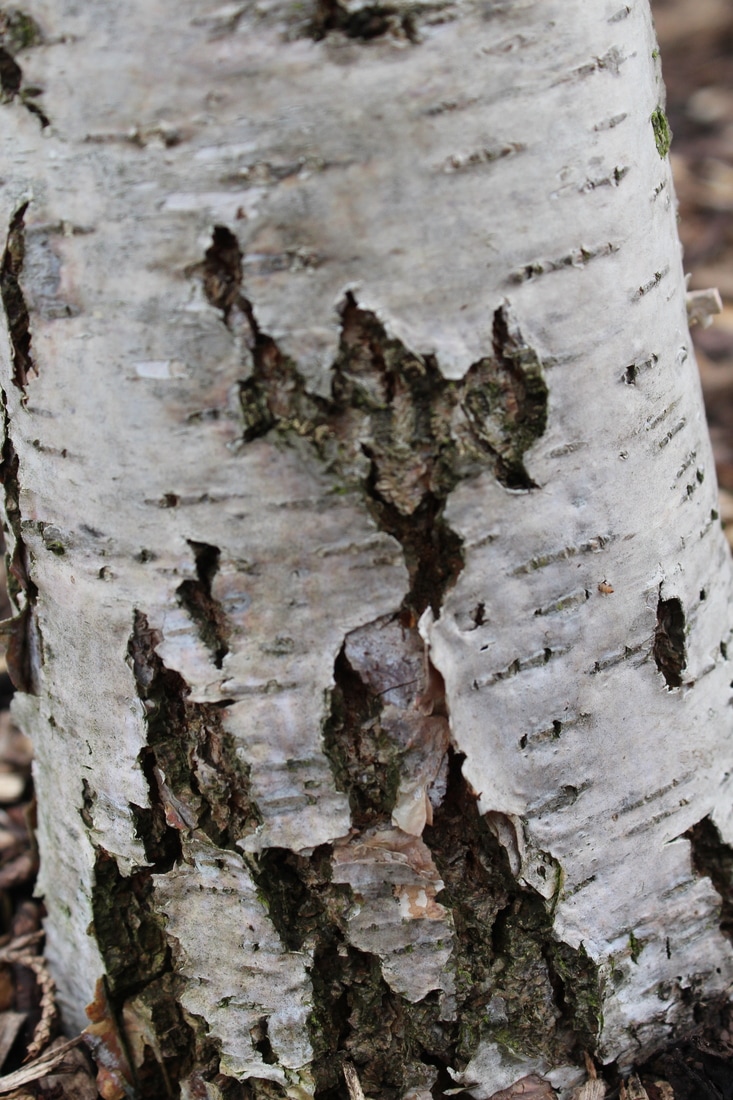
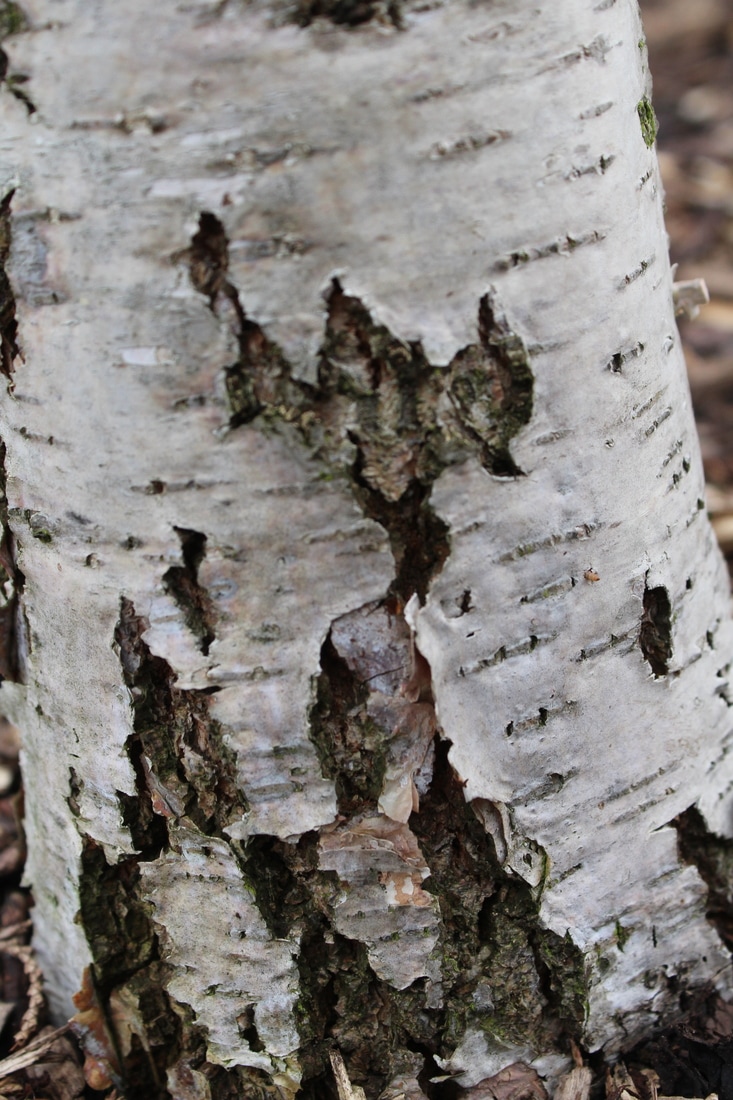
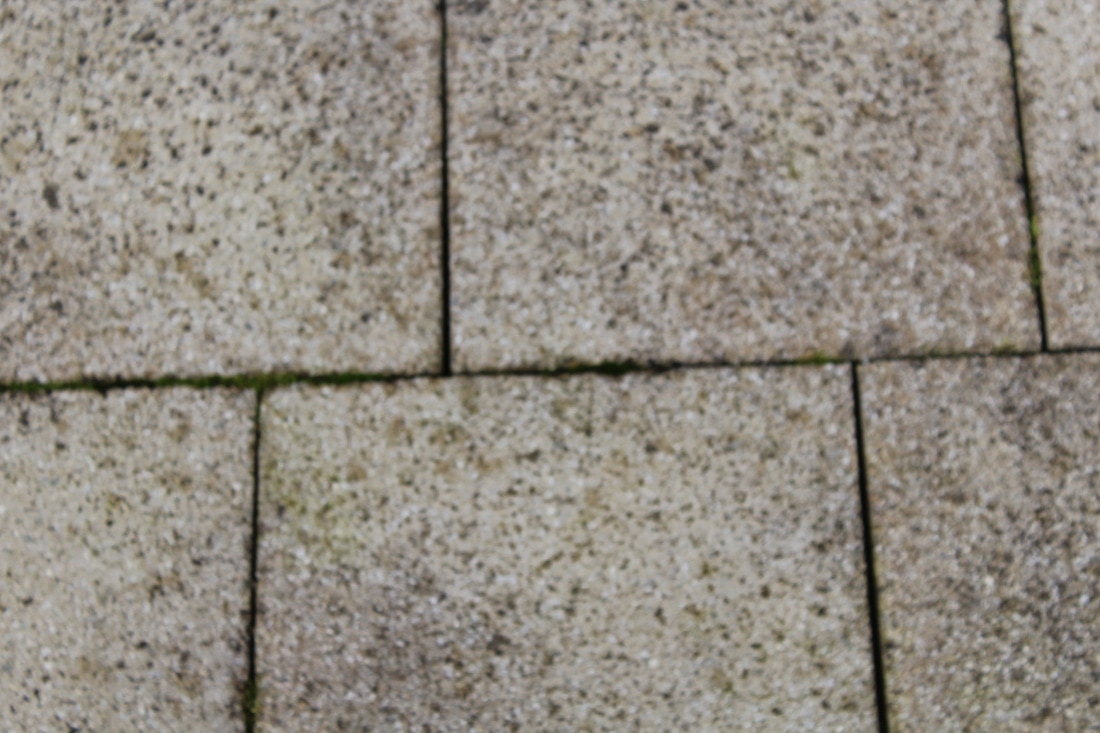
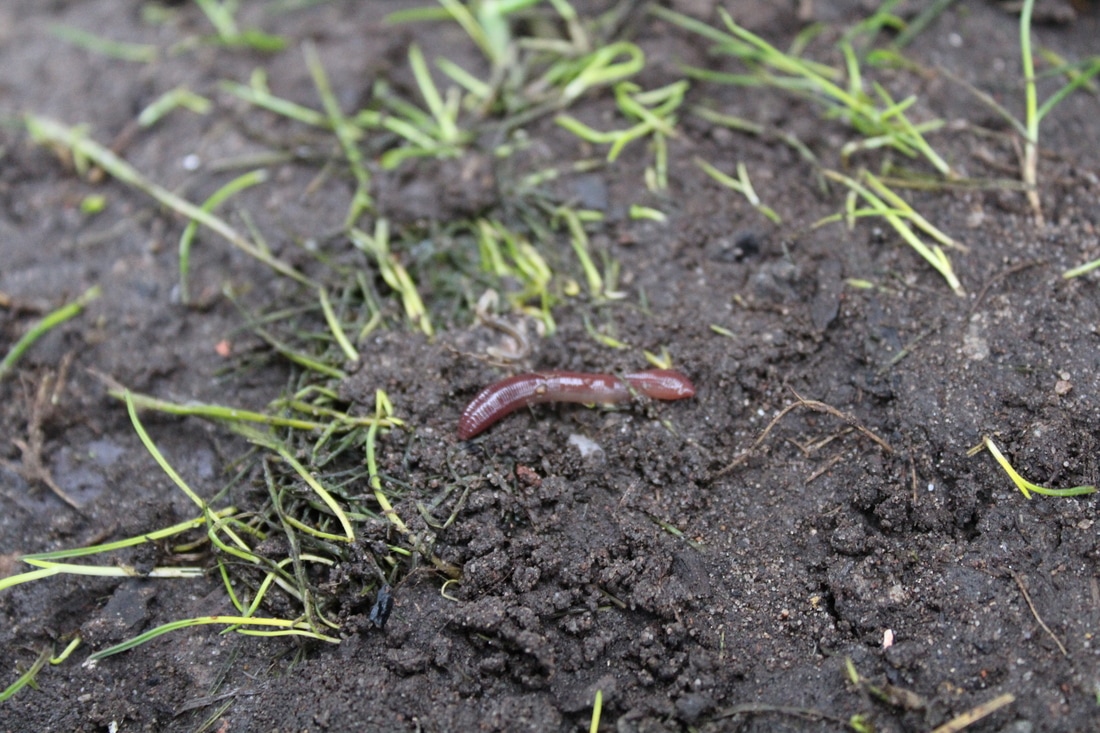
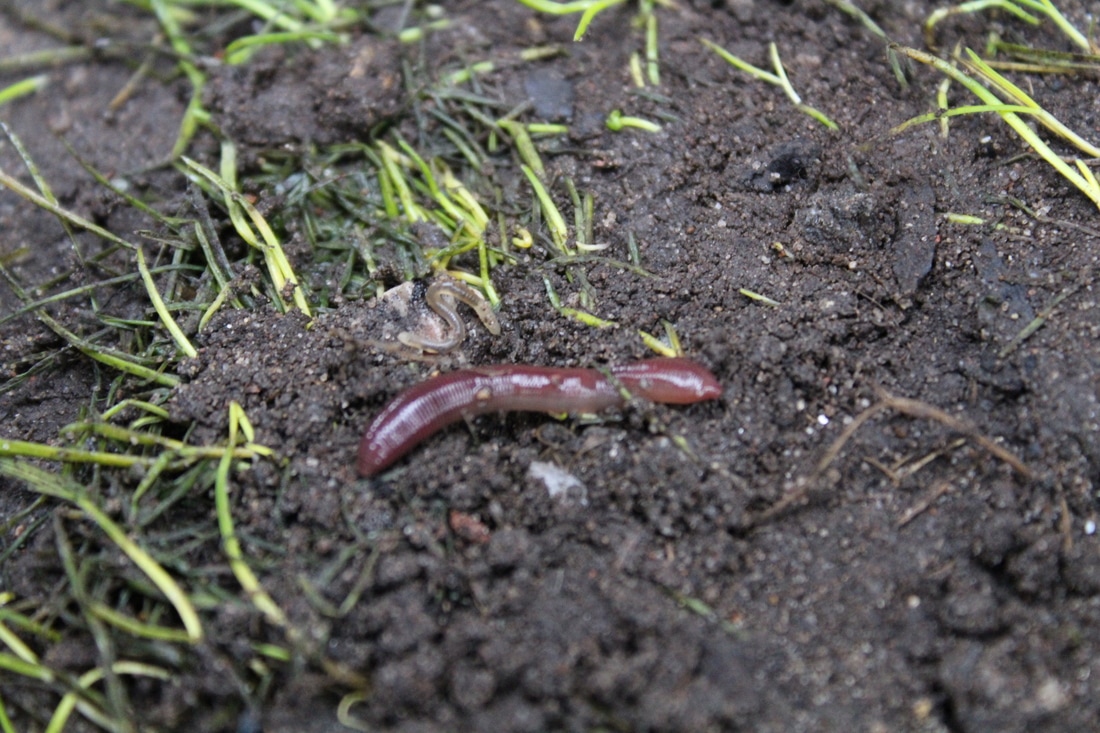
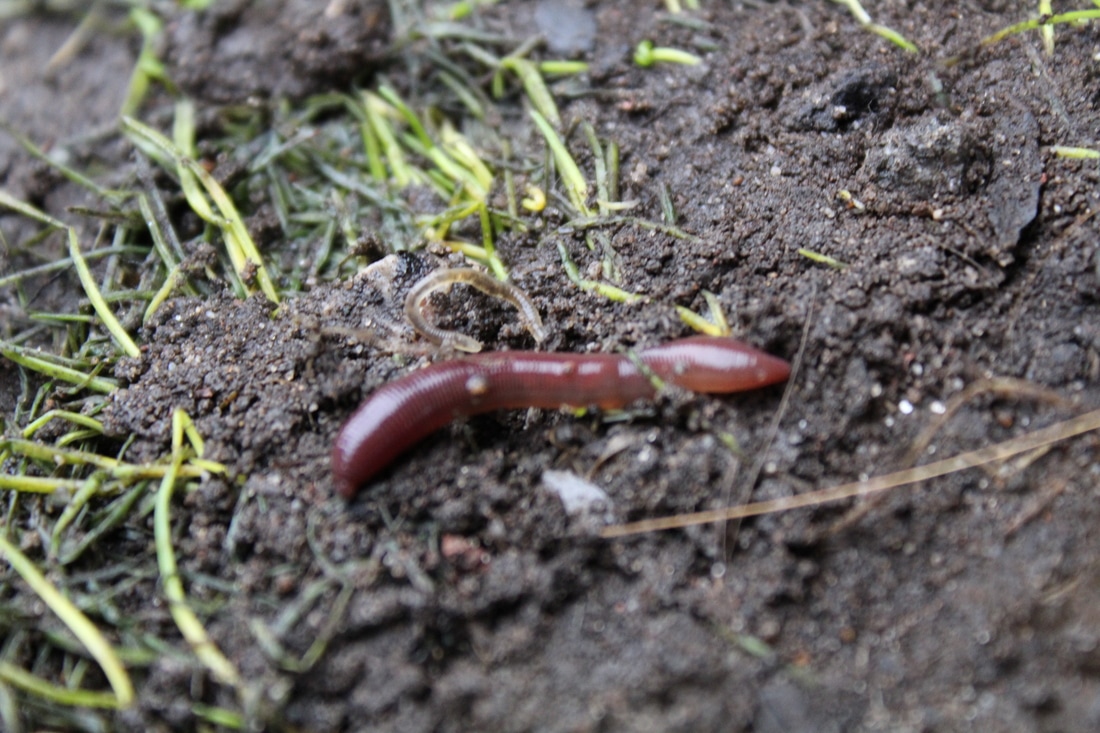
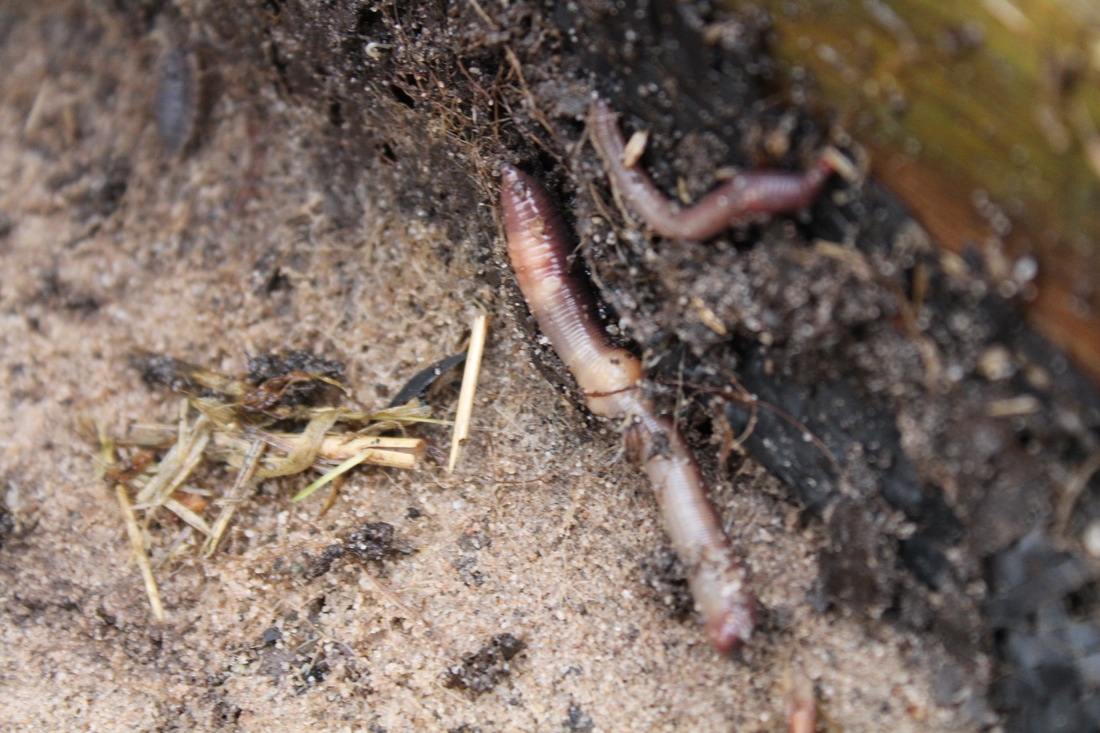
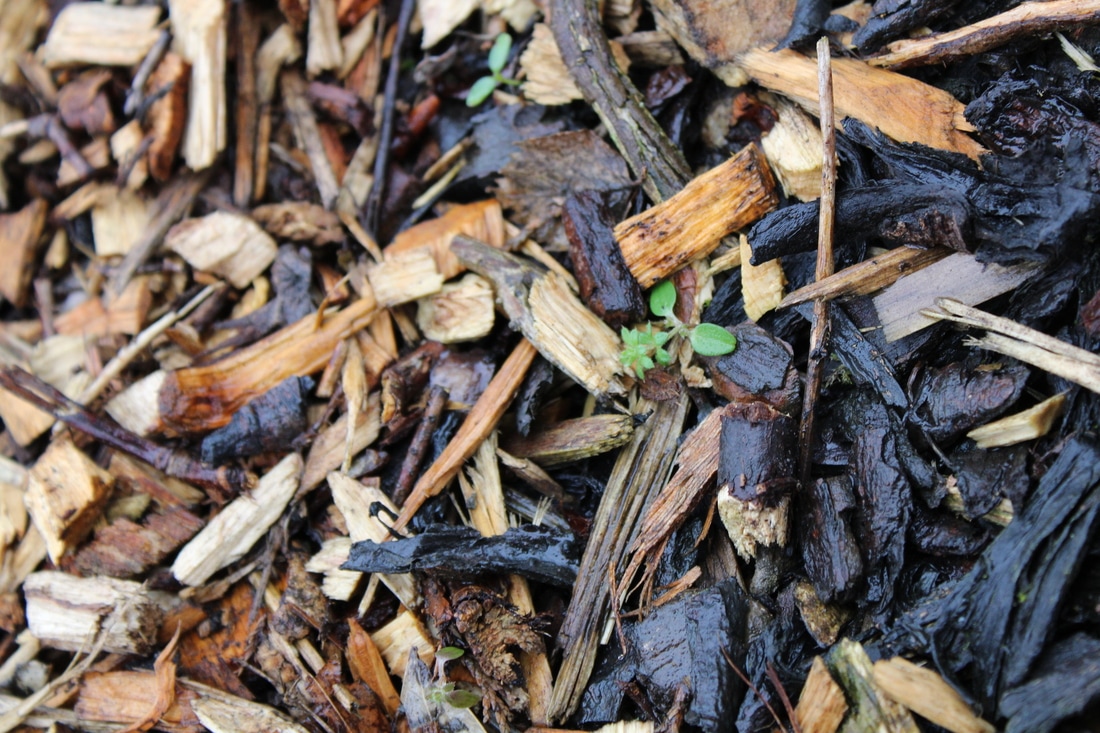
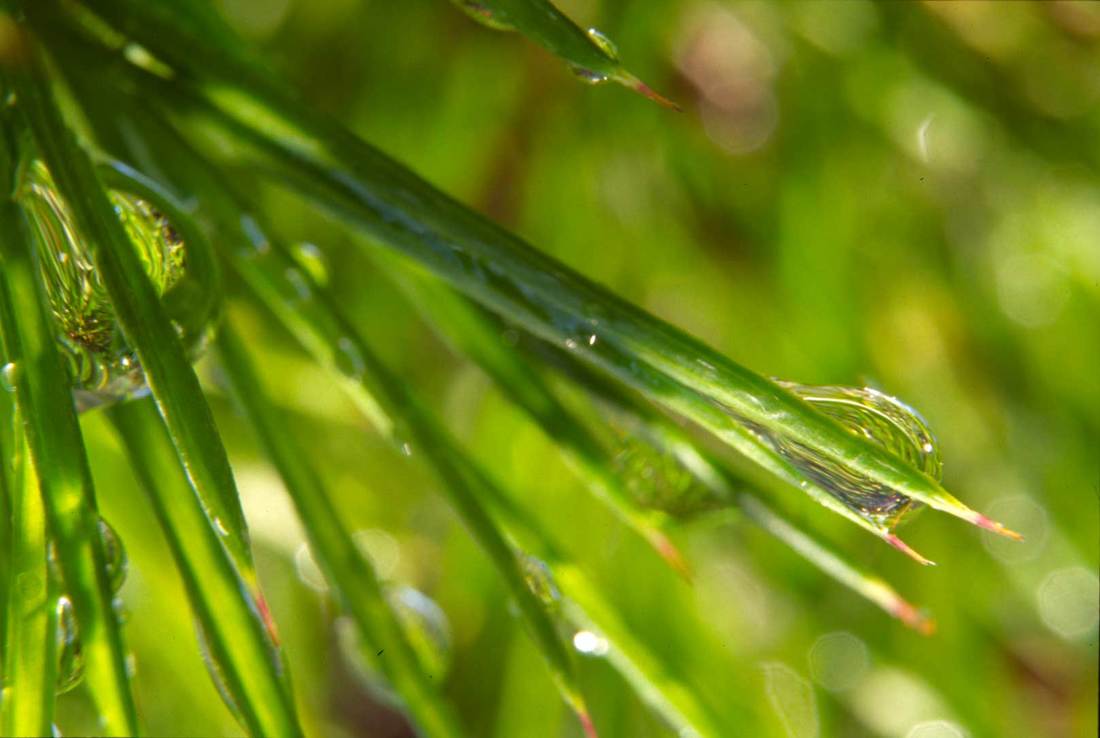
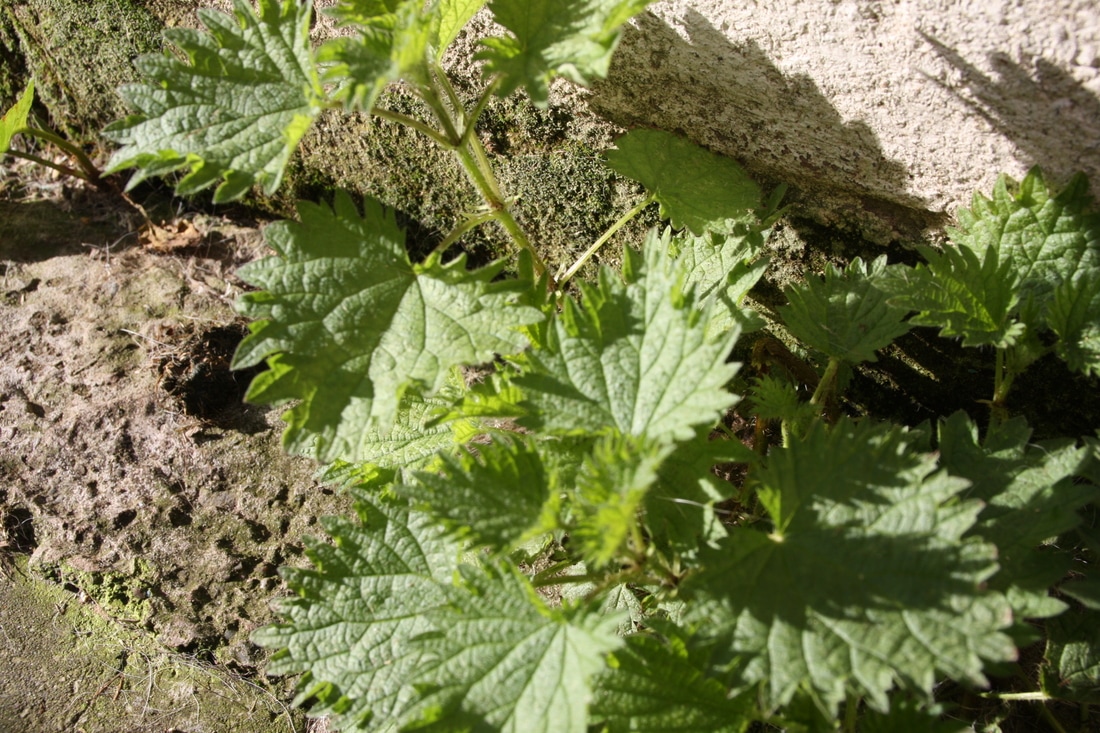
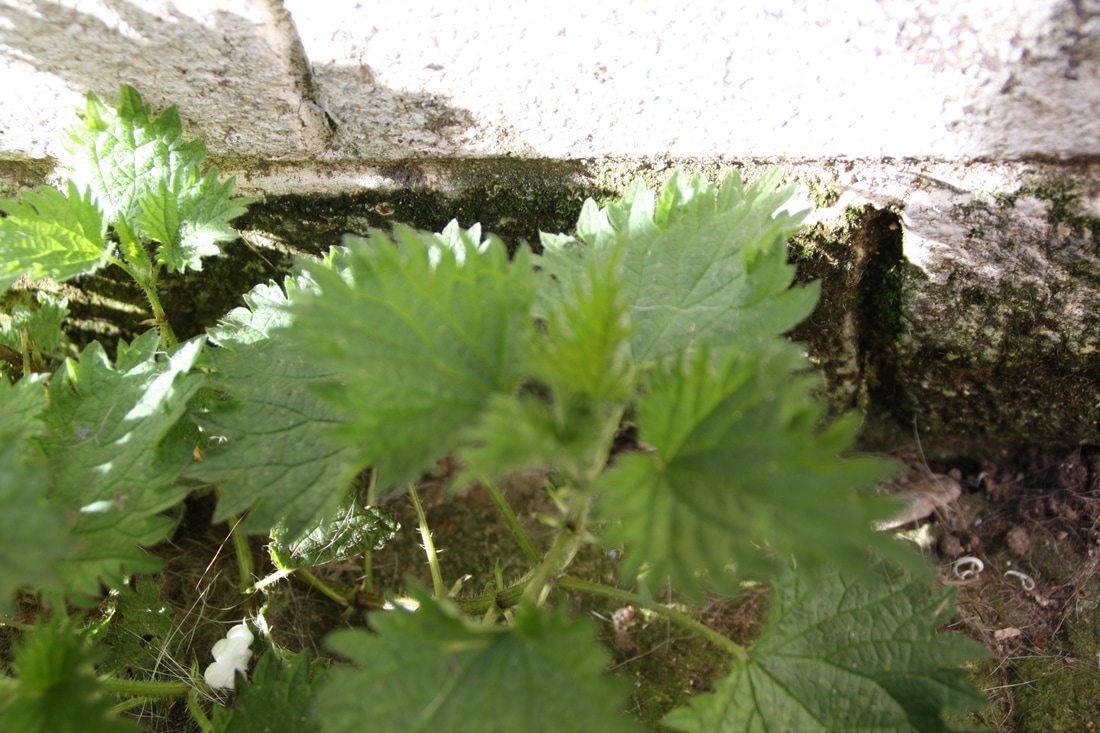
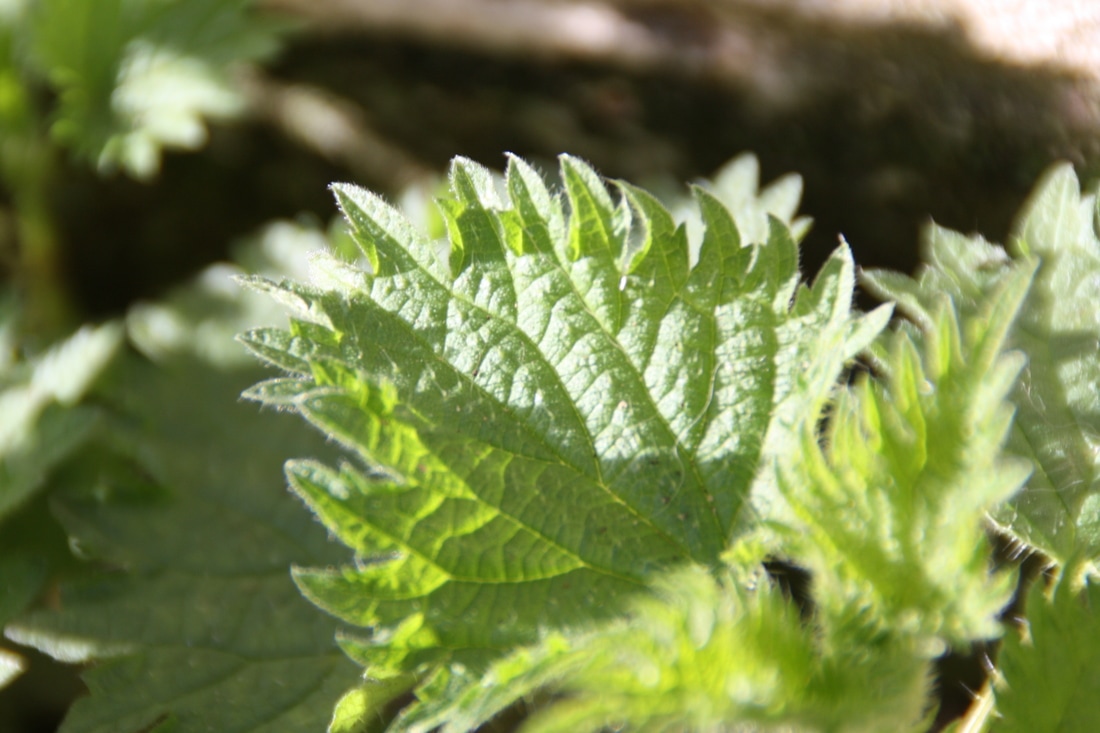
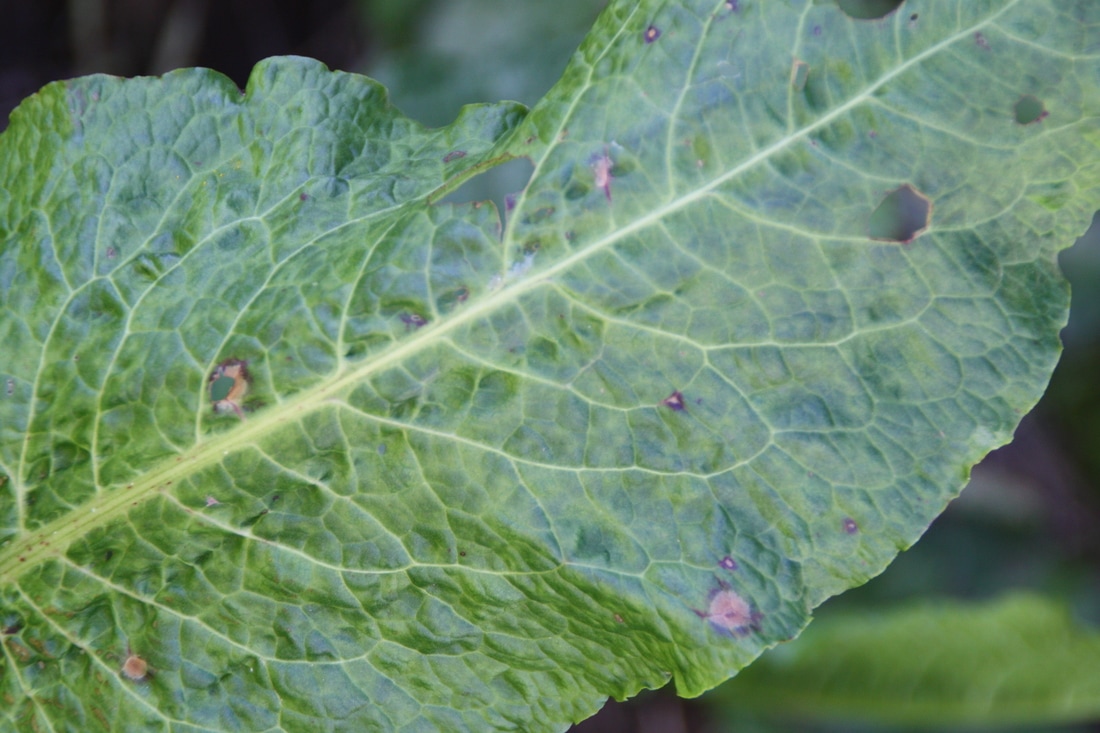
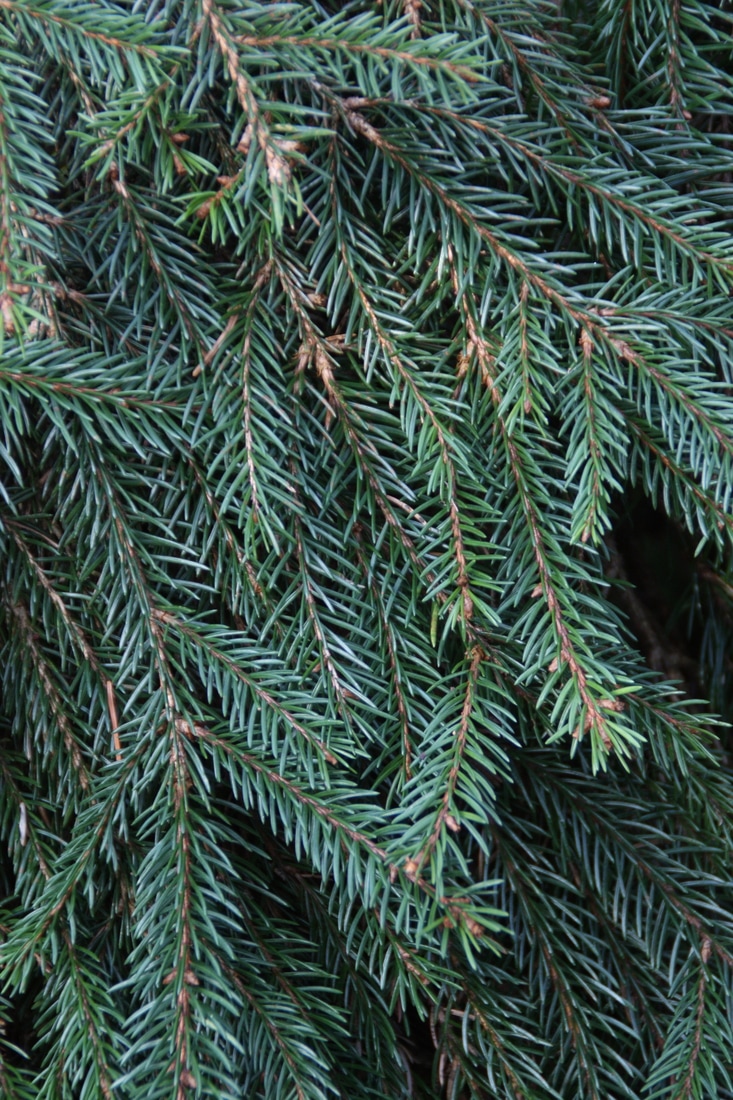
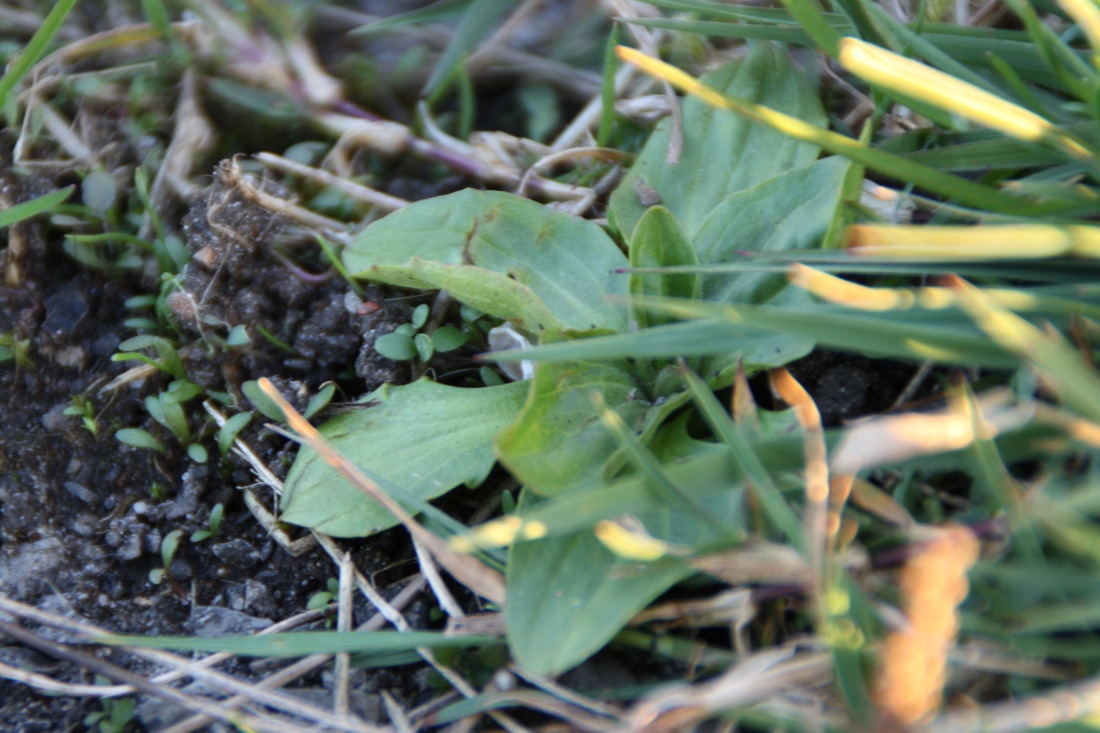
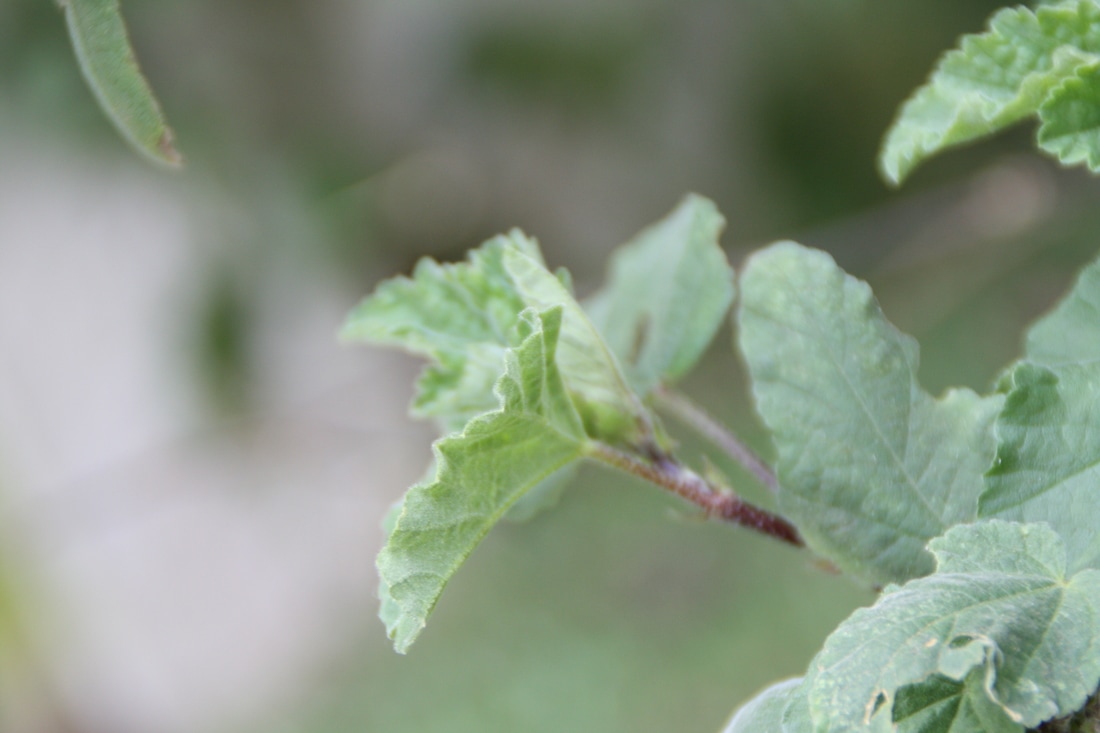
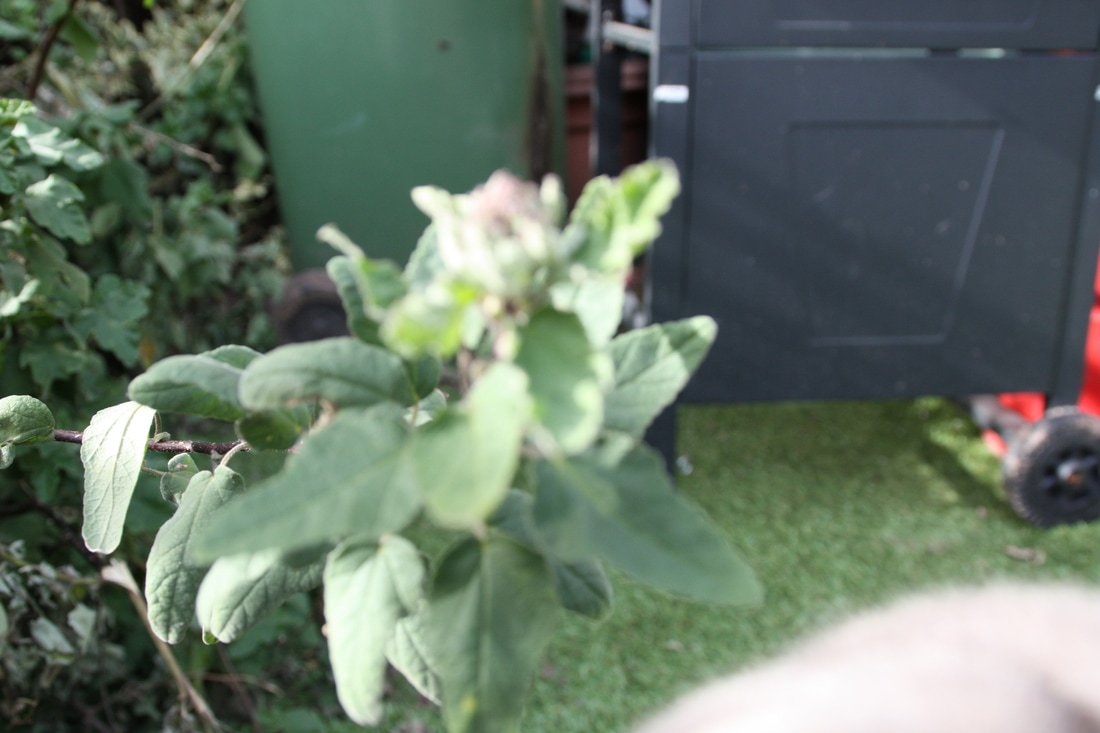
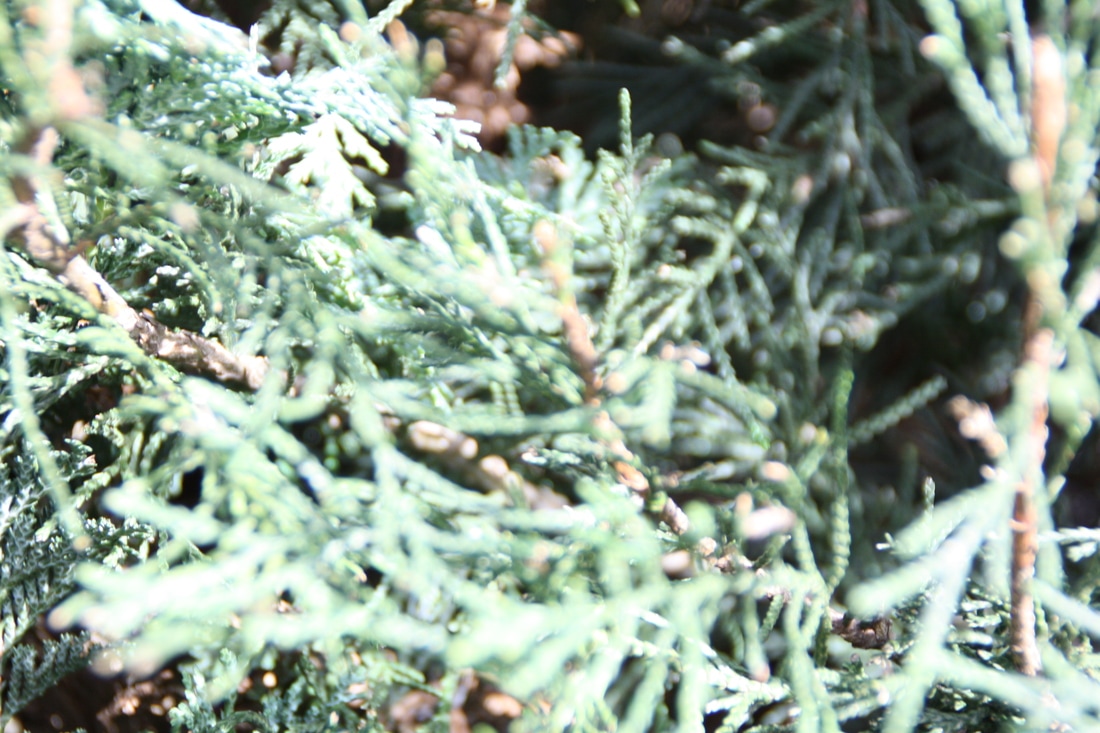
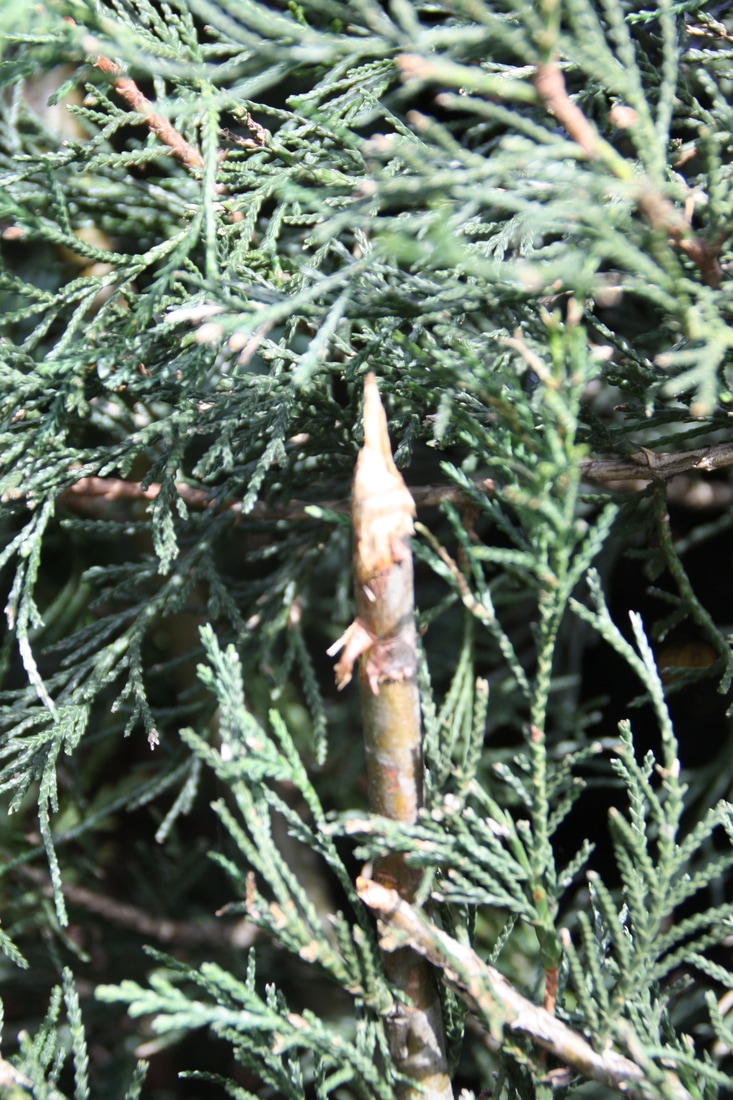
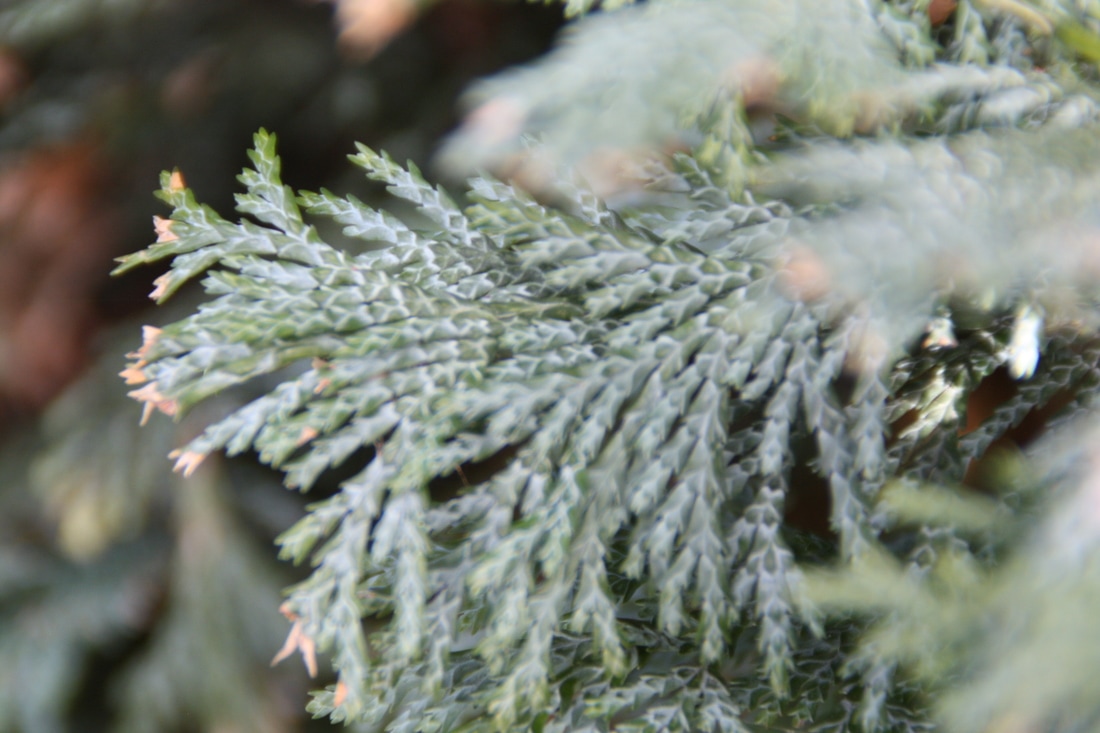
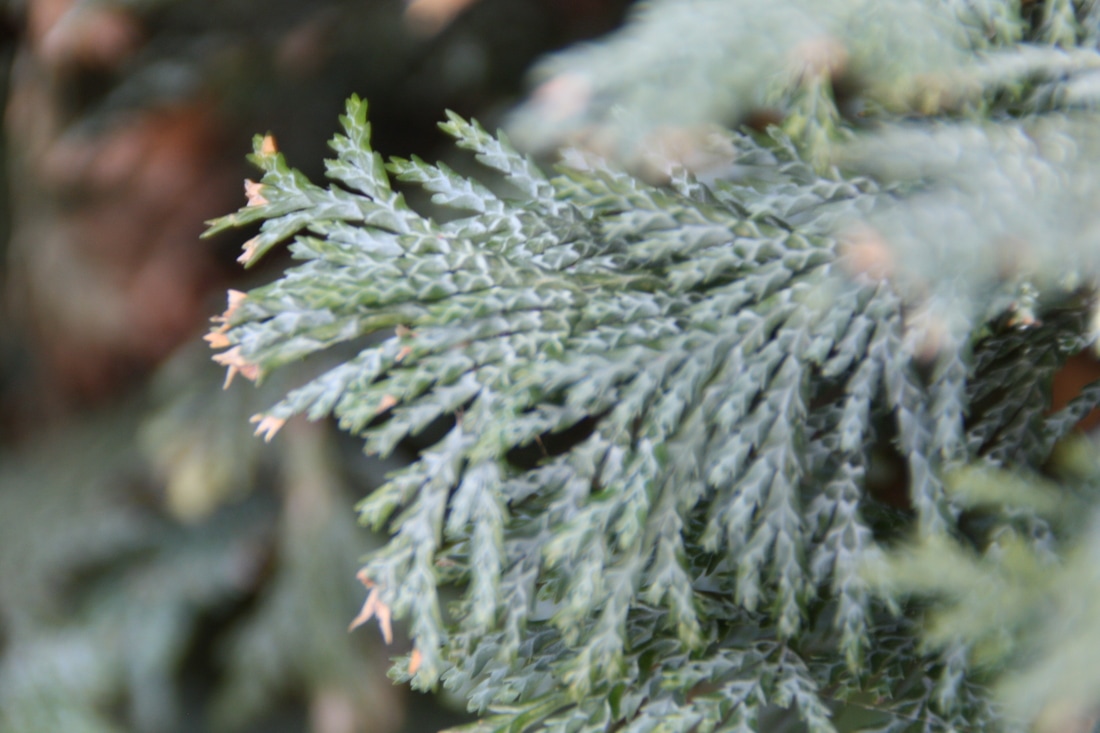
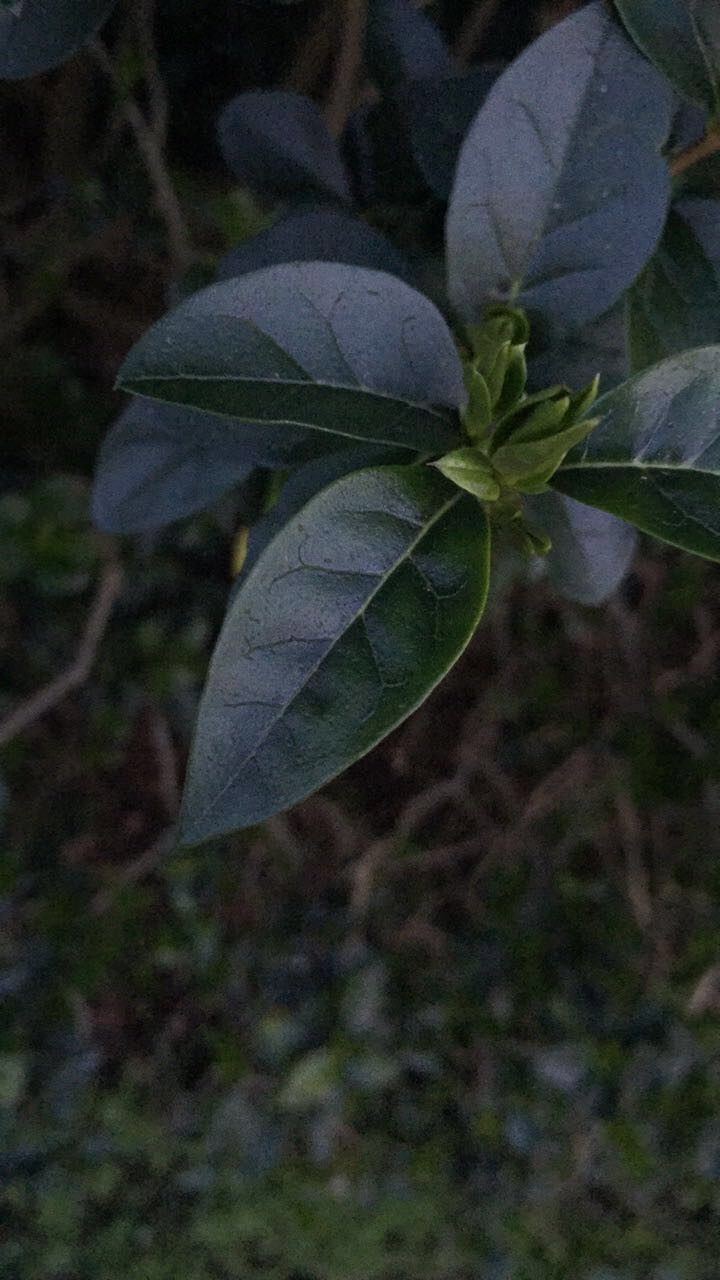
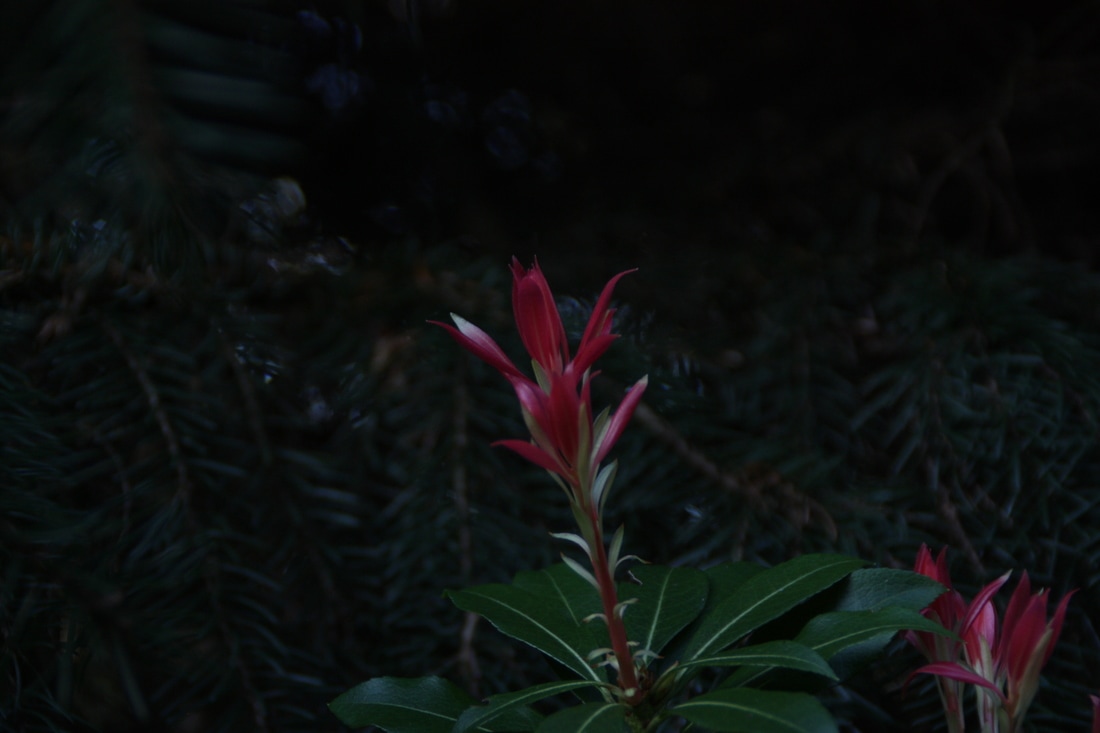
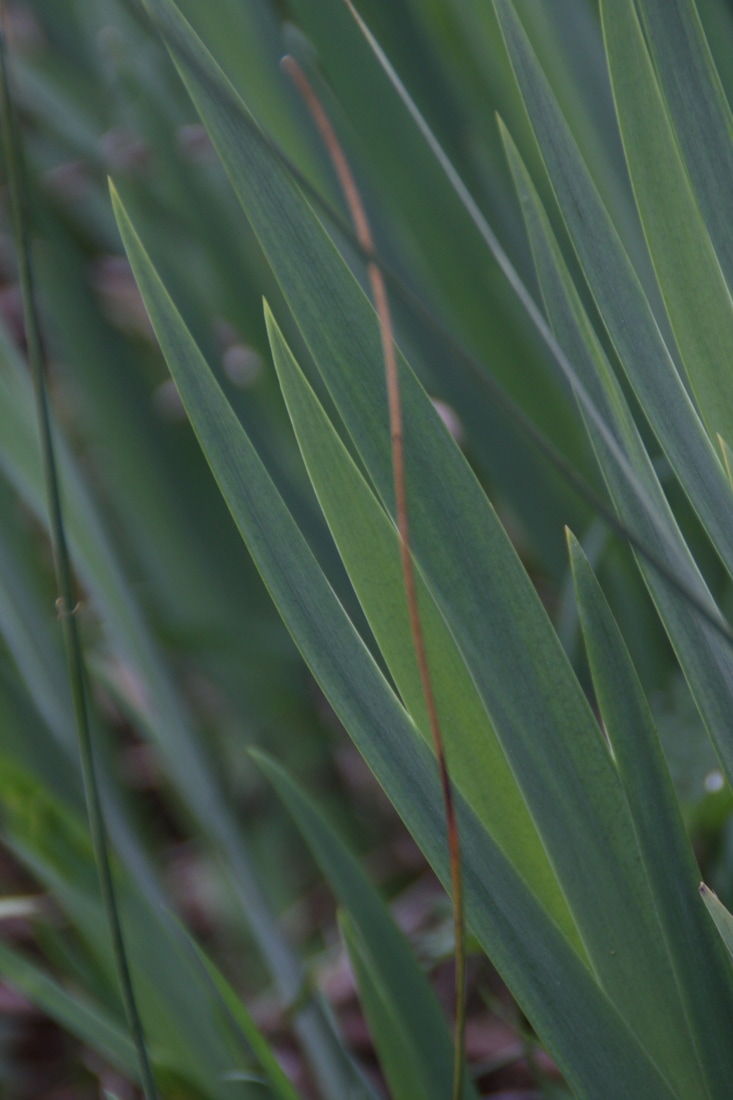
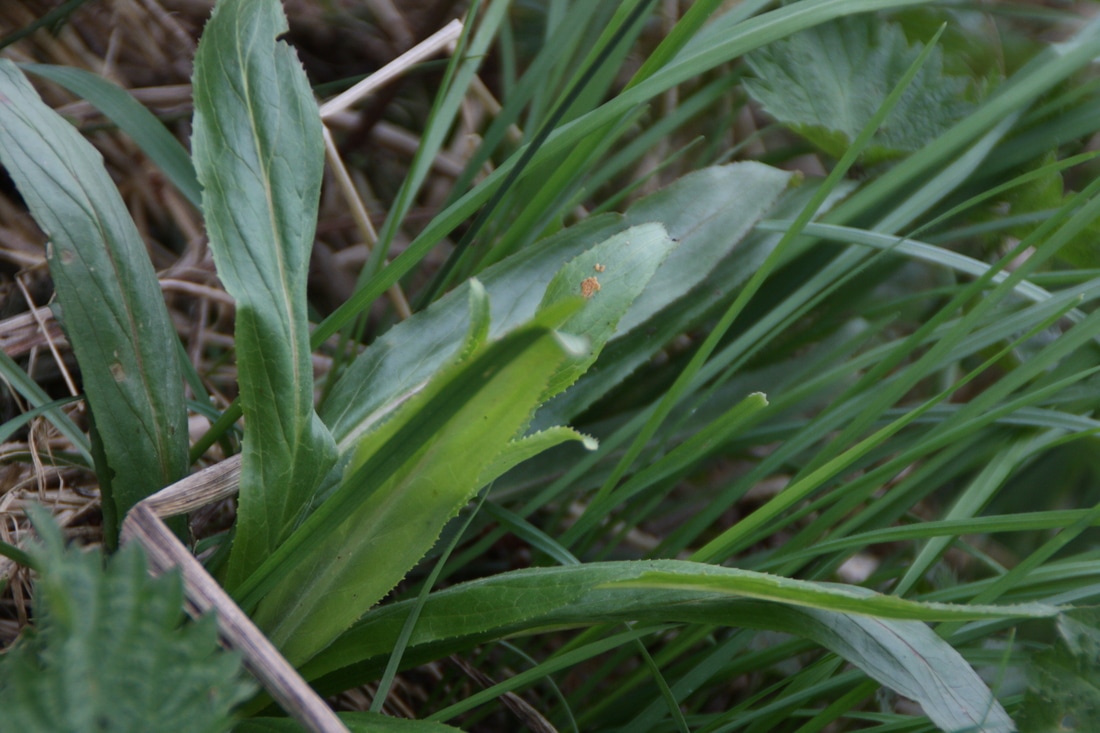
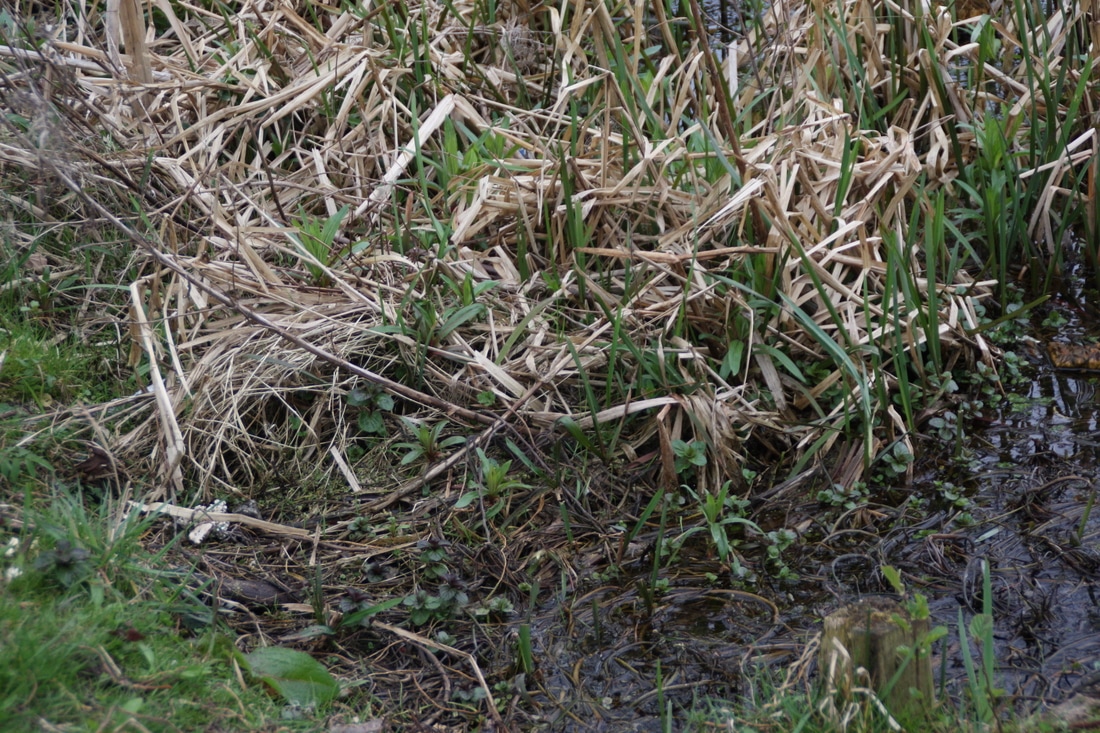
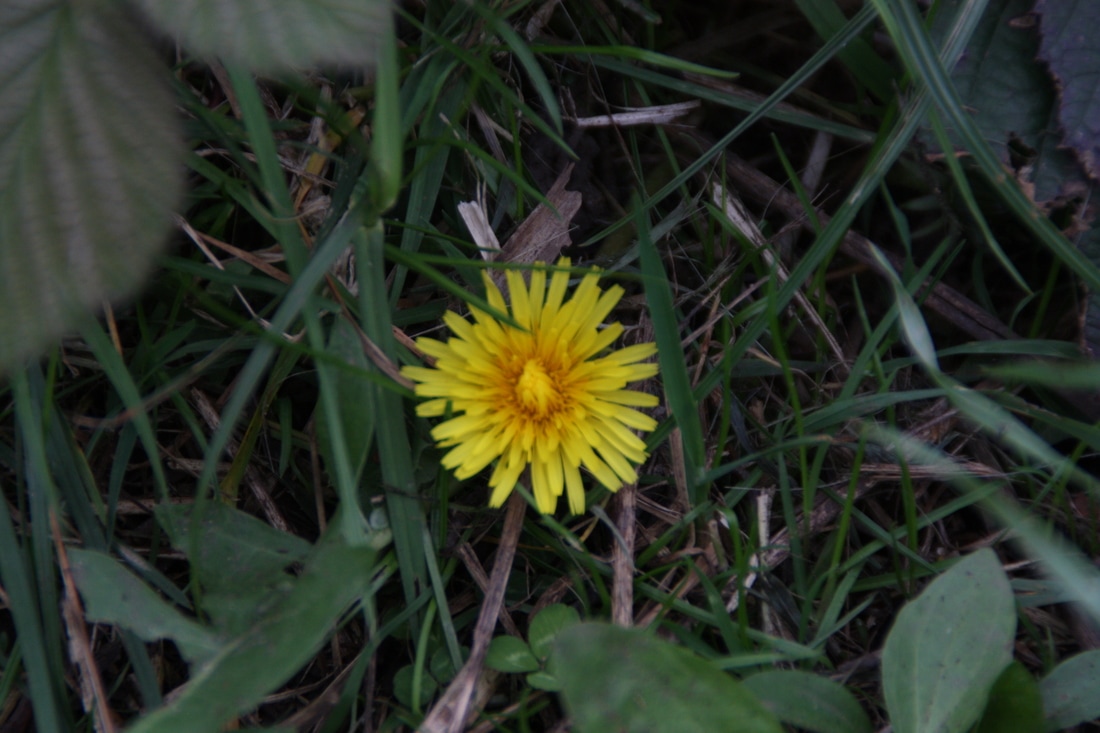
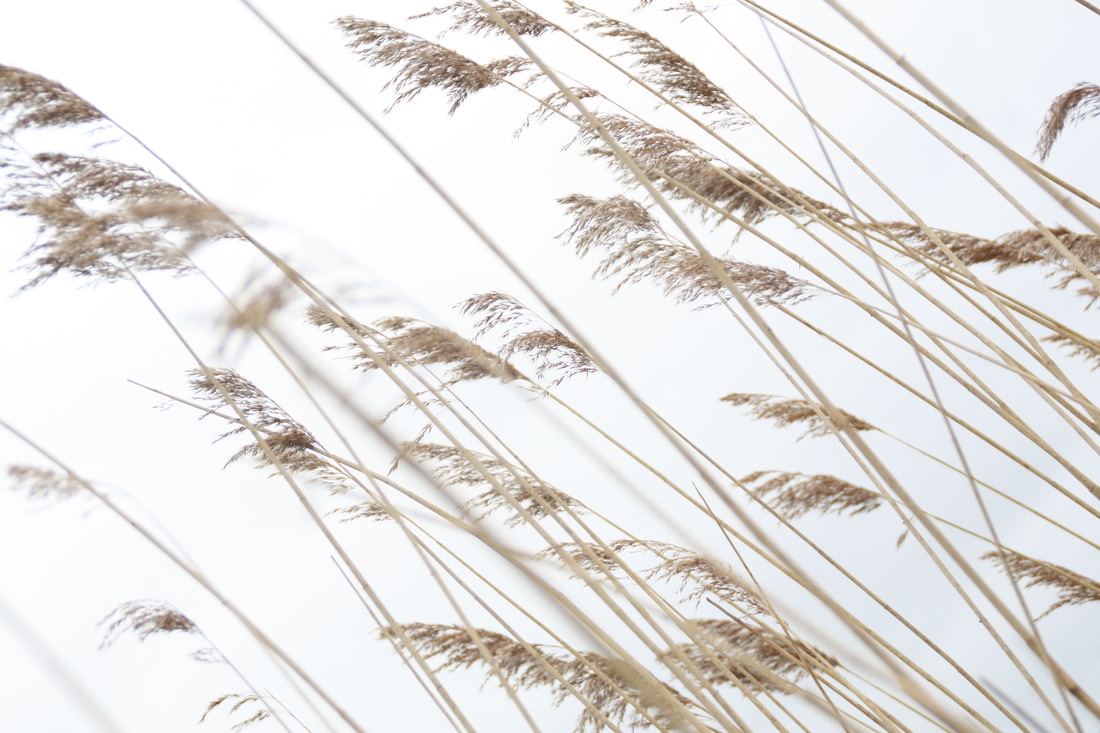
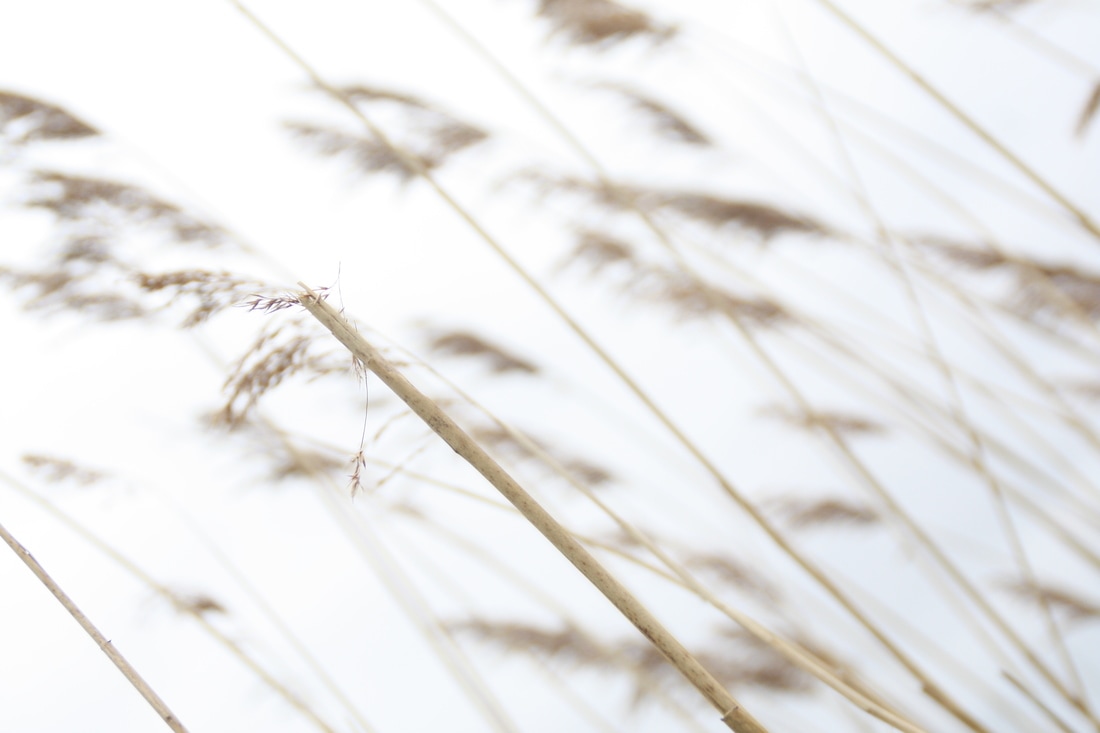
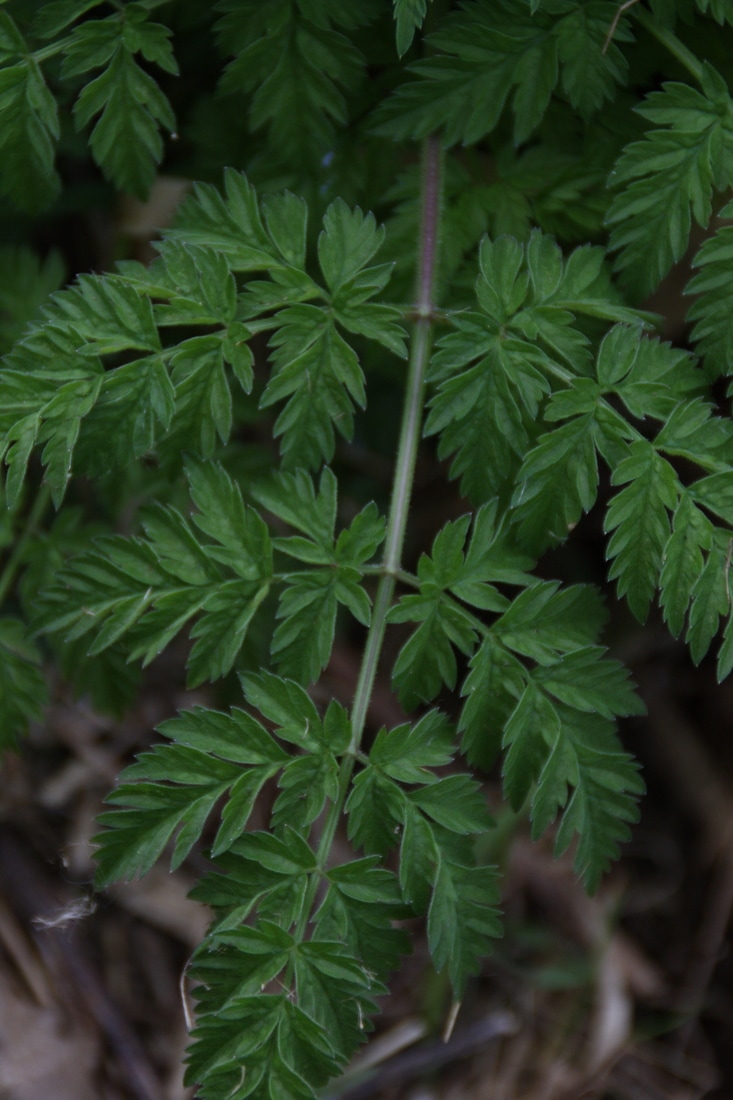
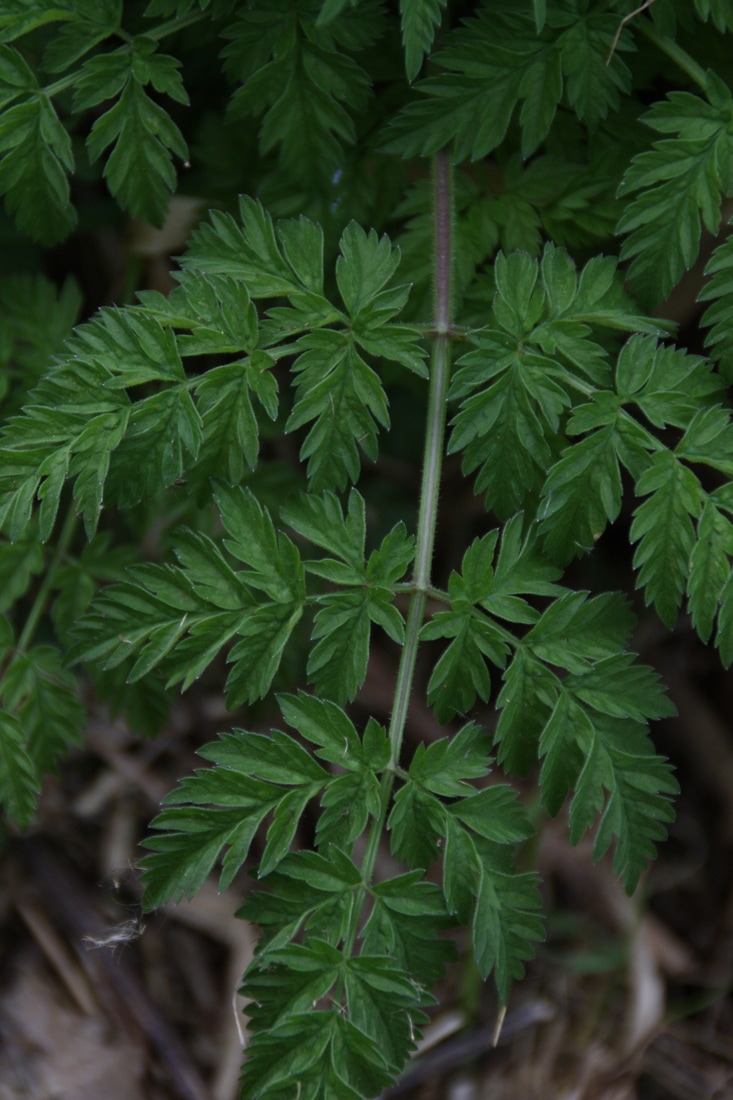
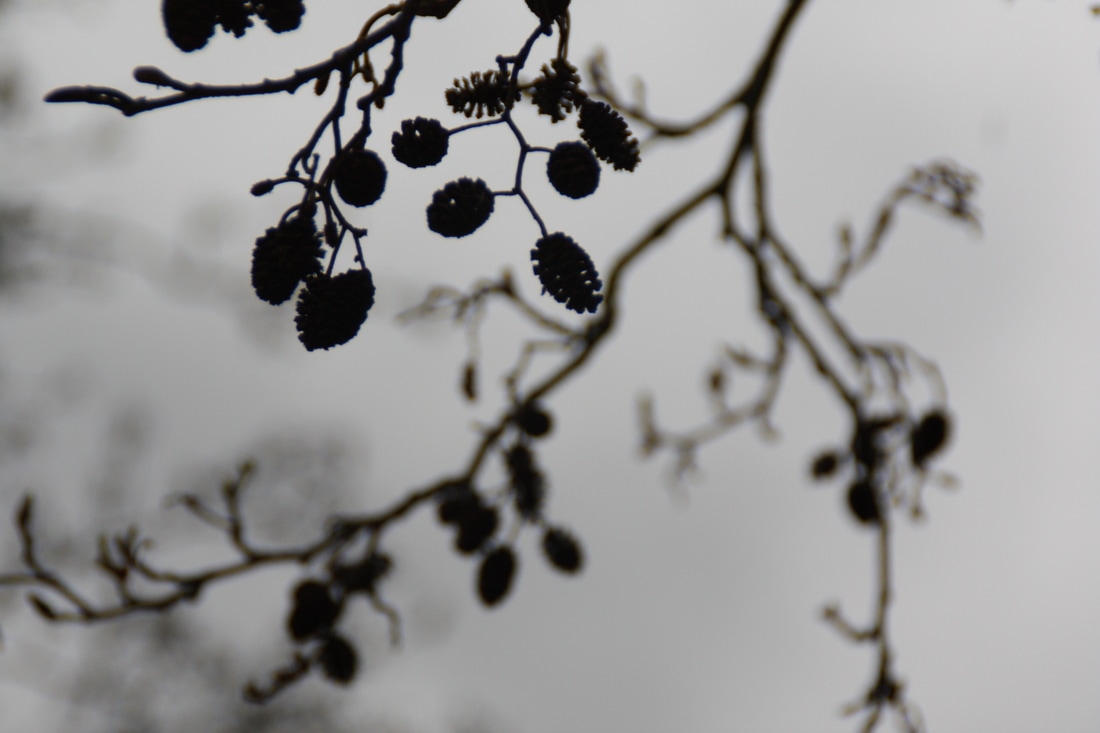
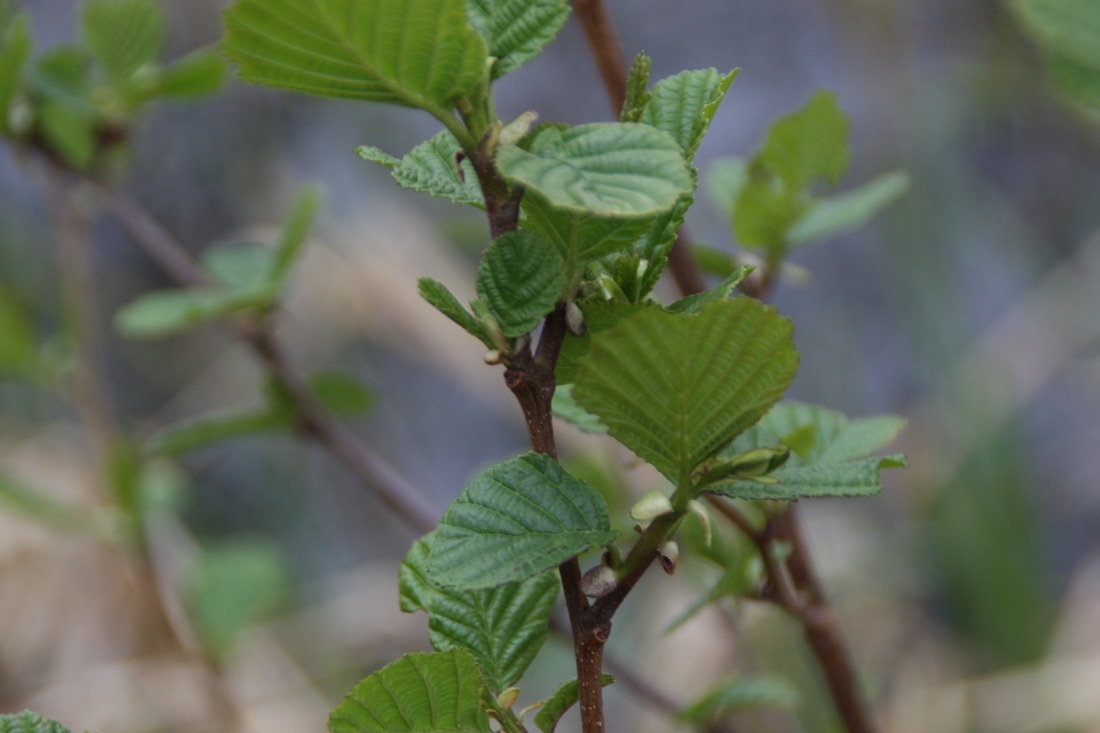
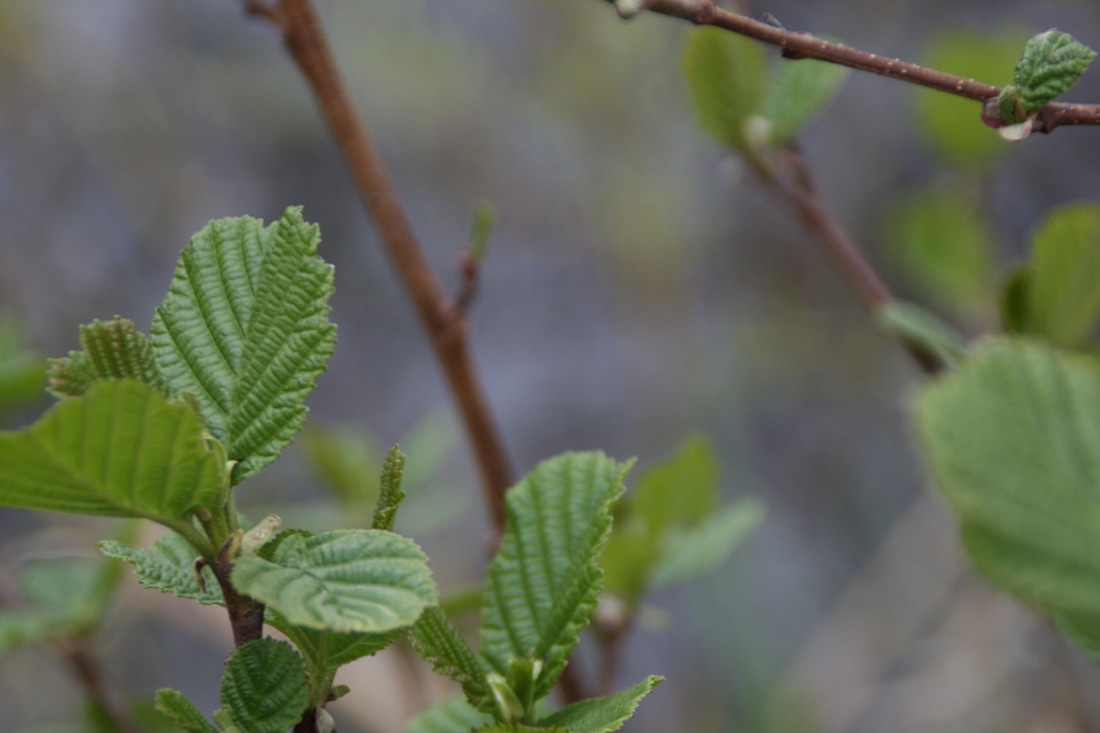
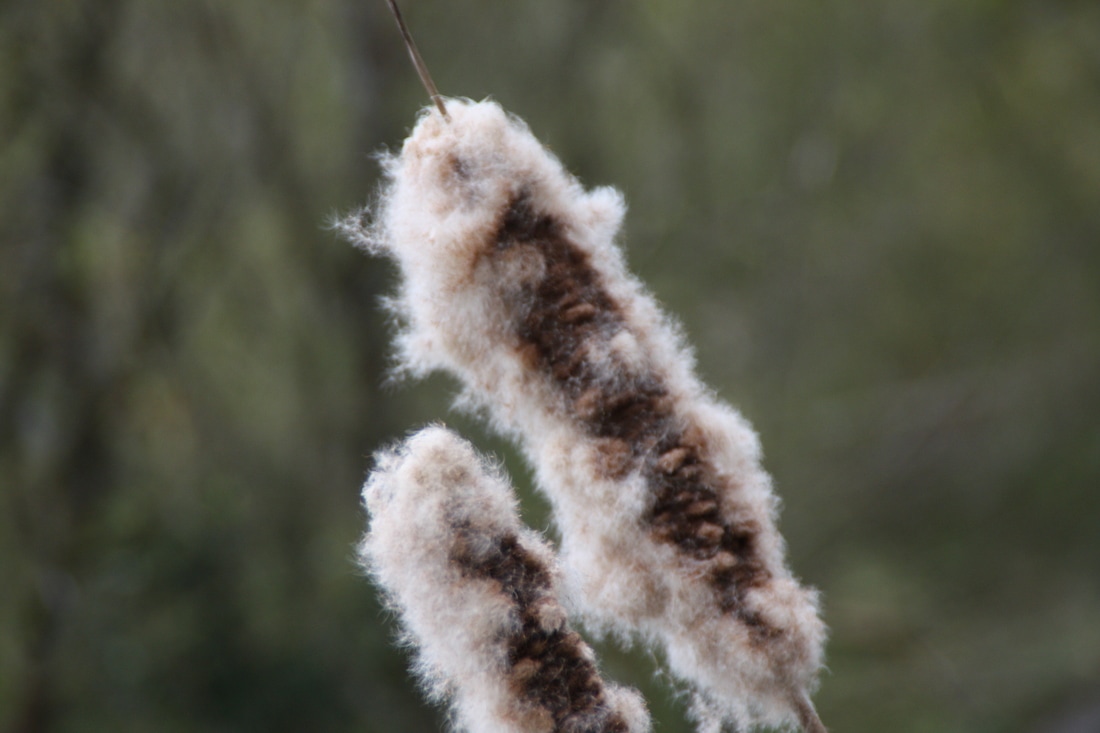
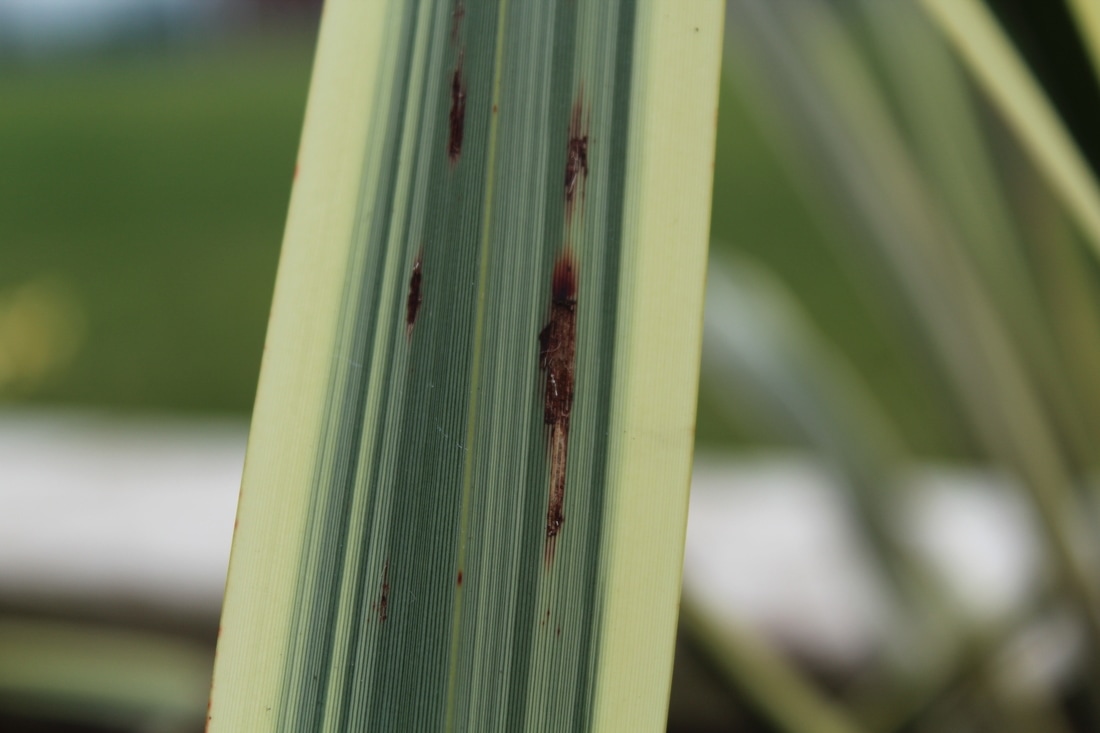
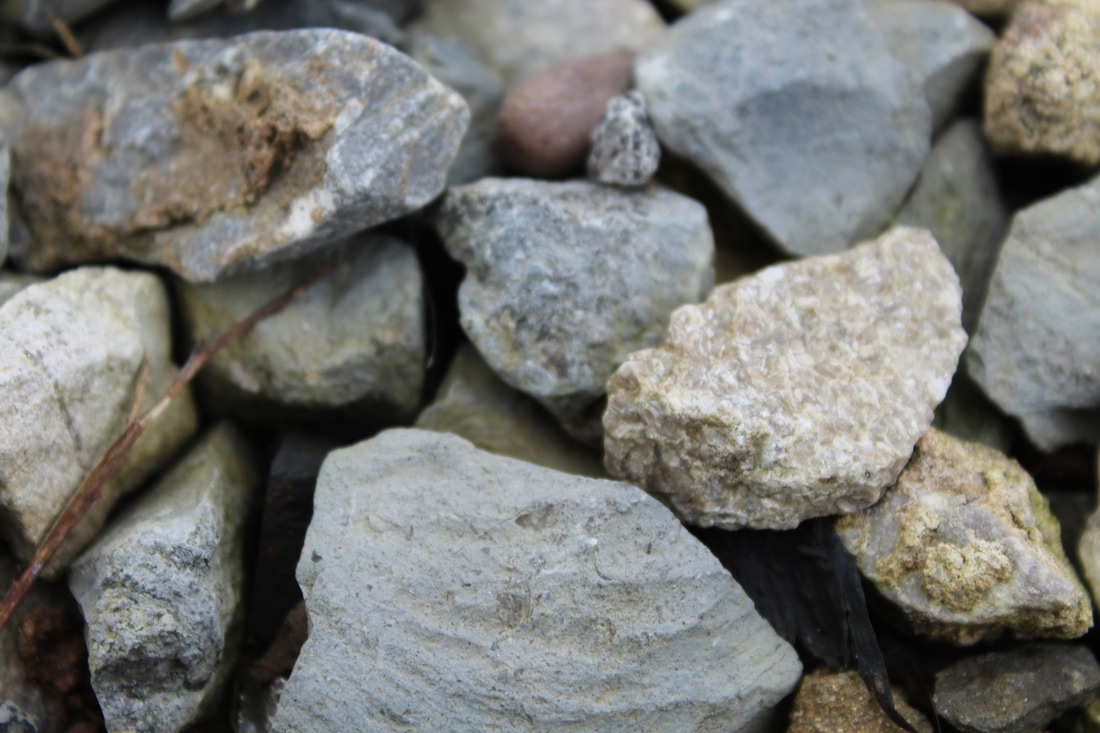
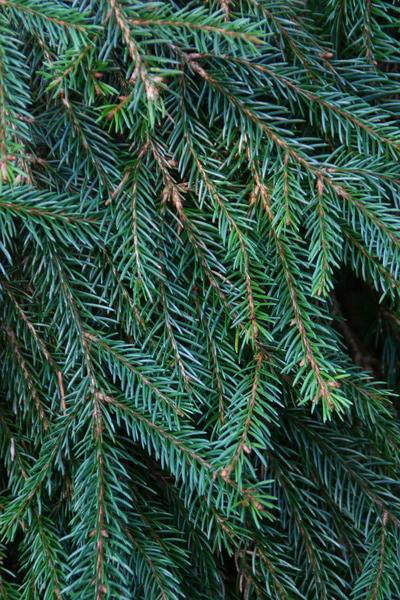
For my first shoot I am going to follow my mind map and take photos of nature that includes trees , leaves and flowers. When I take these photos I am going to capture the detail and texture of different natural forms using the large aperture of 5.6 which gives me a small depth of field that puts the background out of focus and gives the object more detail. I will do this shoot outside.

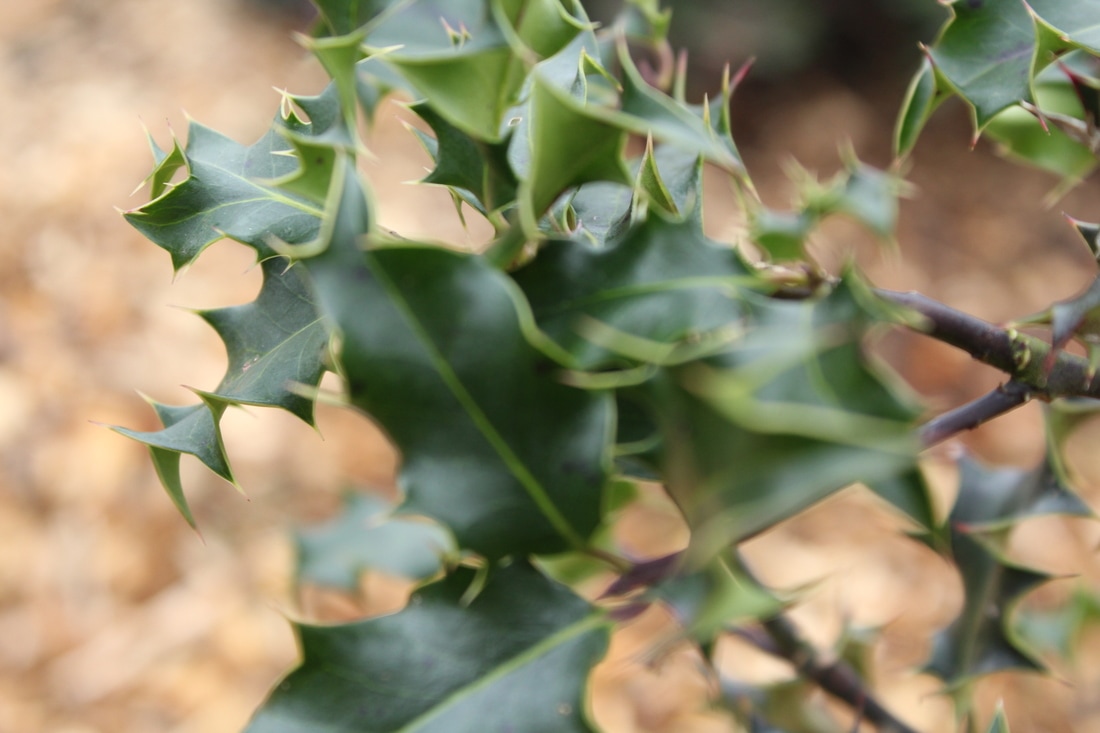

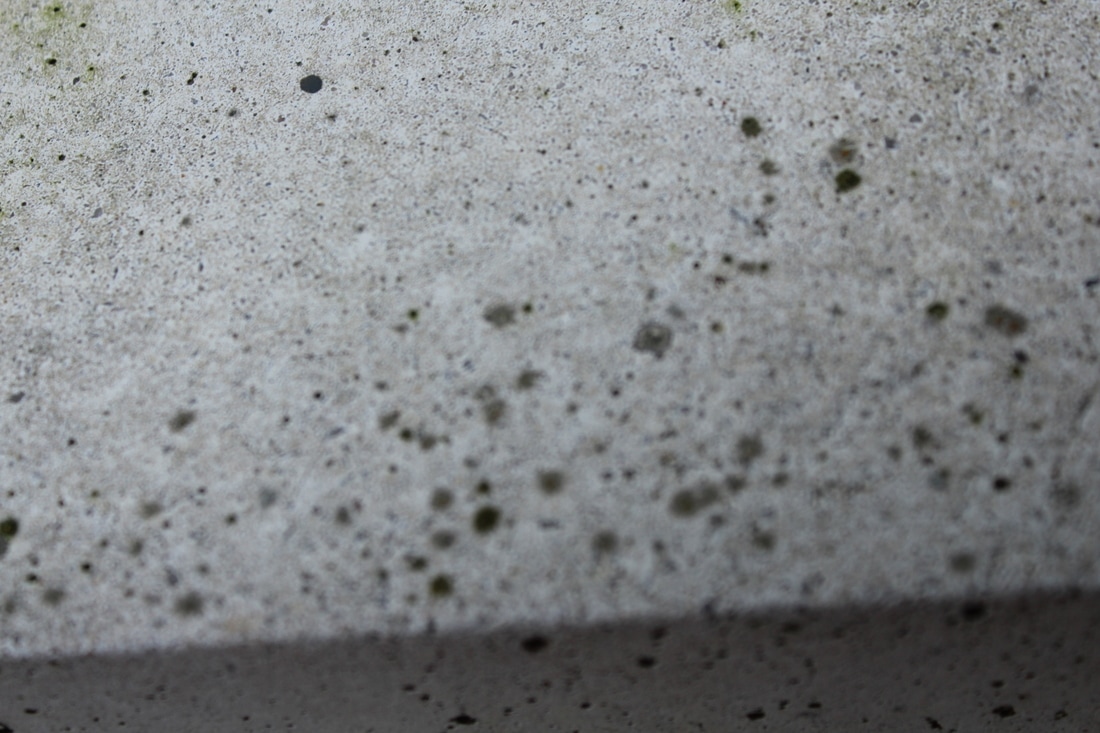
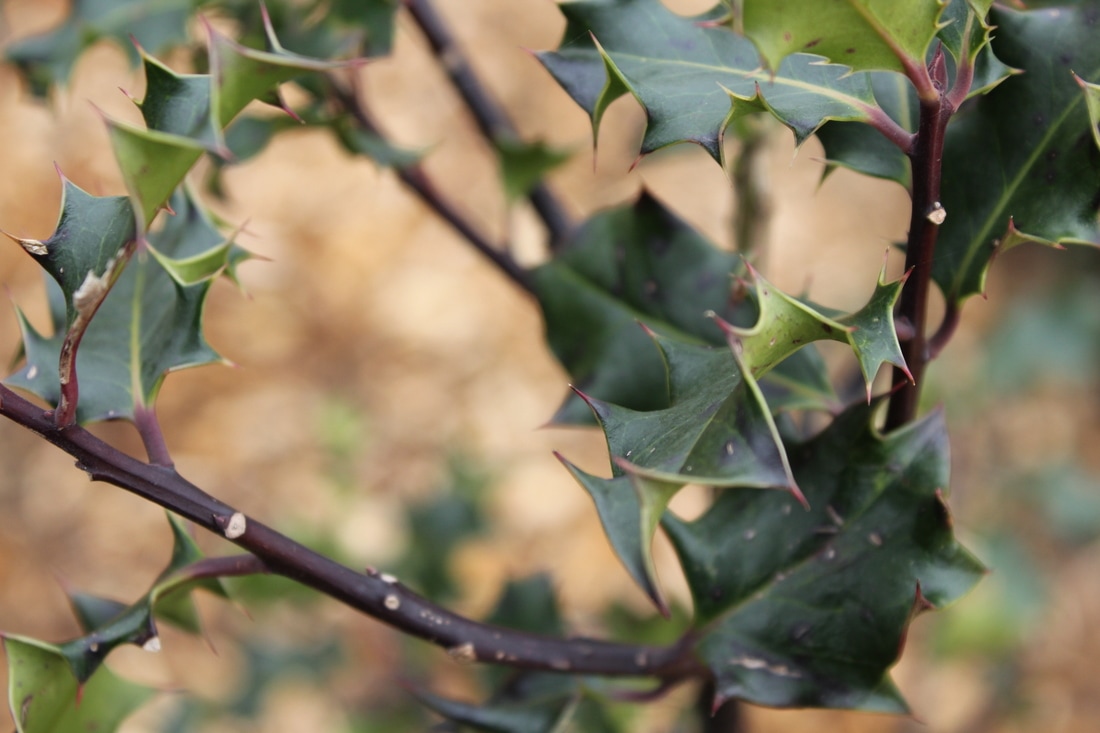


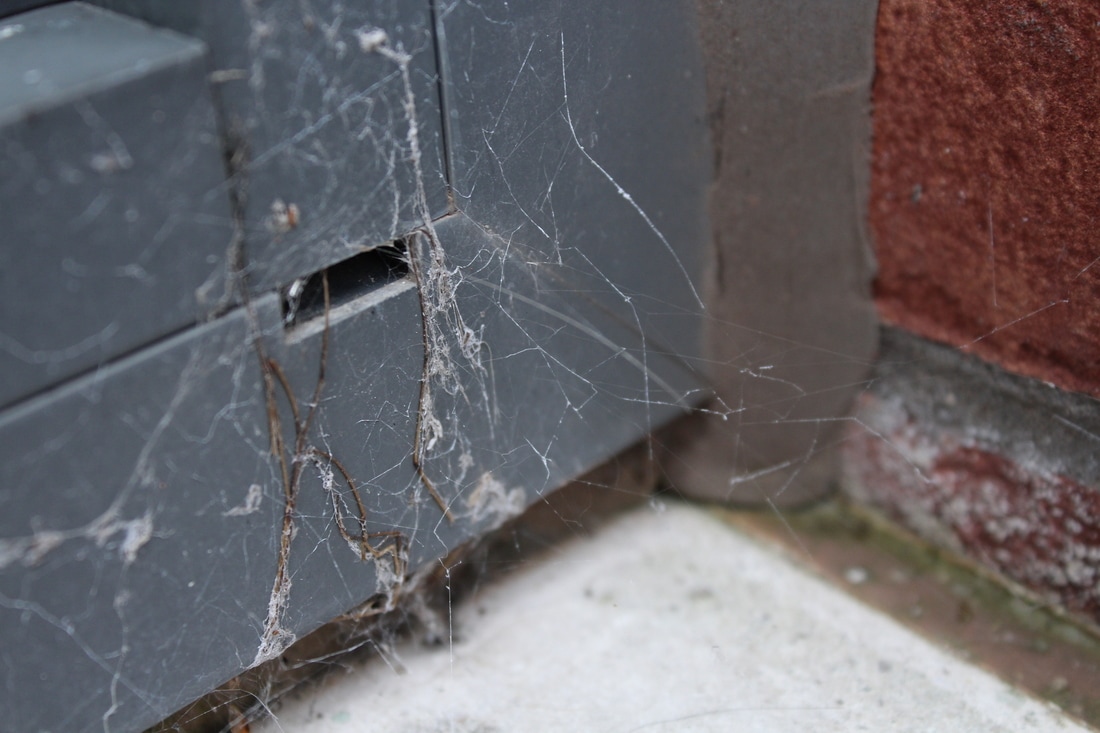
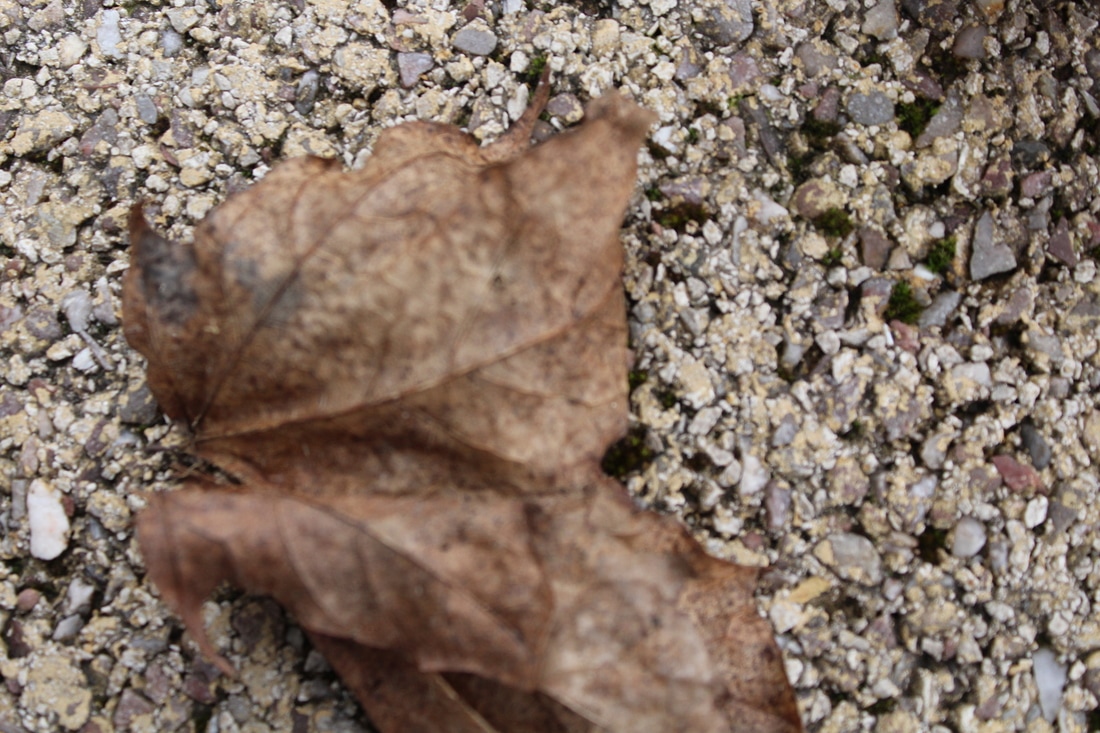
Worst
I don't like this picture as it doesn't capture the type of detail that I was wanting, I didn't intend for it to be blurred in parts as I wanted to focus on the detail of each individual leaf. I have managed to capture the detail of two leaves but it is still my least favourite as it didn't go to plan.

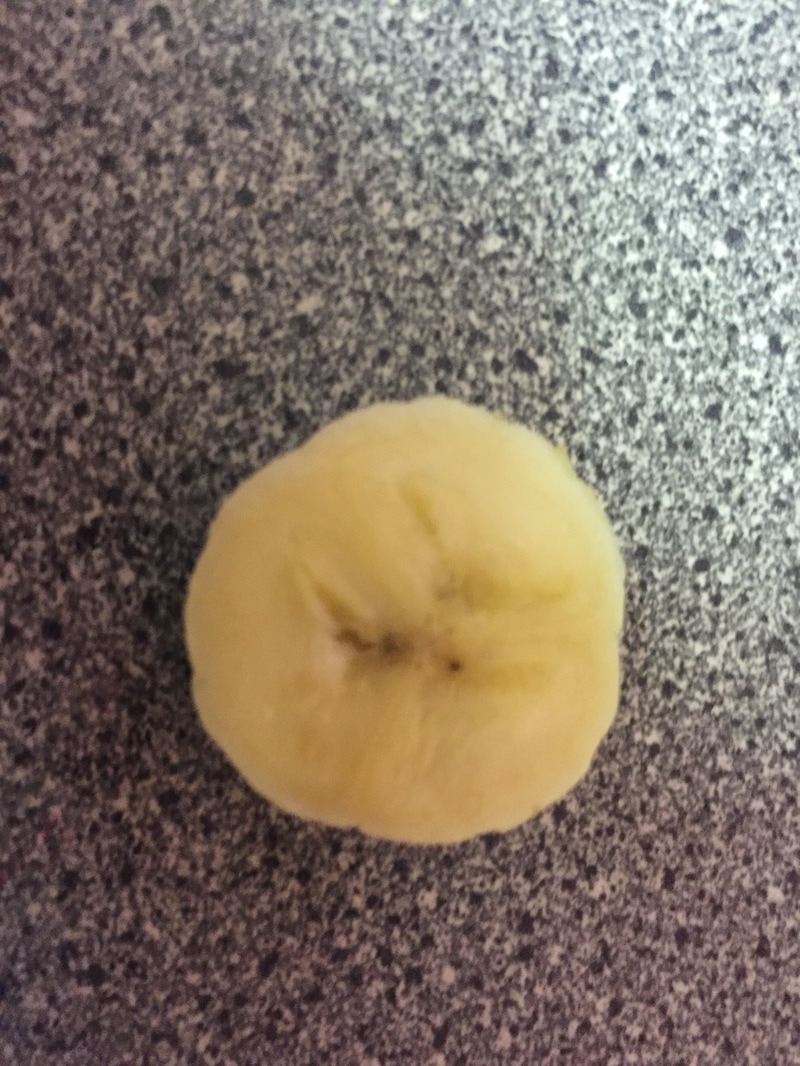
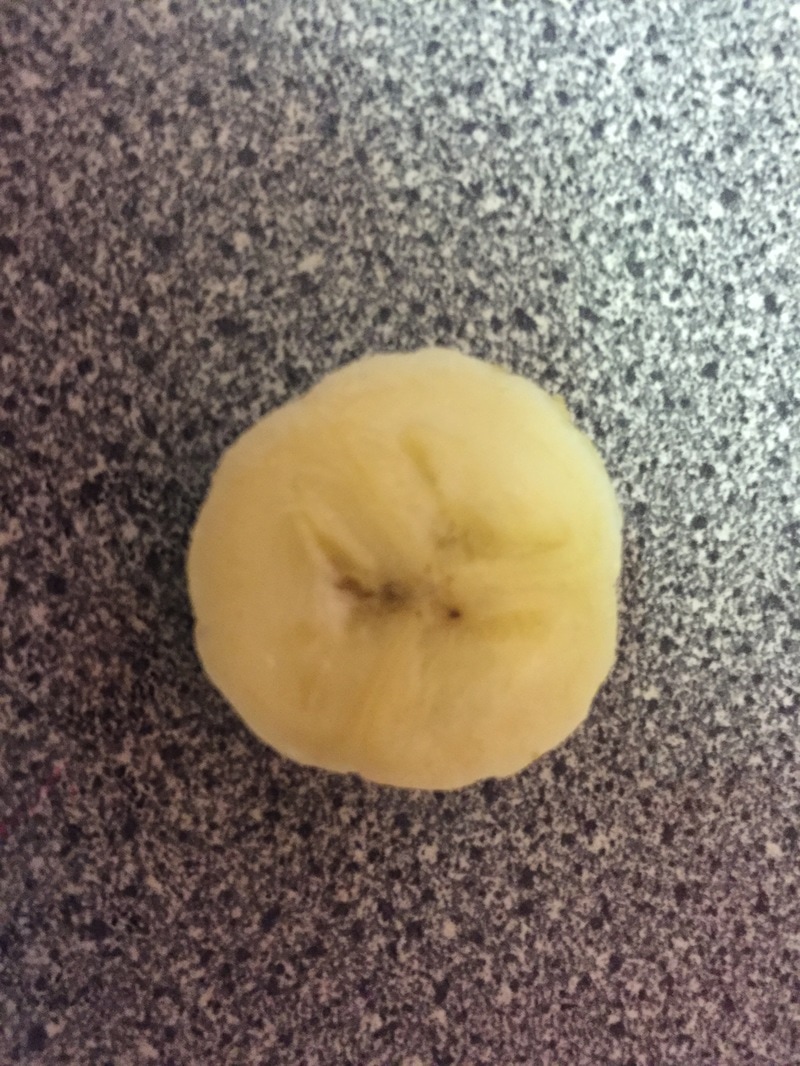
Best
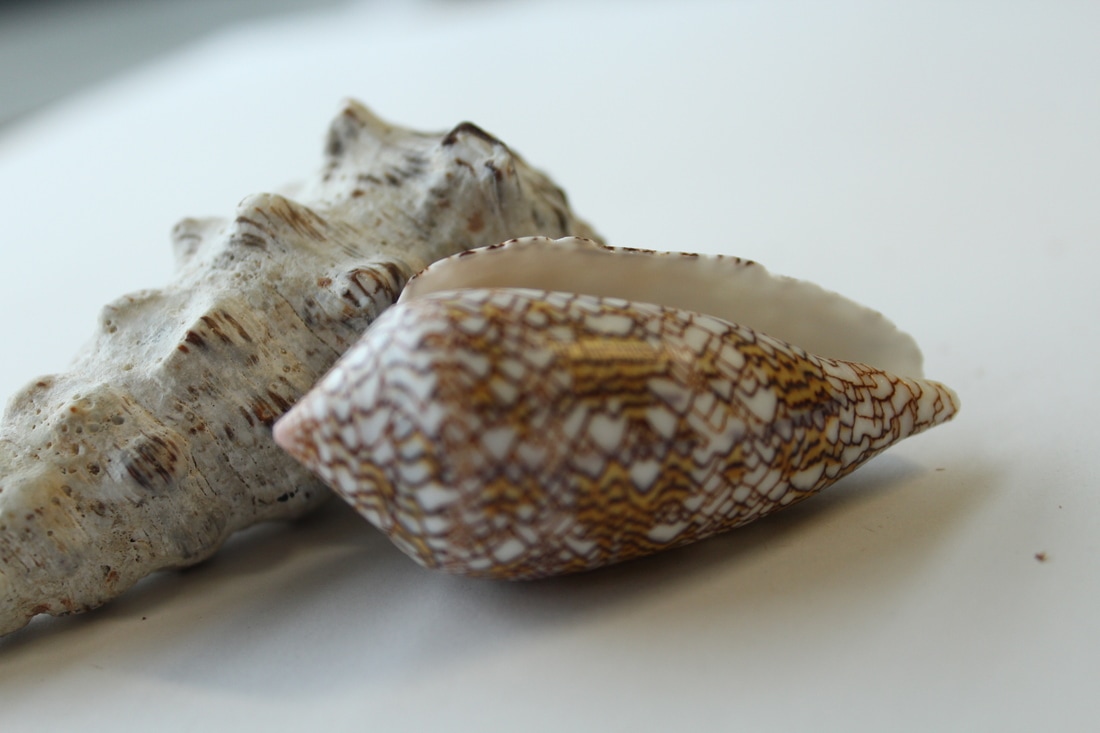
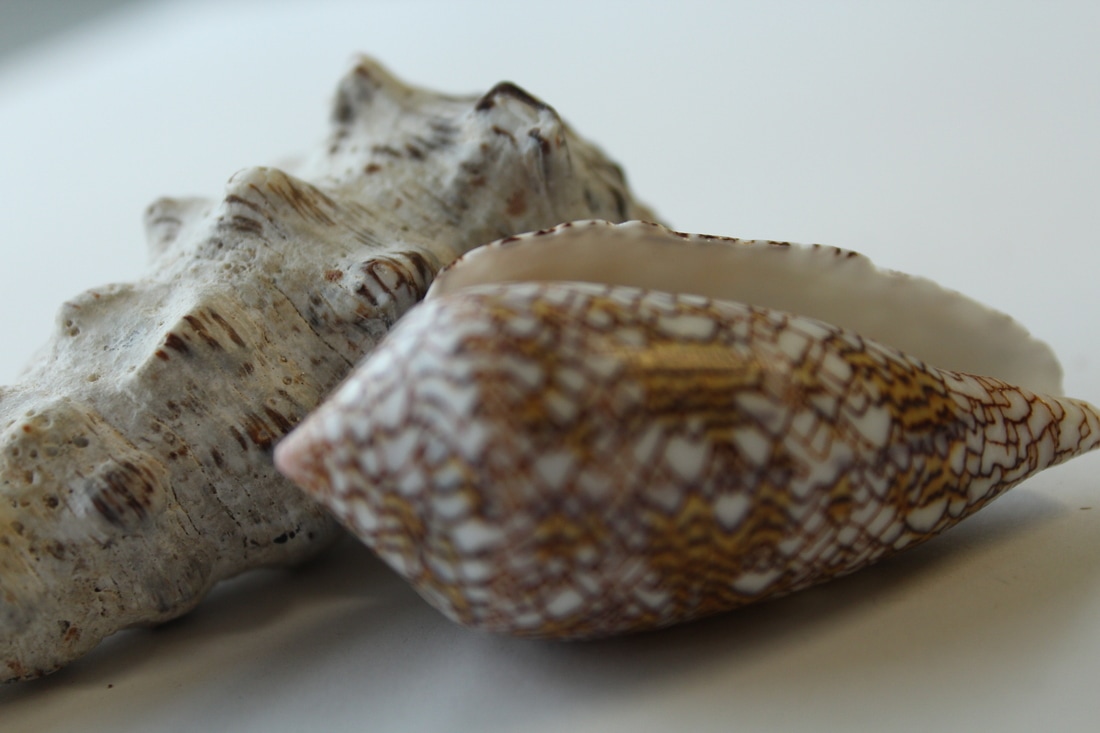
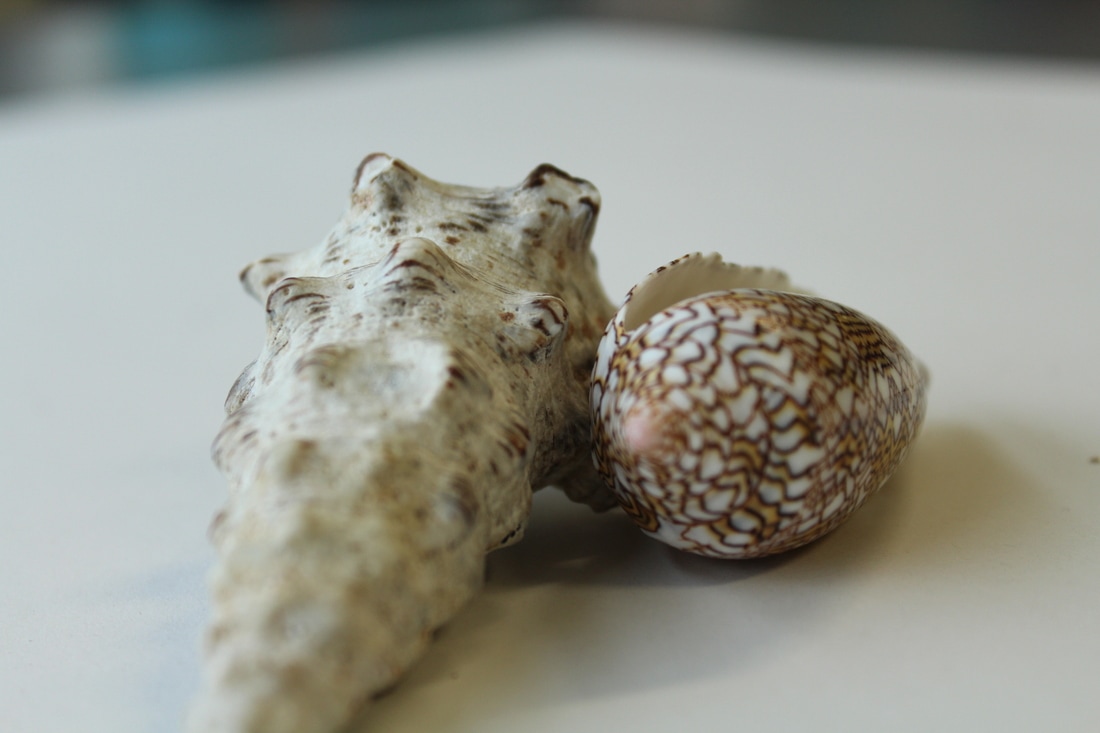
I love how iv managed to capture the different shapes and patterns from each stone and the aperture I have used really shows the texture and variants in colour.

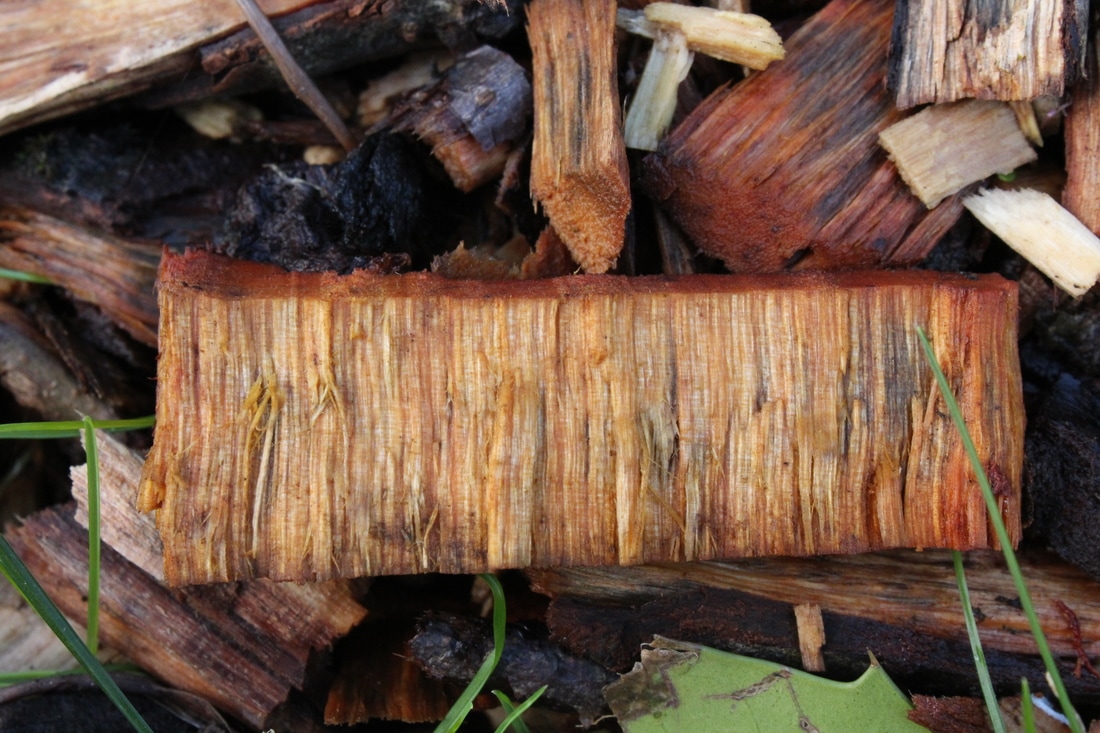
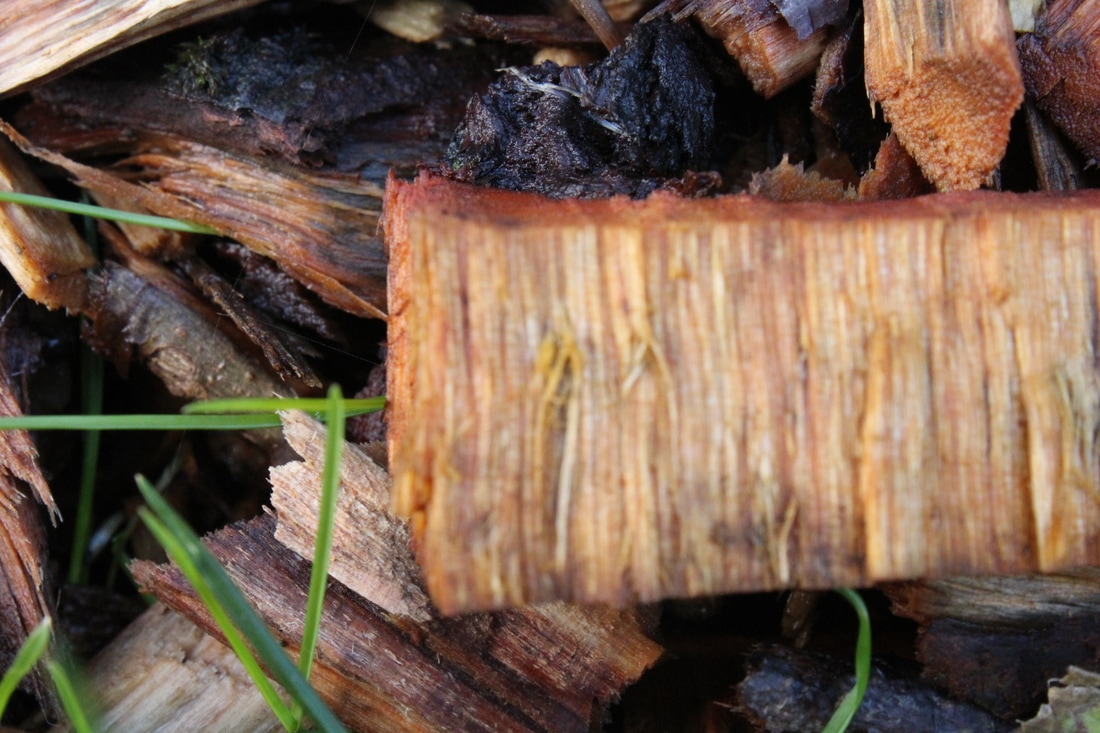
Shoot 2
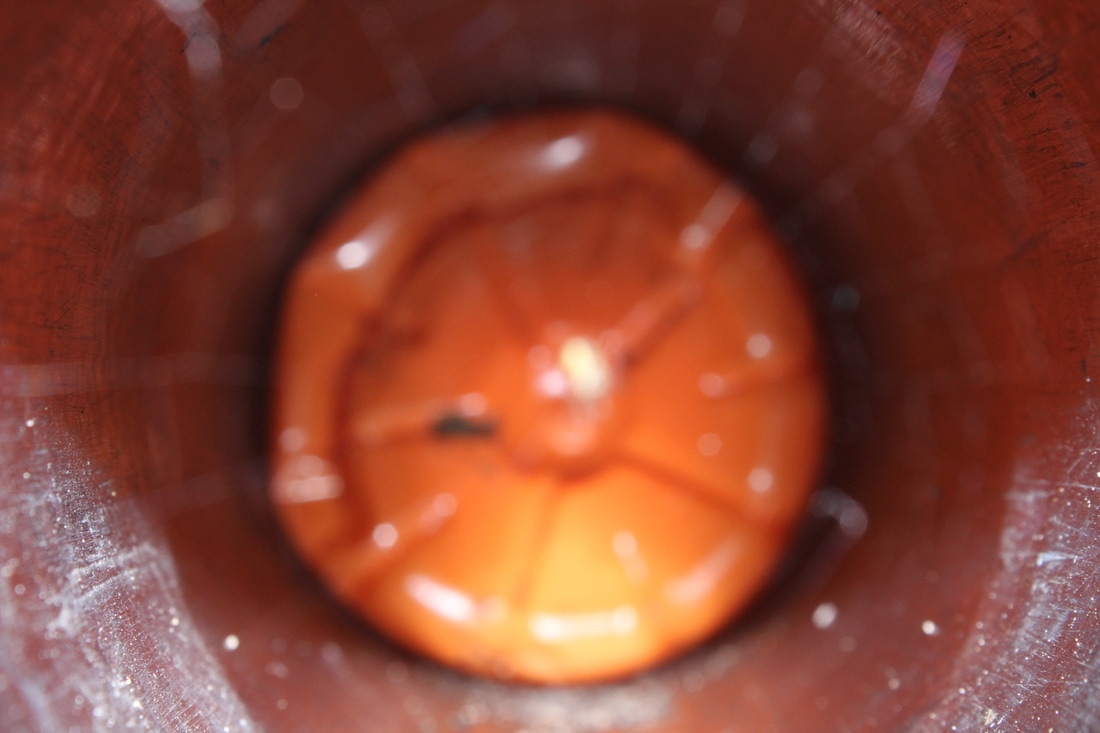
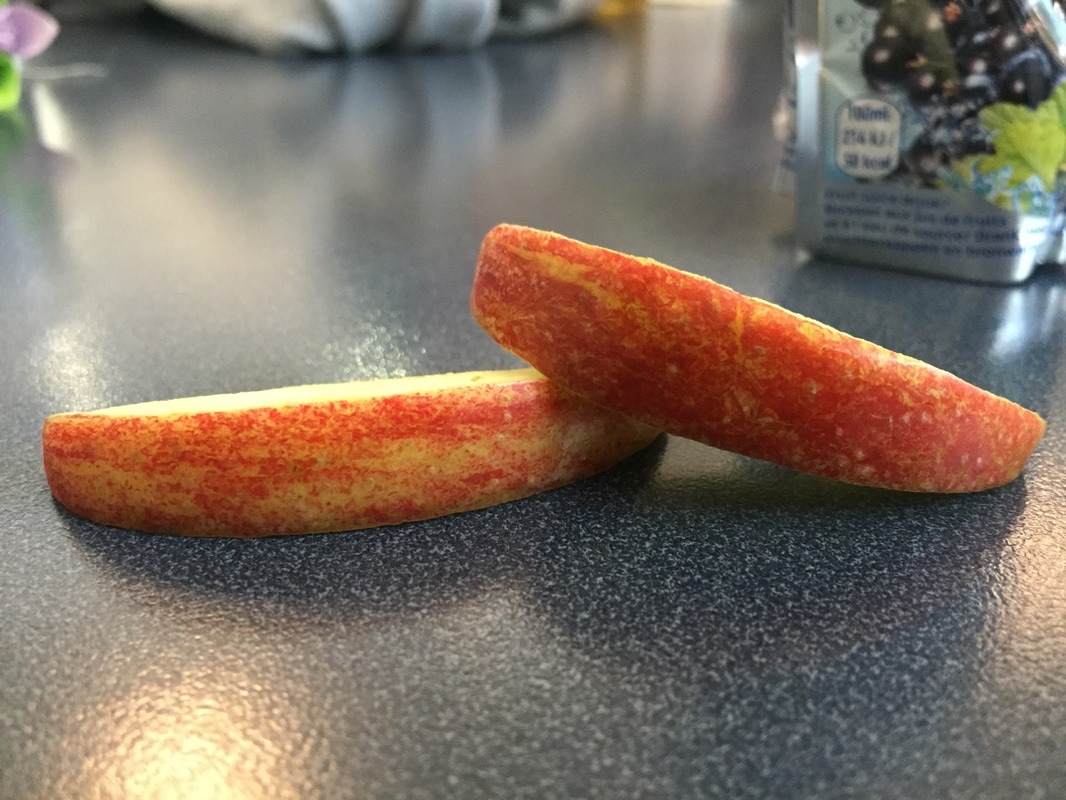
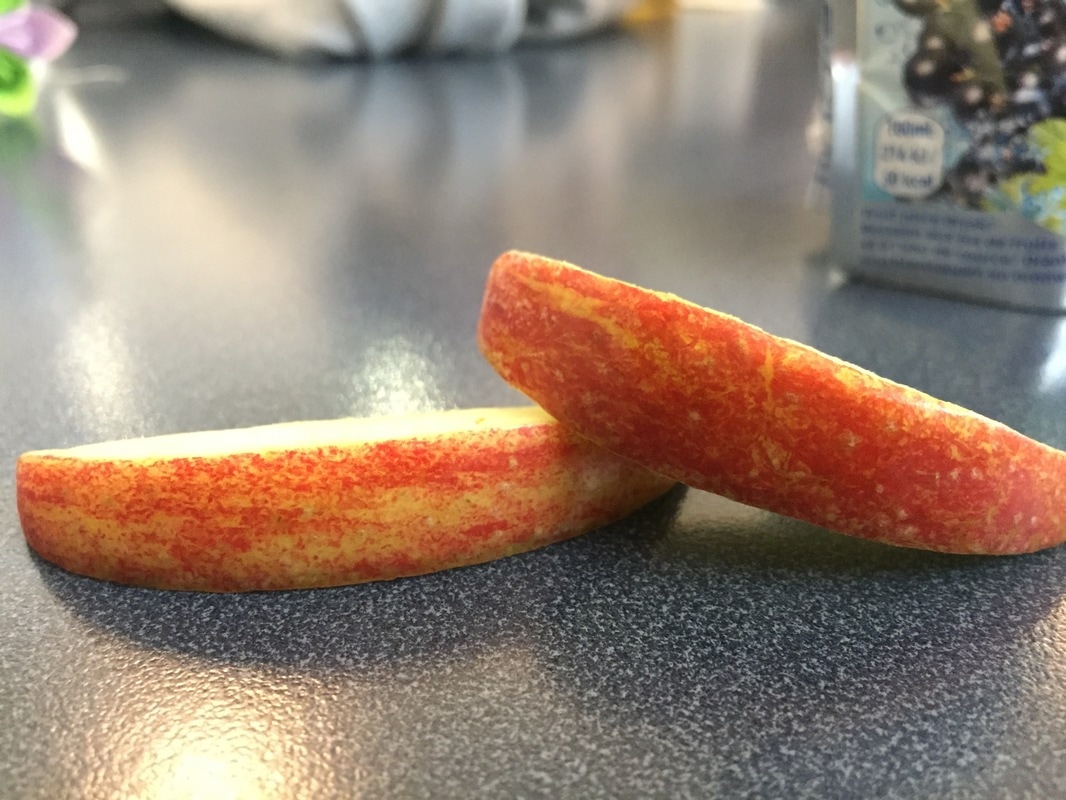
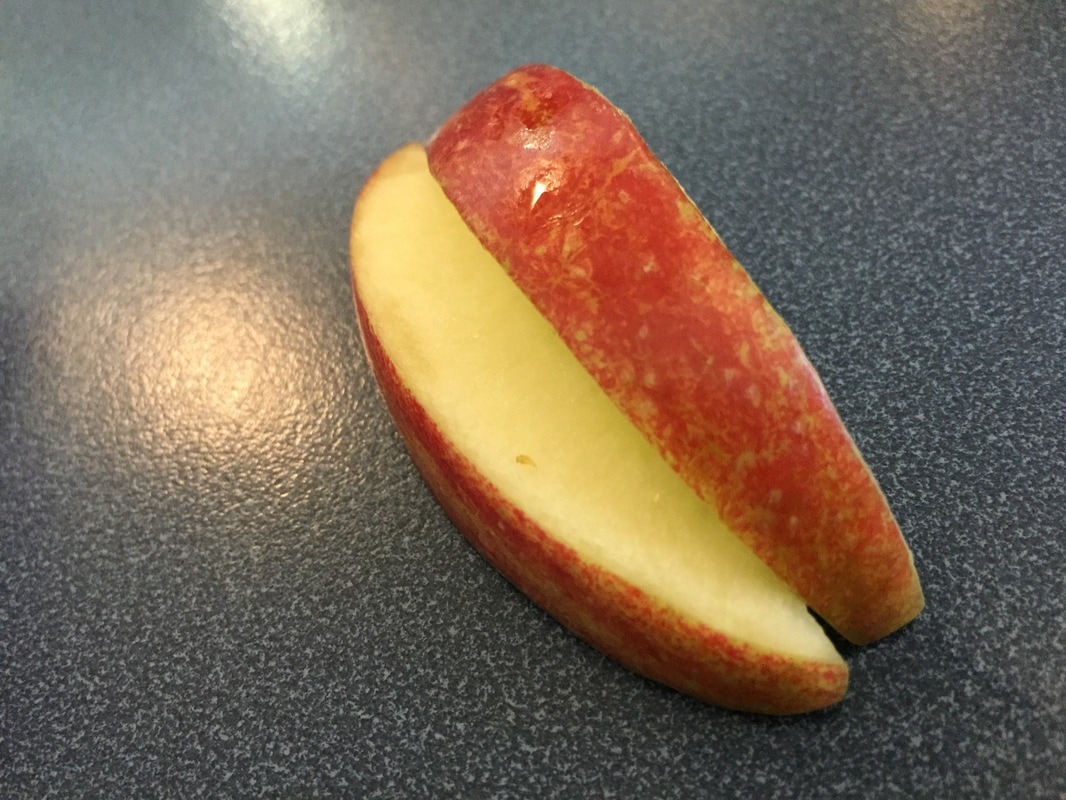
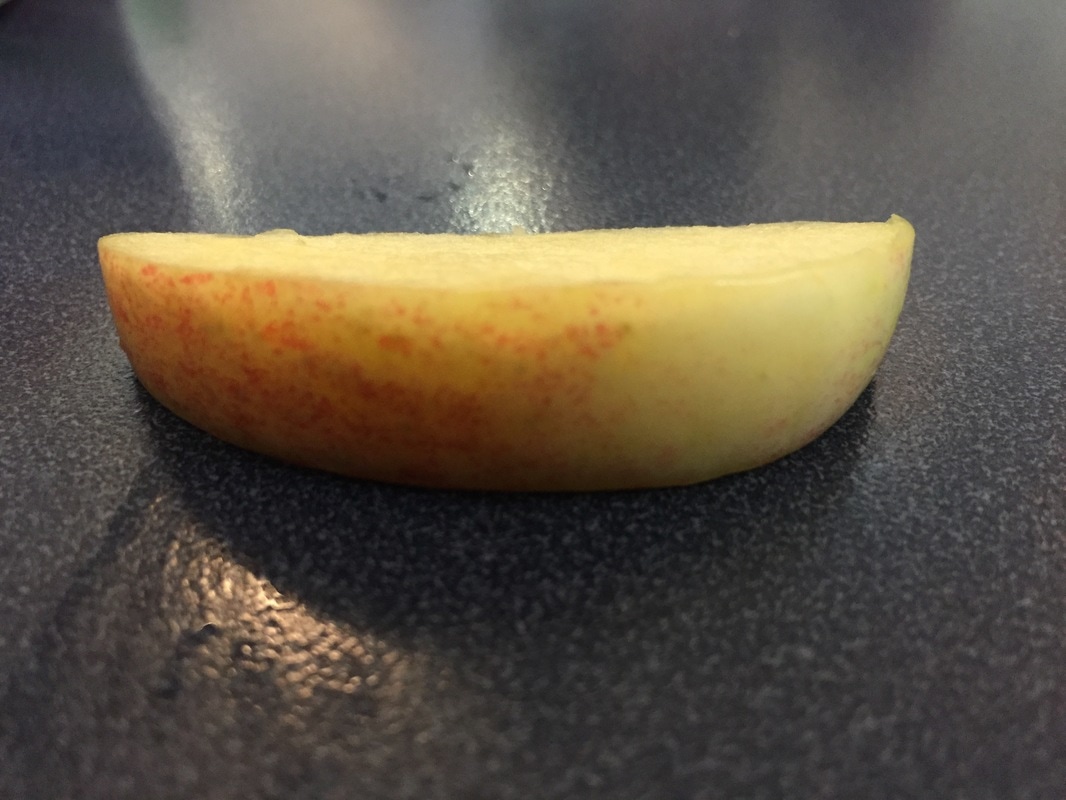
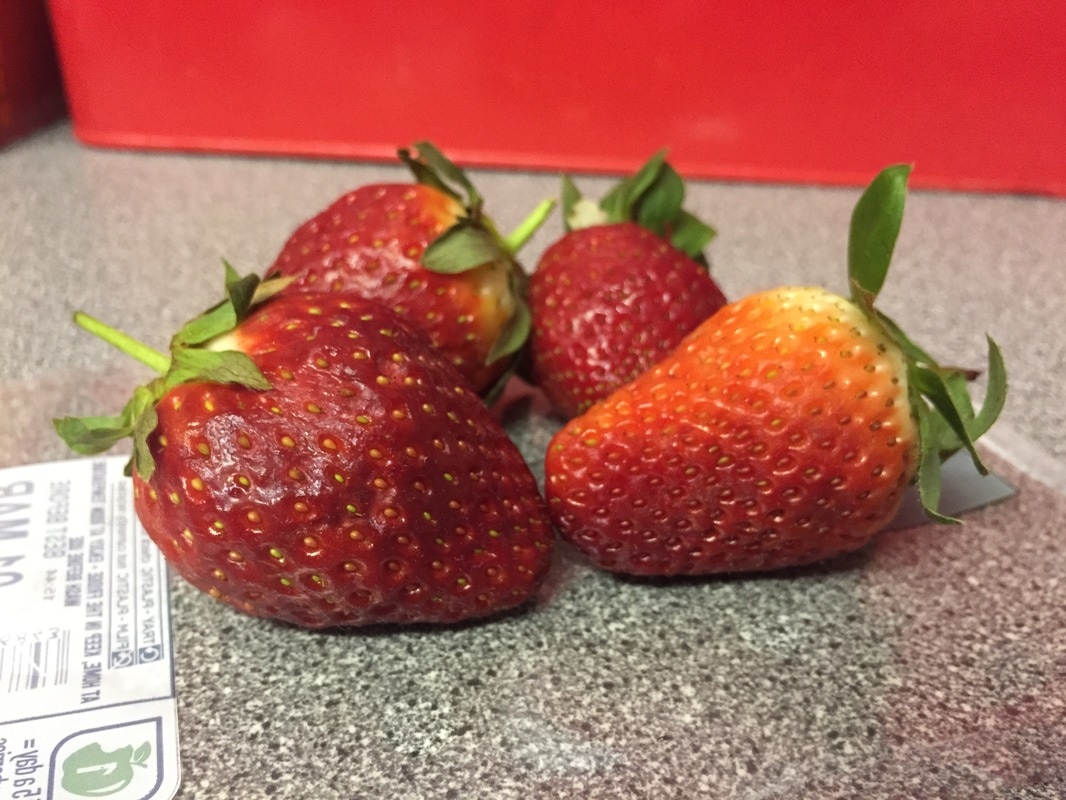
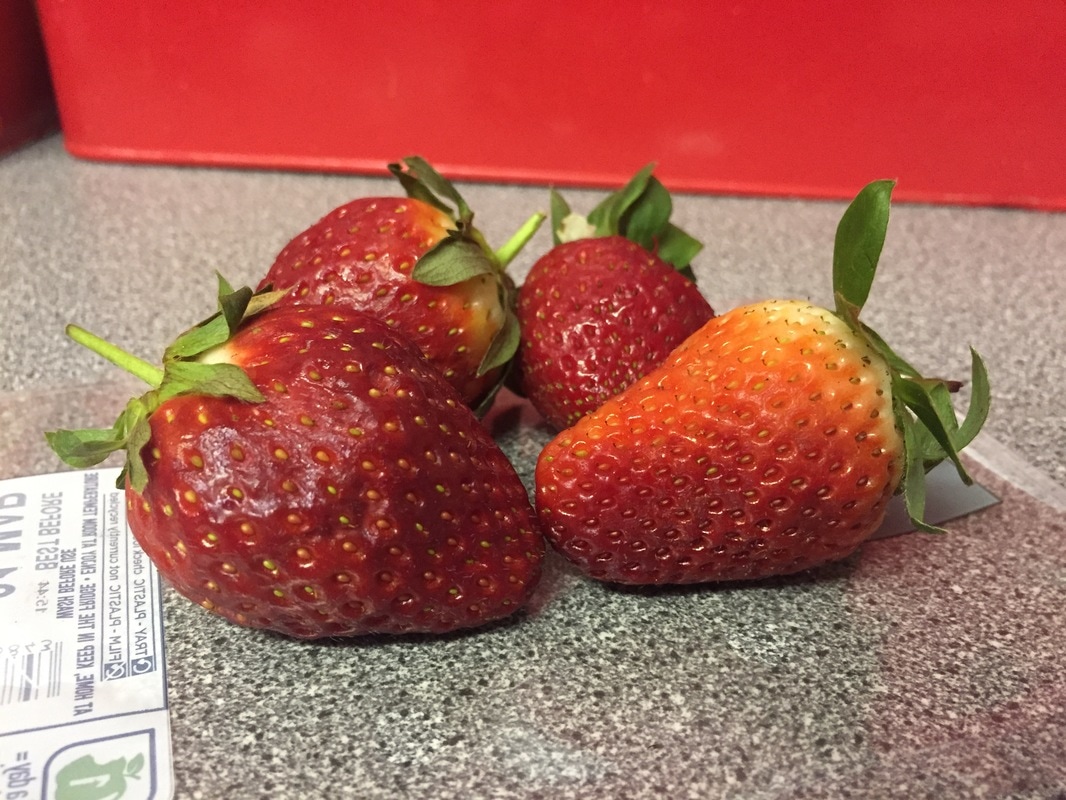
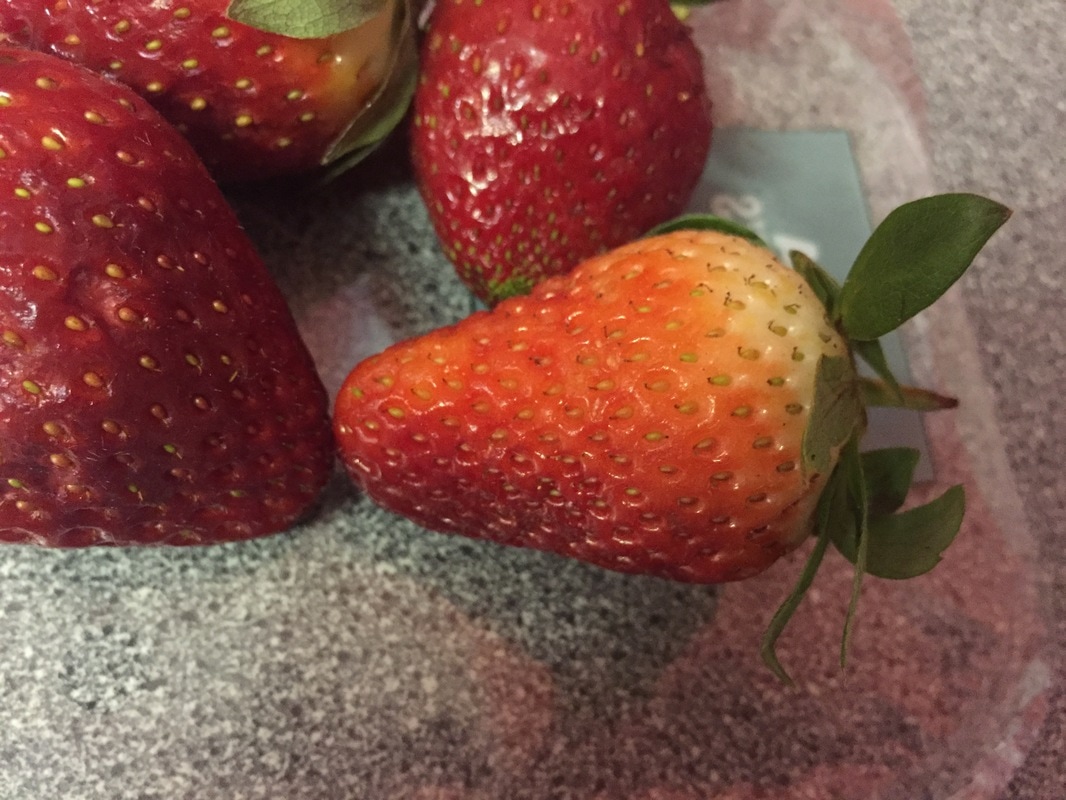
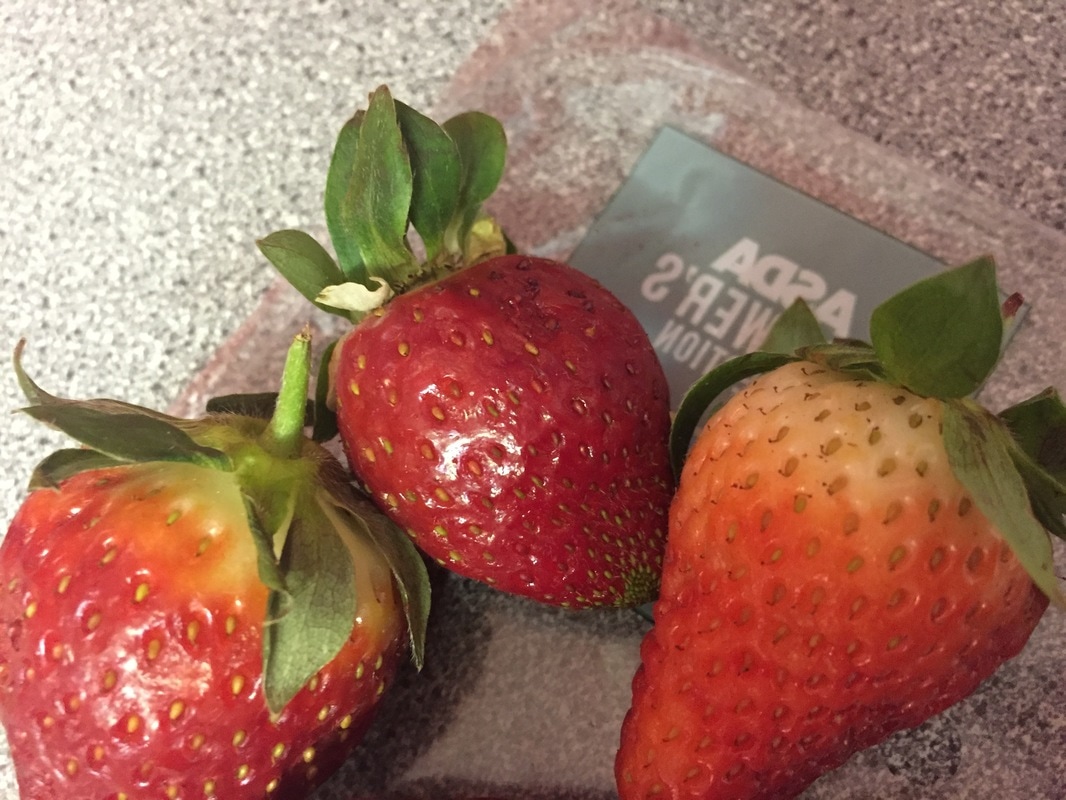
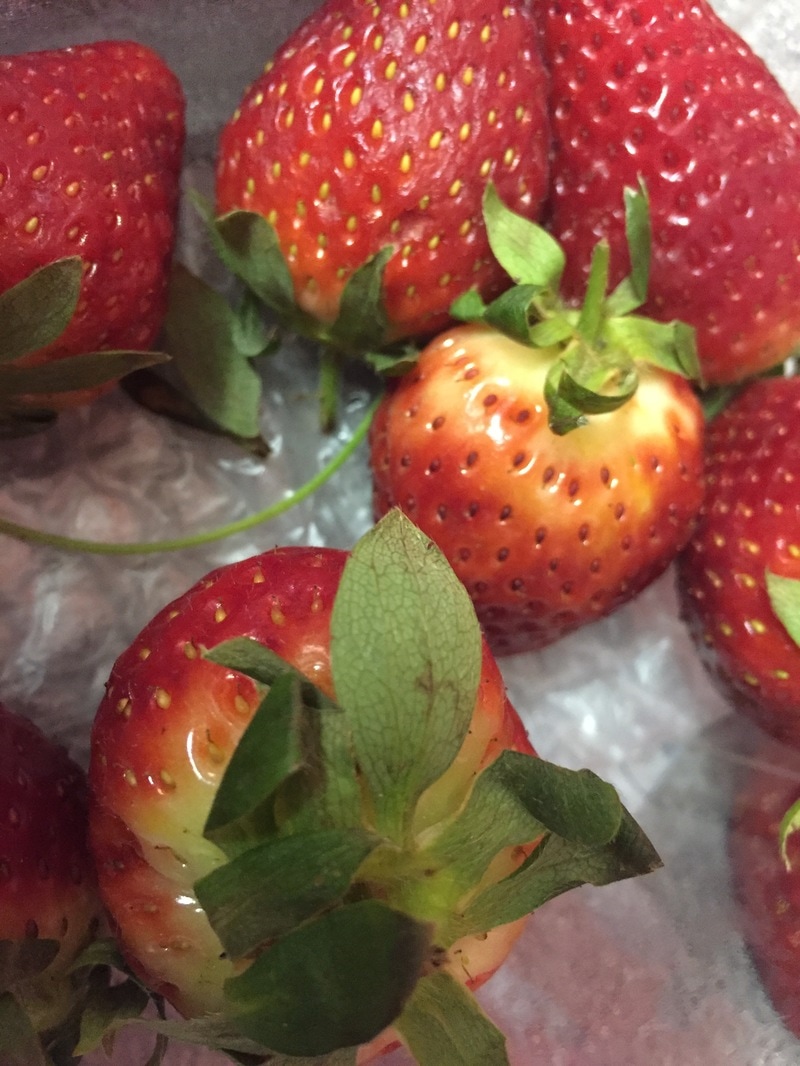
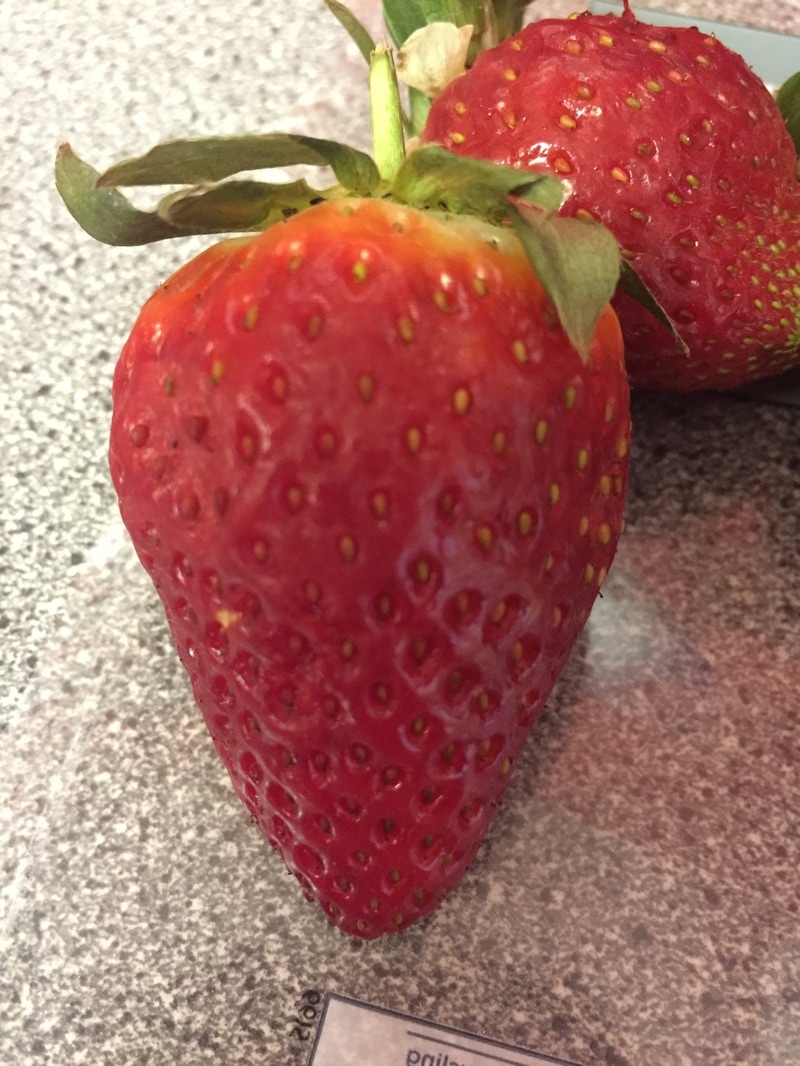
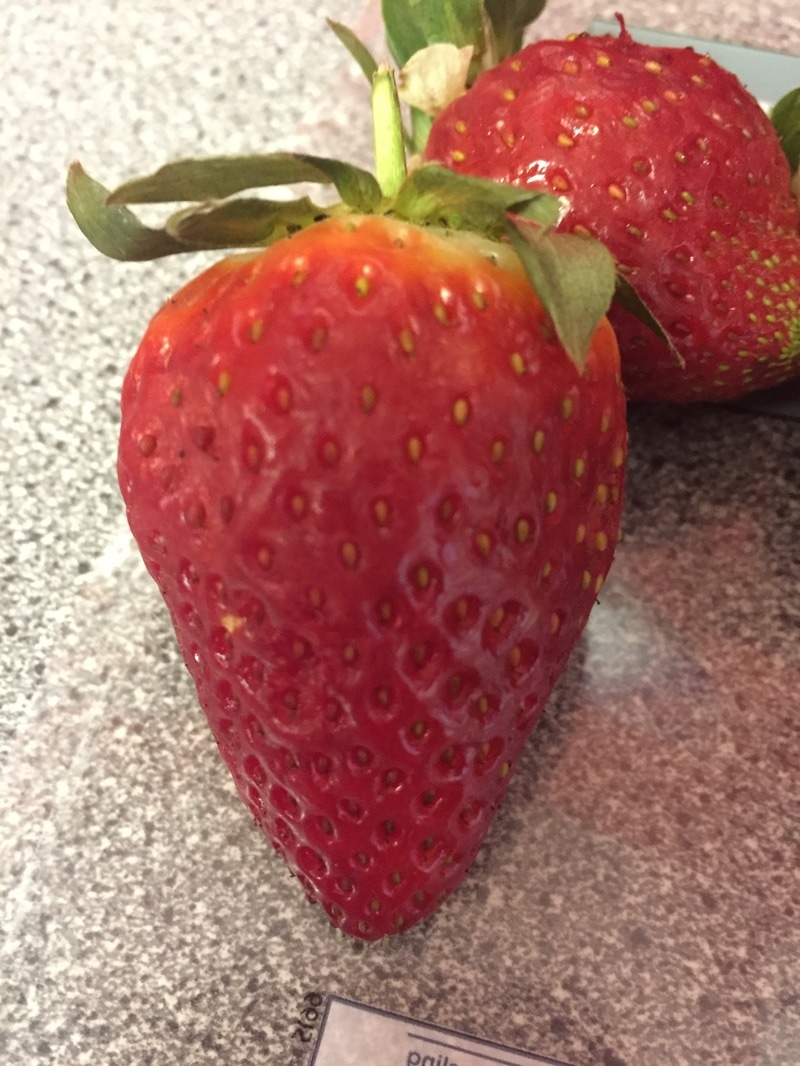
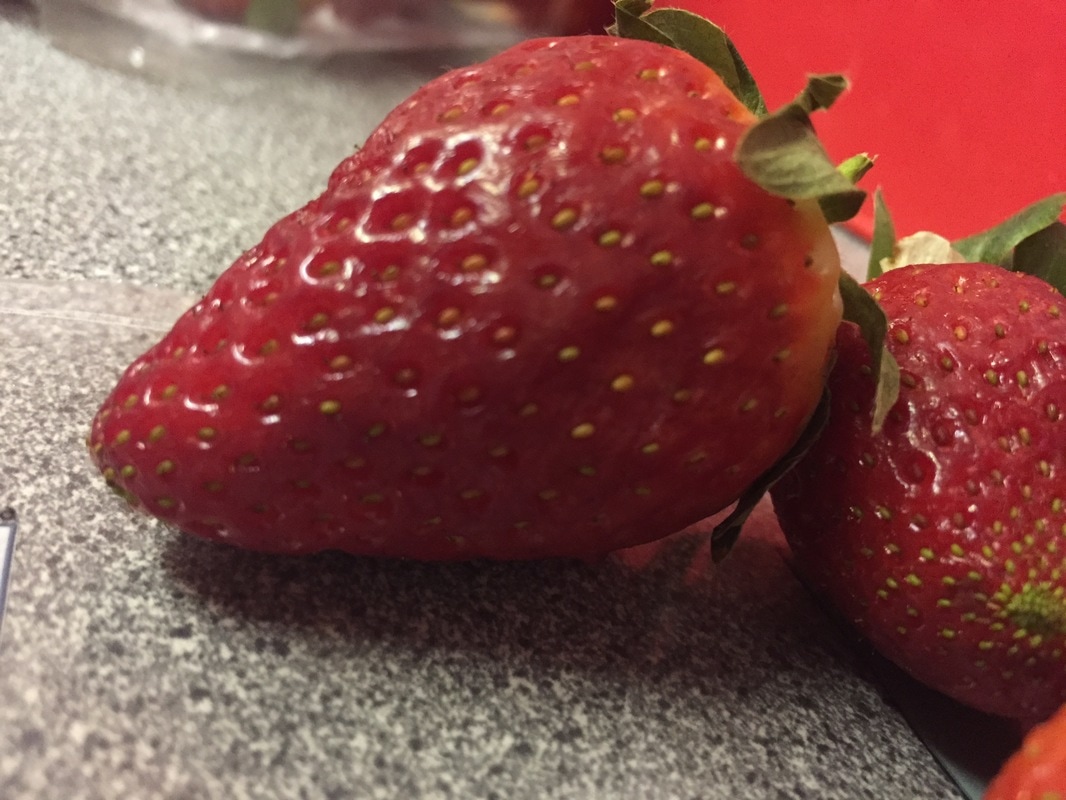
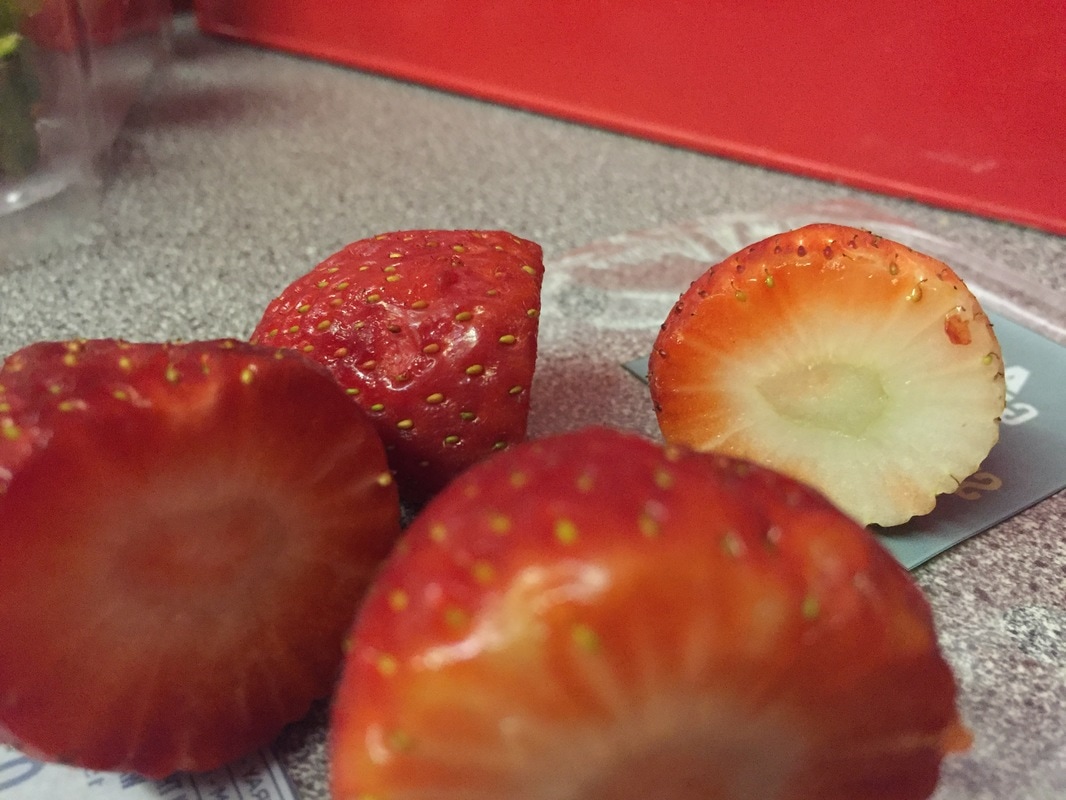
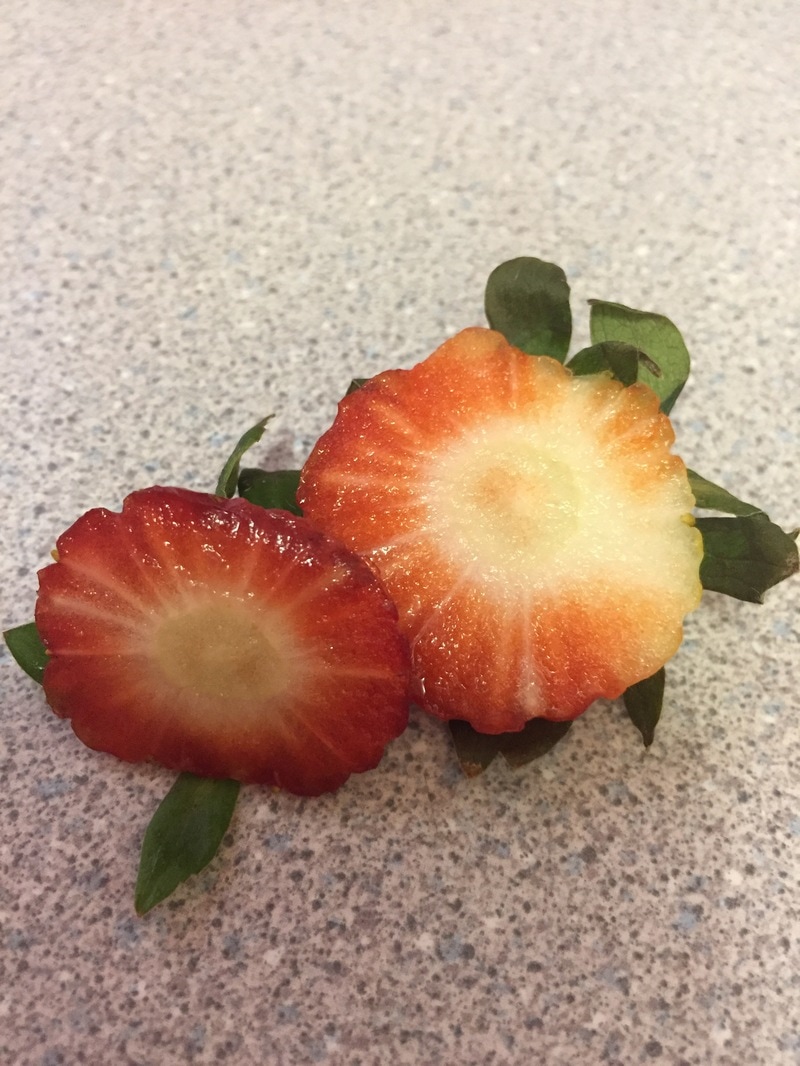
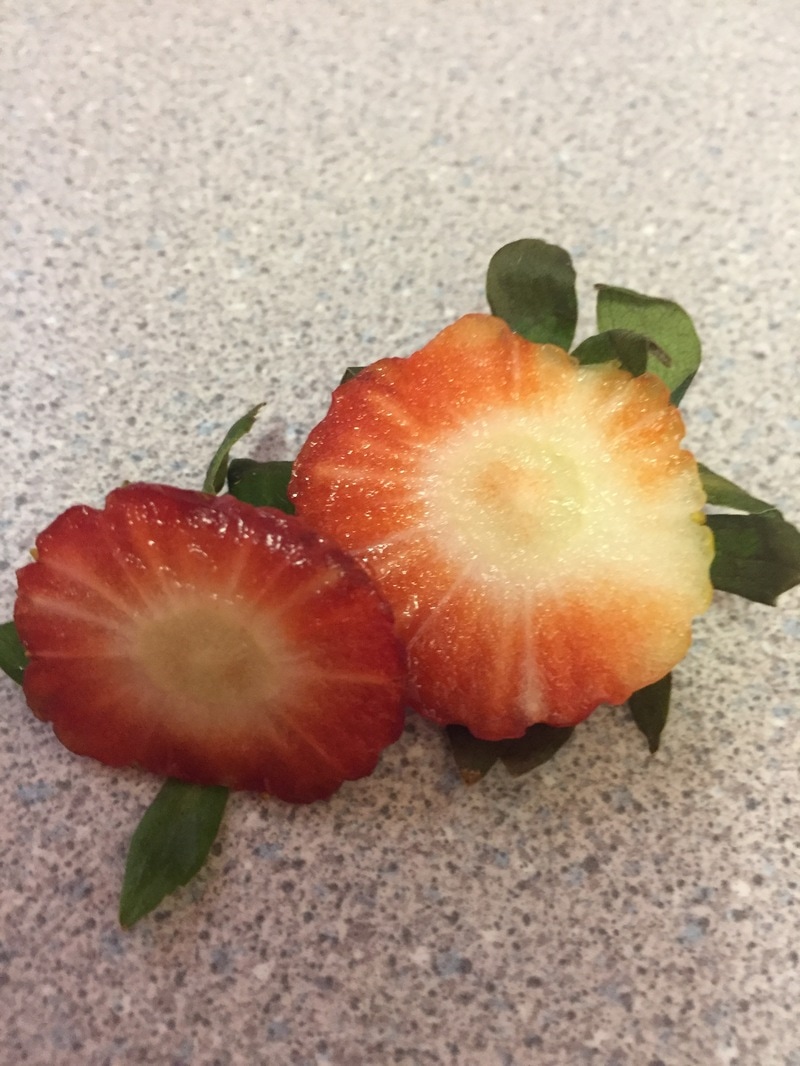
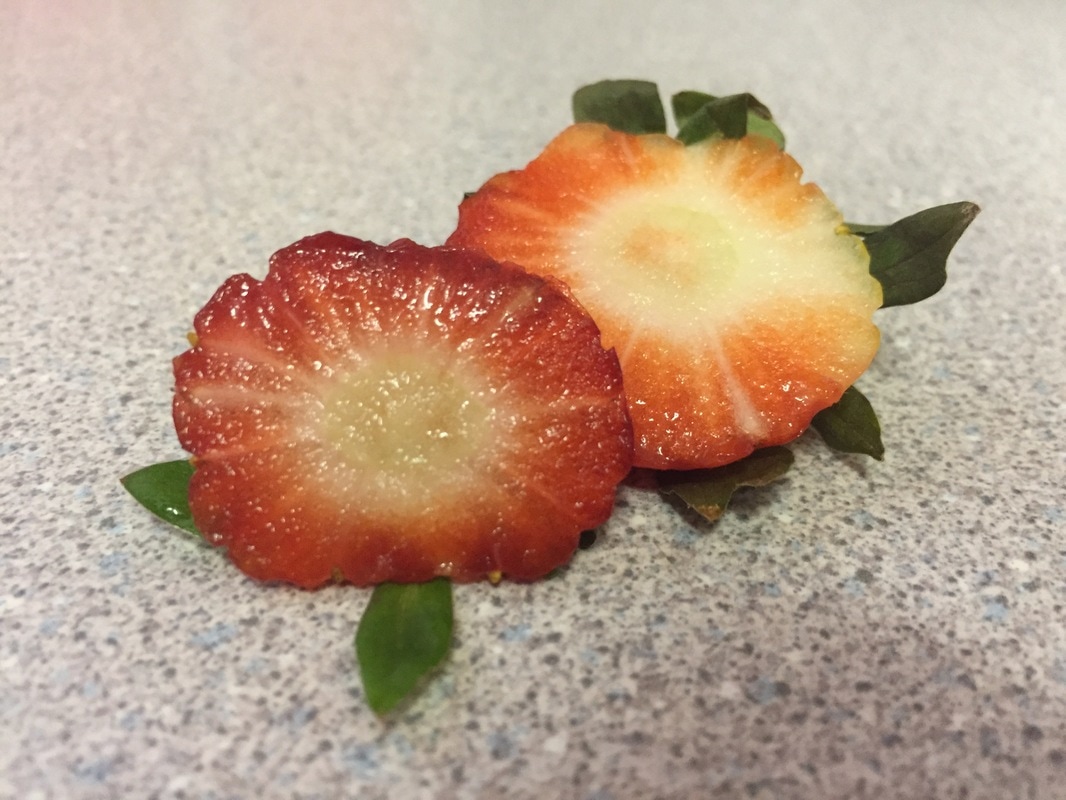
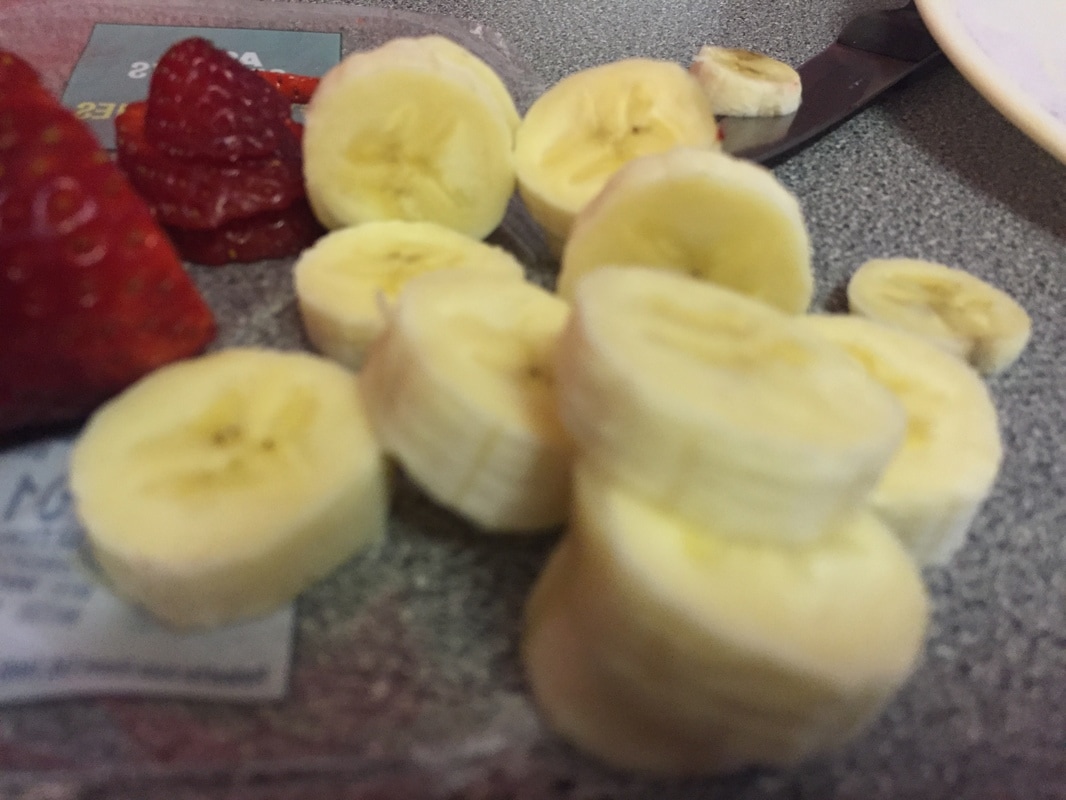
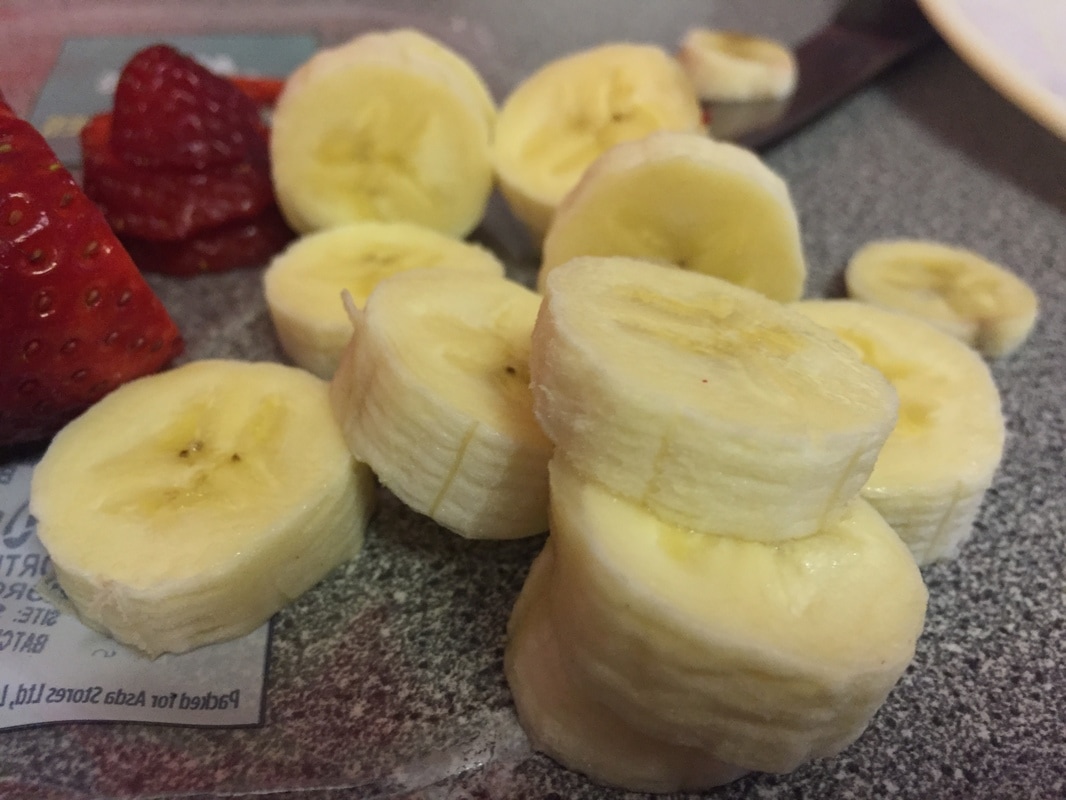
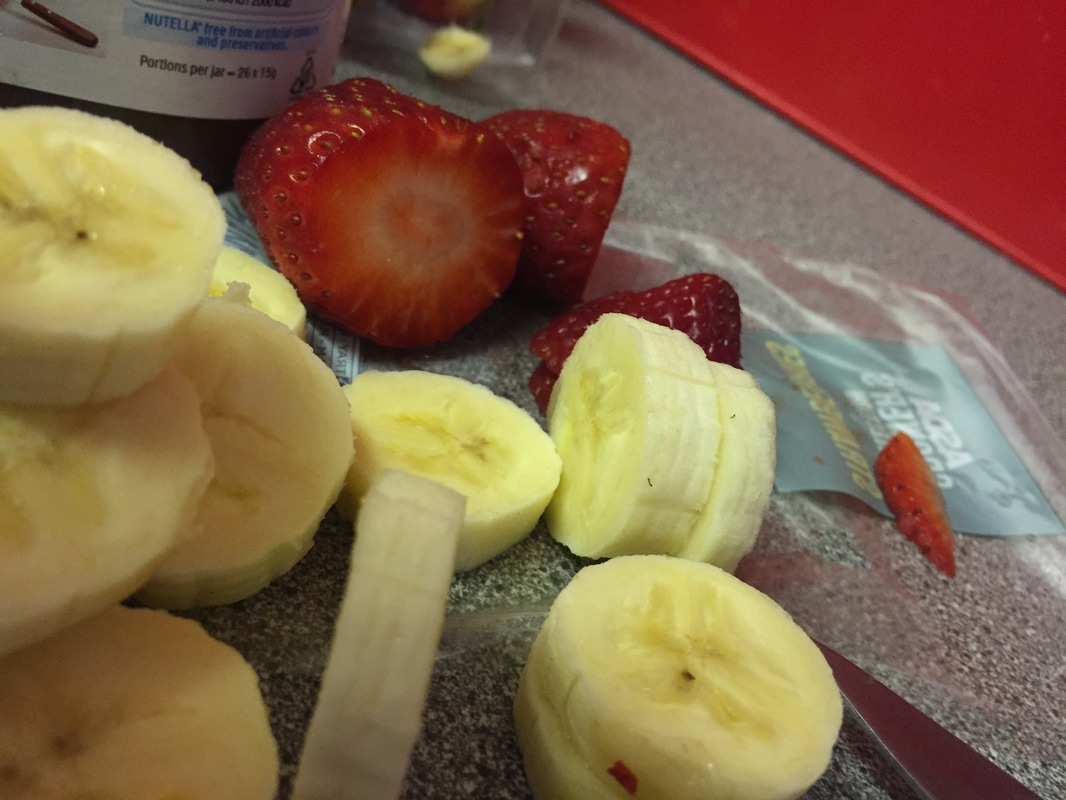
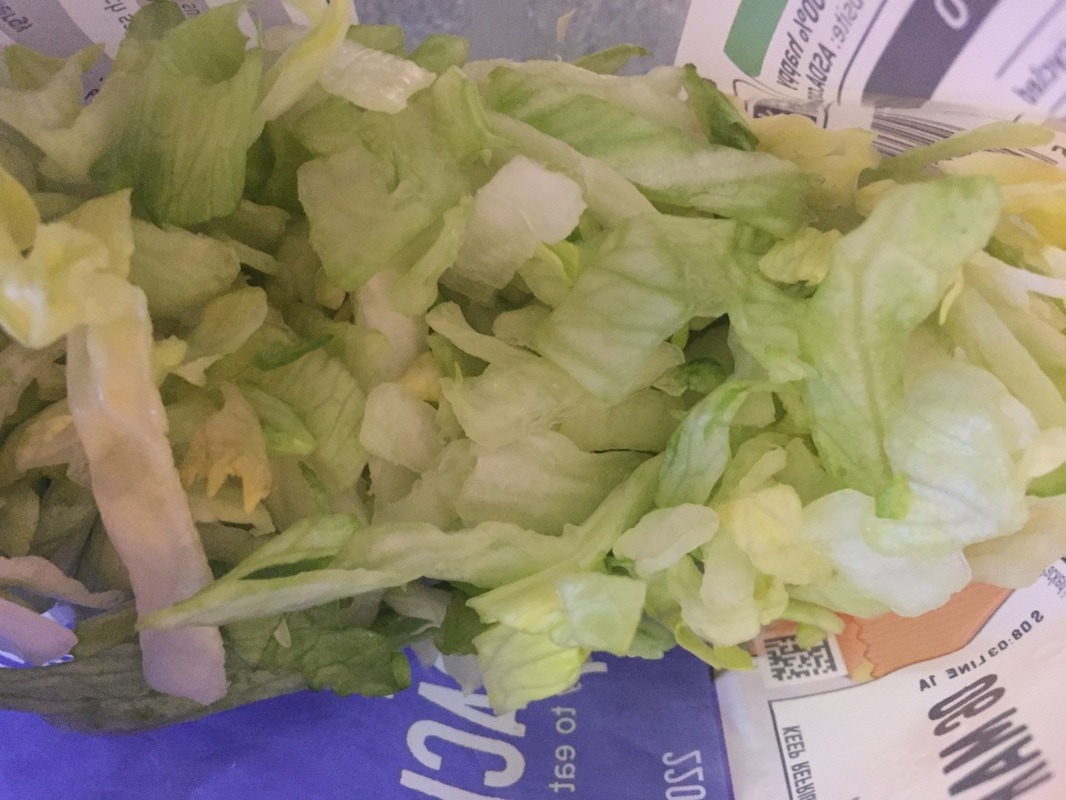
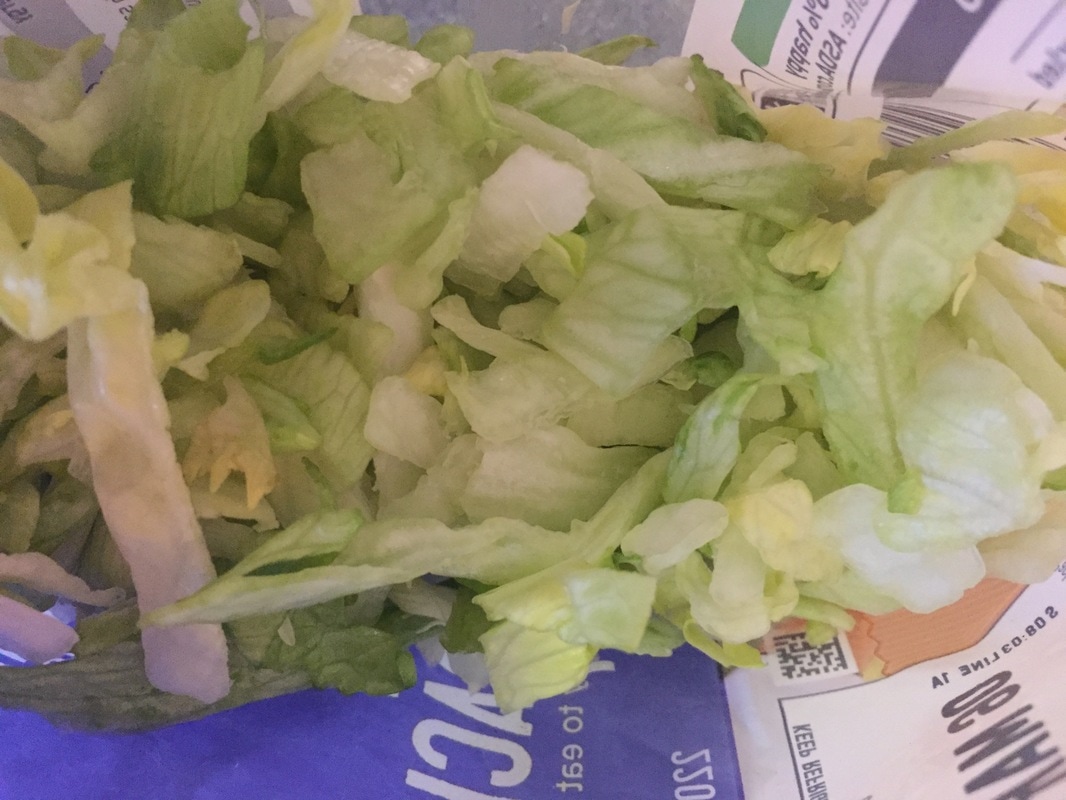
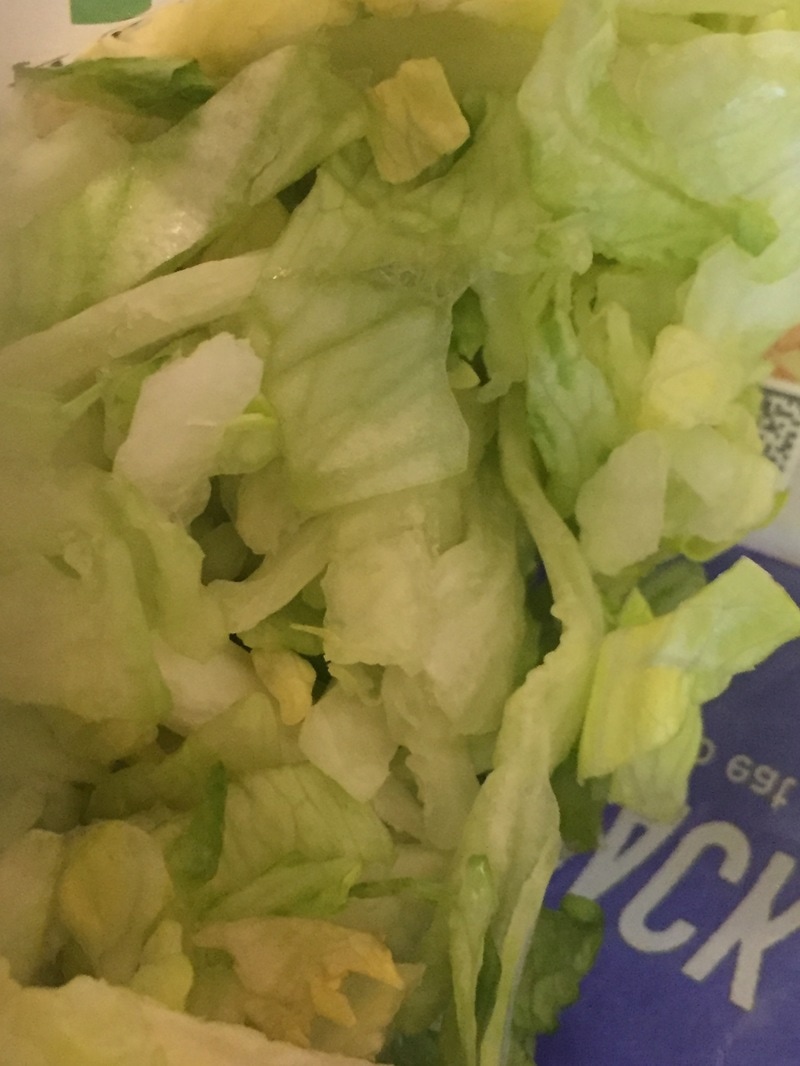
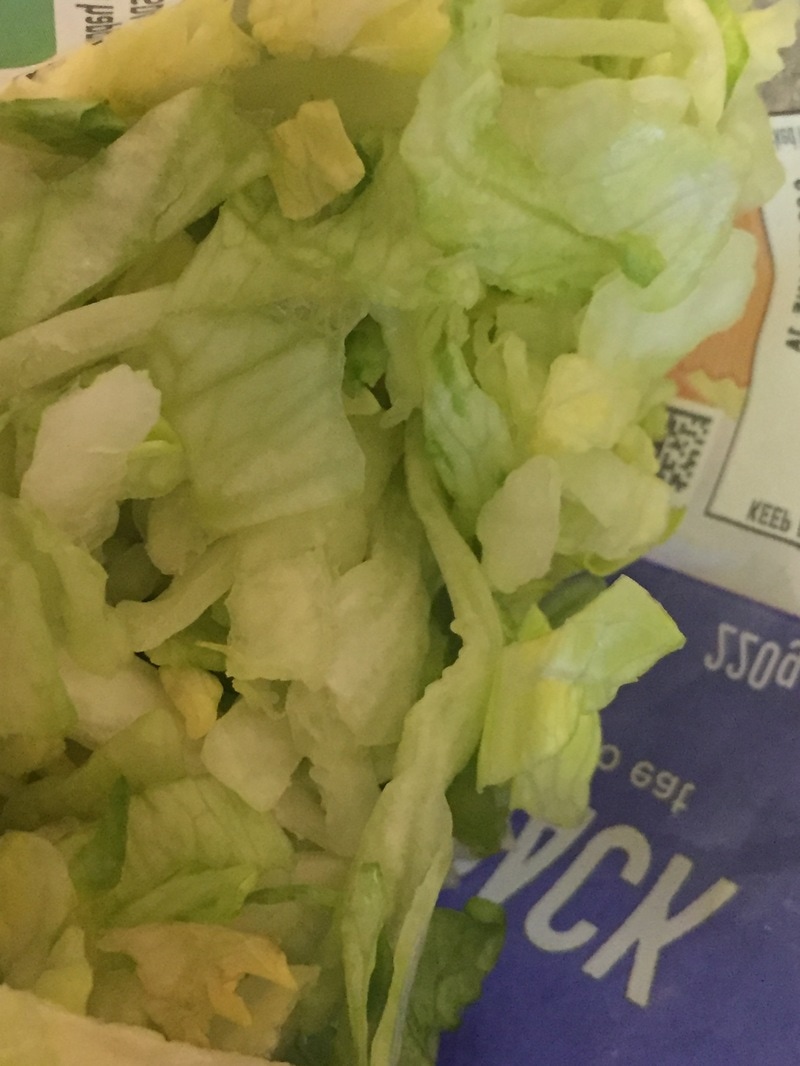
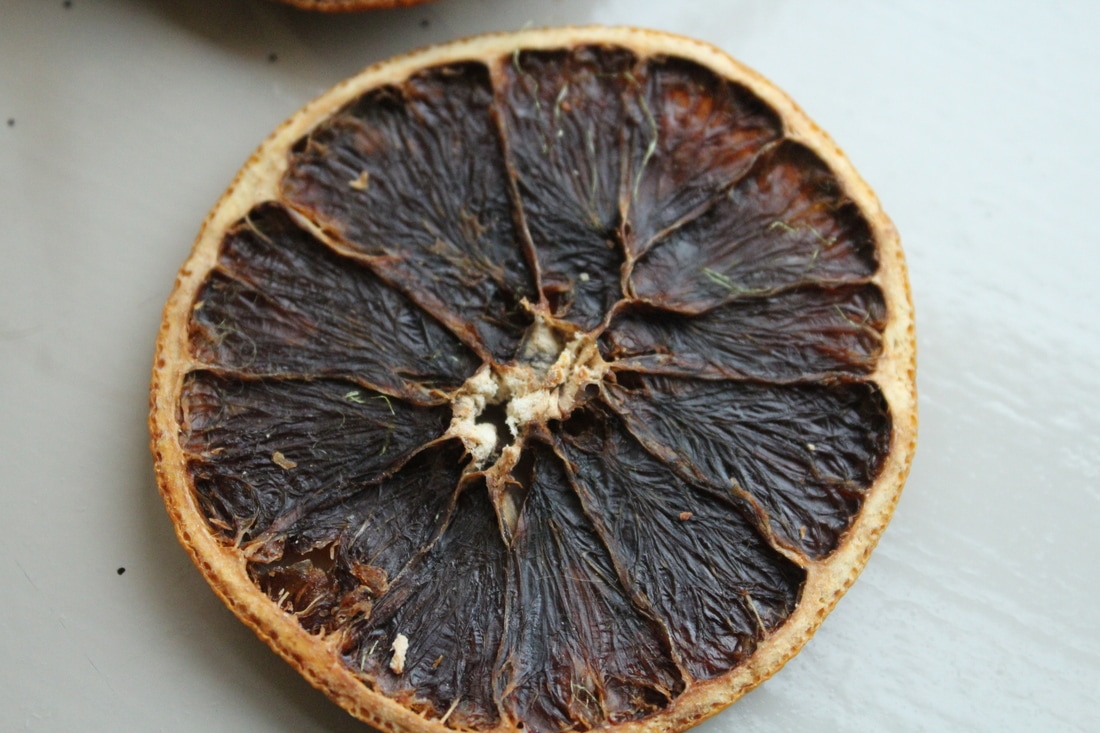
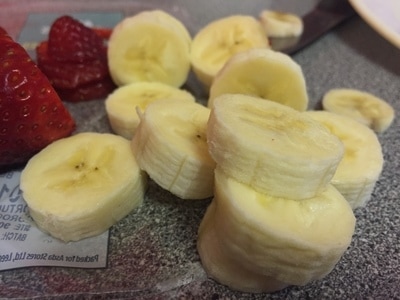
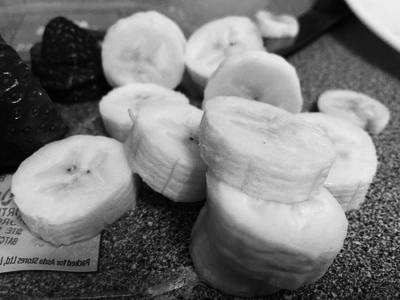
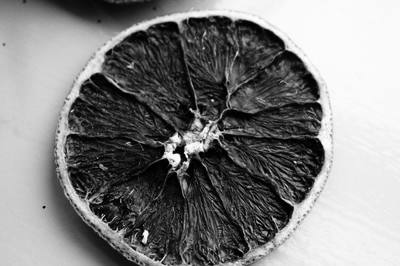
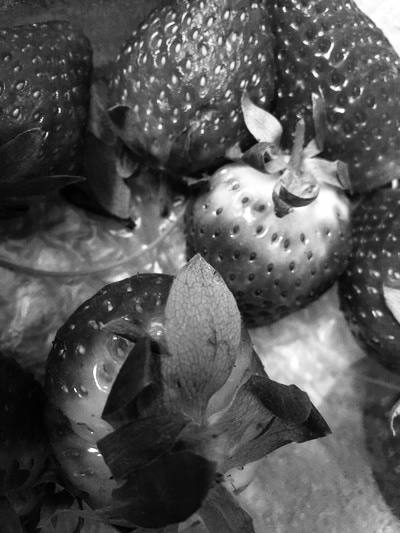
For shoot 2 I am going to take photos of fruit and vegetables using the macro photograph effect to capture the detail on the outside and the inside of the fruit. I will use a small aperture and an accurate exposure so my photos aren't under or over exposed.
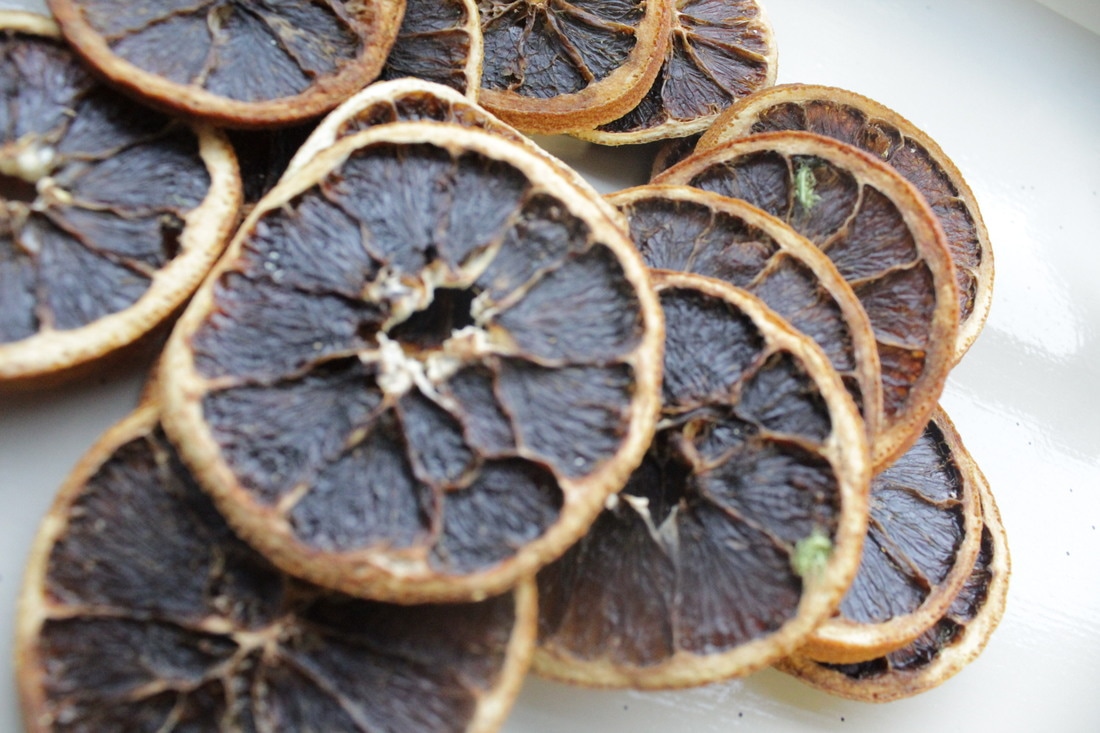
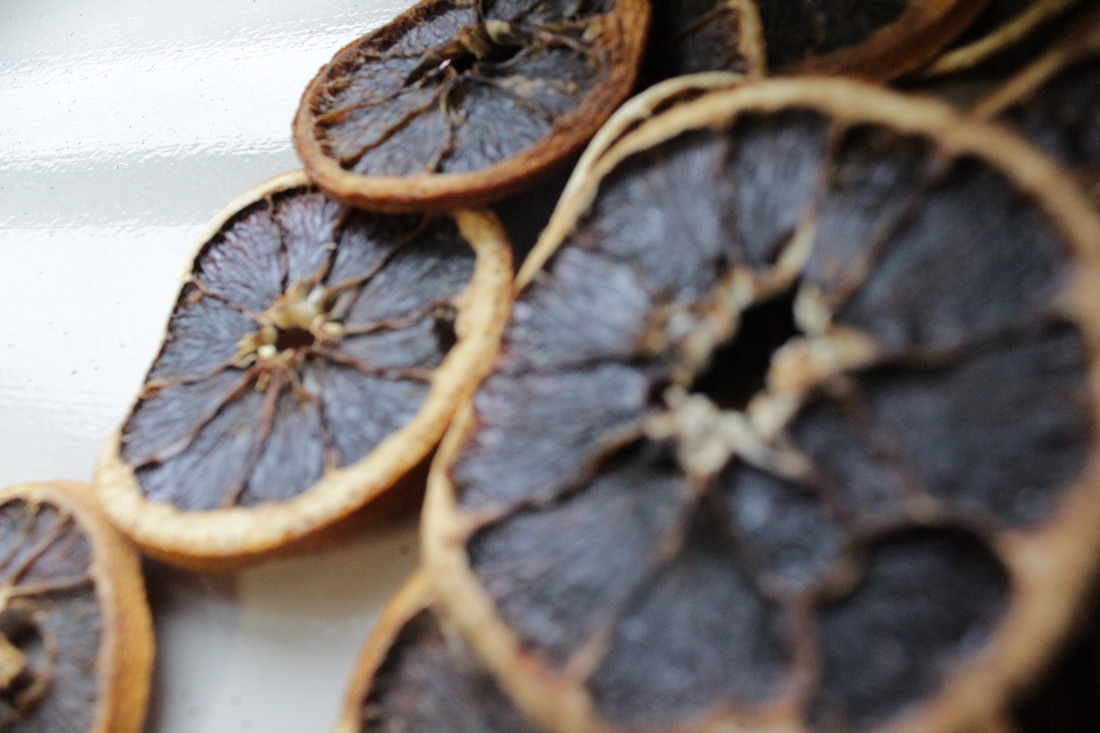


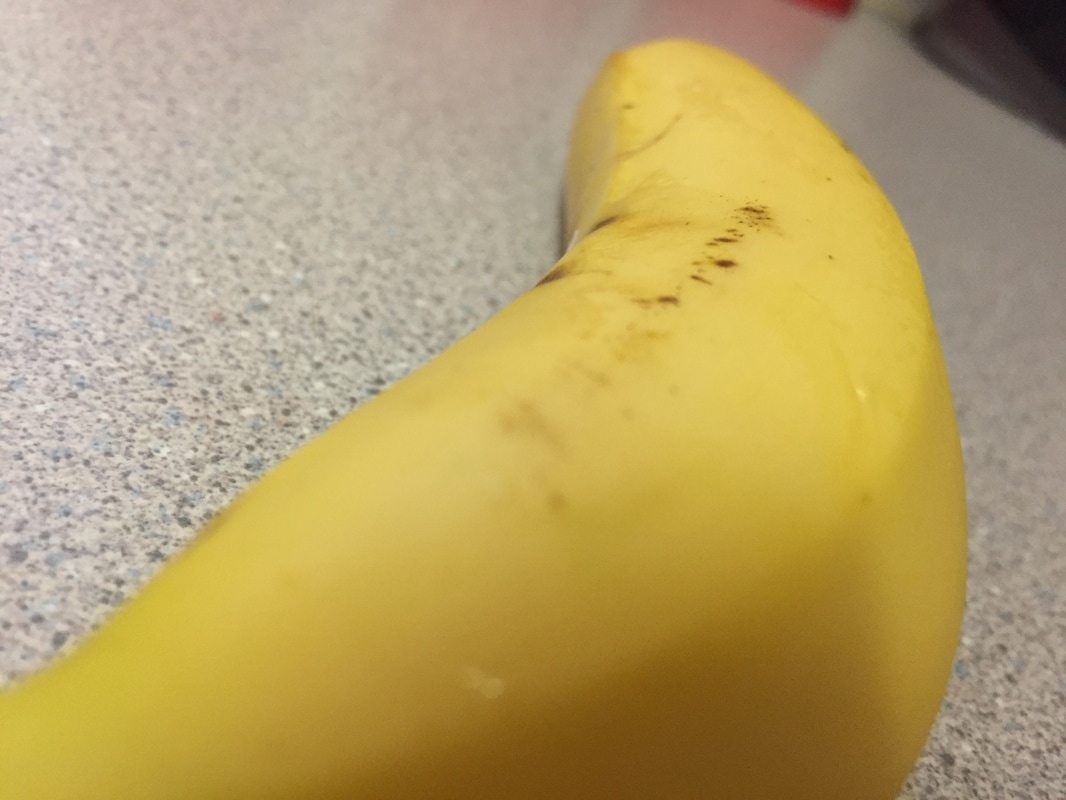

Worst
In this photo I was trying to give the little green thing in detail but the camera wouldn't focus probably but I do like the detail of the orange at the back.

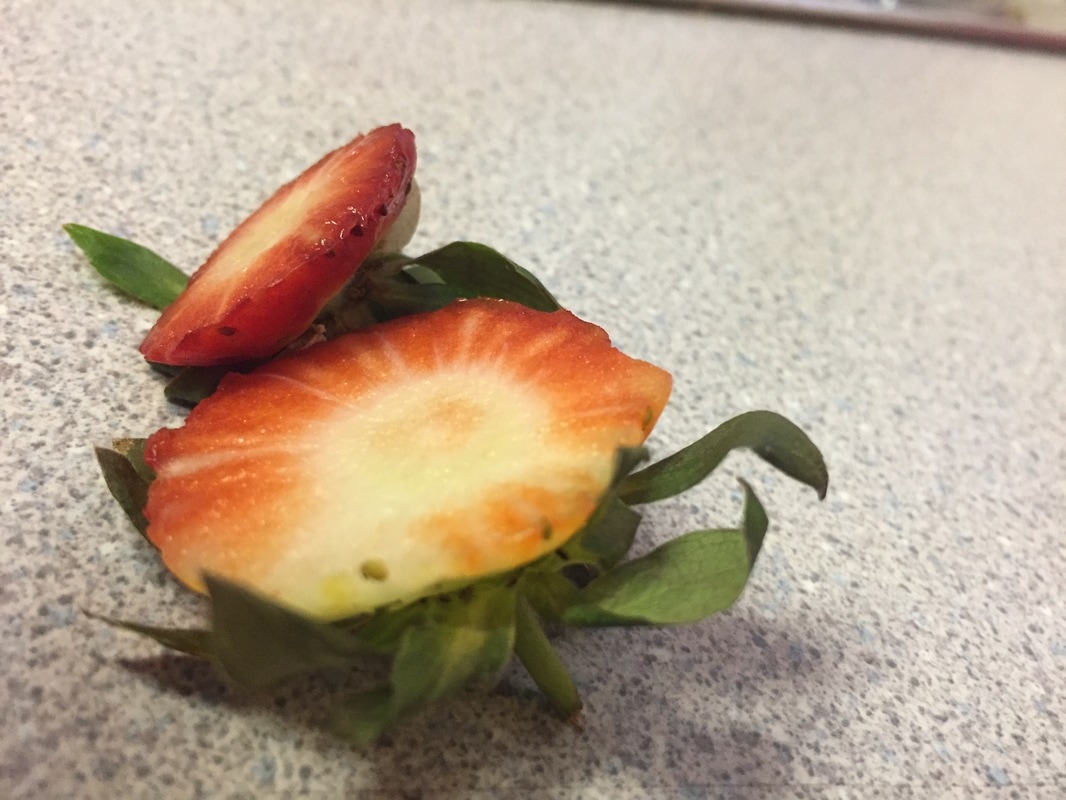
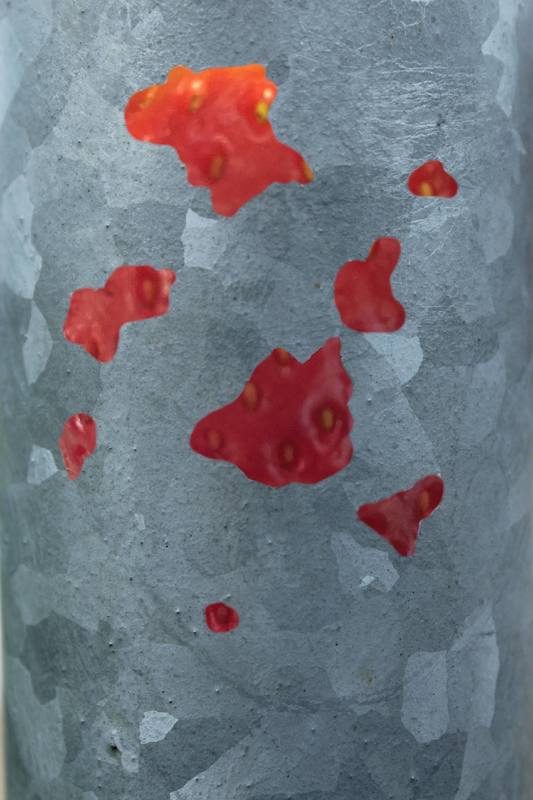
Best
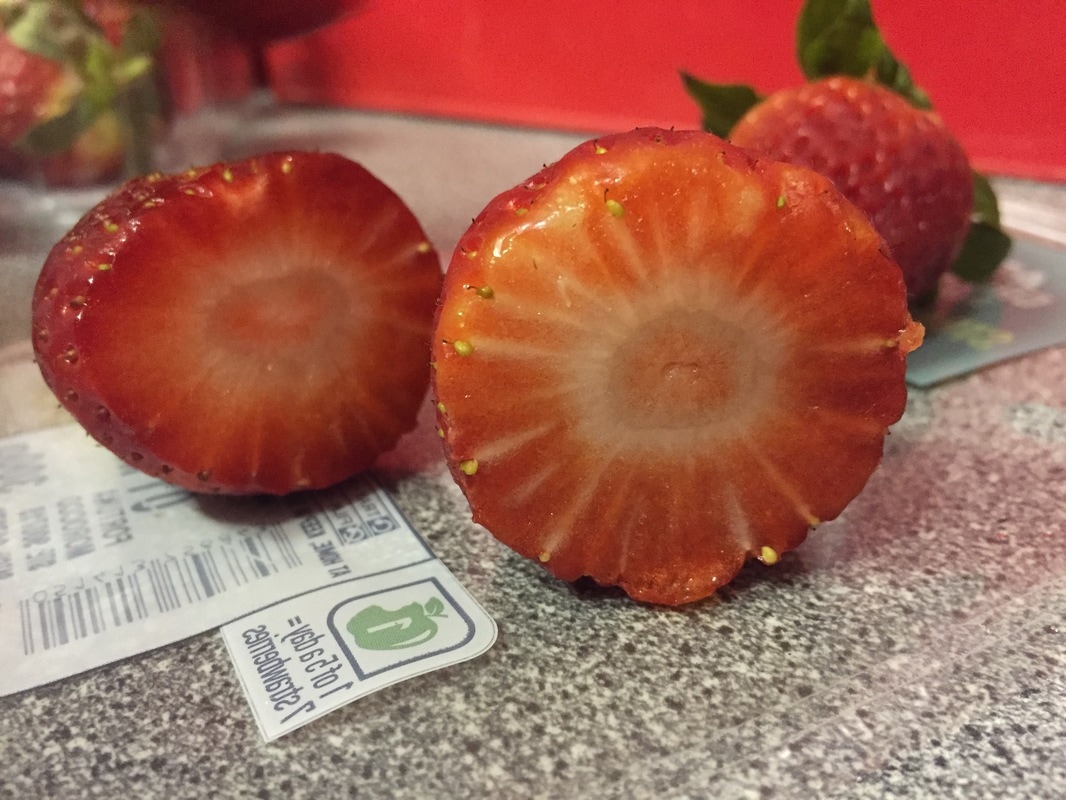
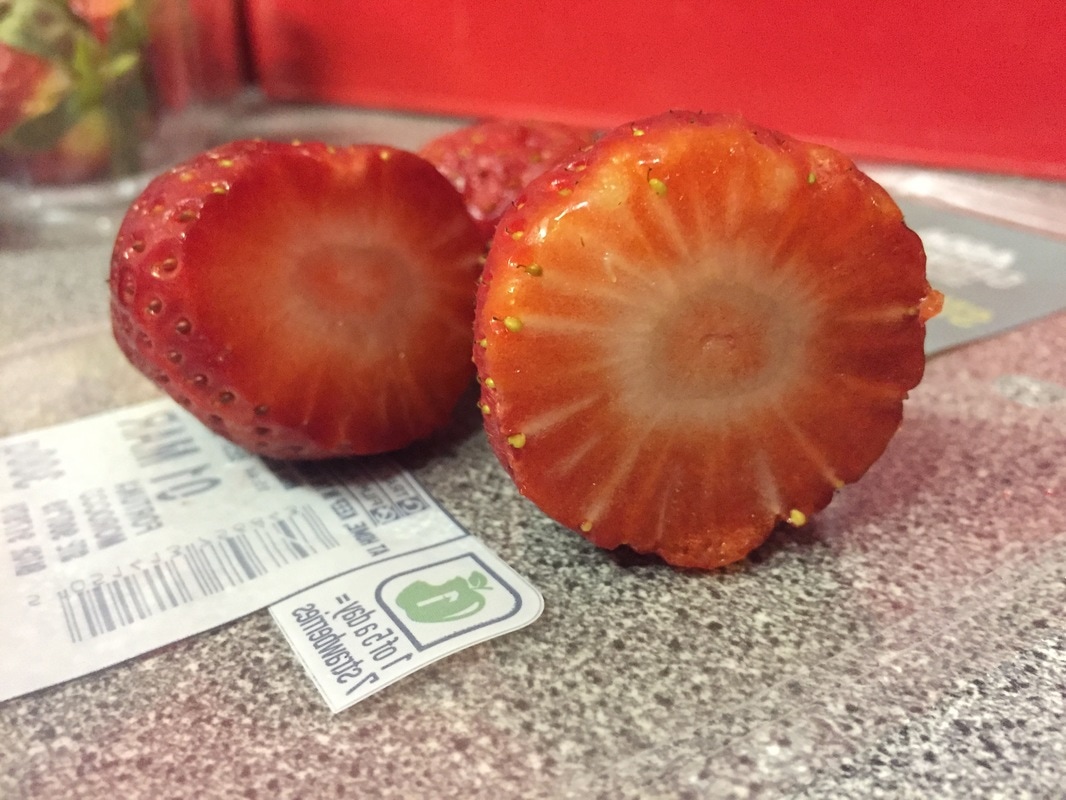
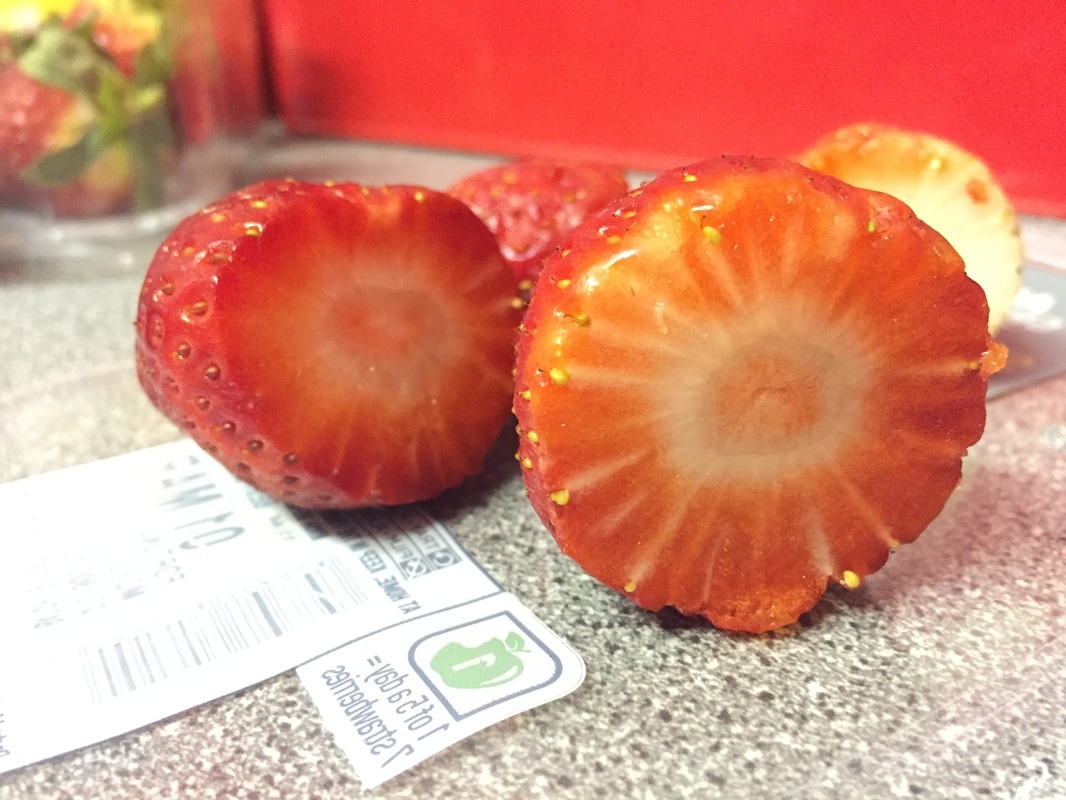
This photo was taken inside at an eye level camera shot of the inside of a strawberry. I like the contrast between the colours of the strawberry as one is lighter than the other which shows the detail on the left strawberry is more defined than the one on the right.

Shoot 3

|
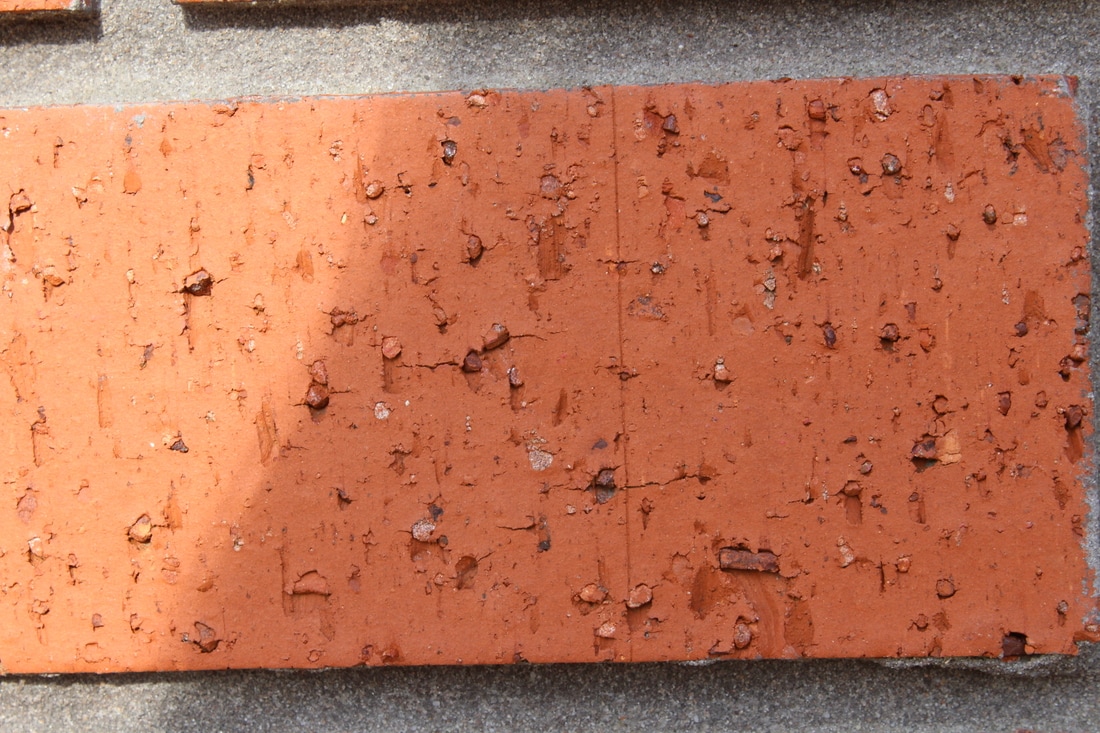
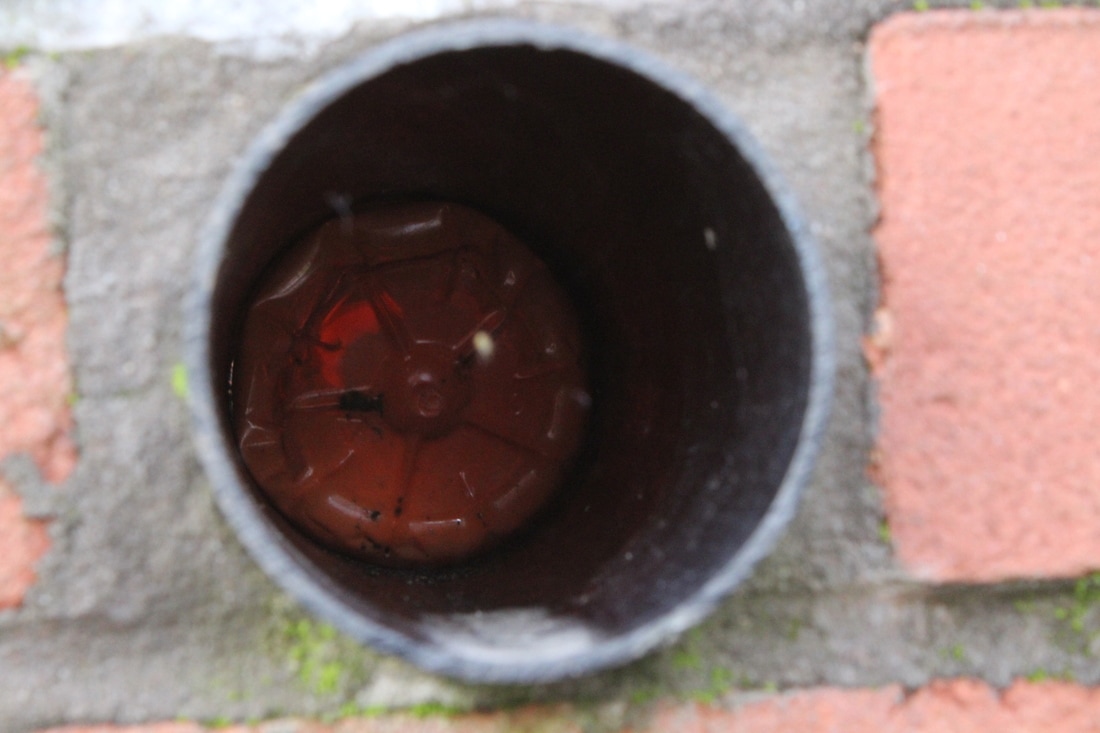
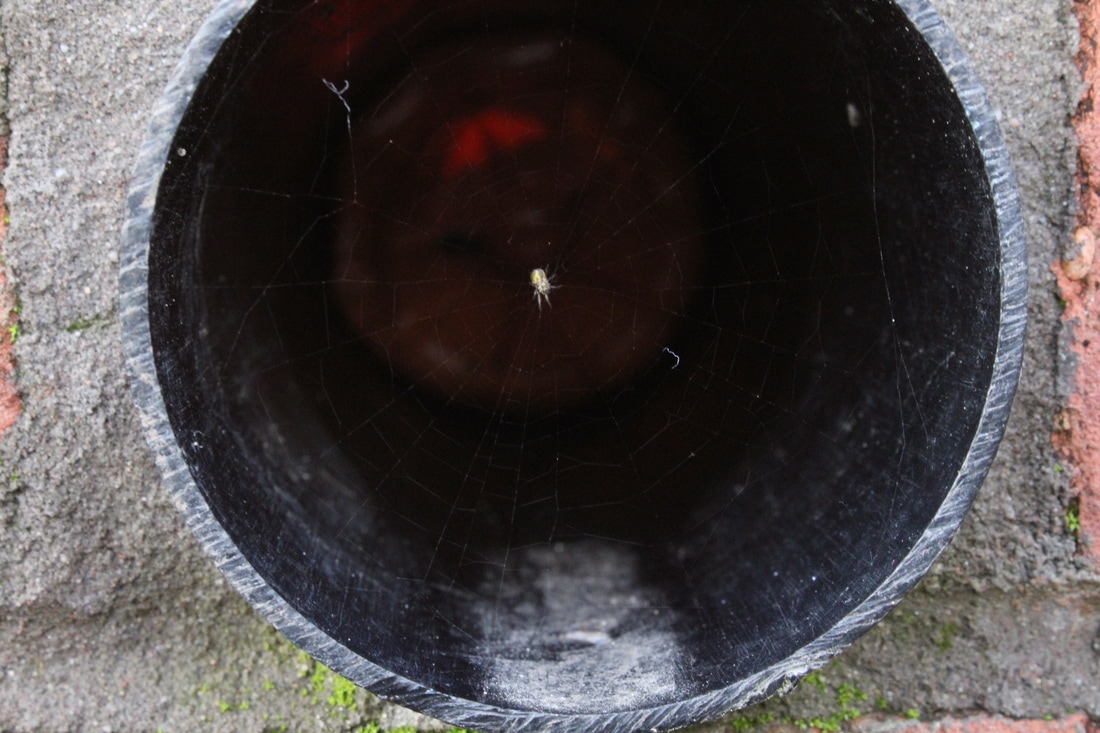
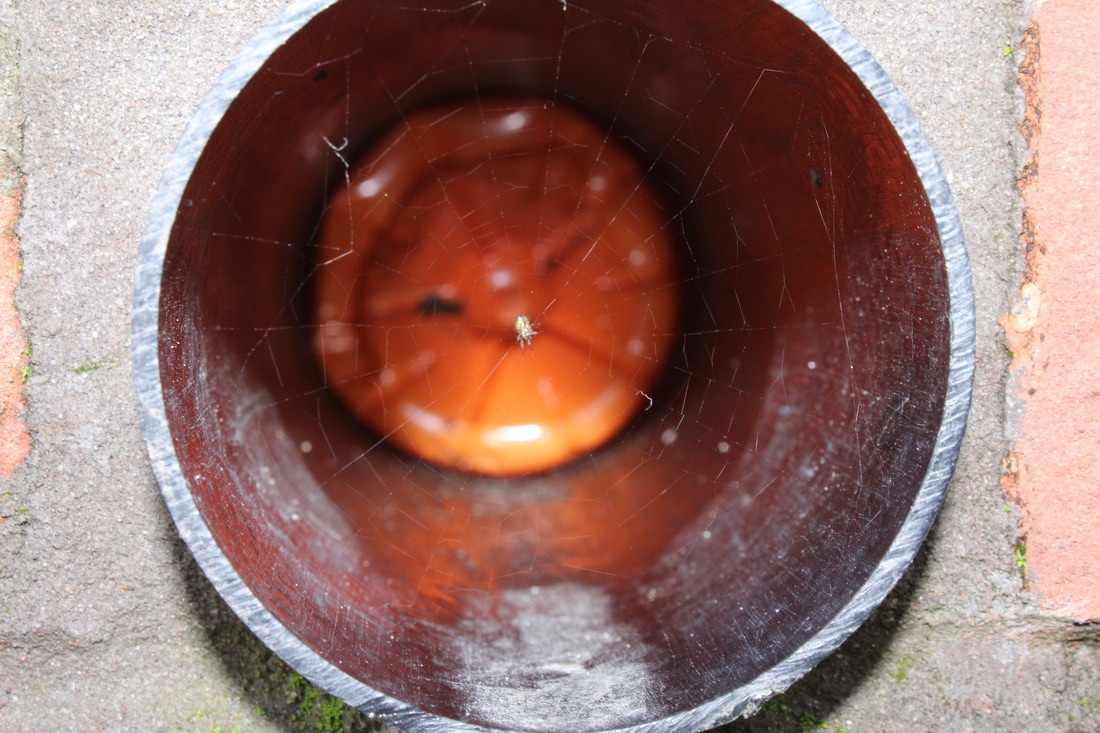
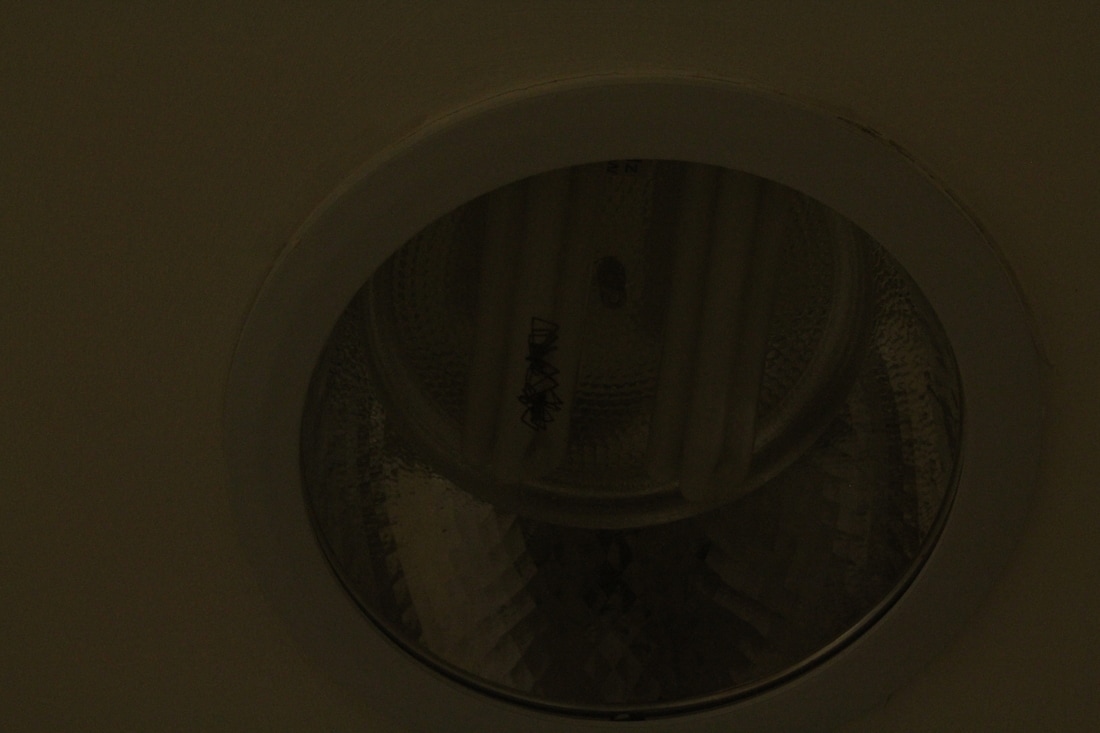
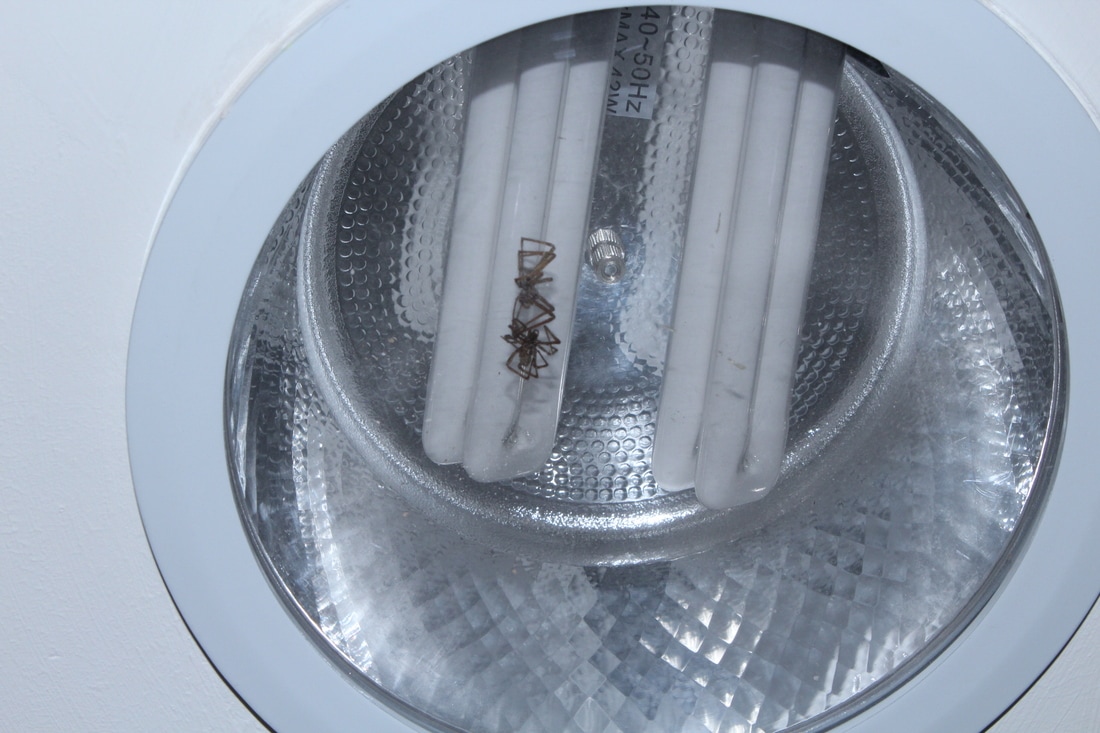
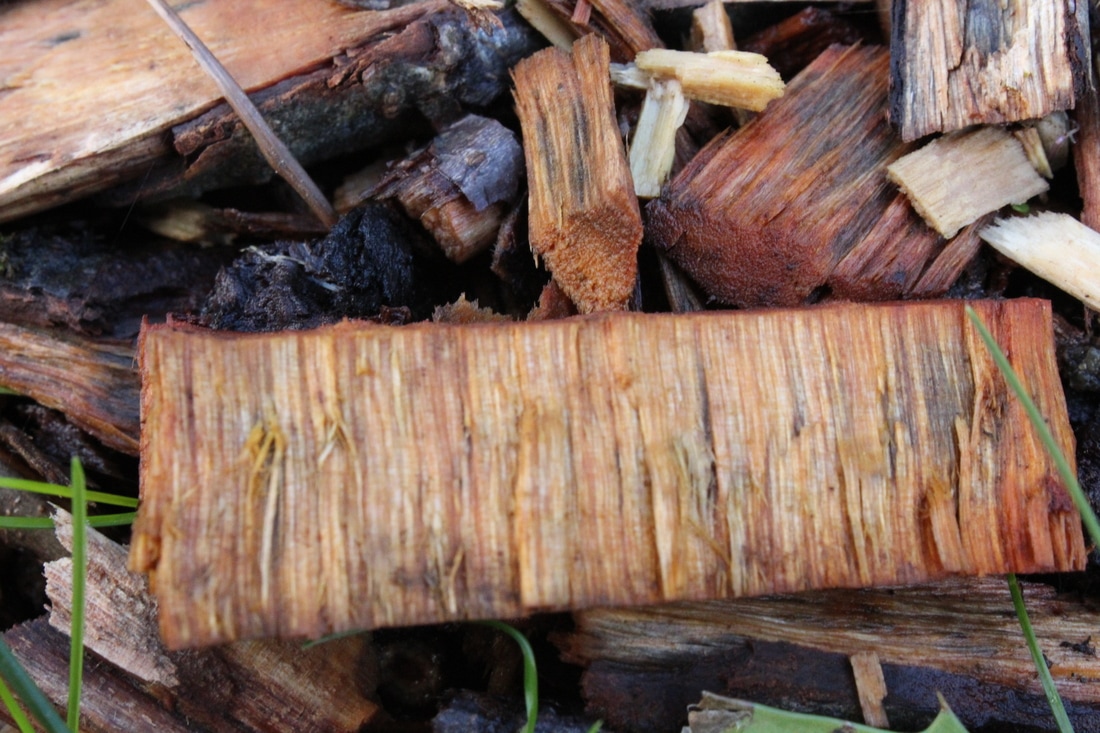
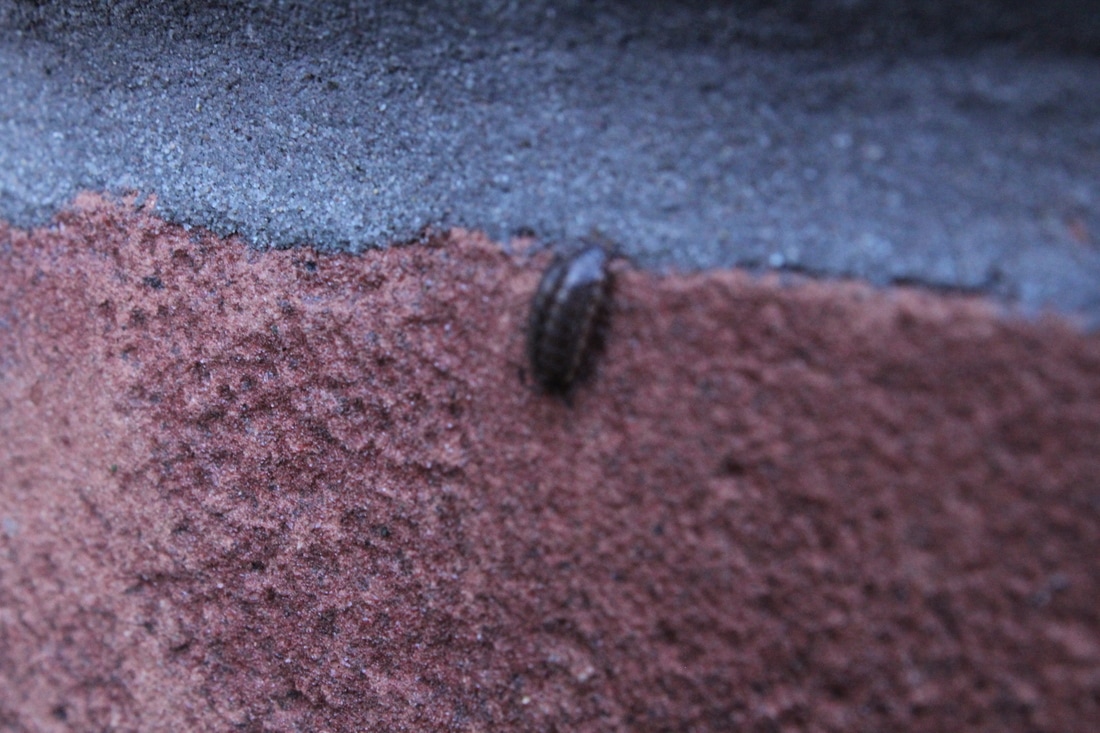
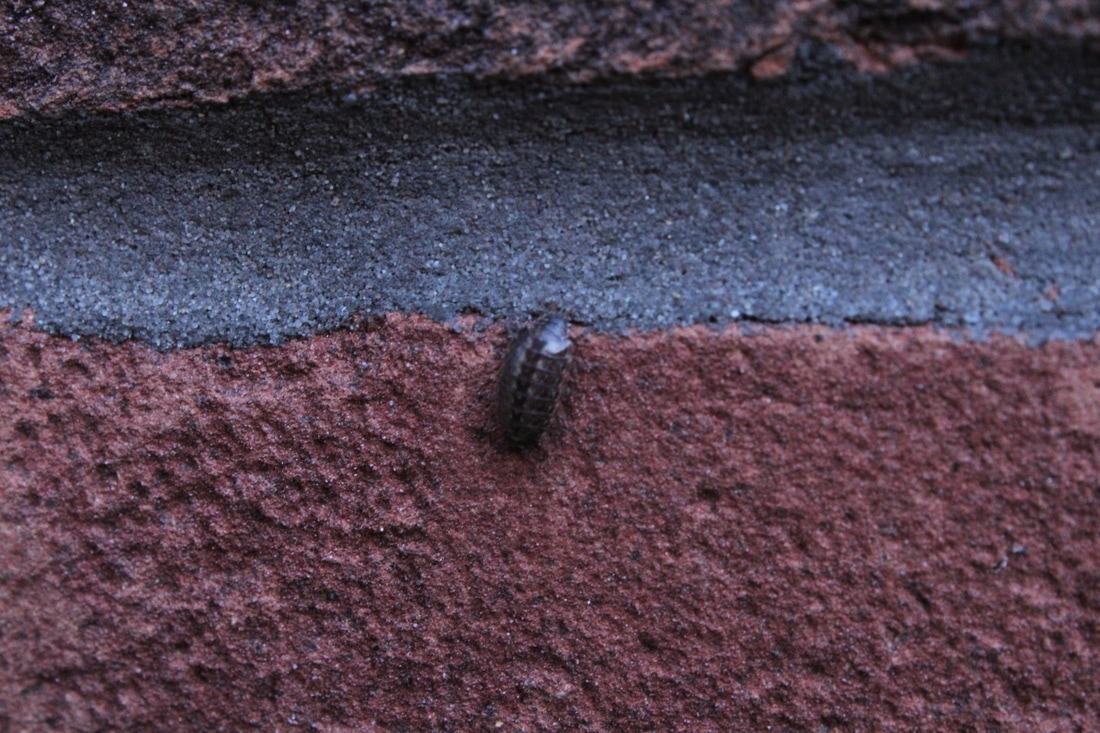
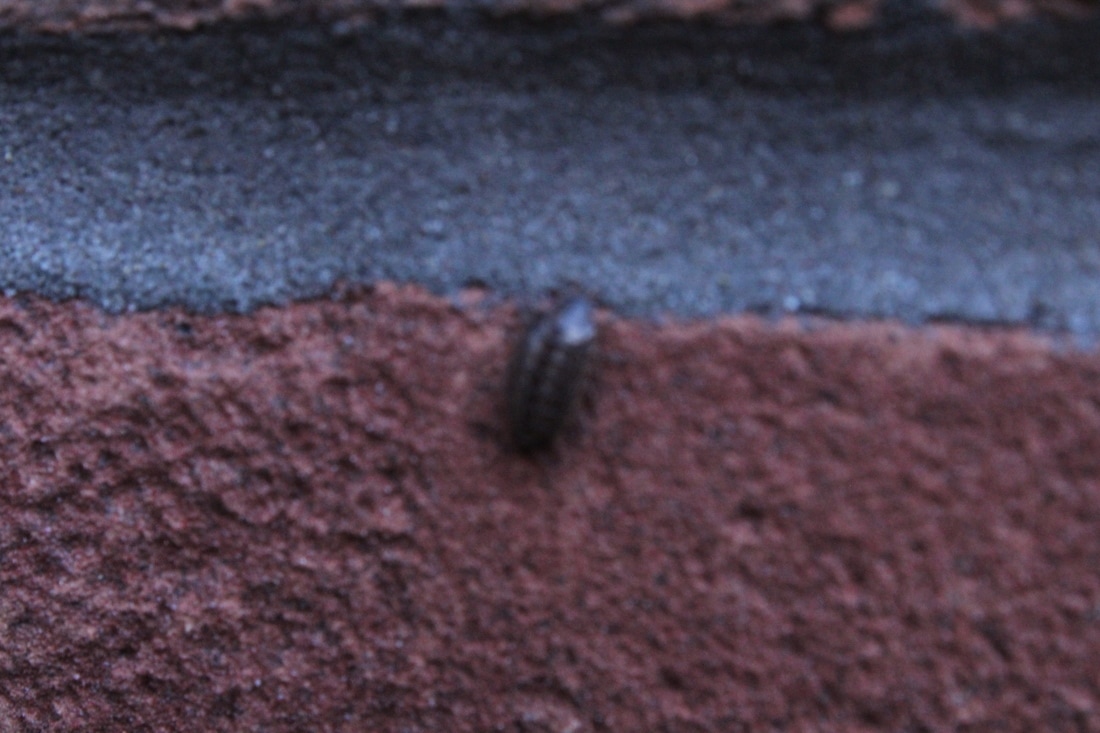
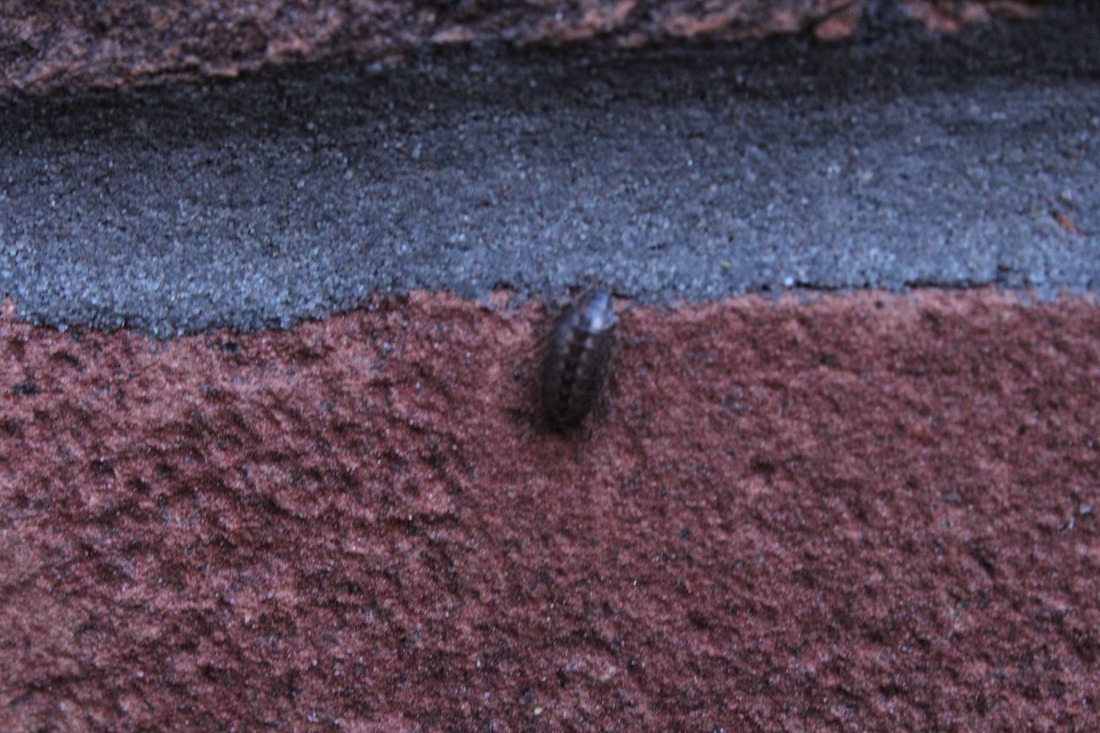
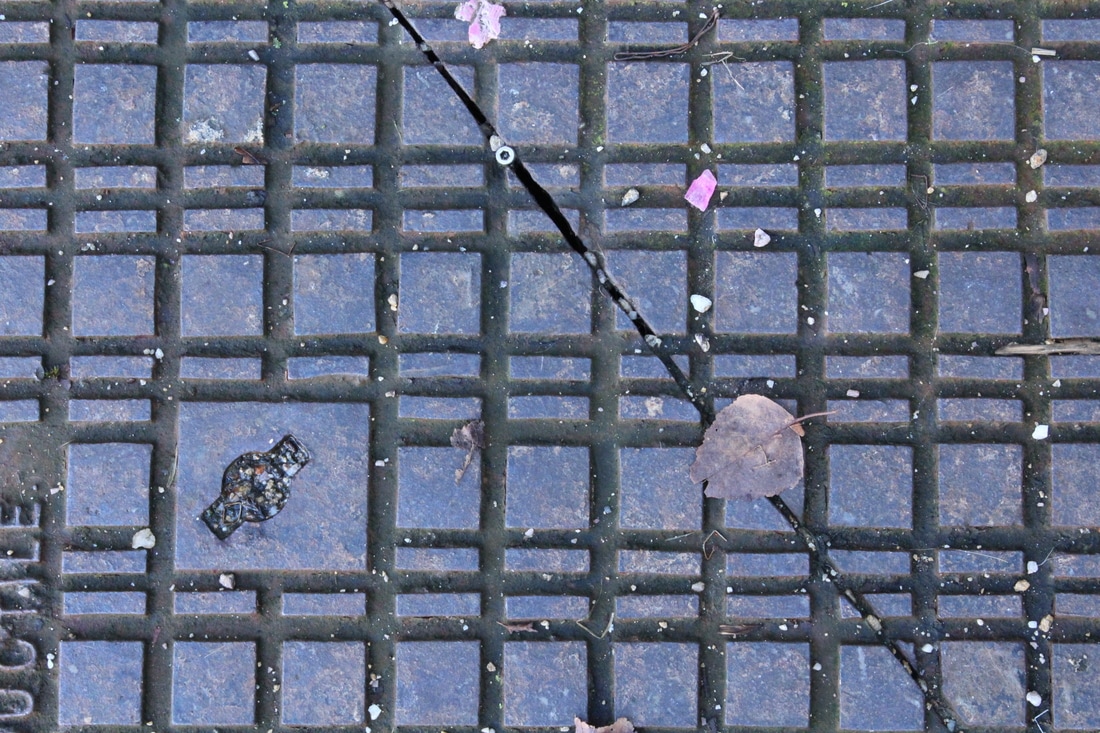
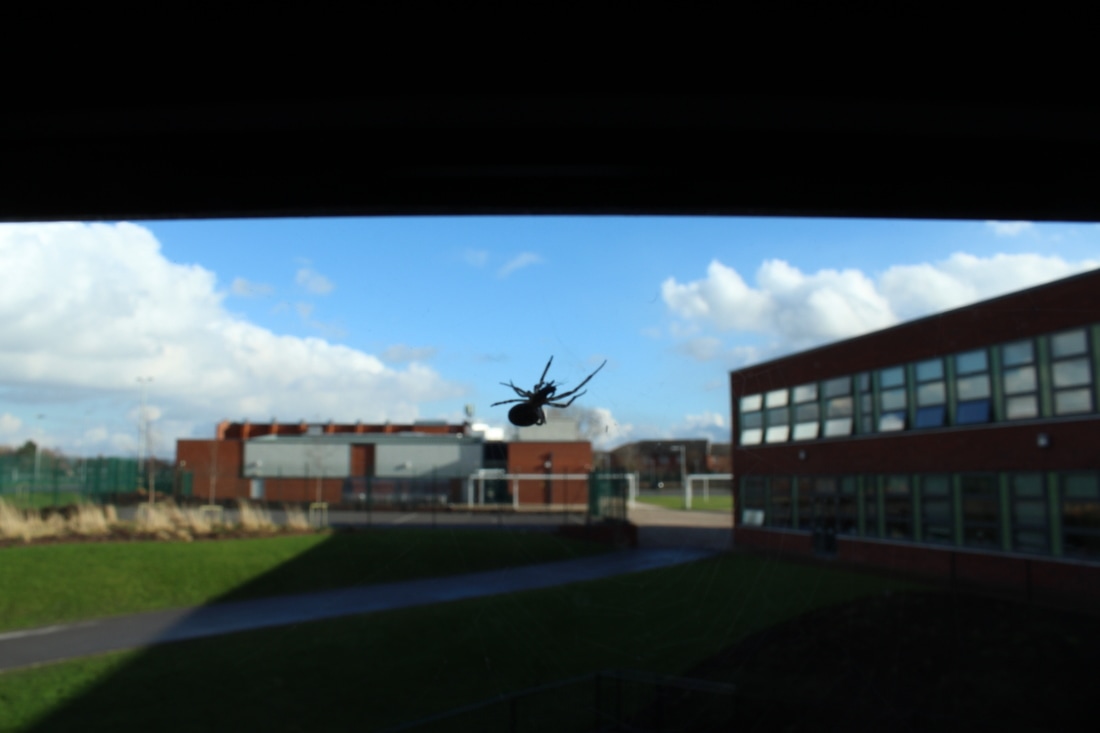
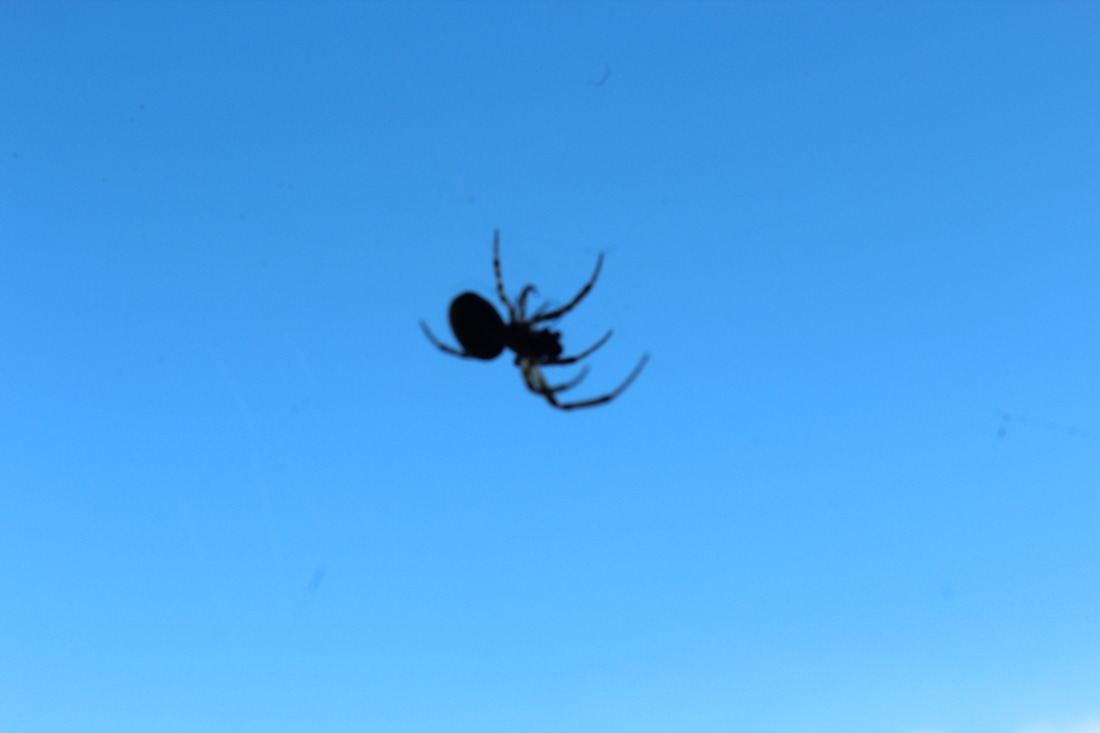
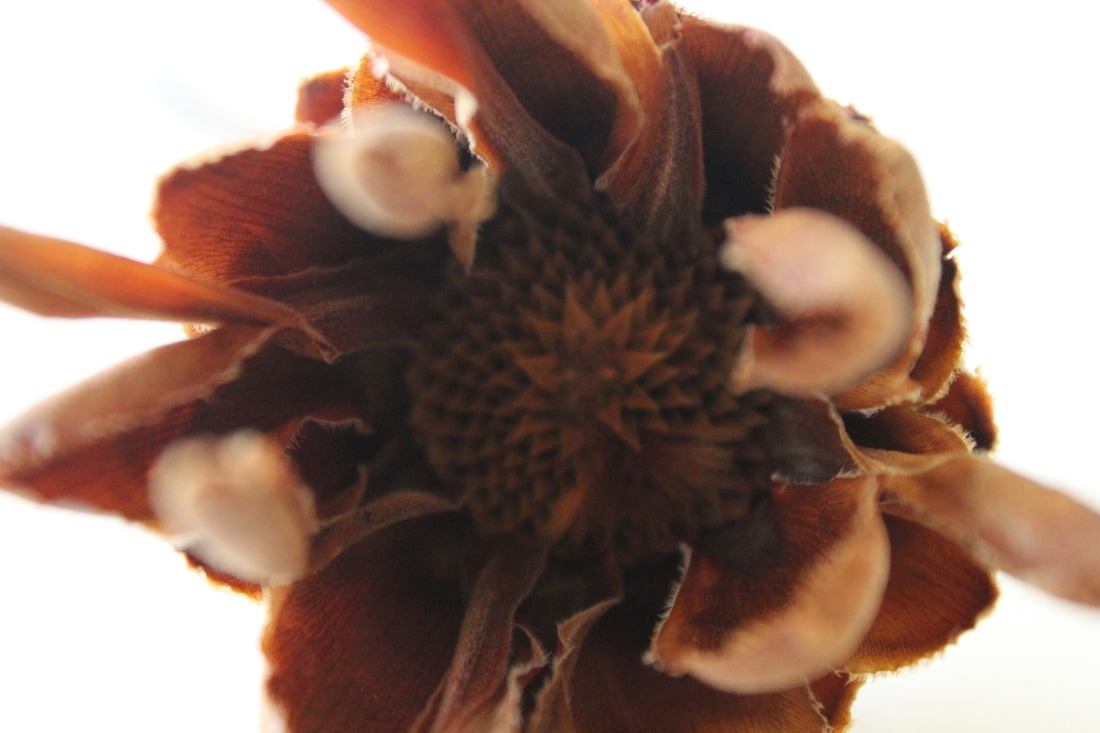
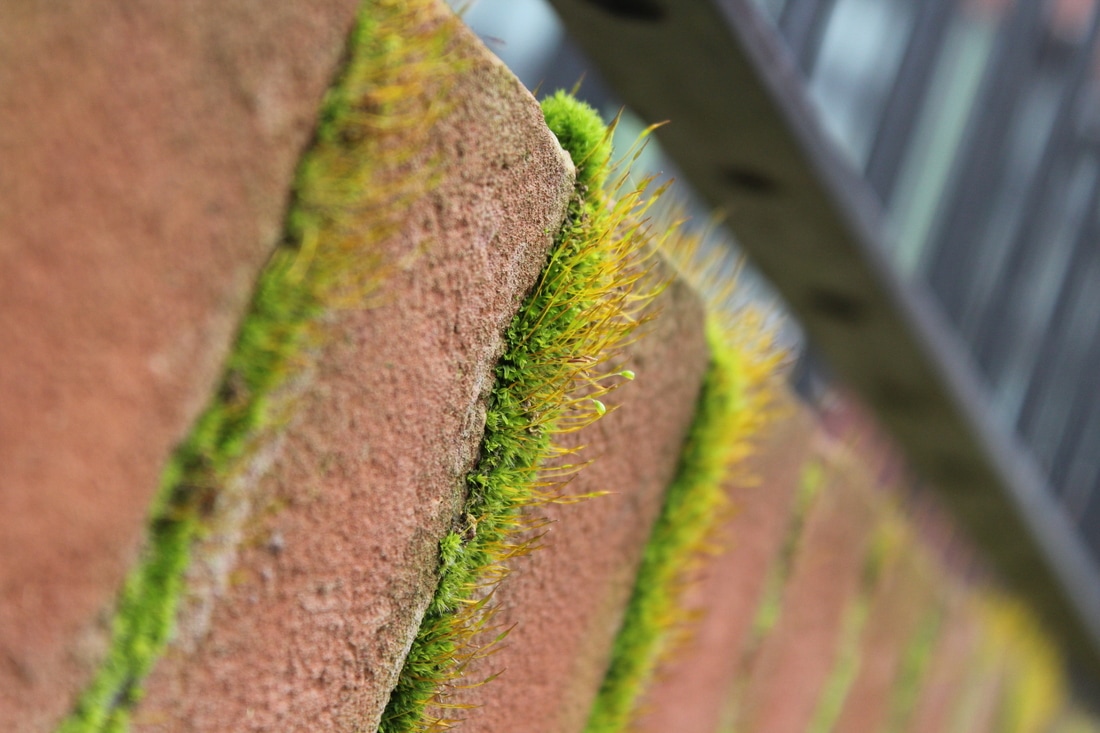
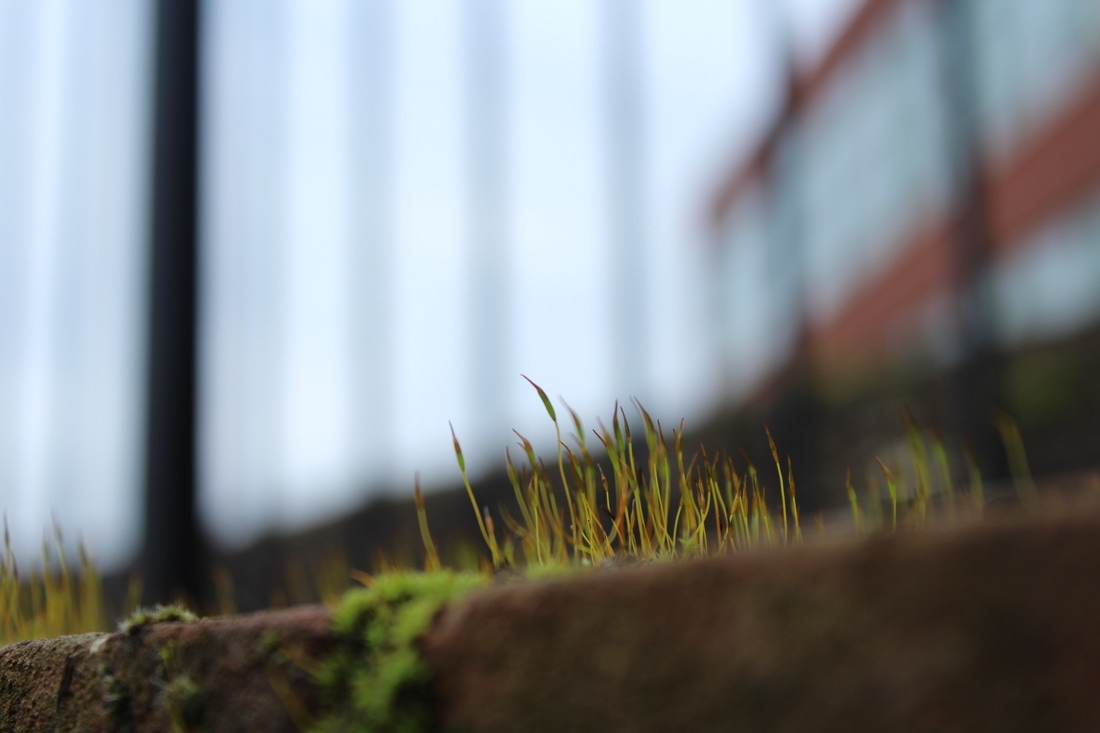
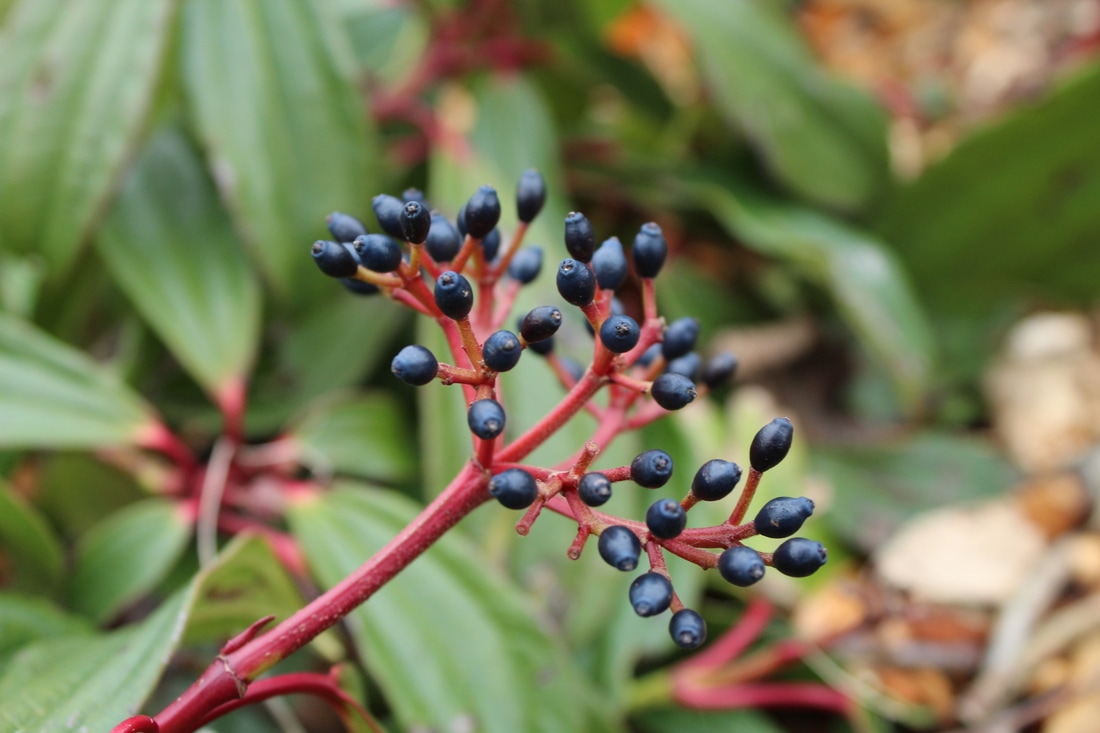
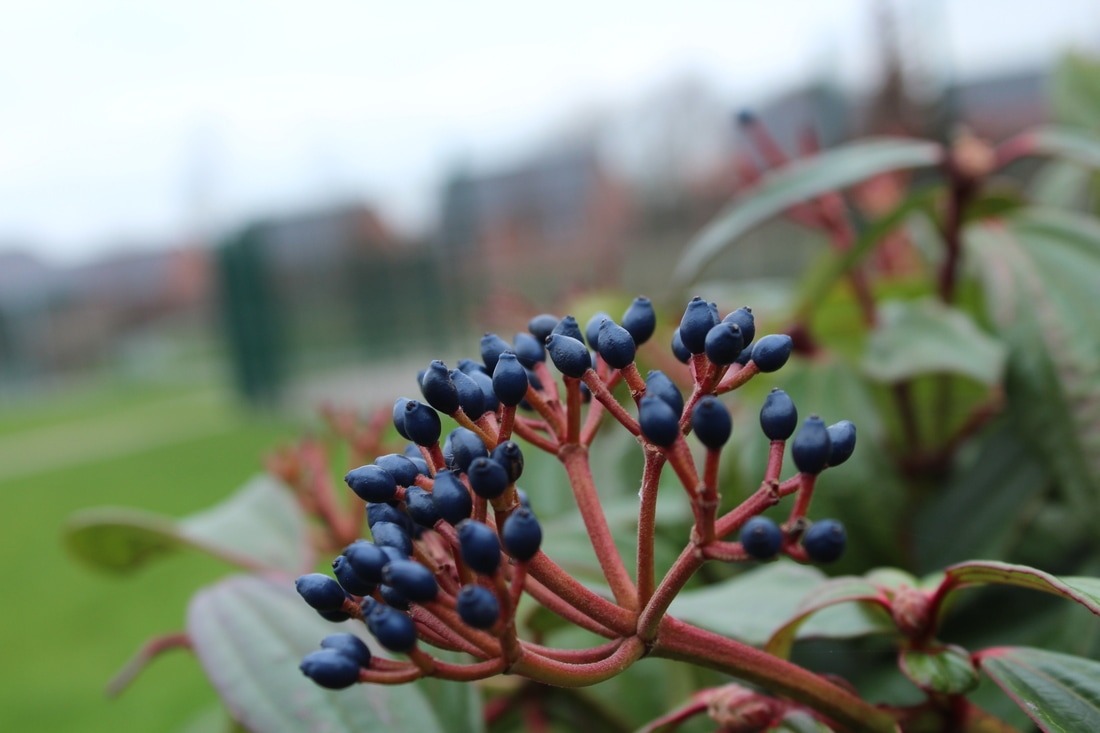
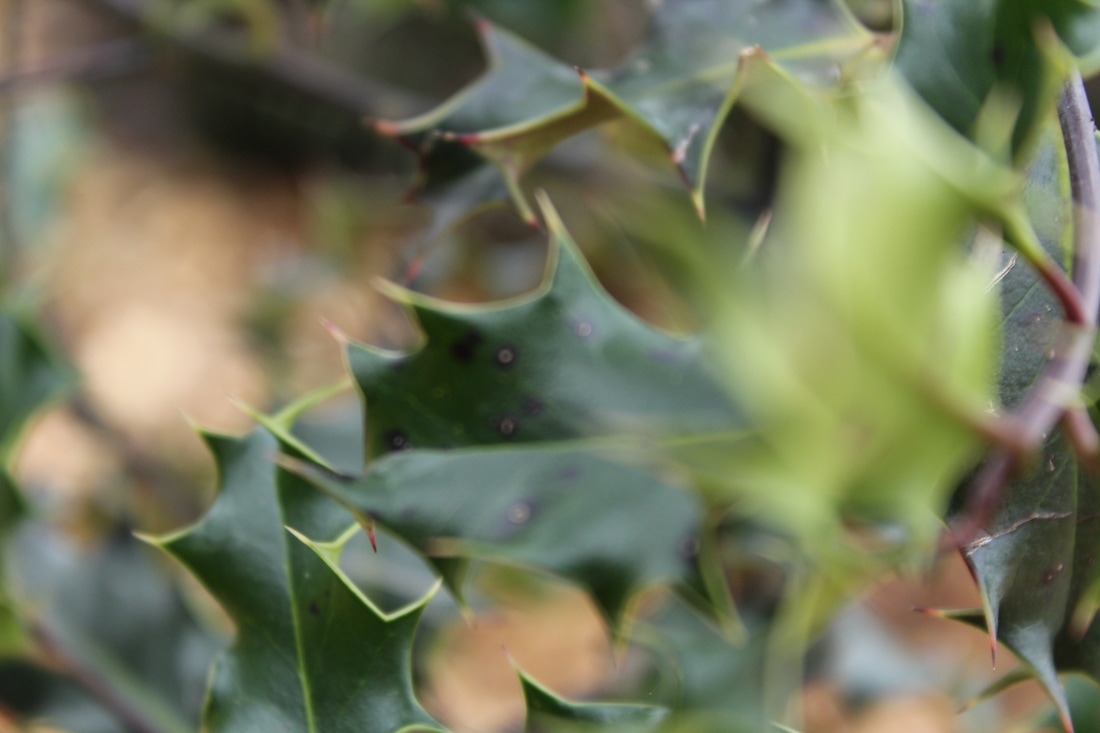
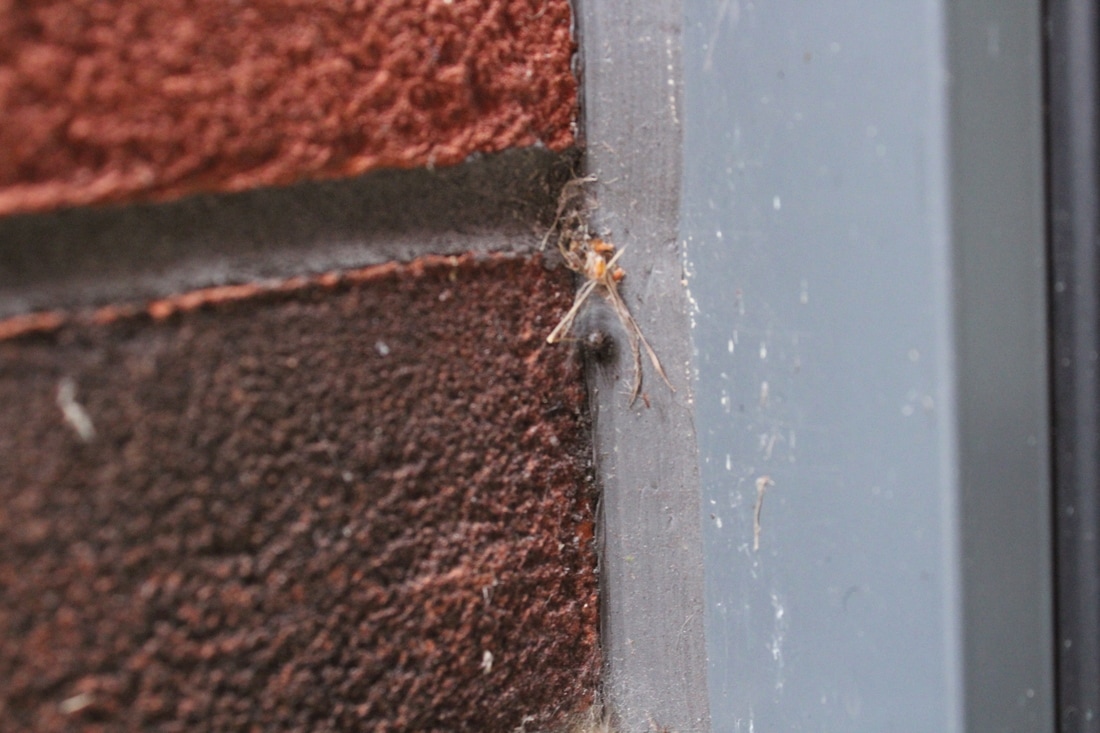
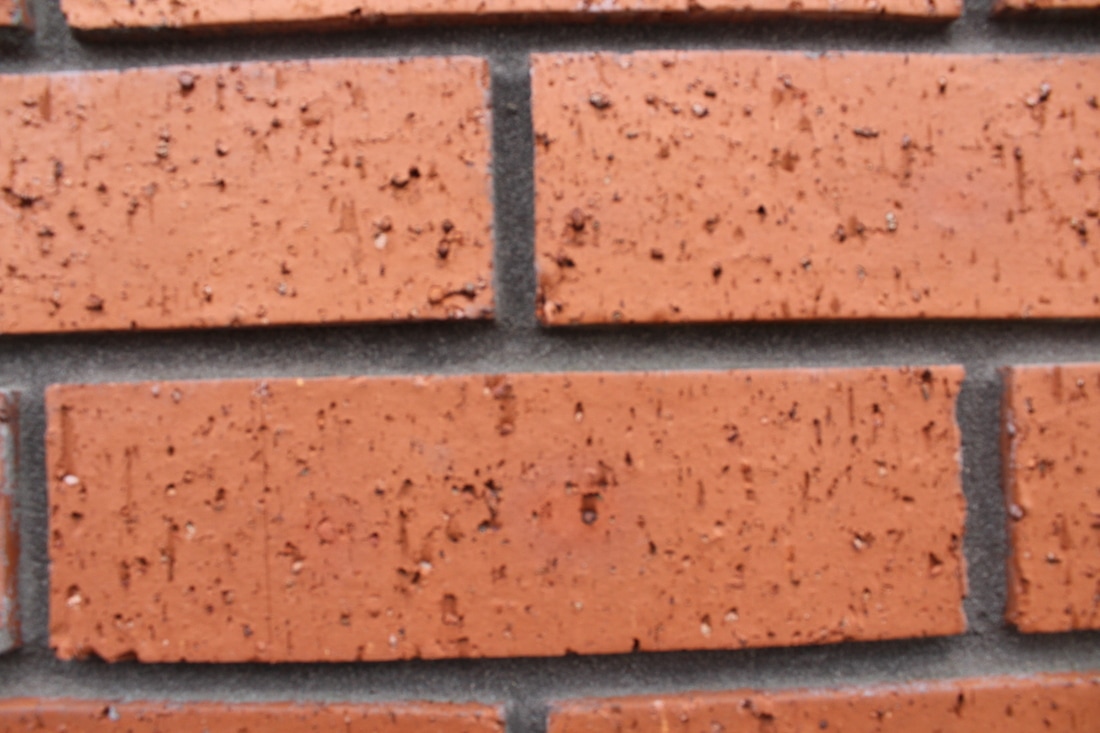
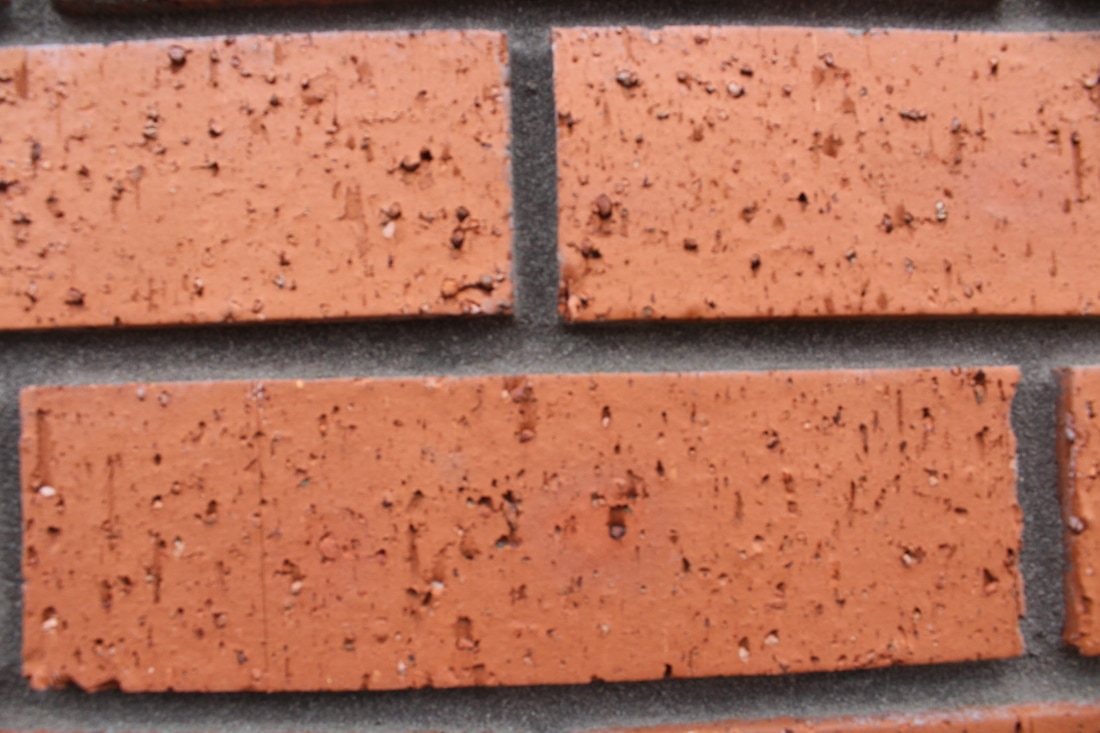
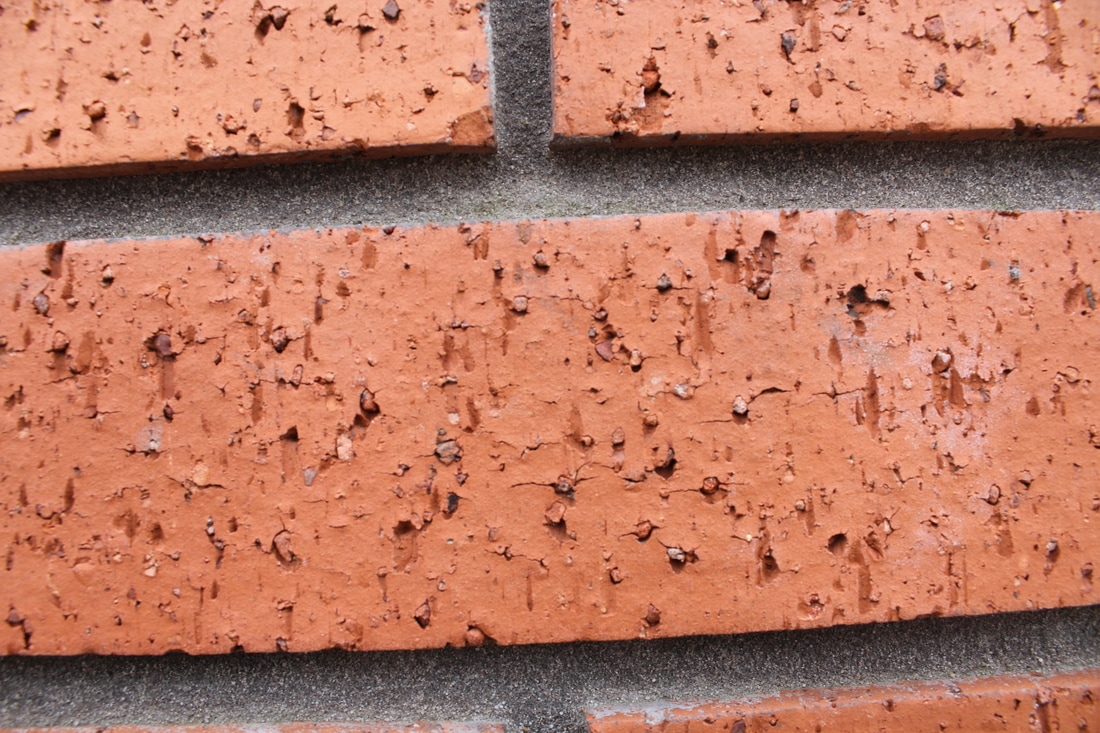
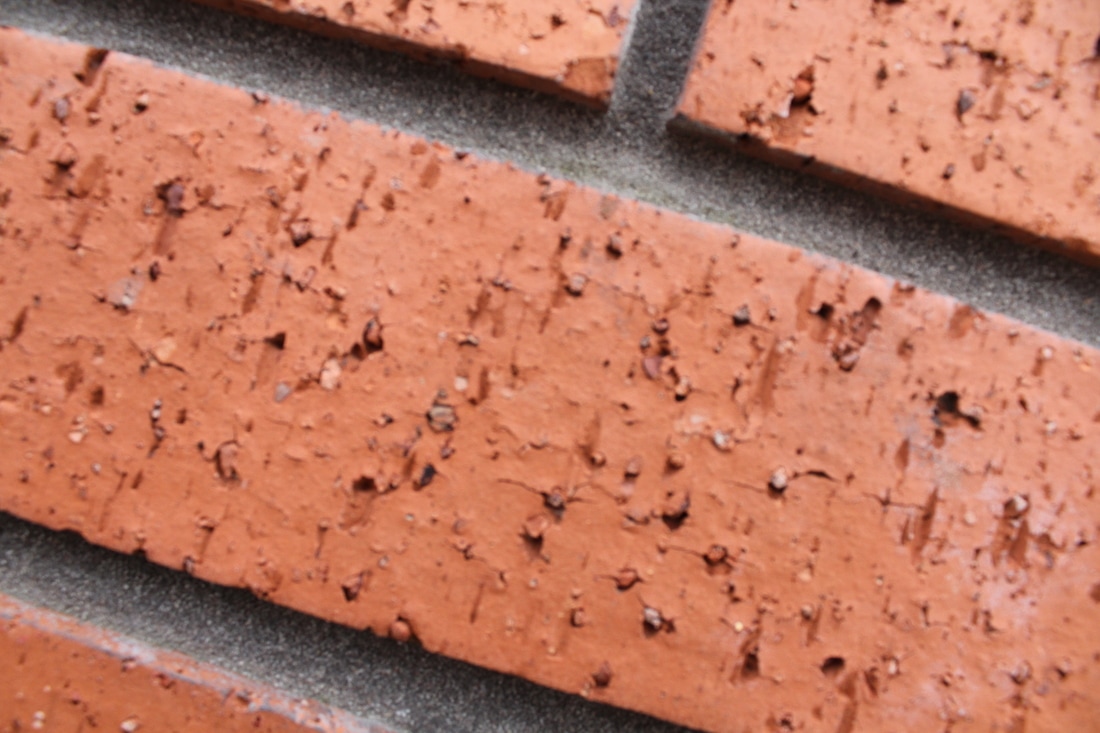
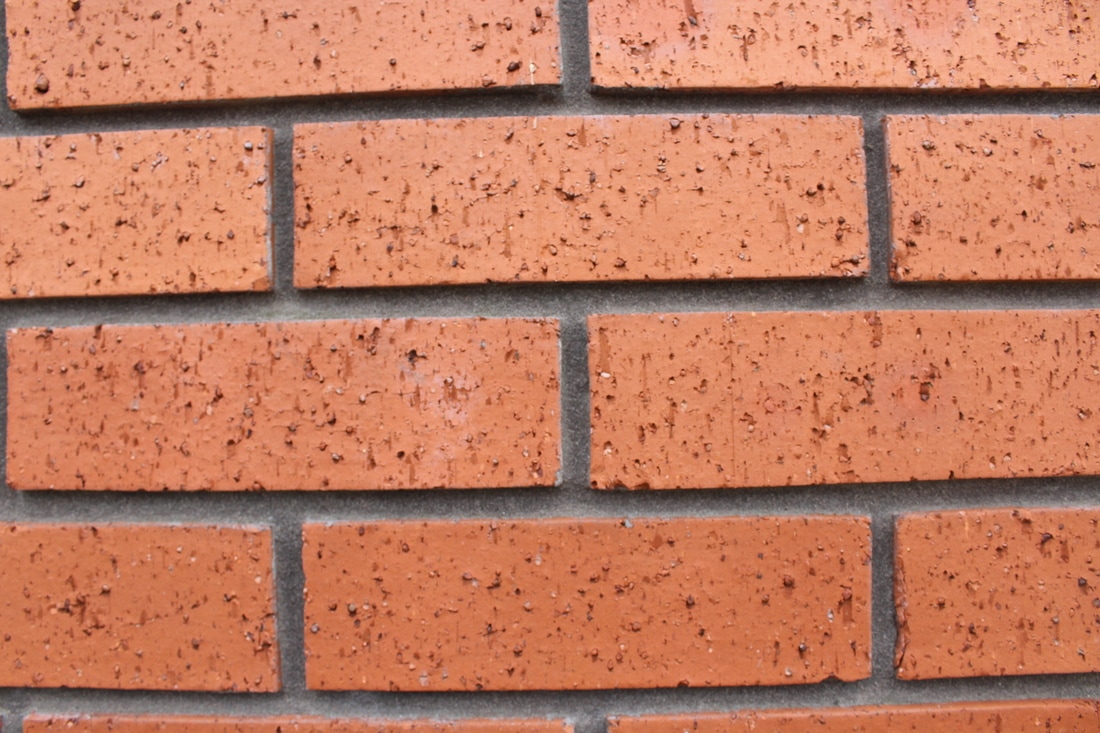
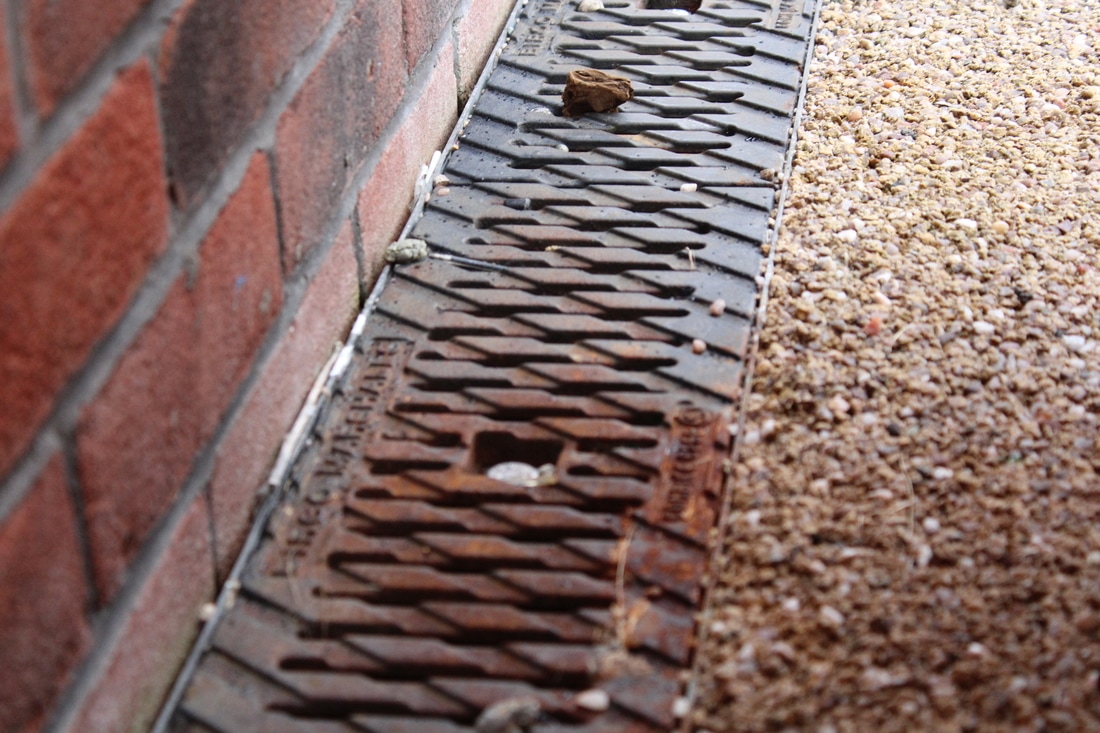
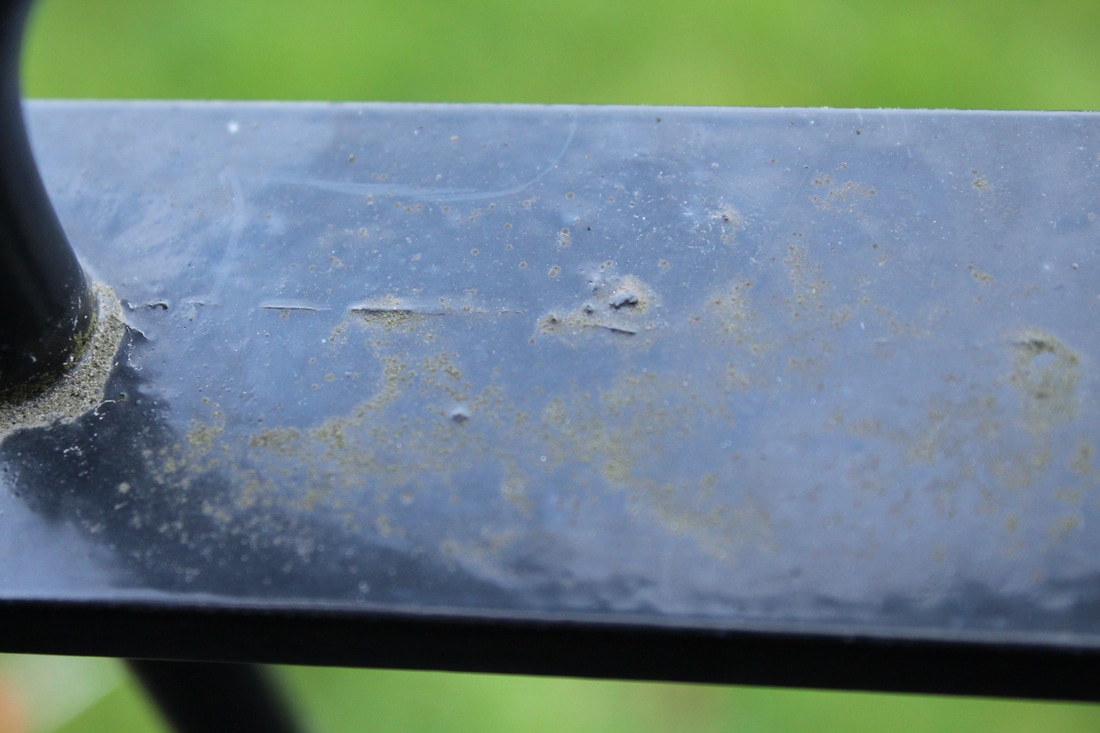
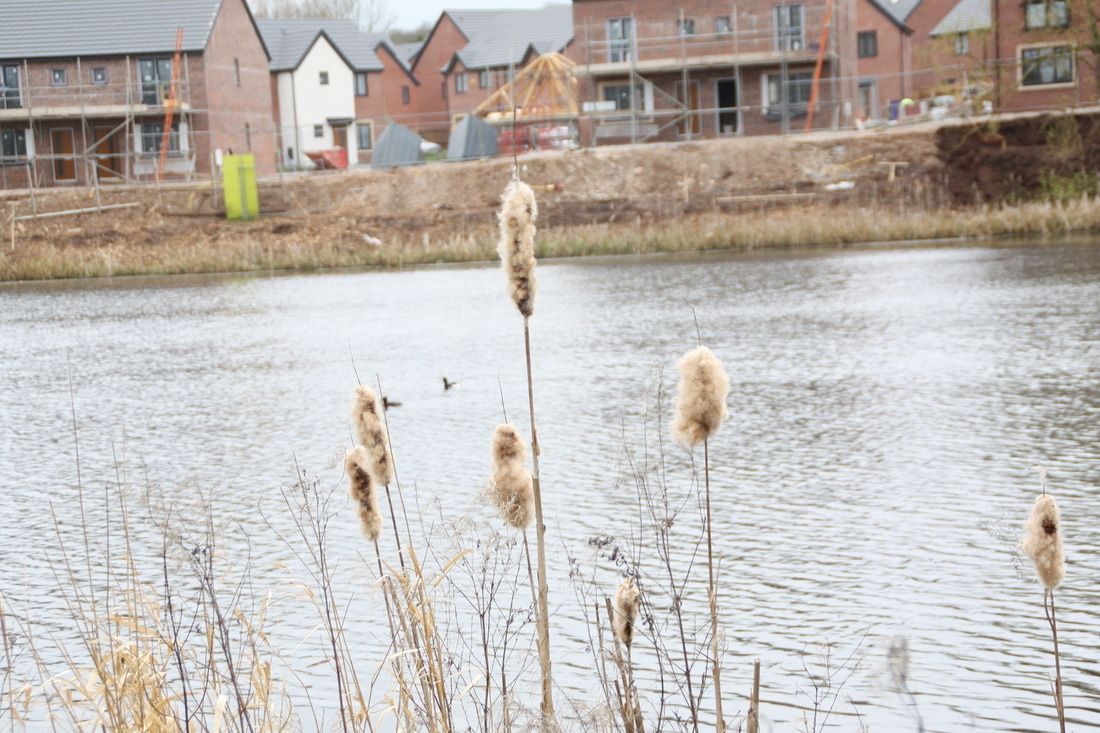
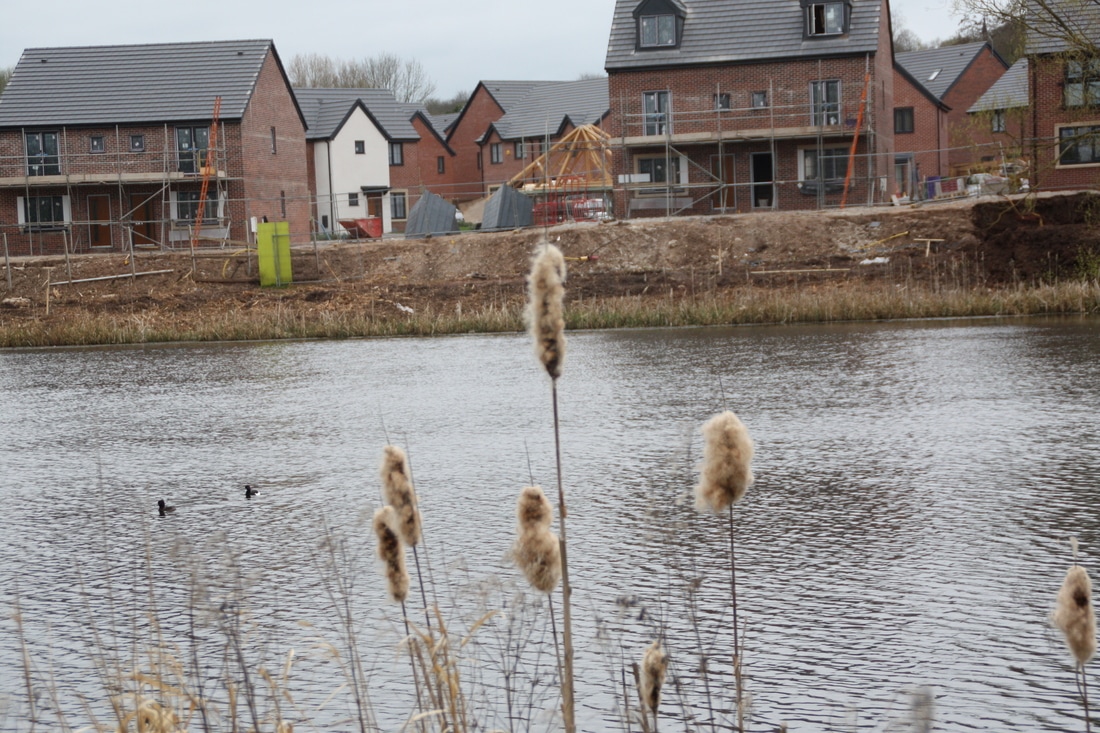
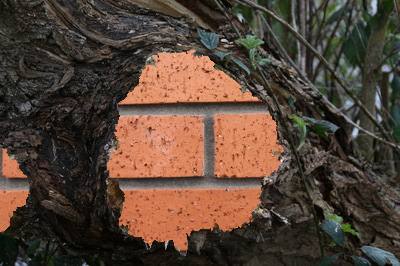
For my third shoot I am going to work in the style of Jo Whaley but instead of capturing the detail of butterflies, I will take photos of the detail/texture of different insects and detail of different background then edit them together. using a big aperture of 5.6 with a small depth of field. For example, bees, ladybirds, moths, ants and for my background photos of brick walls and detailed flooring. When I take the photos I will go to places like Wigg Island and use a big aperture of 5.6 with a small depth of field.
|
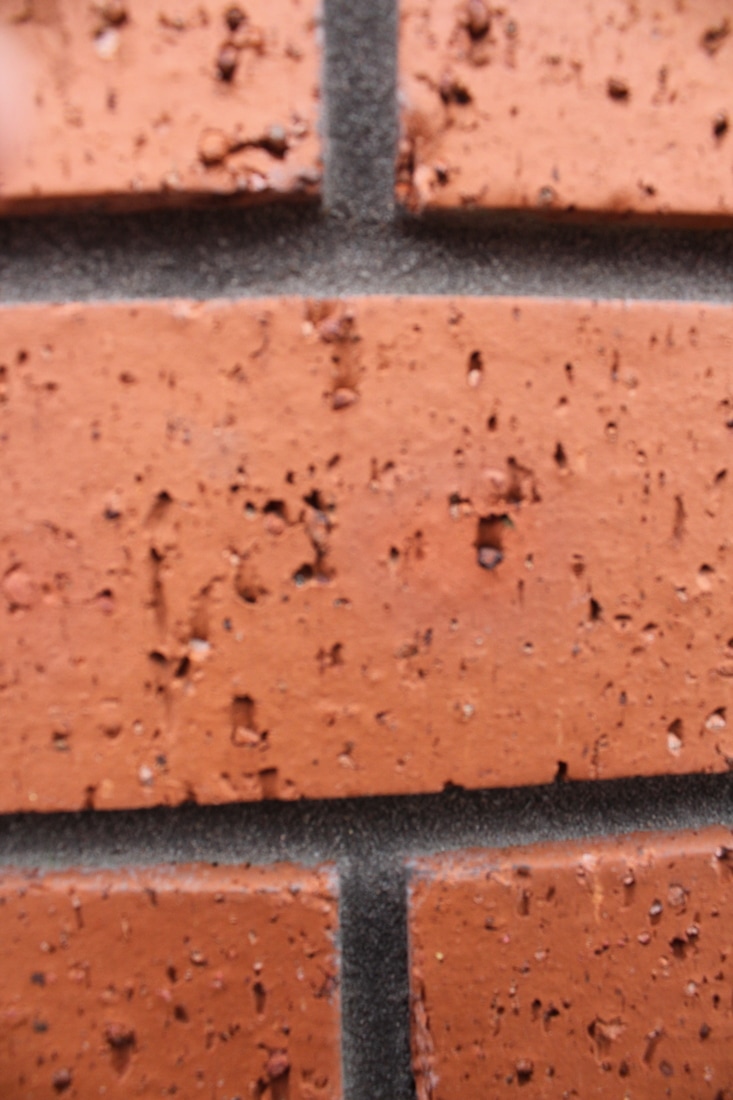

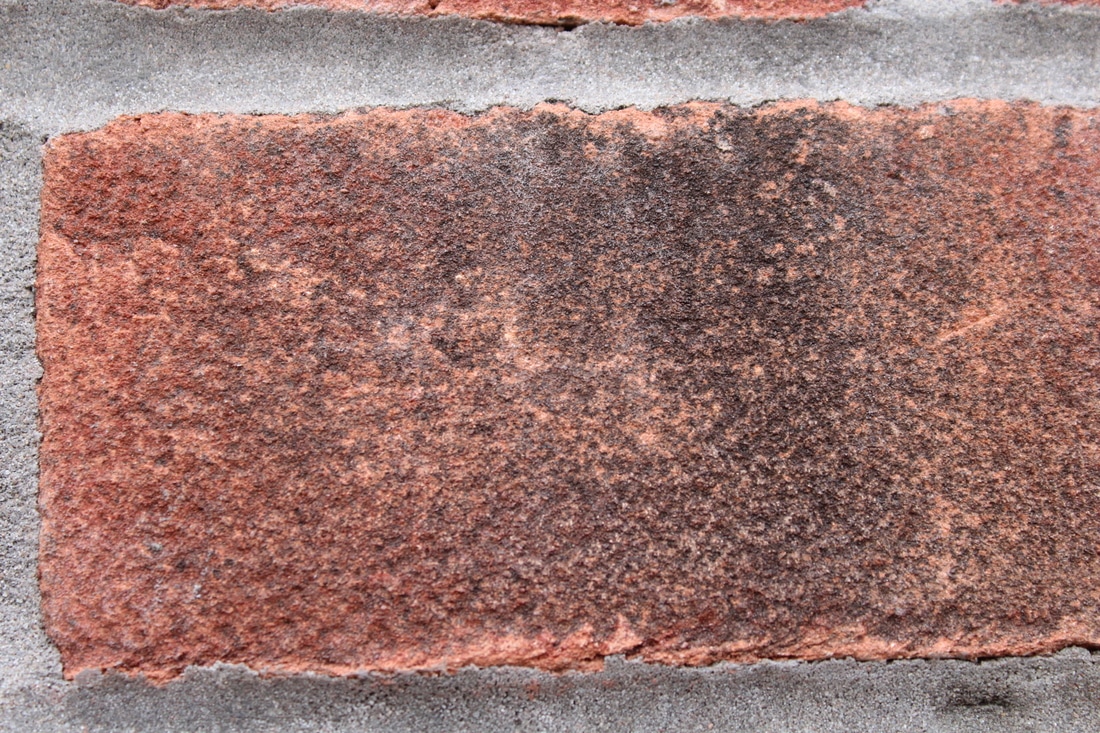


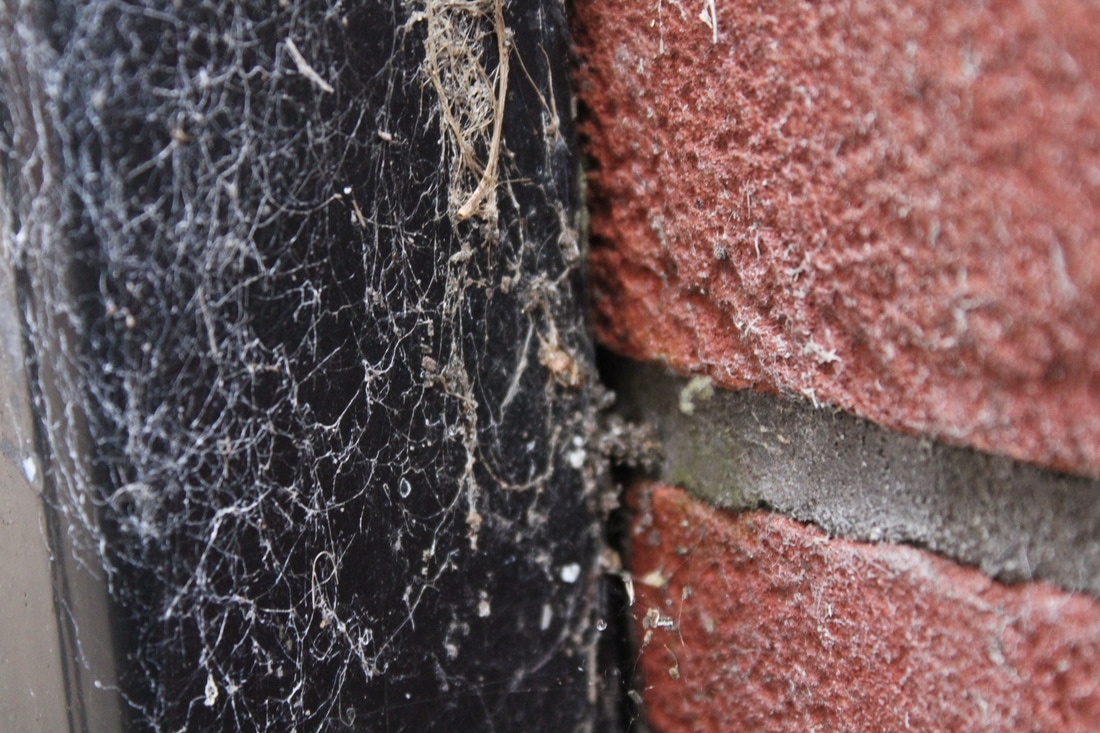
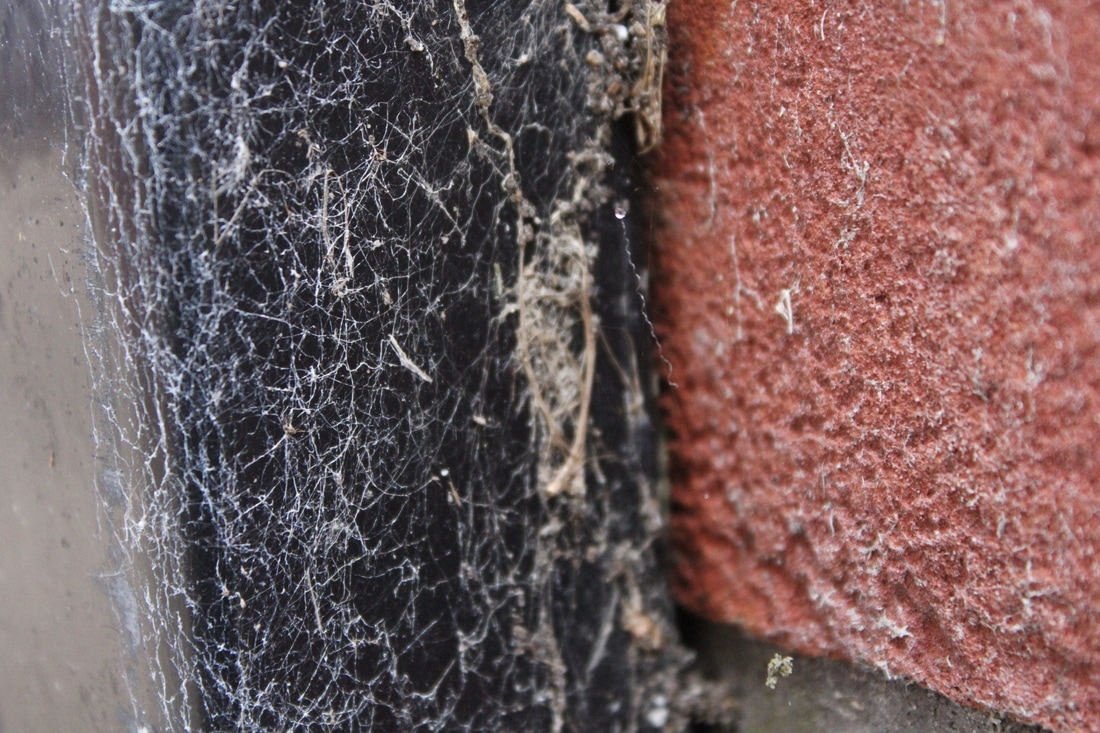


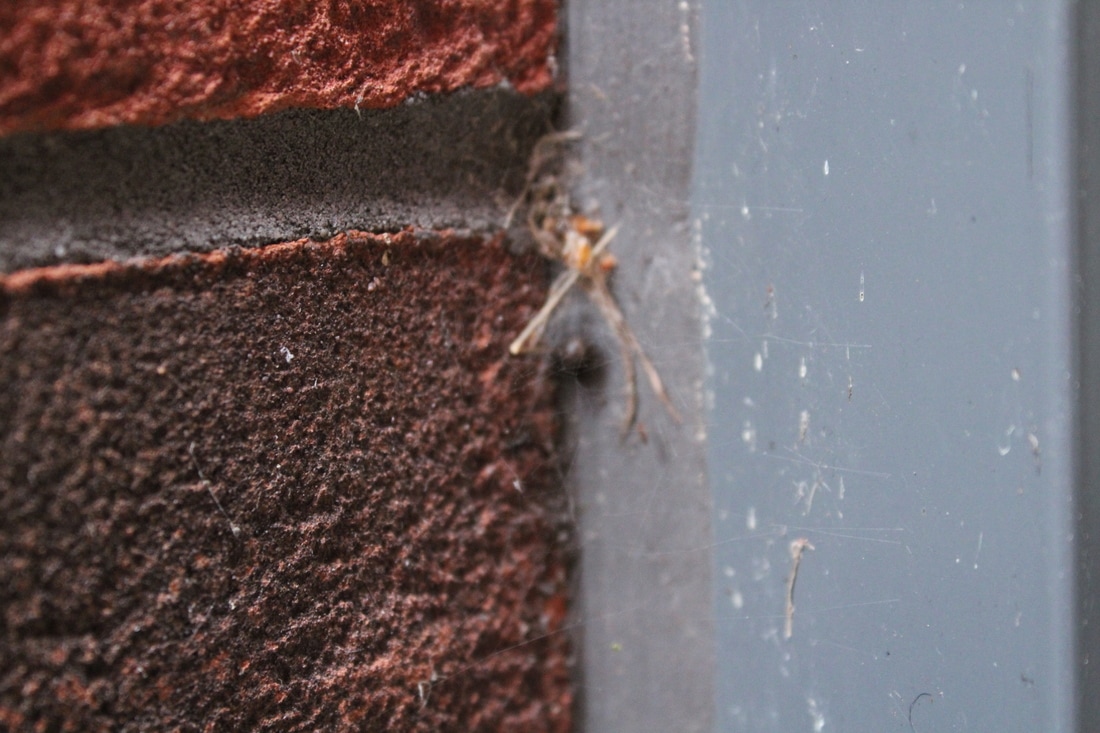
Worst
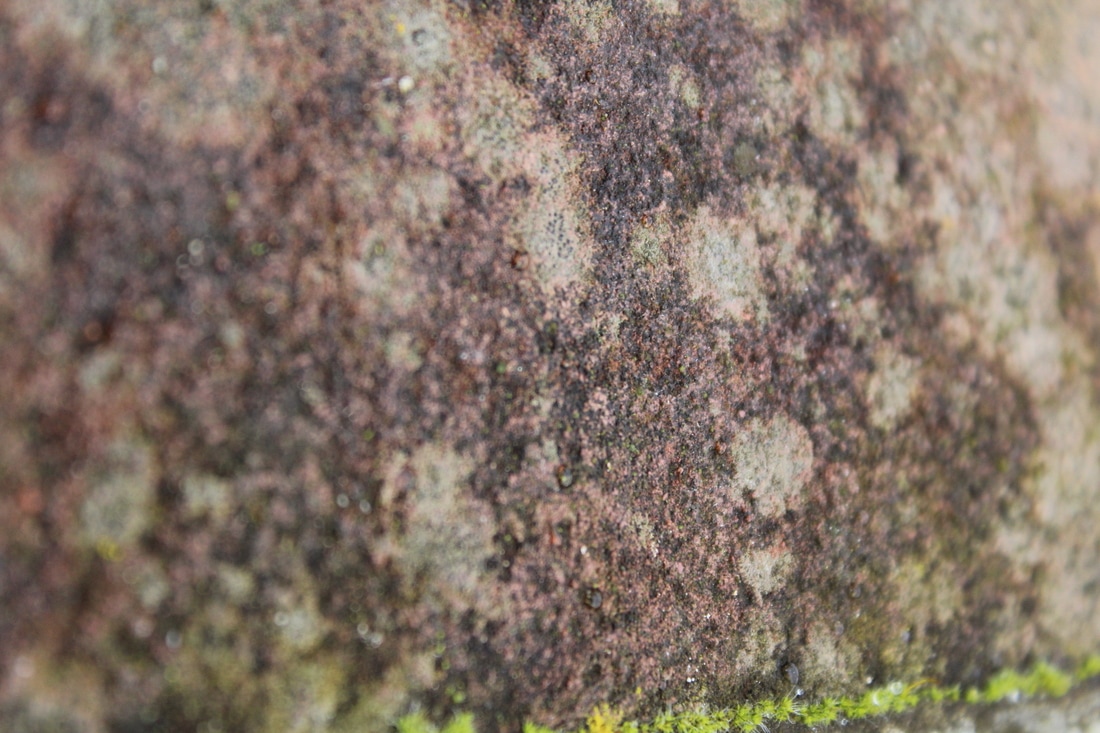
This was taken outside of a close up of the eroded parts and the detail of a single brick within a brick wall. I don't like this photo because it doesn't demonstrate much detail on the brick as the camera wasn't in good focus. Although the photo has turned out blurred, I do like the eye level angle I took the photo from.

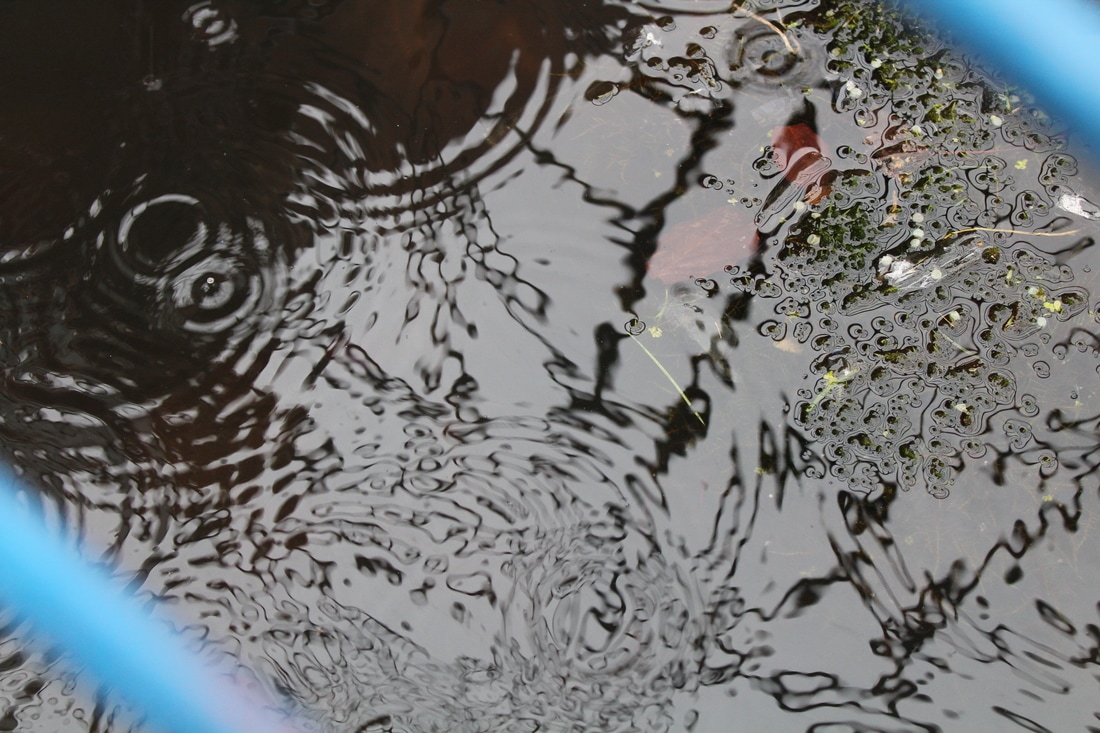
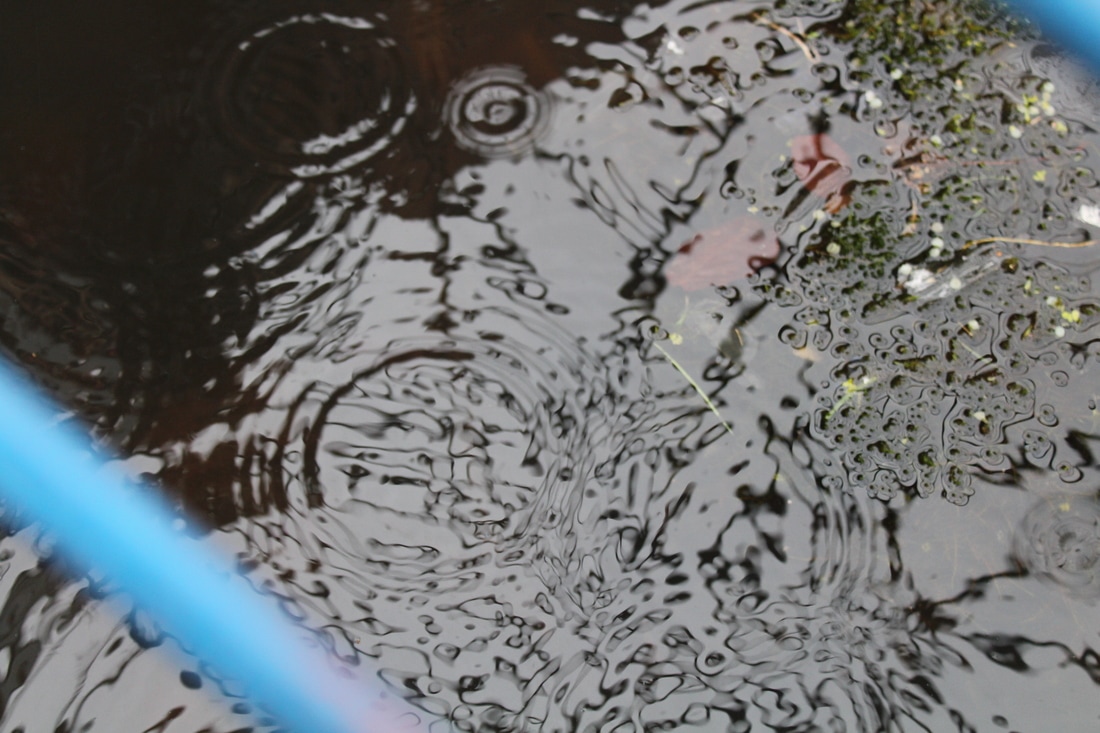
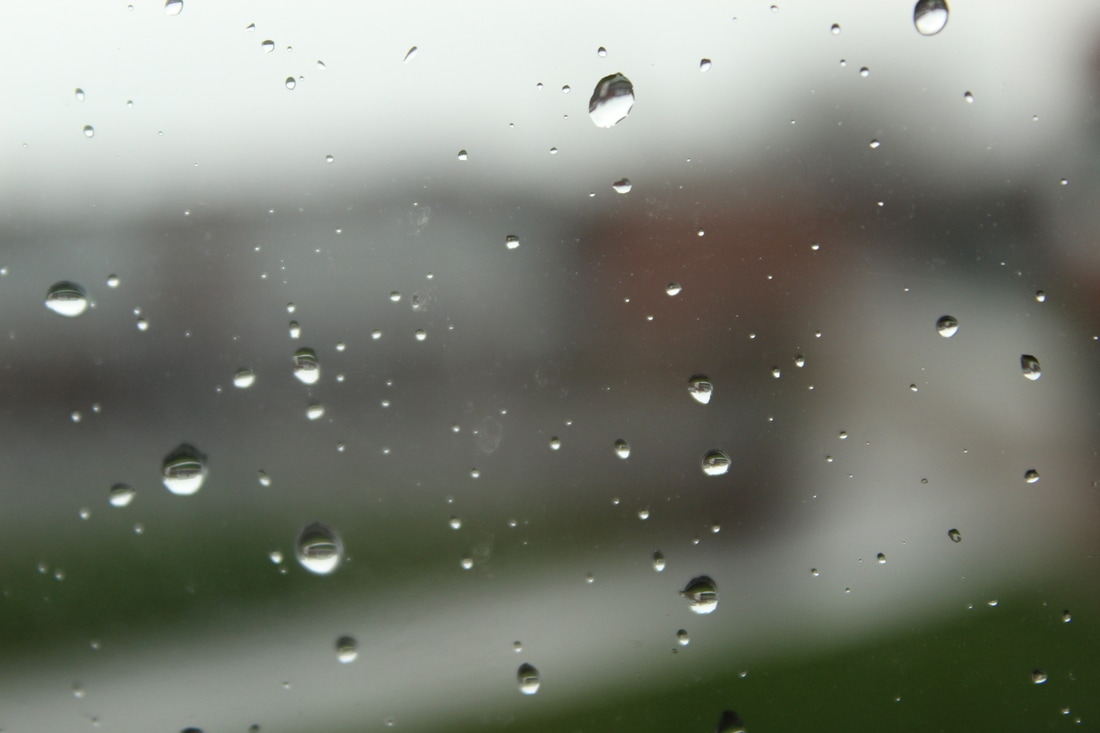
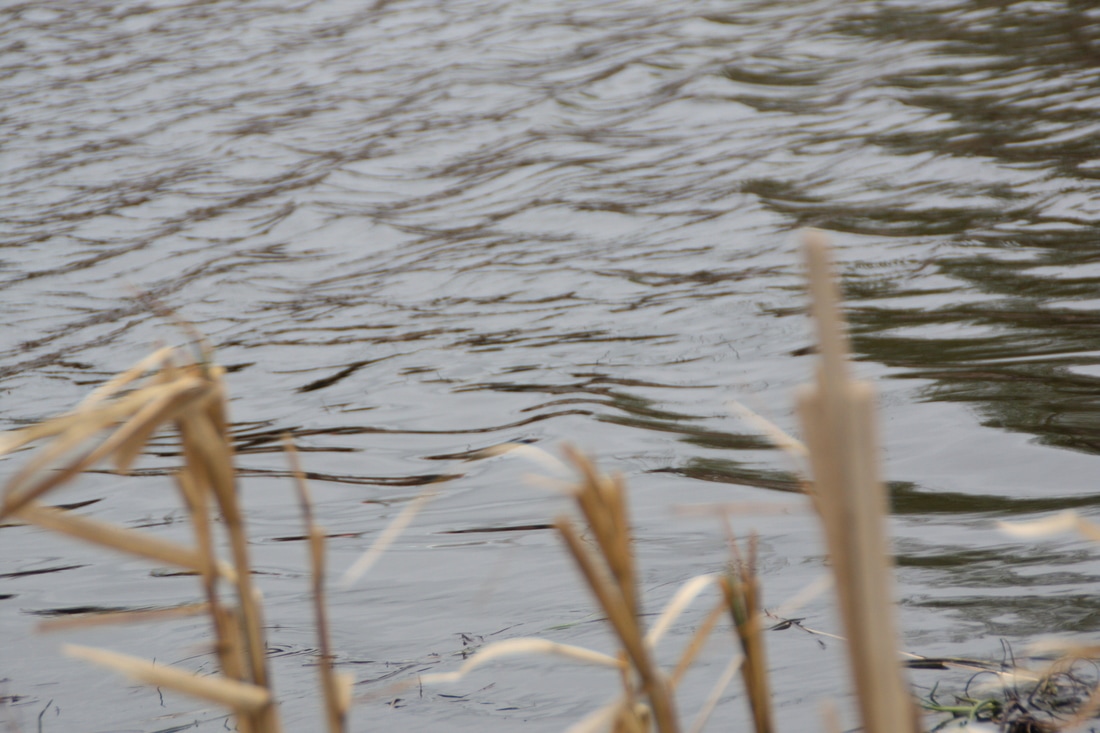
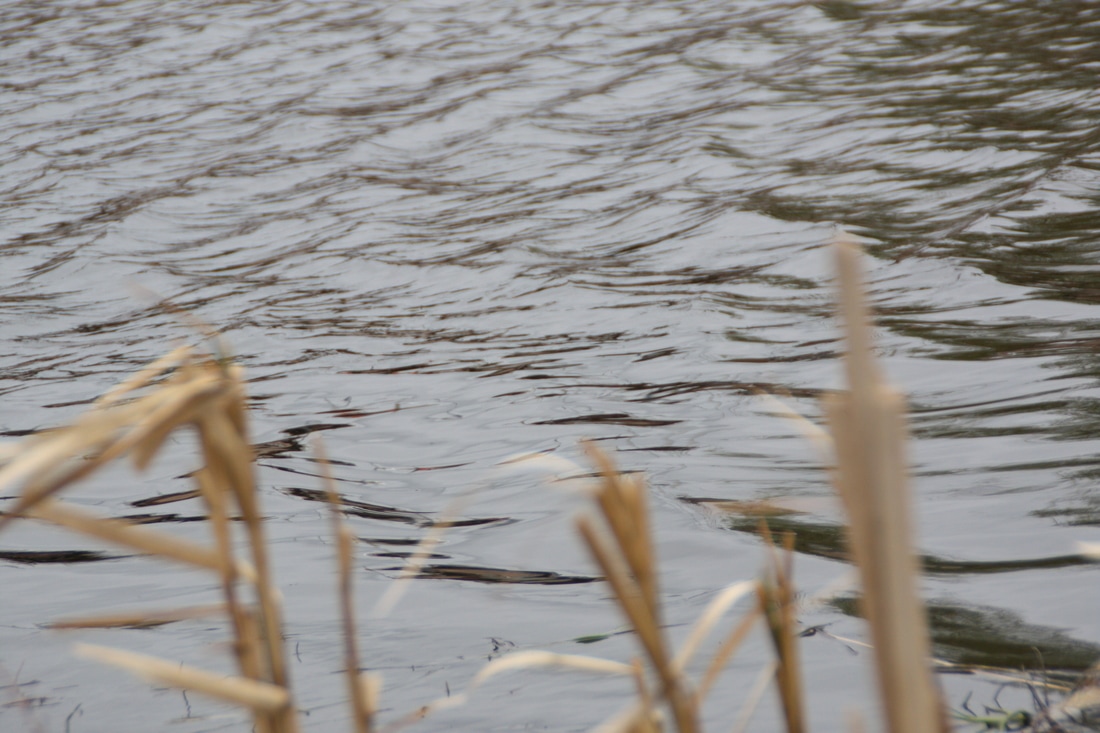
Best
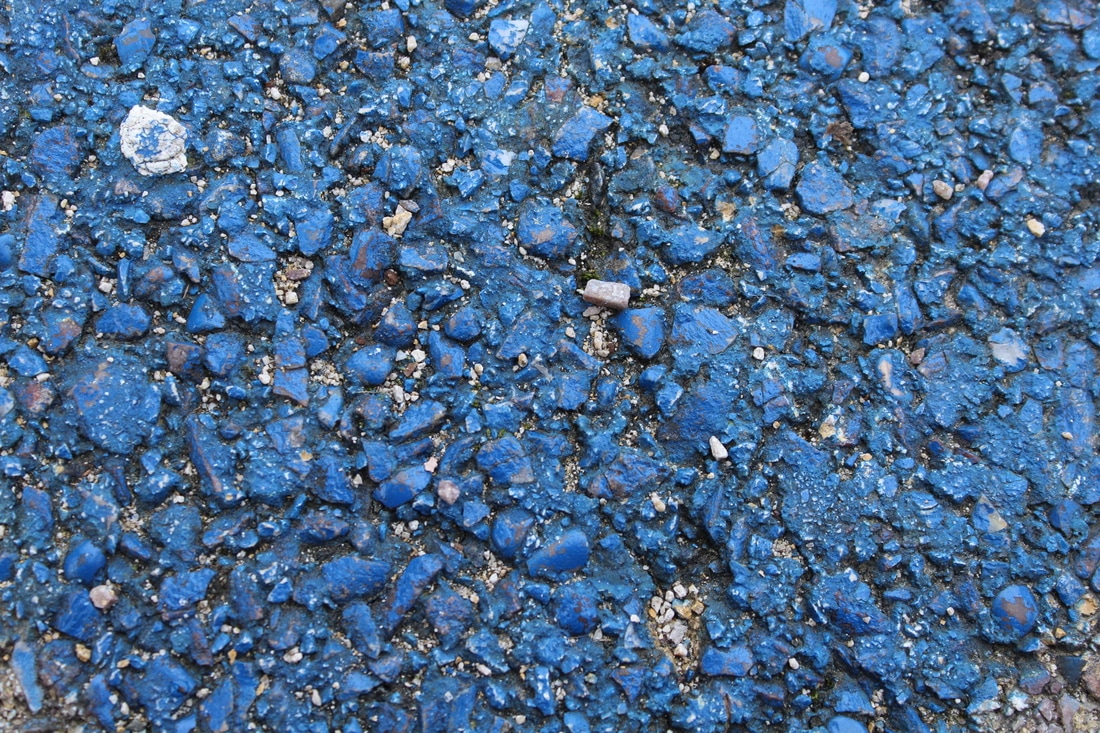
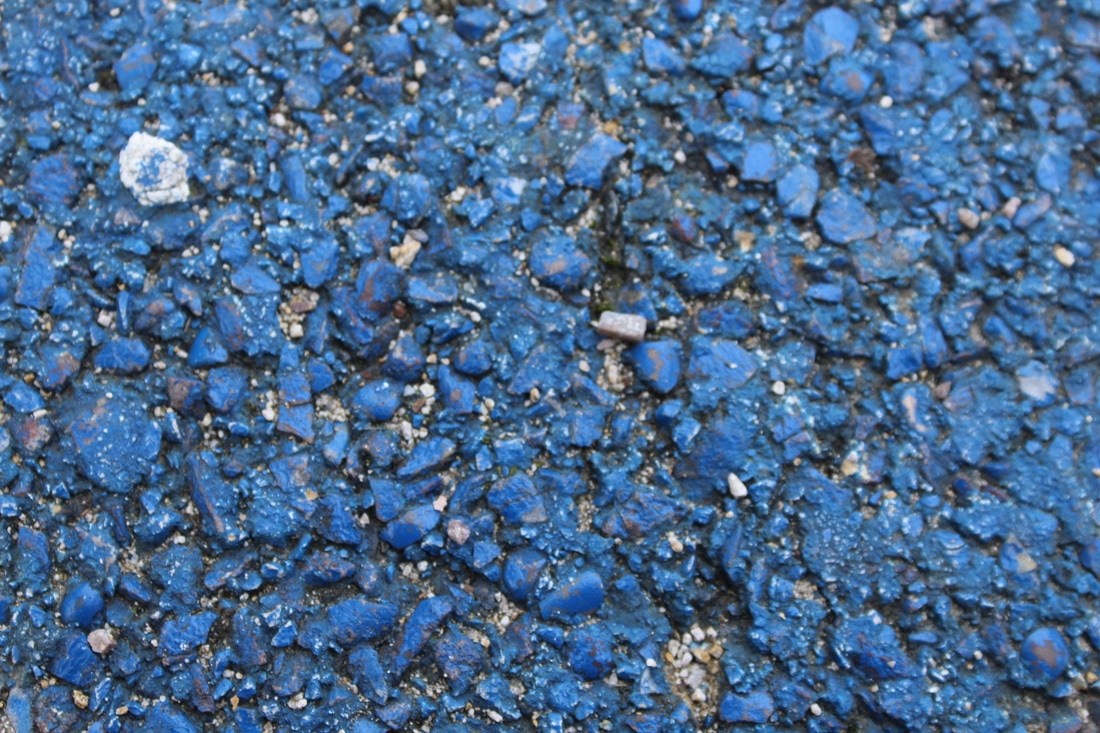
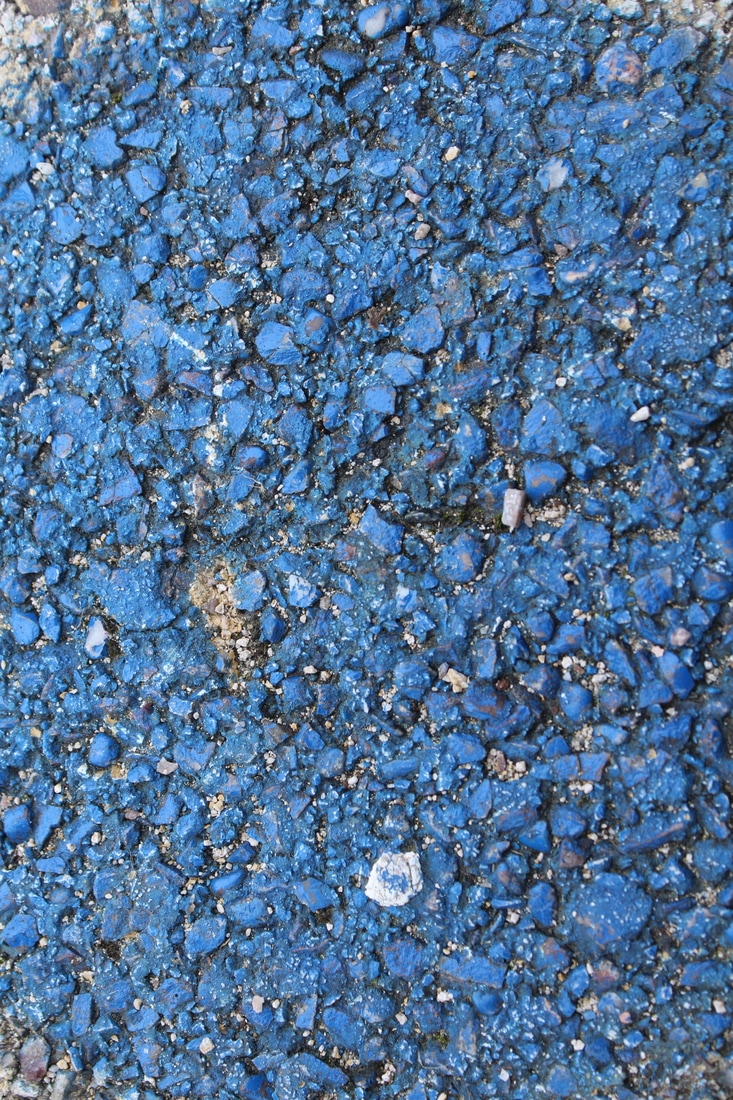
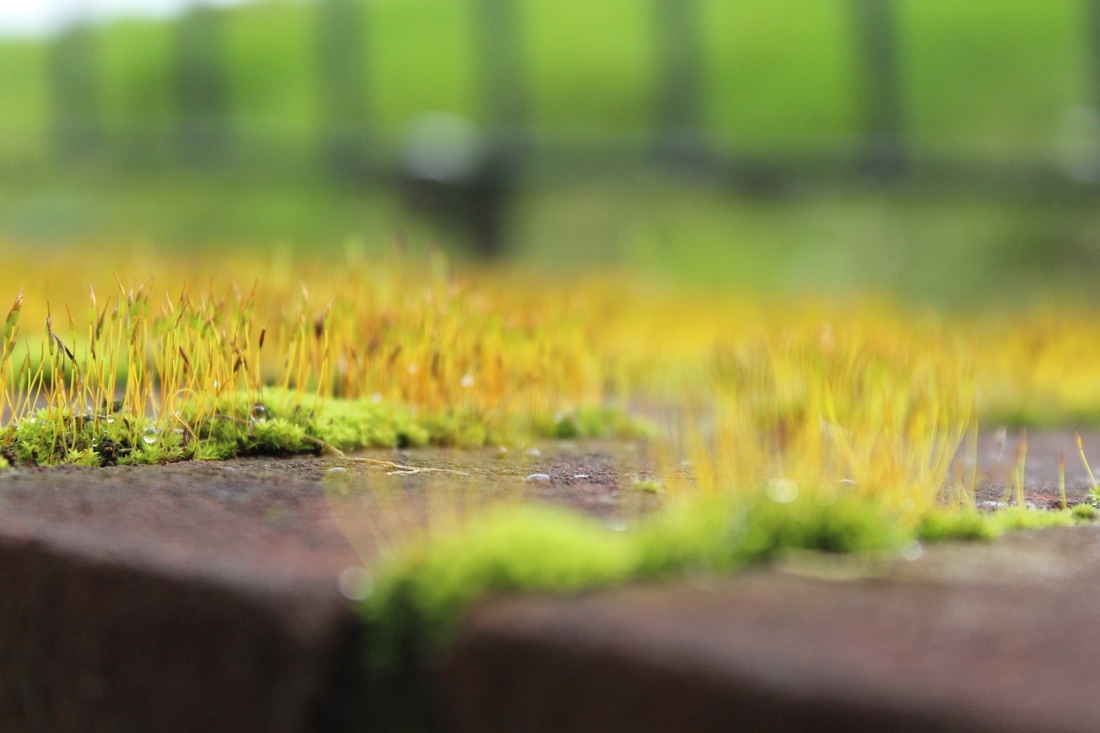
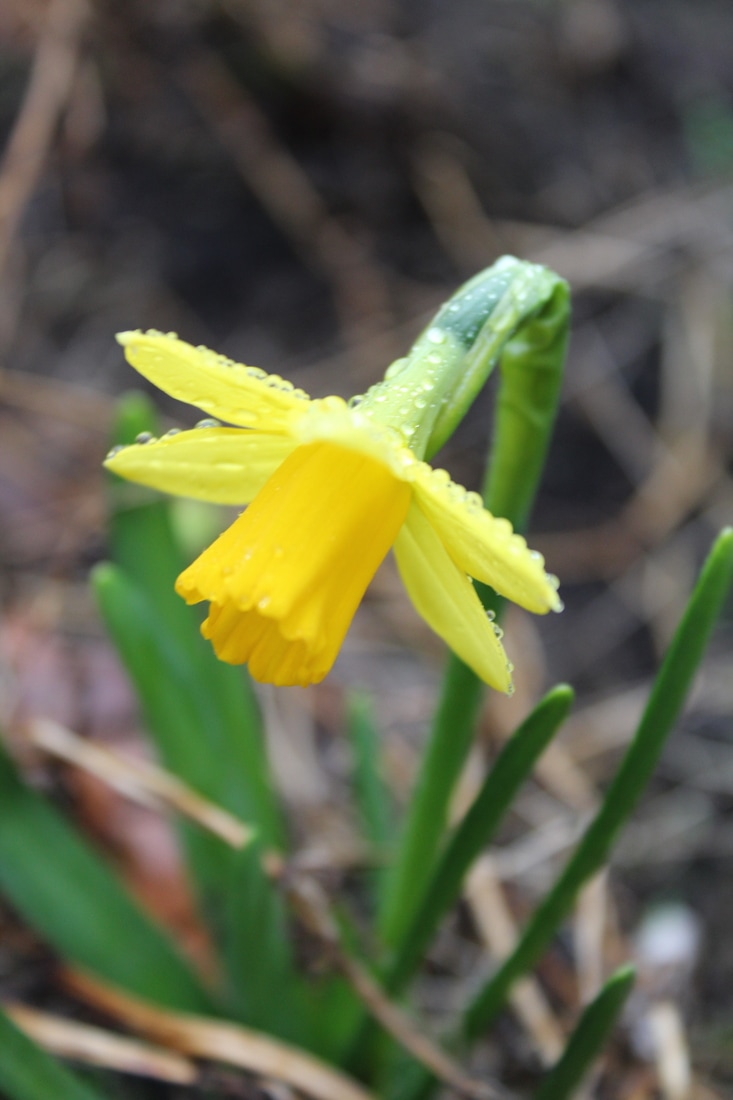
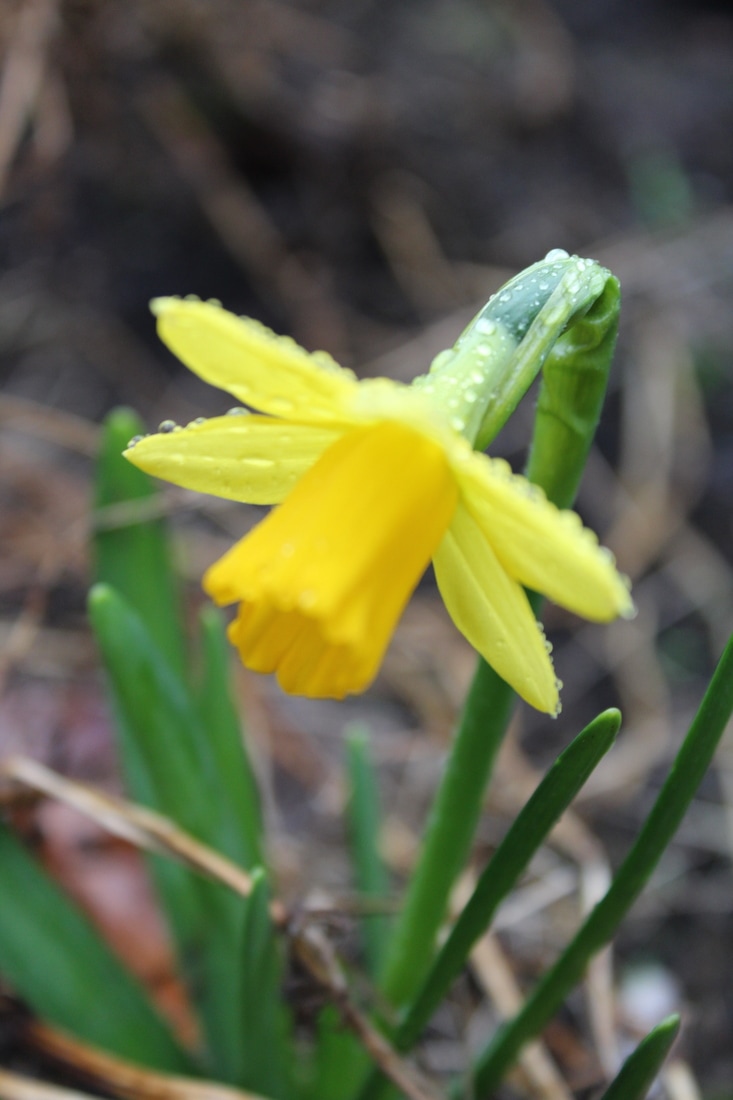
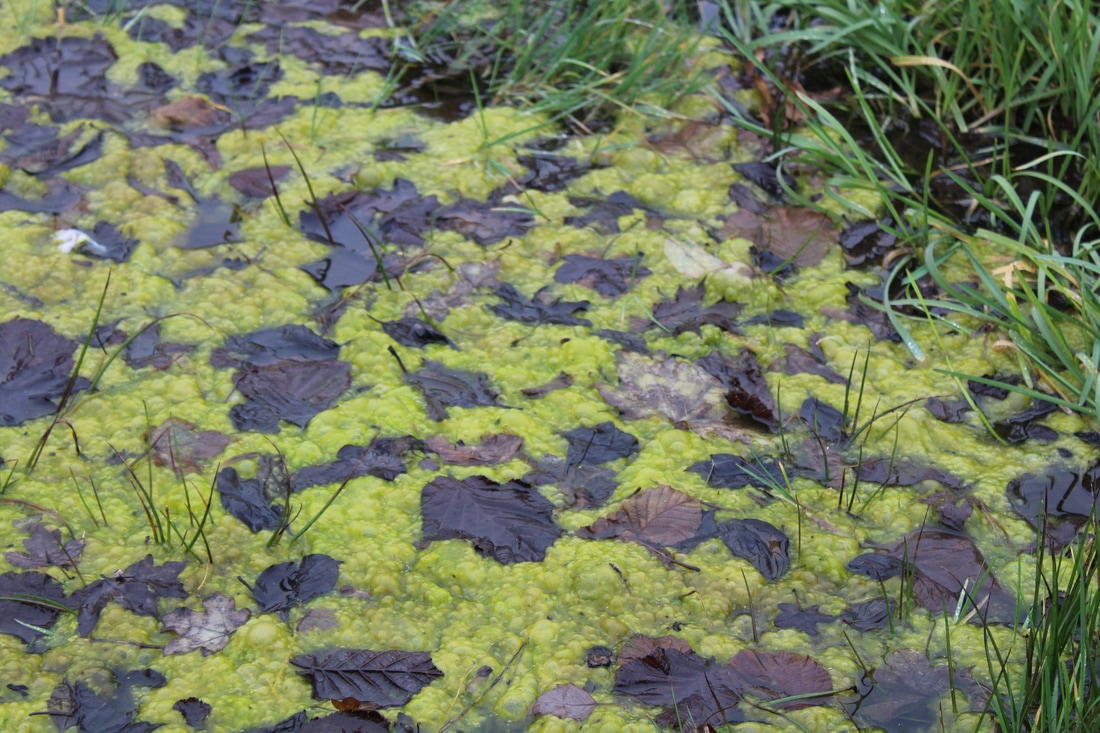
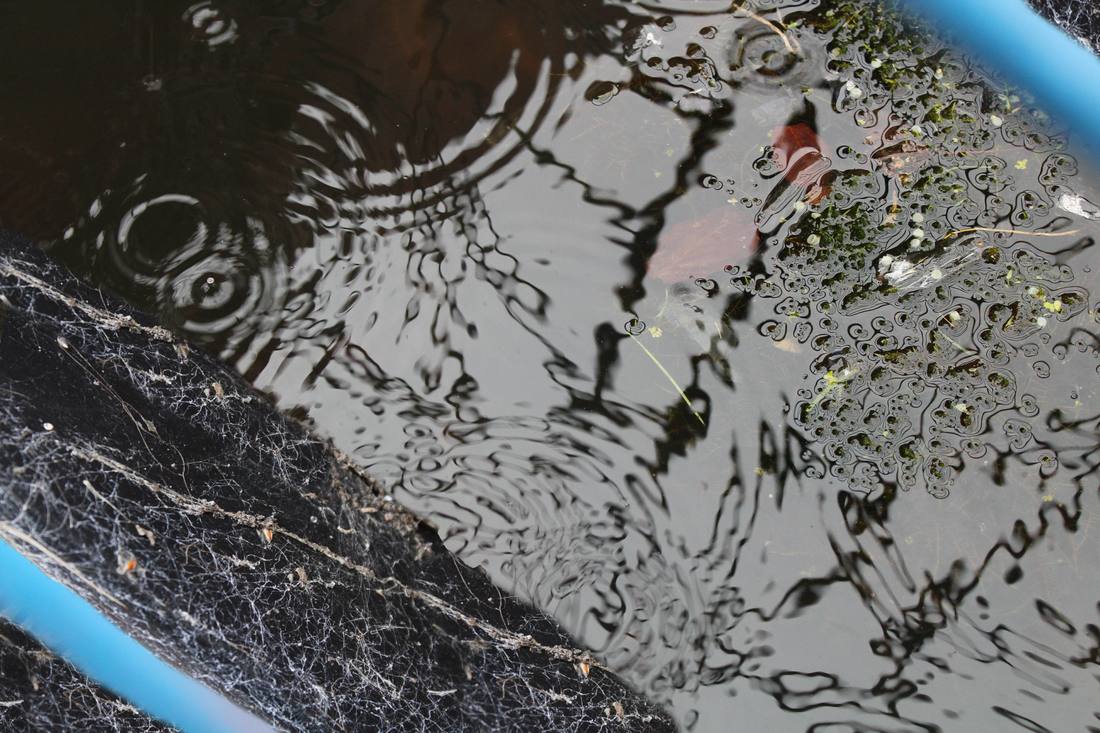
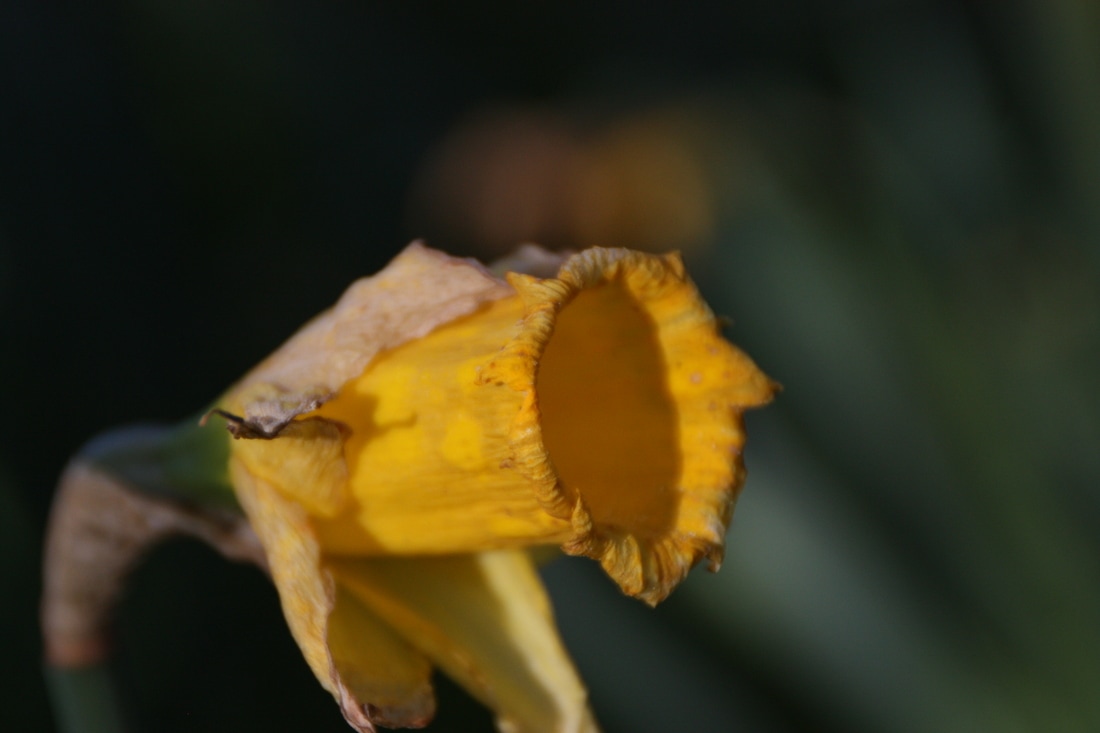
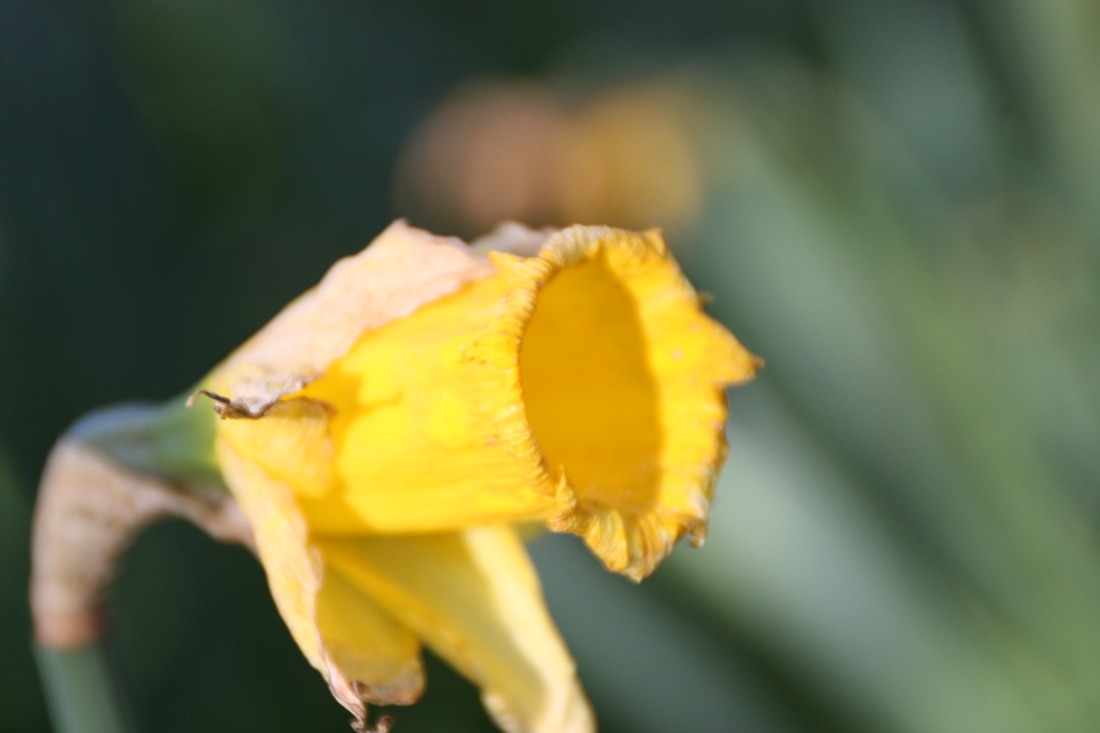
This photo was taken outside when it was raining which gave the photo a nice effect and I used a small depth of field and out my focus point of the water and ripples created by the rain. I like the detail on the water and the way the ripples are positioned because it demonstrates movement in the photo and detail like the photographer Henry Troup presents in his photos. Also I like the way the light has reflected the blue bars into the water but I am going to work in the style of Jo Whaley and layer detailed photos together.

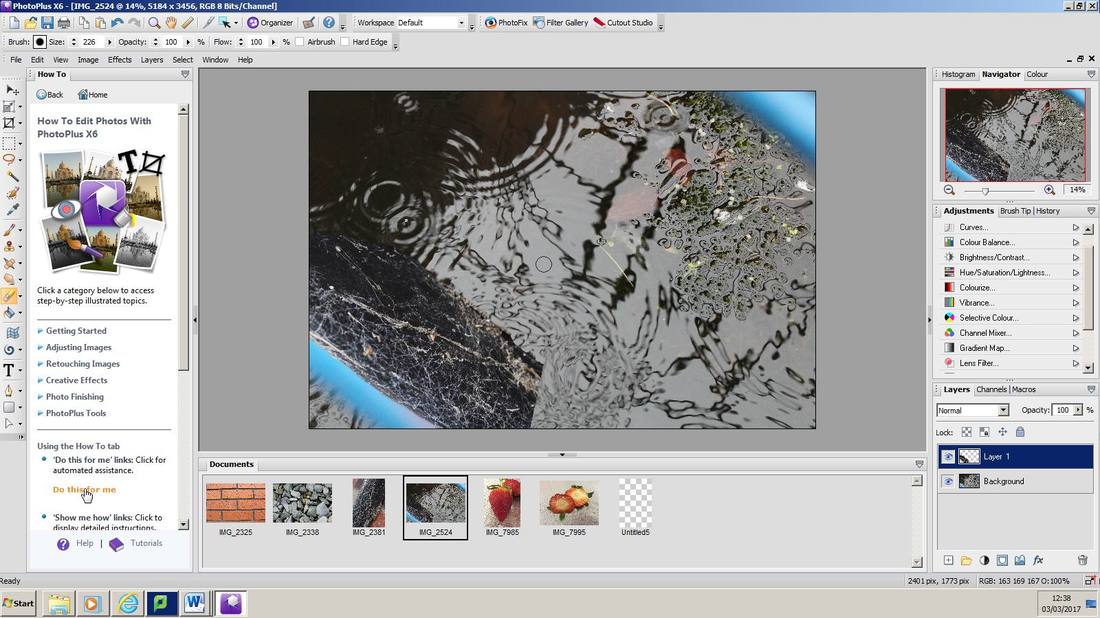
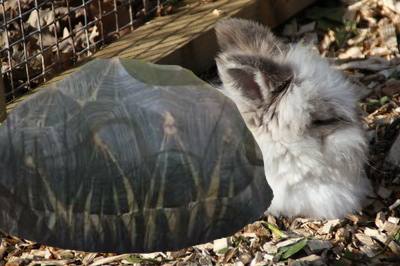
Editing process


|


|
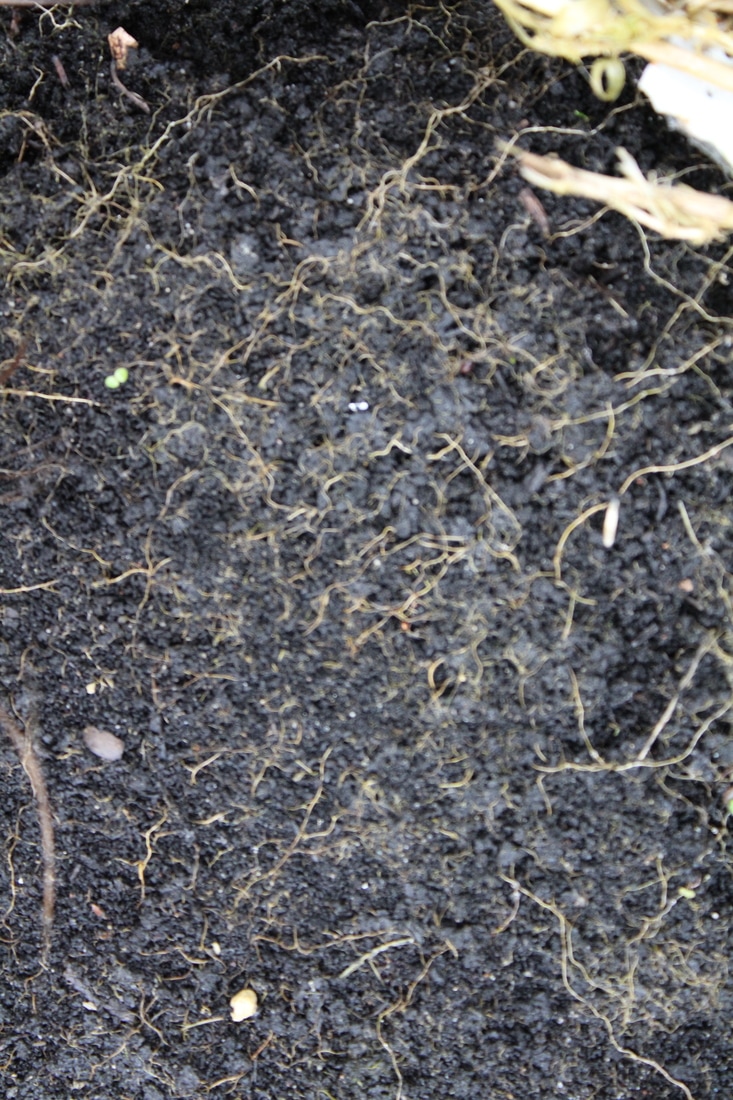
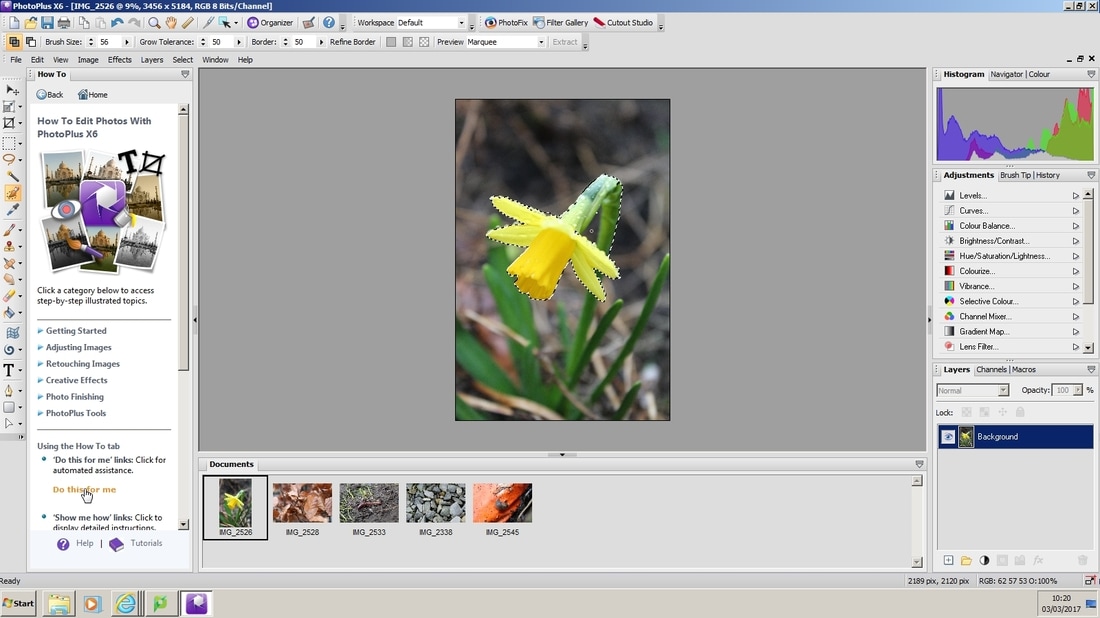
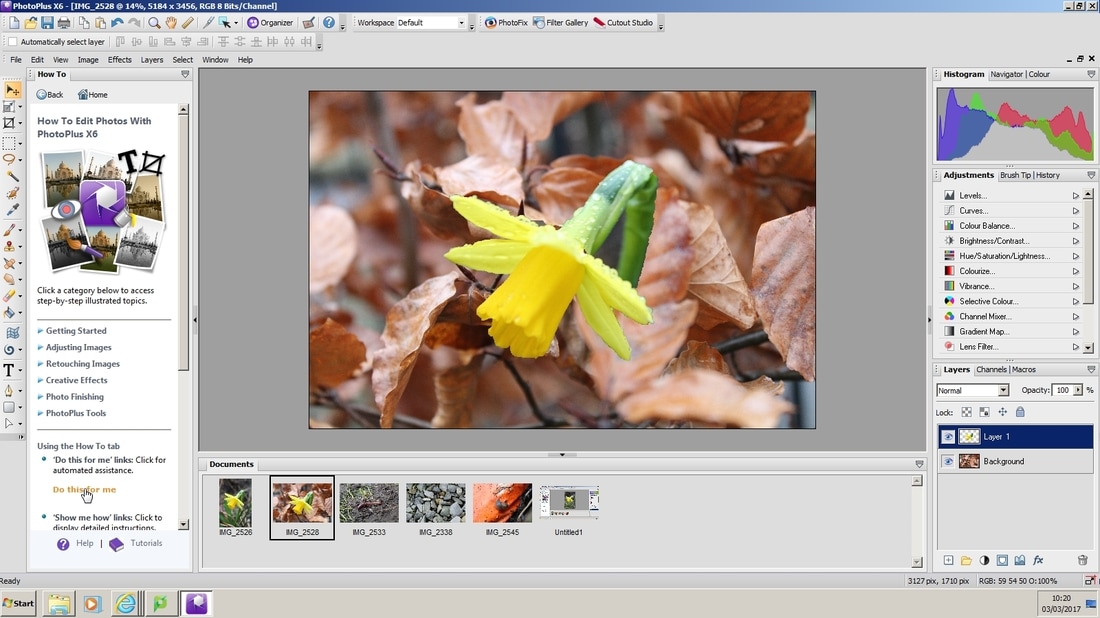
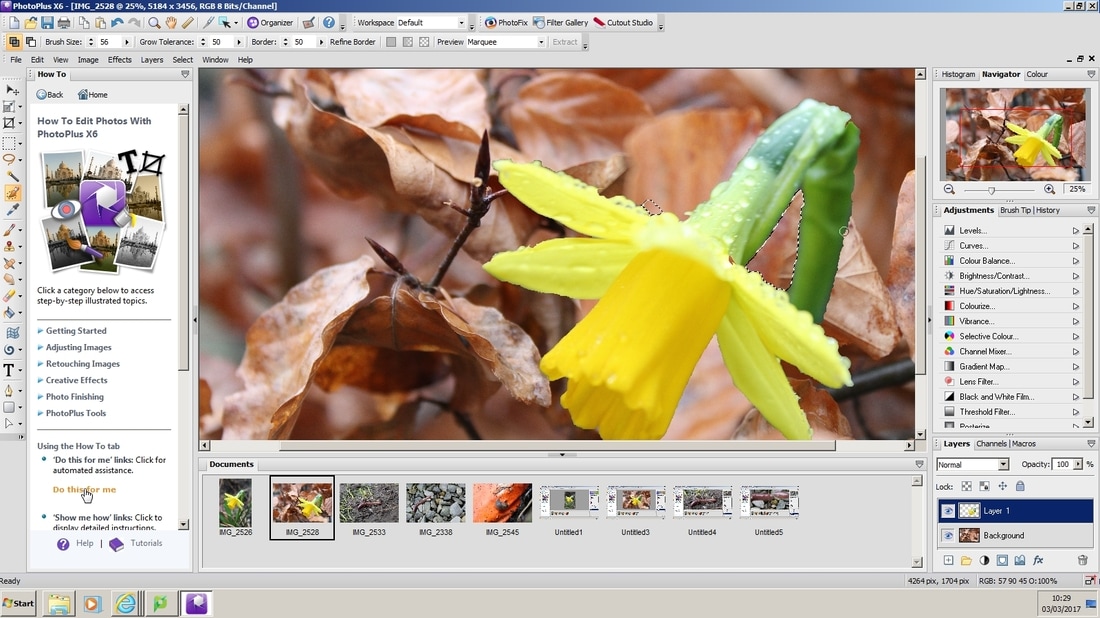
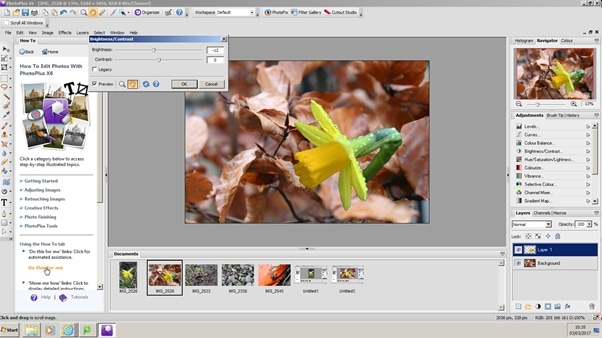
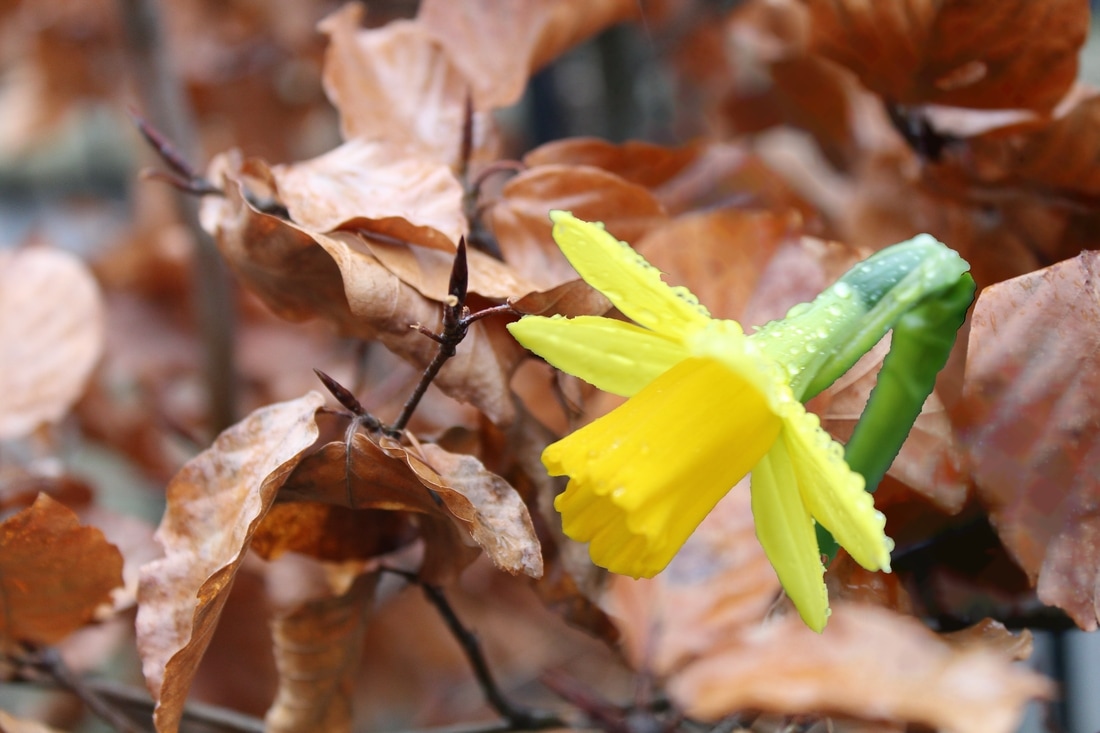
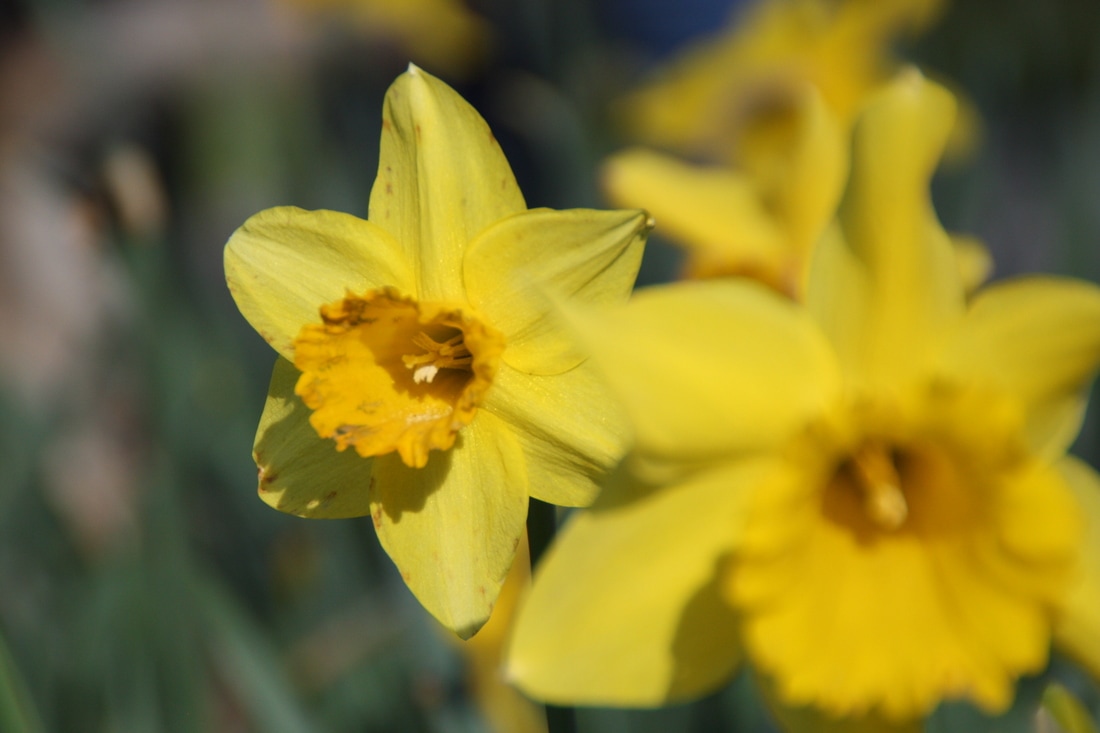
To create this image I use the photo if the leaves and daffodil to make the two layers of detail. I blurred one side of the background and put the flower there to show the different details.

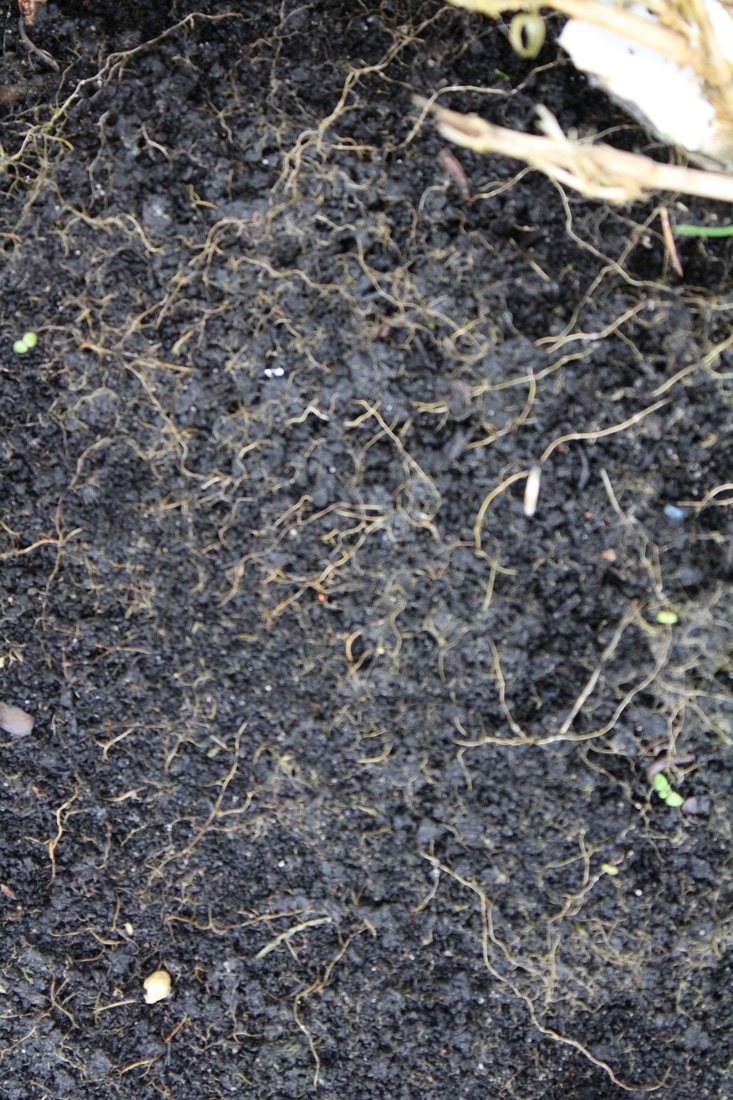
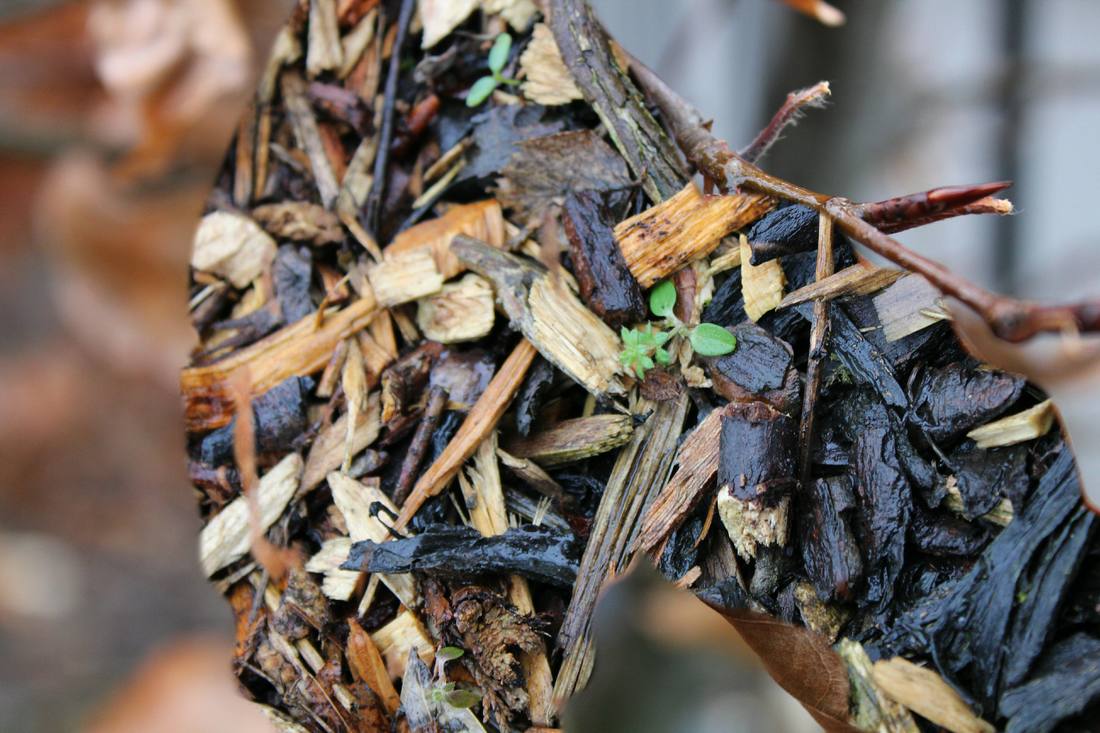
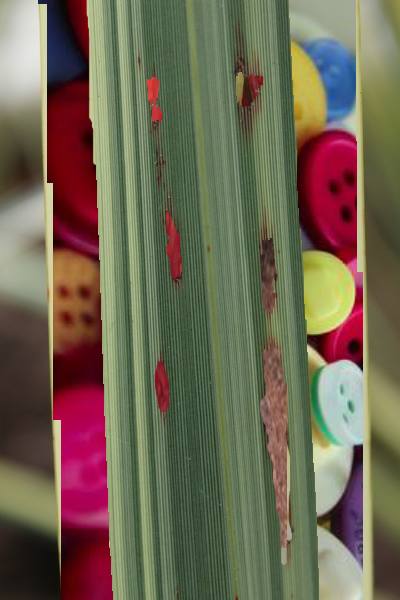
For this image I layered the images of little pieces of bark and leaves to try and make a photo in the still of Jo Whaley. I put the bark on one side of the leaf to show the contrast of detail/colour between the little and dark parts of the bark and made it look like one side s a leaf and the other is bark. I like this photo the best out of all the edits because it really focuses on the detail as the background is blurred out and the photo looks nice.

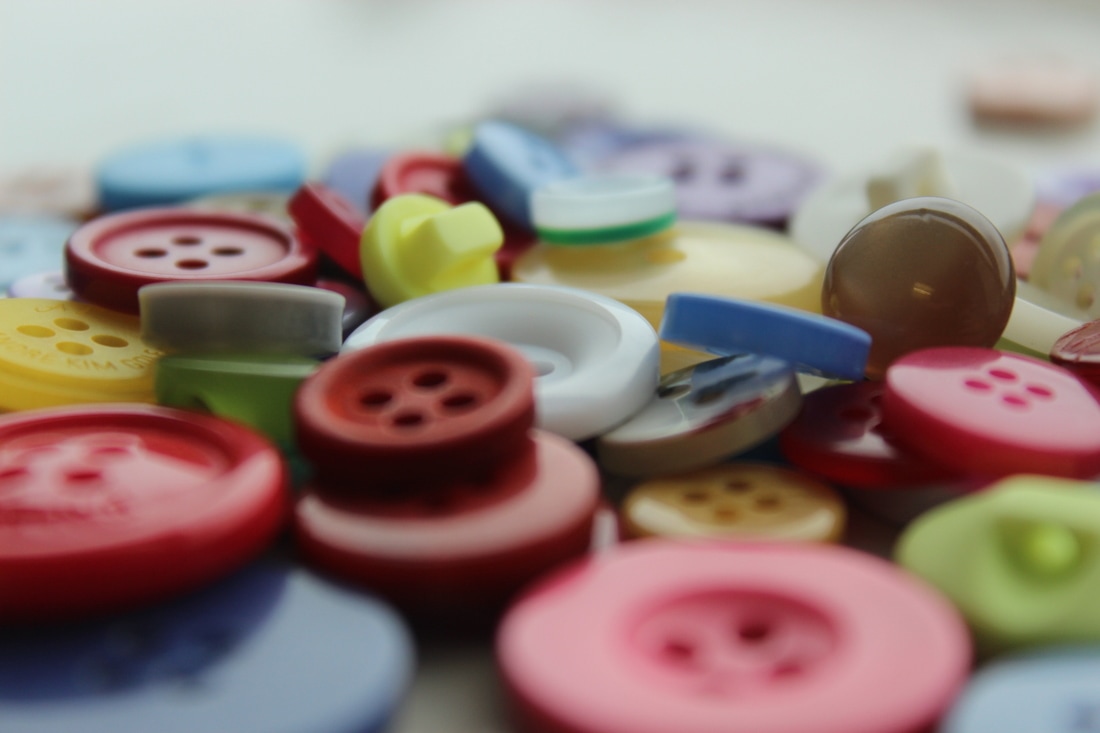
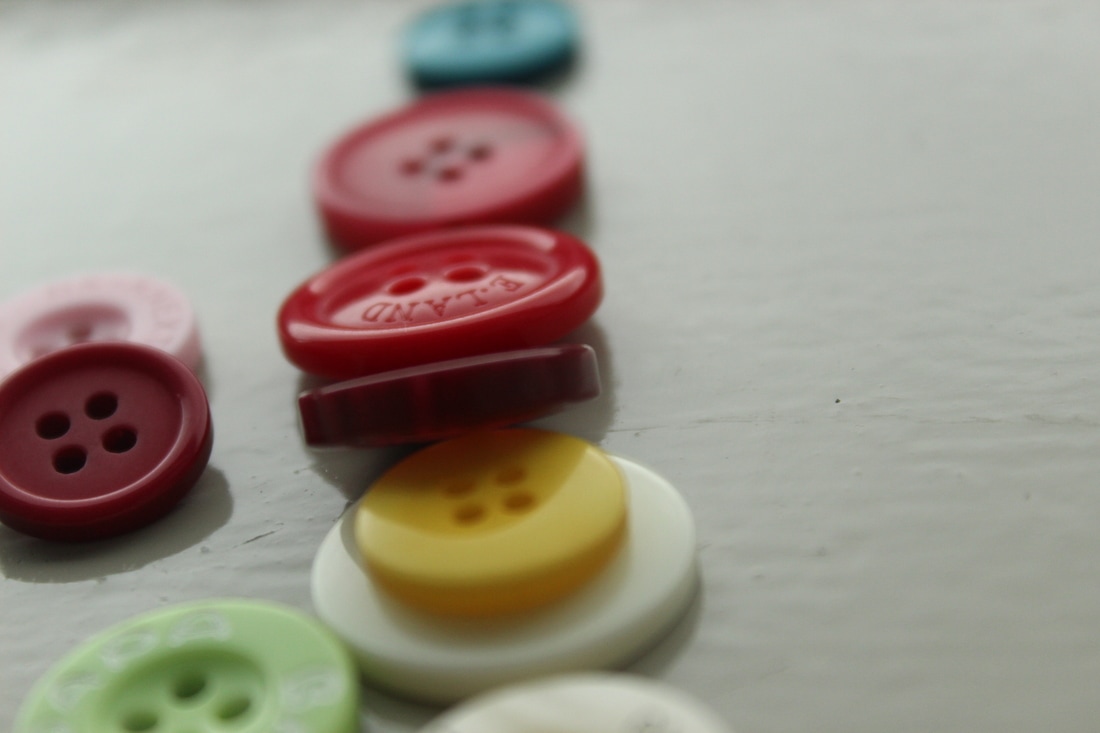
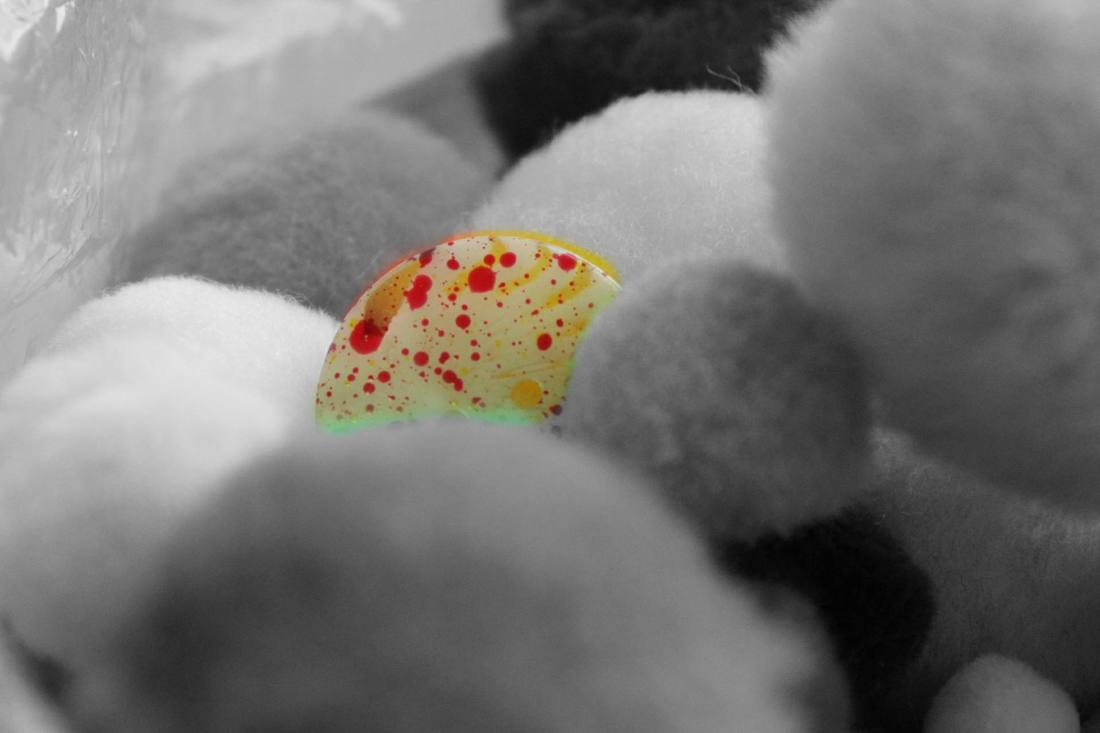
Shoot 4
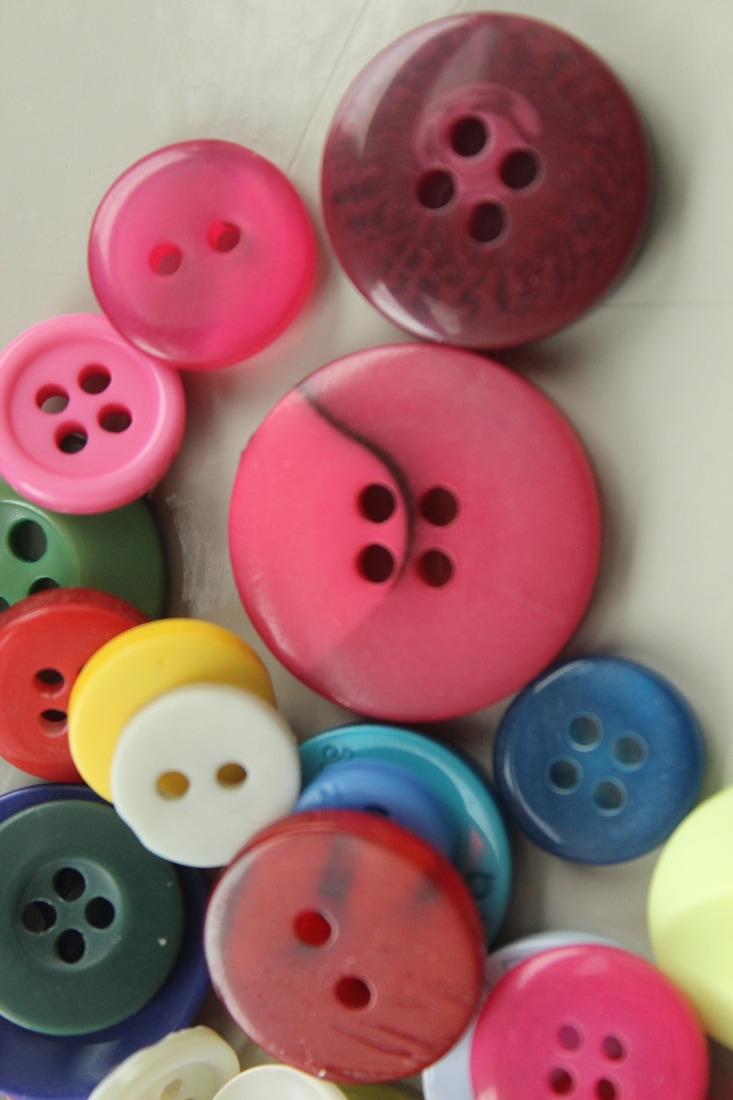
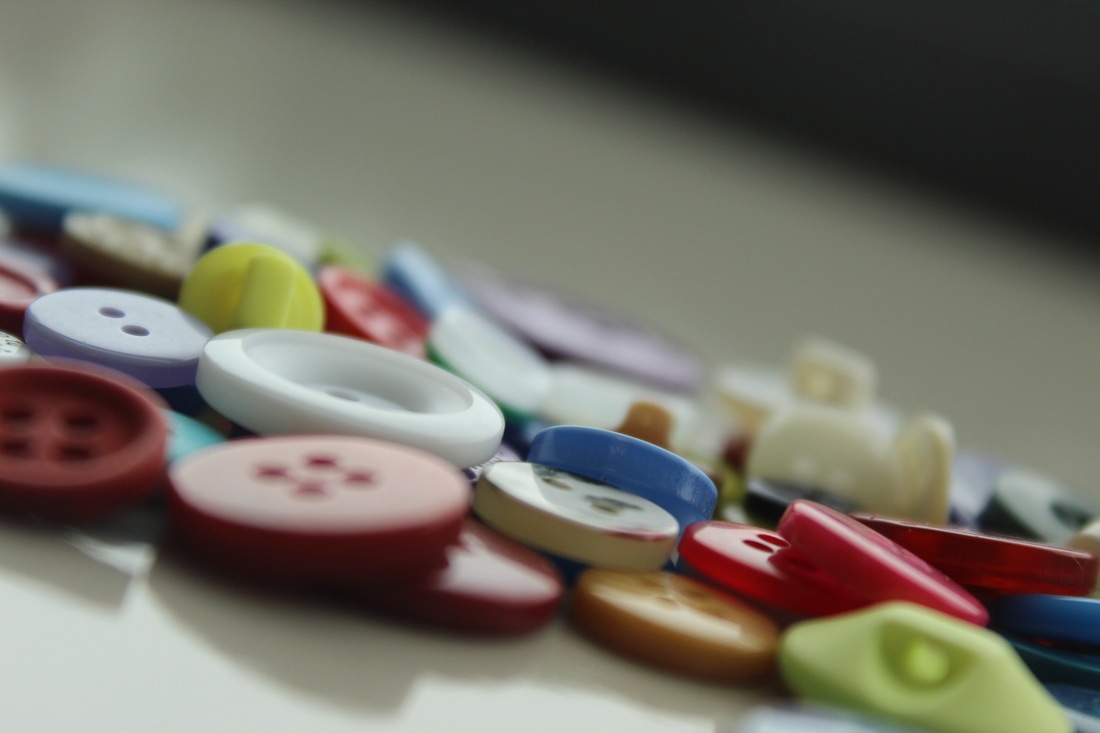
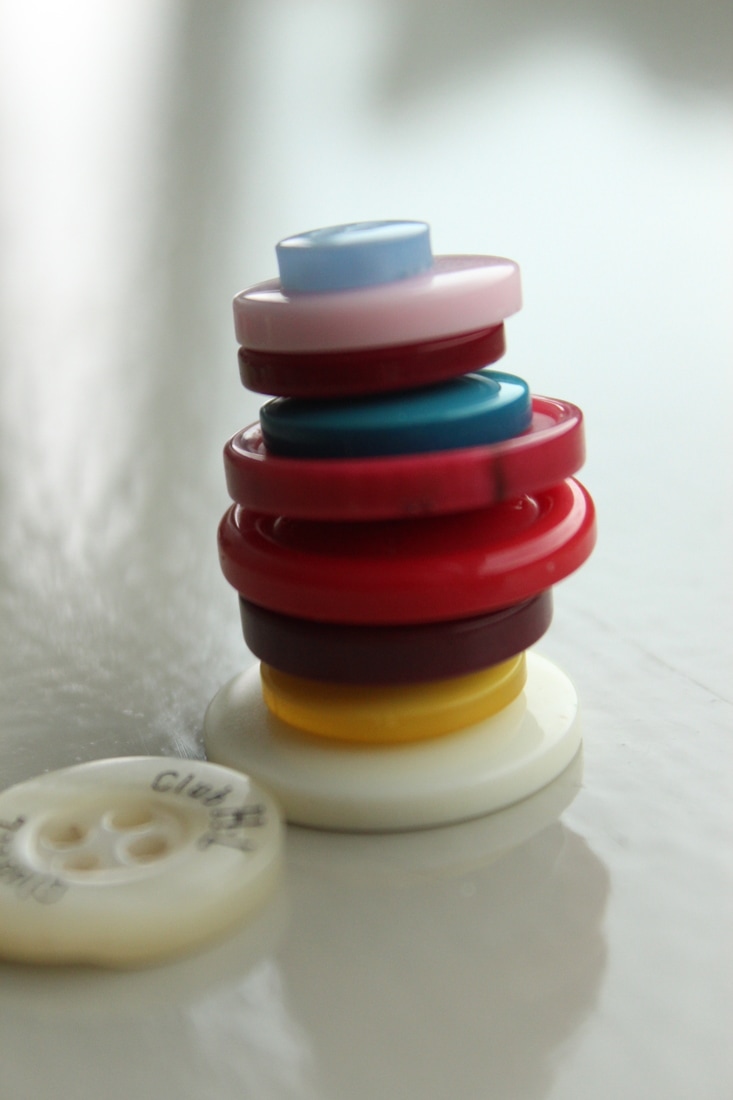
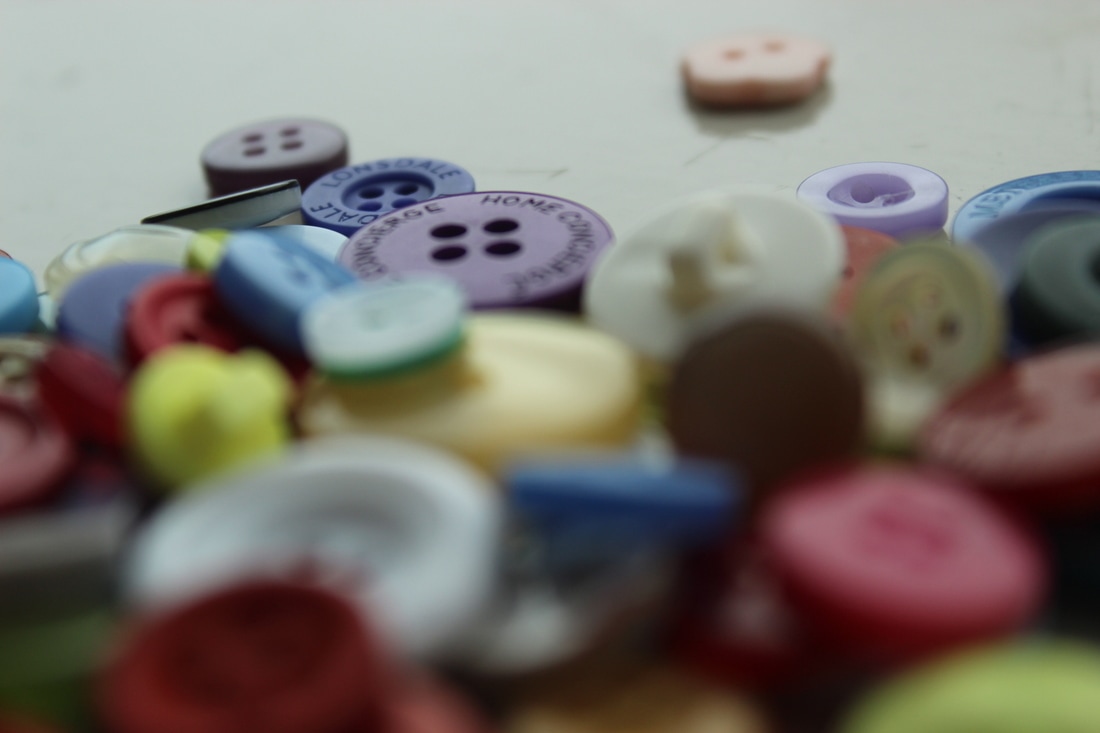
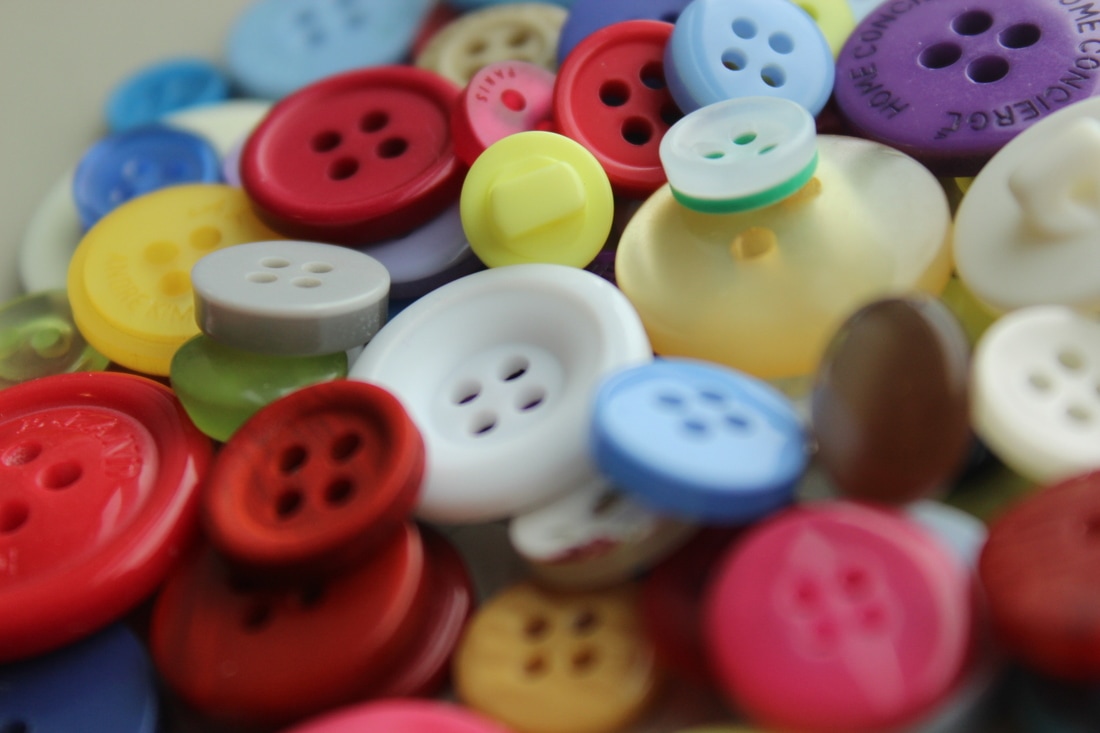
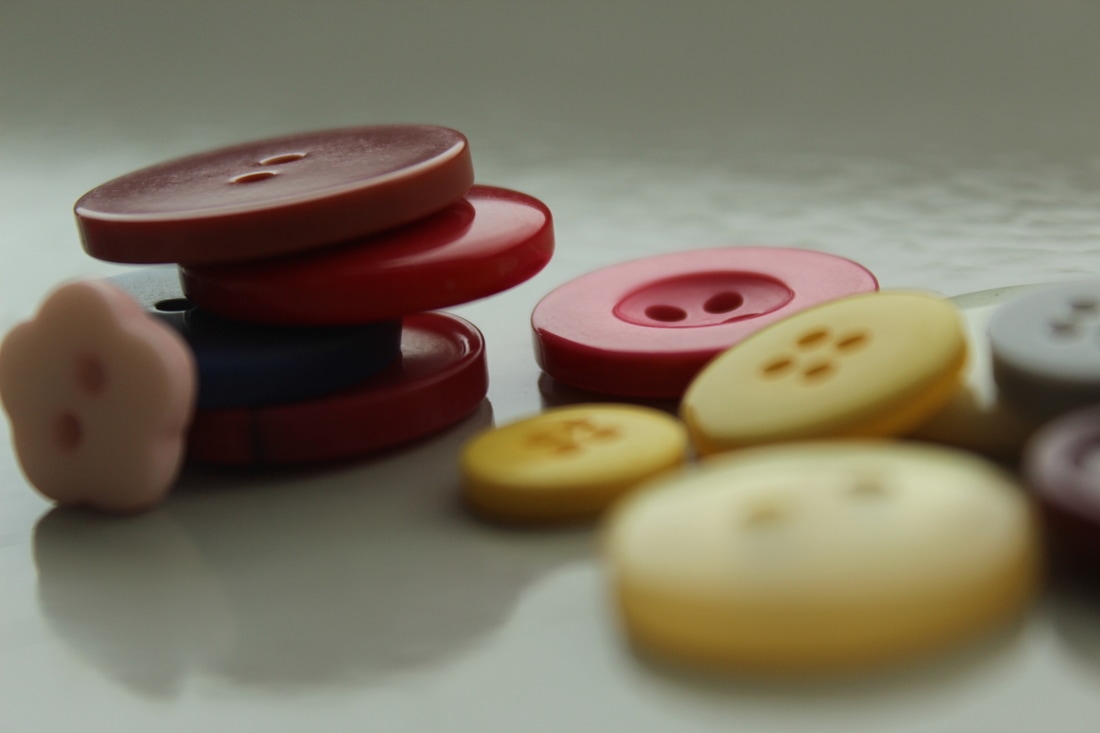
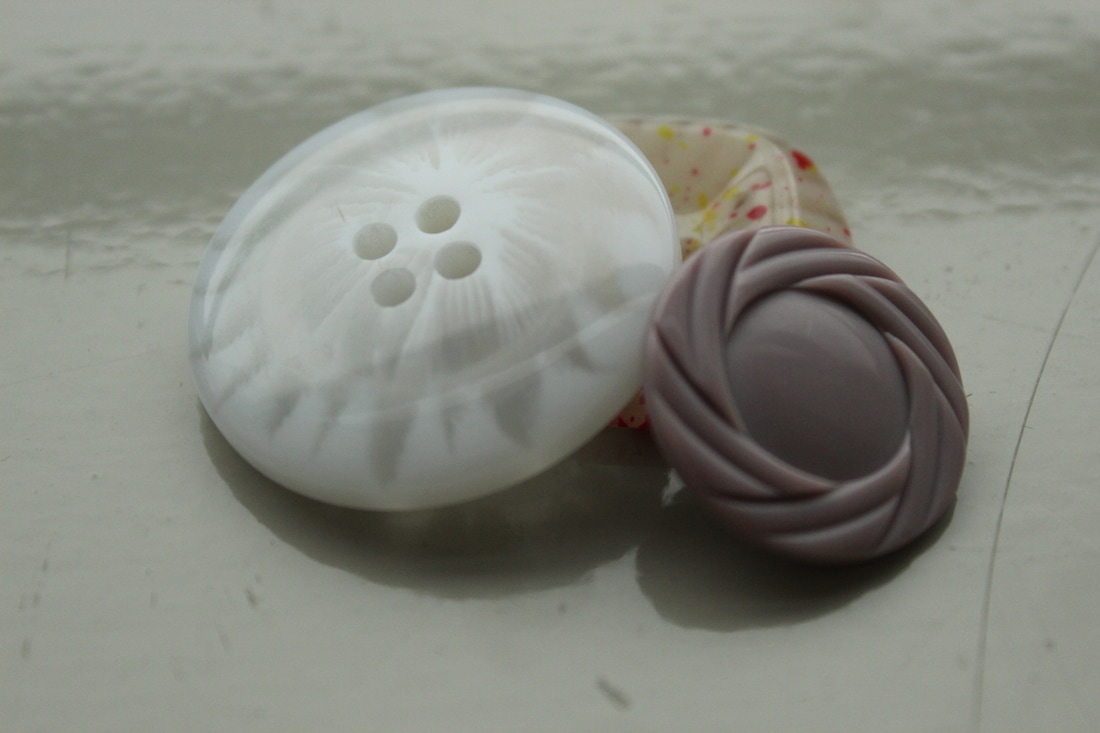
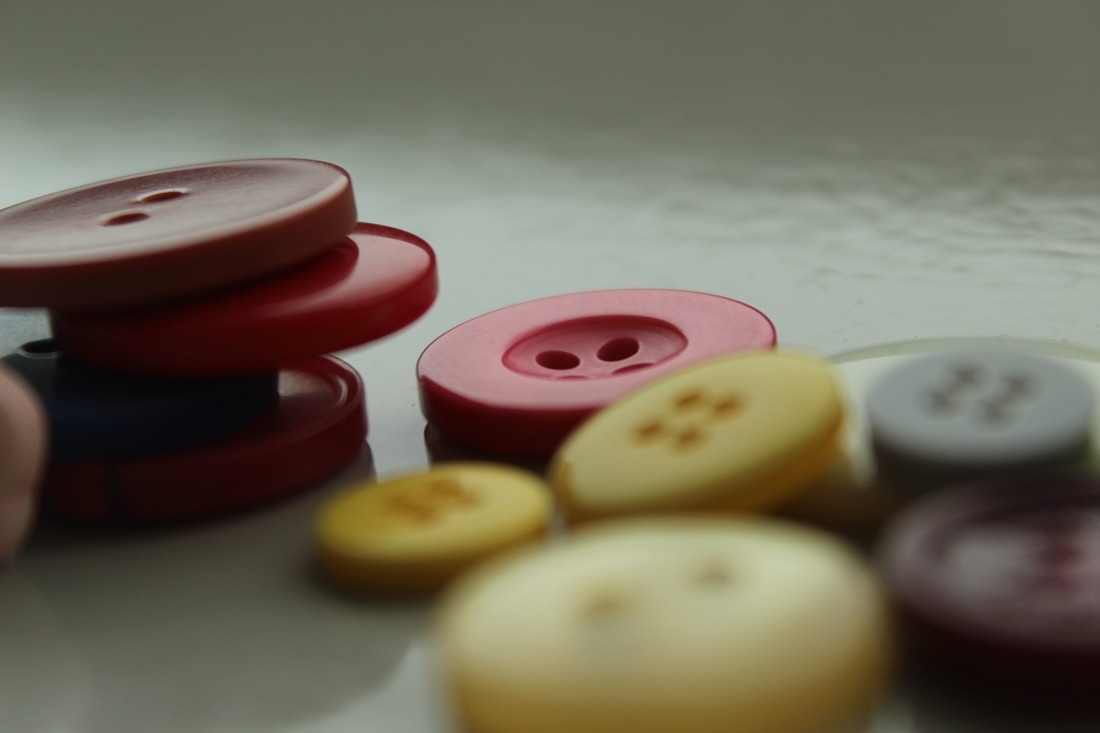
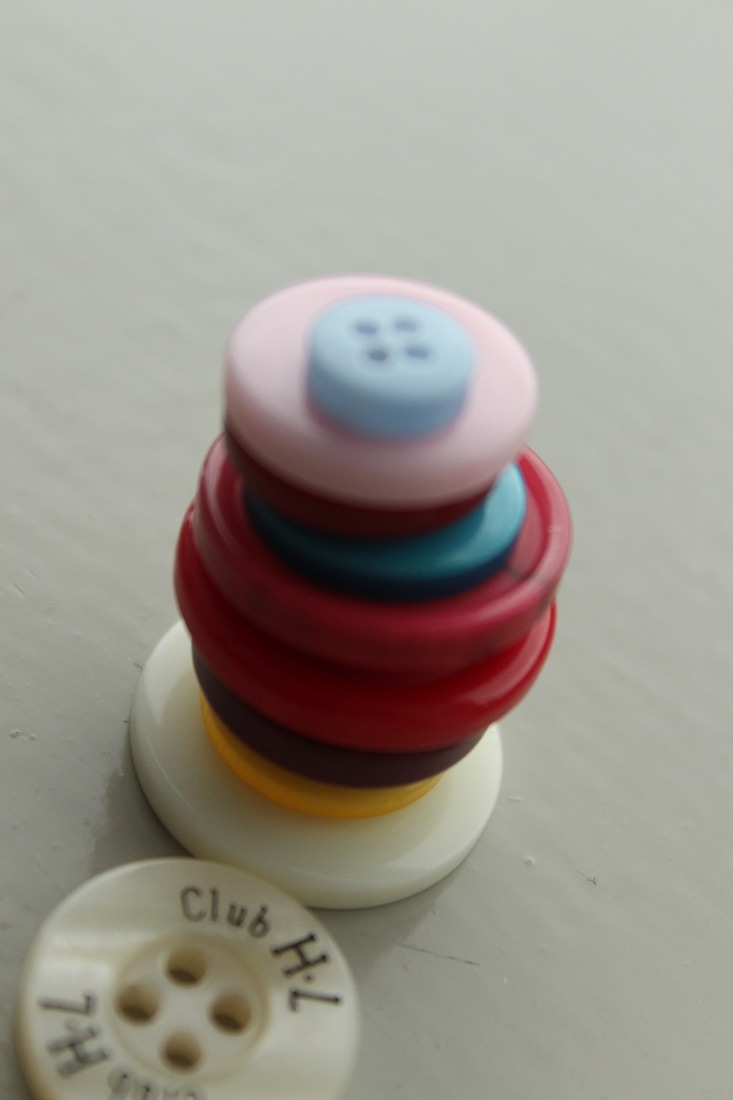
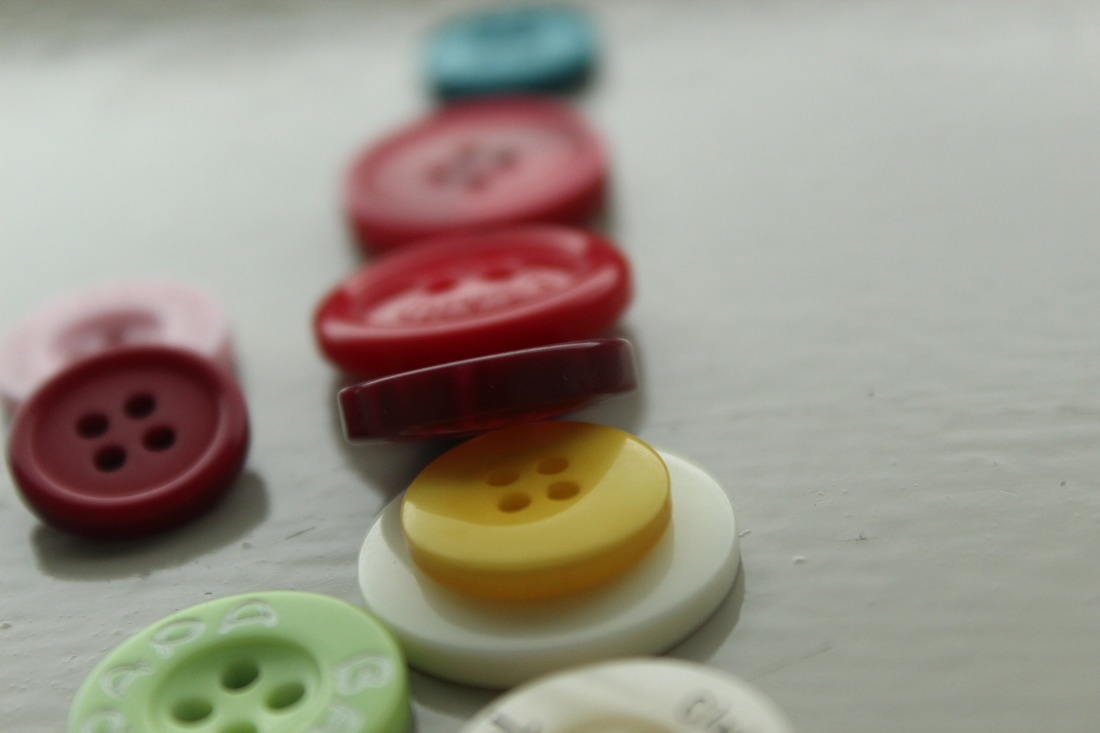
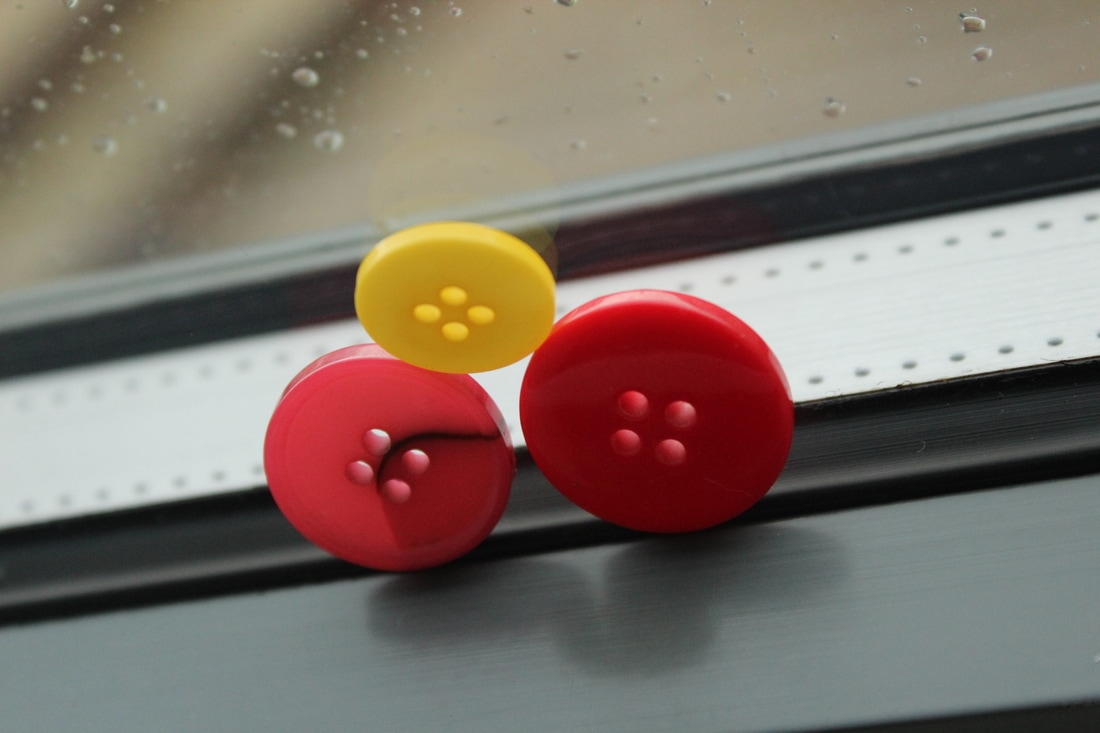
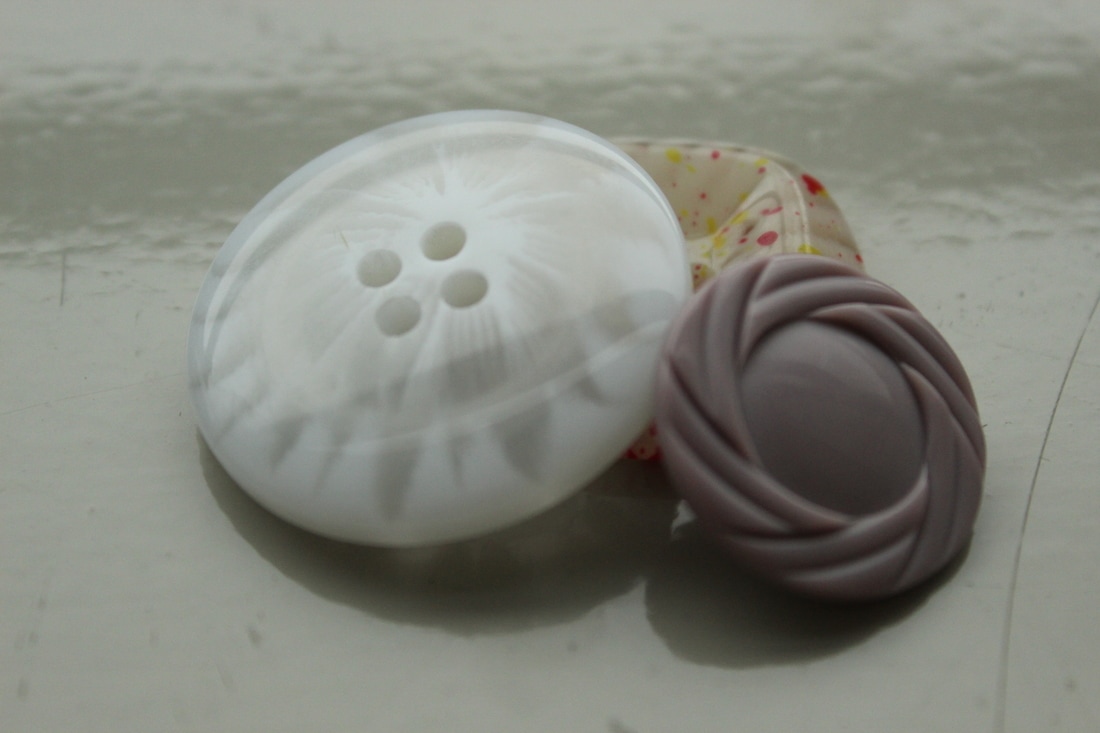
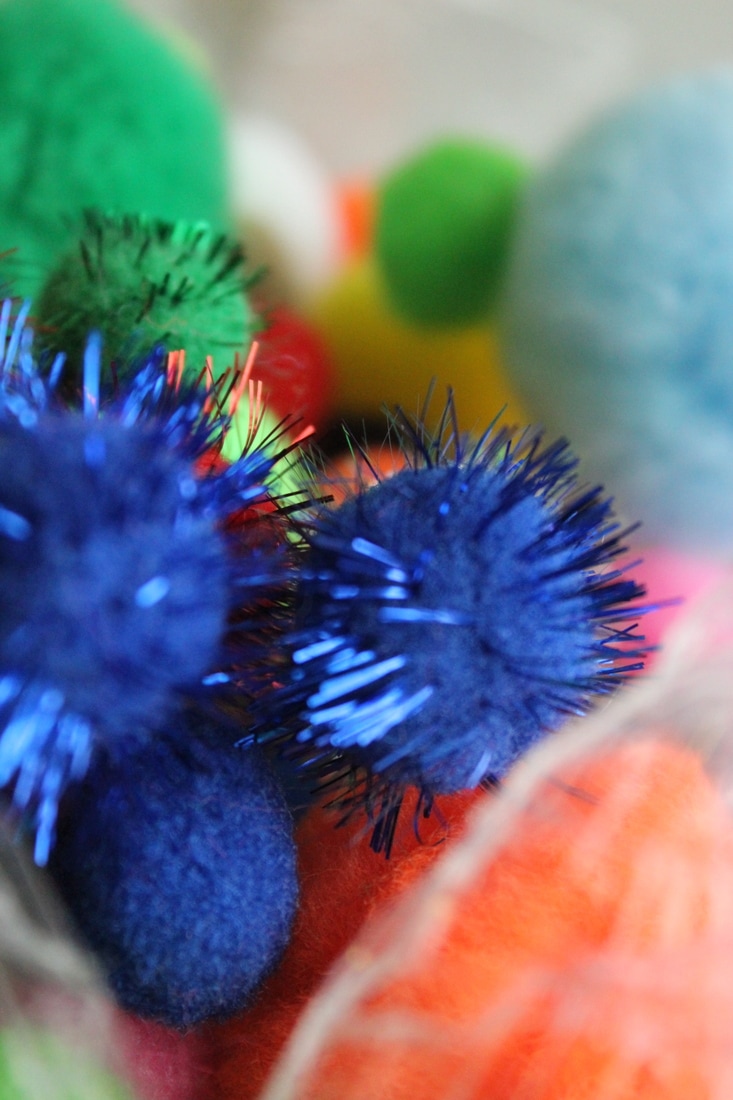
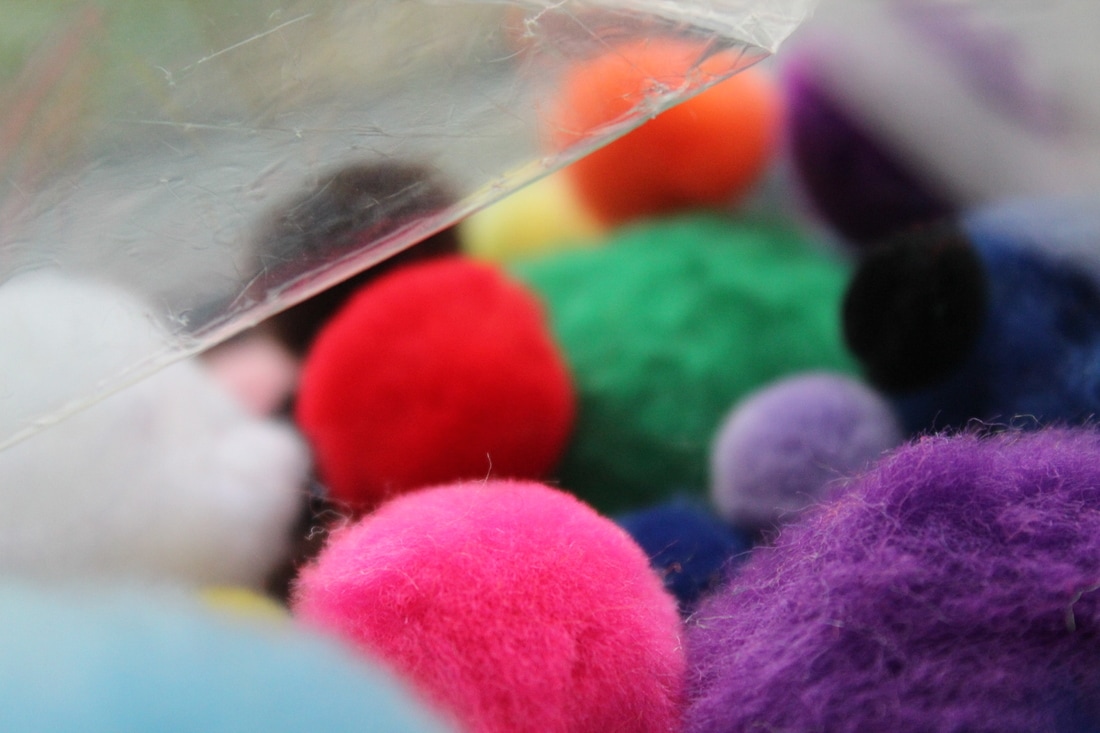
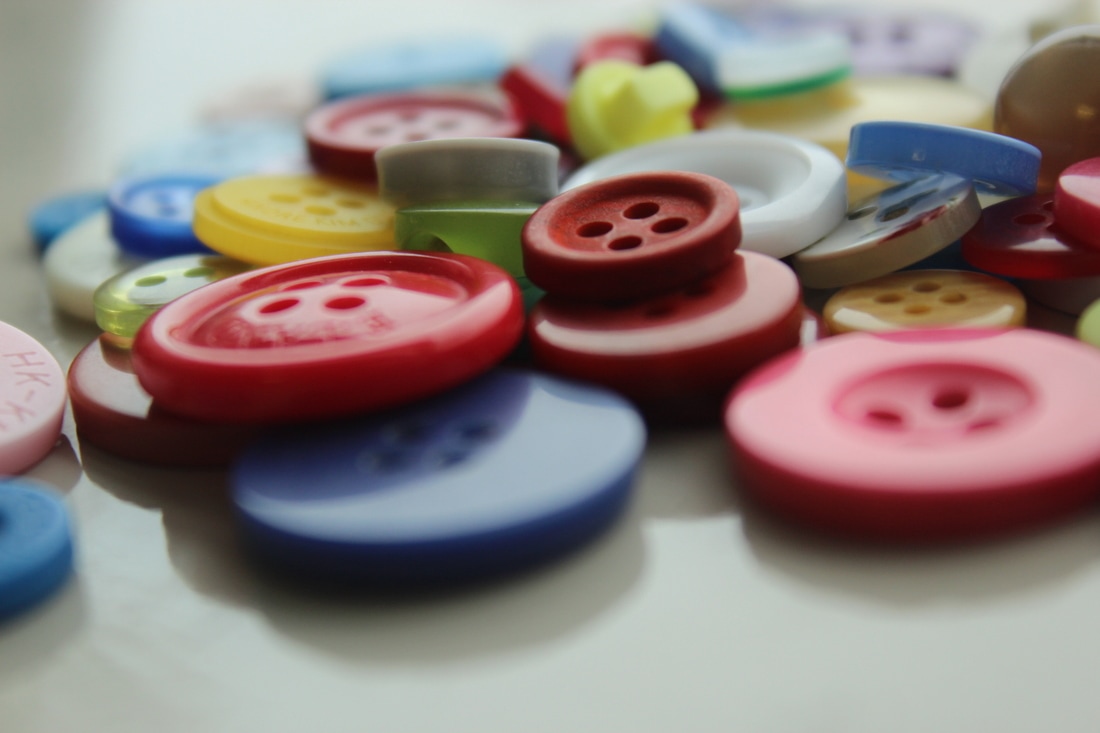
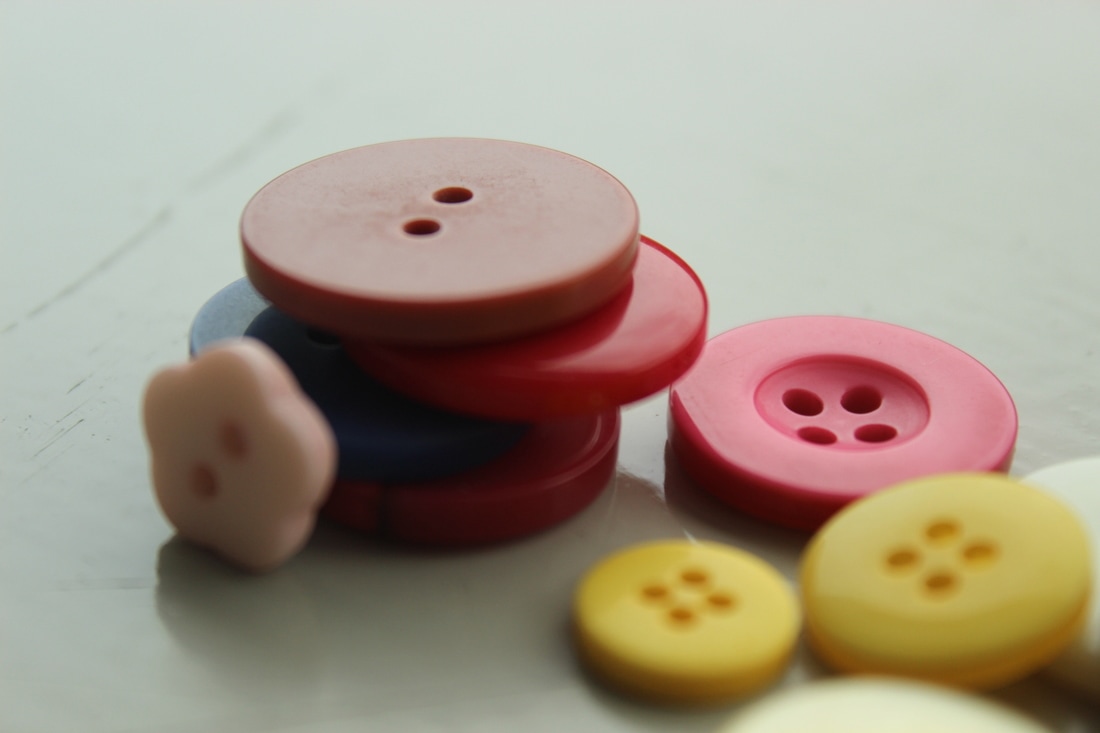
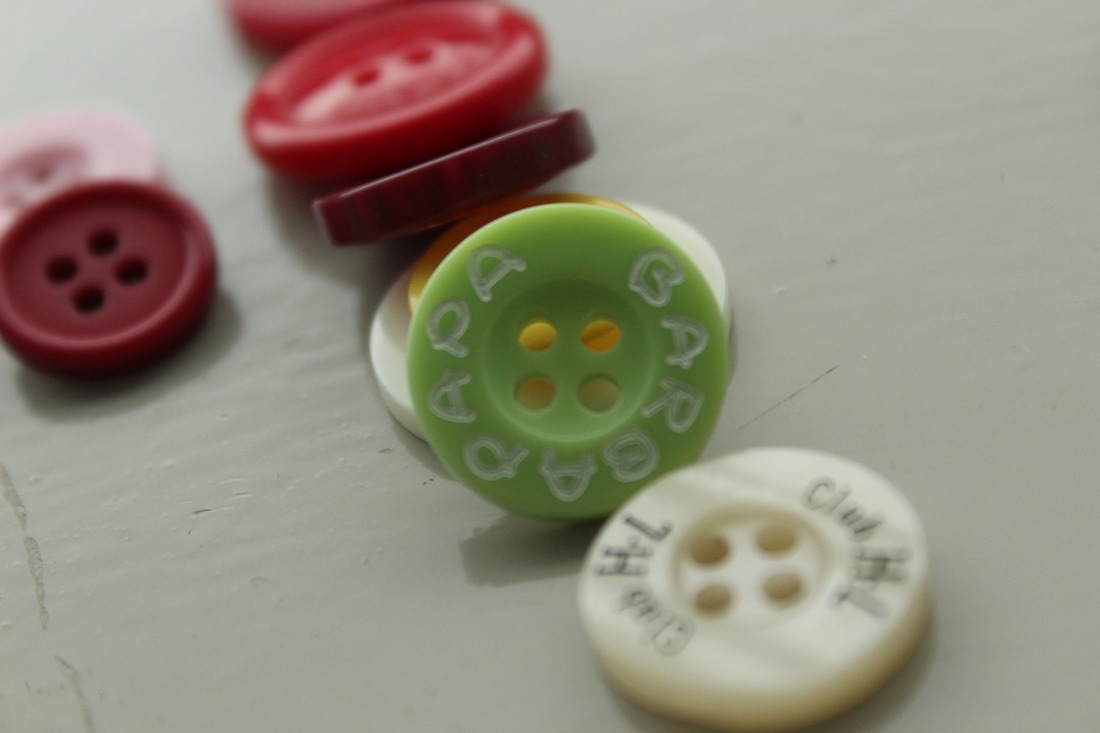
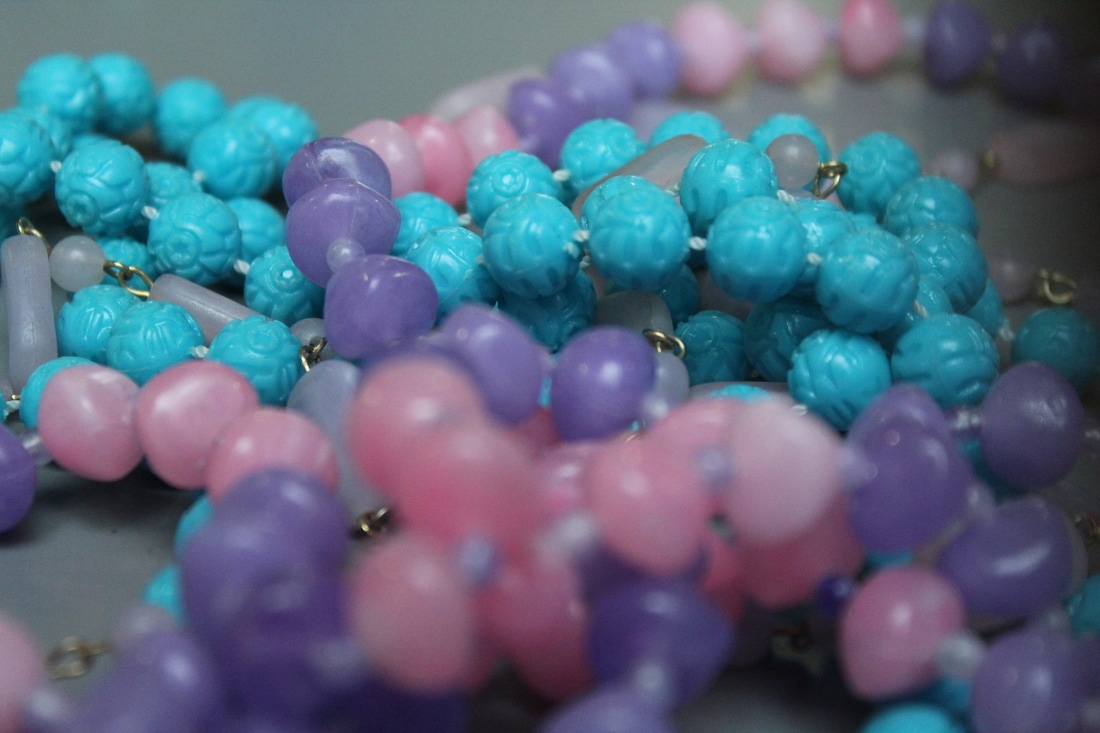
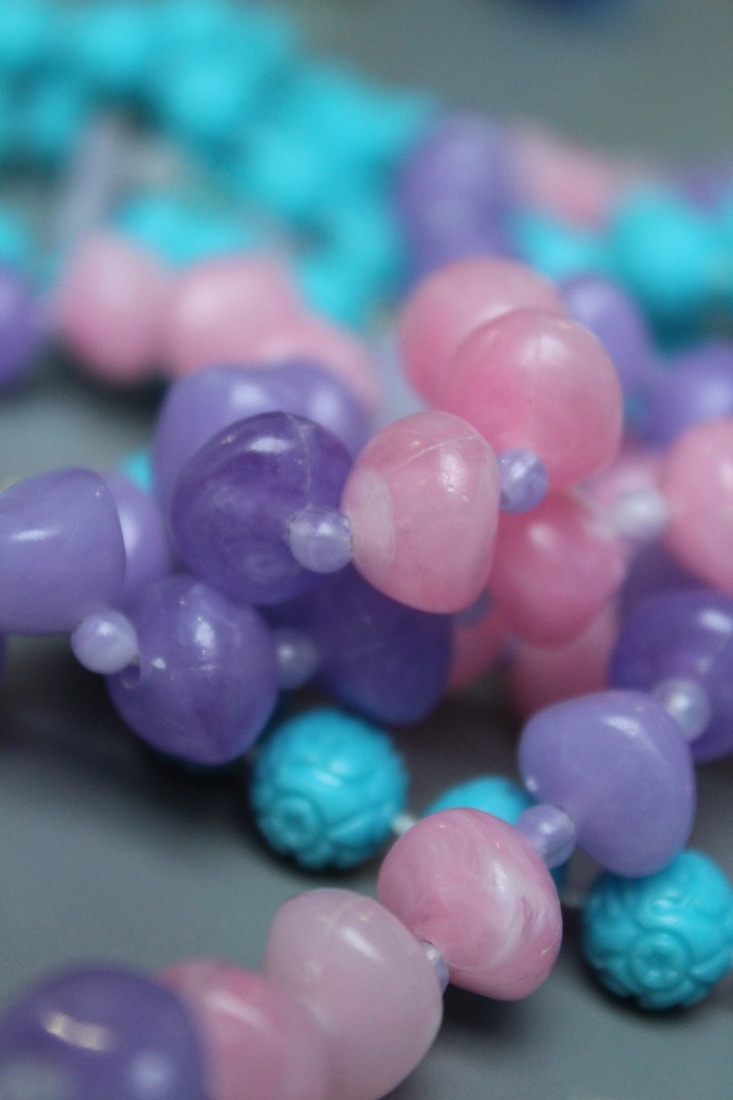
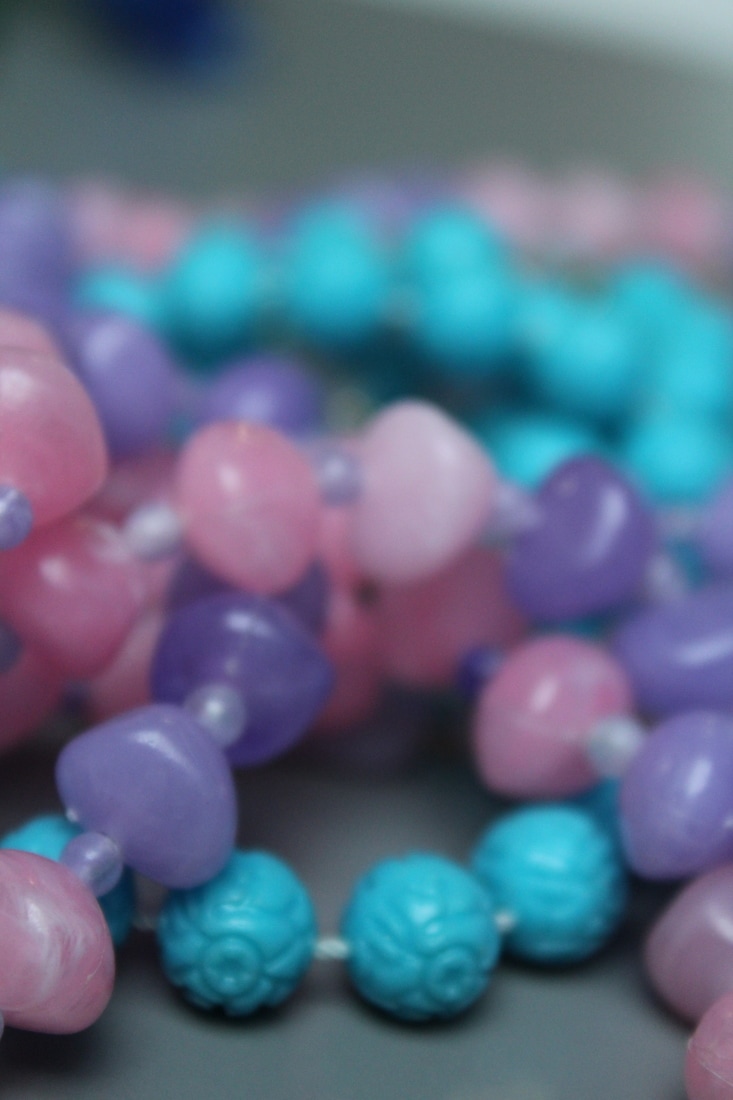
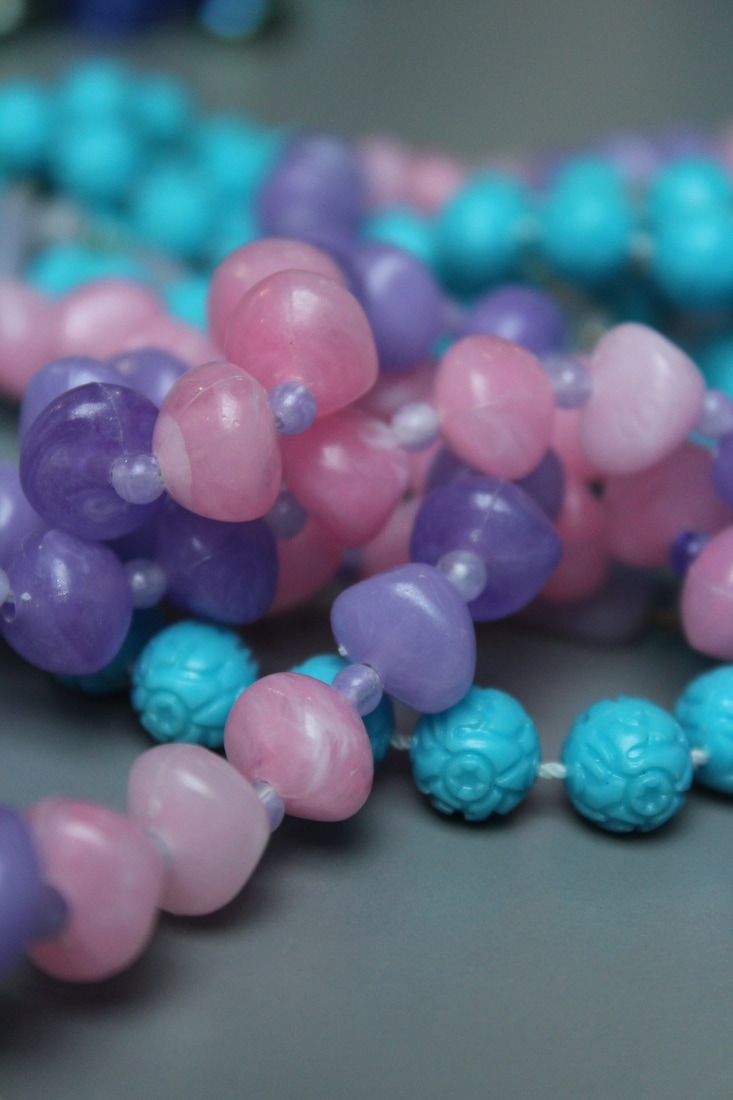
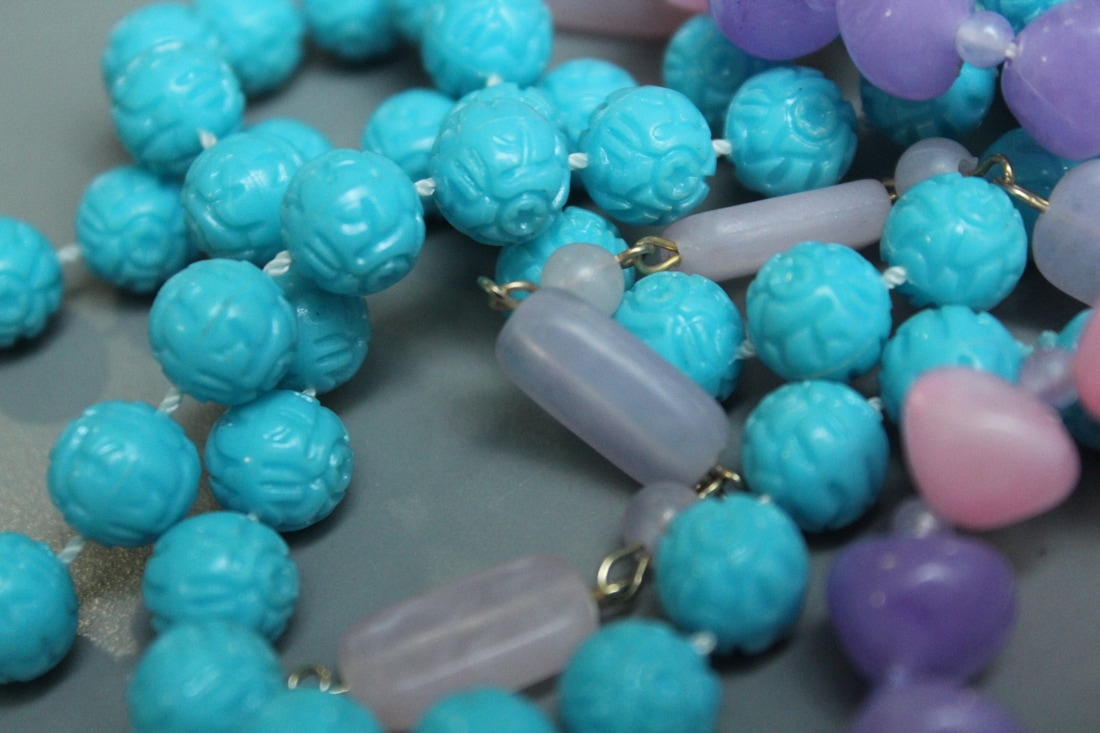
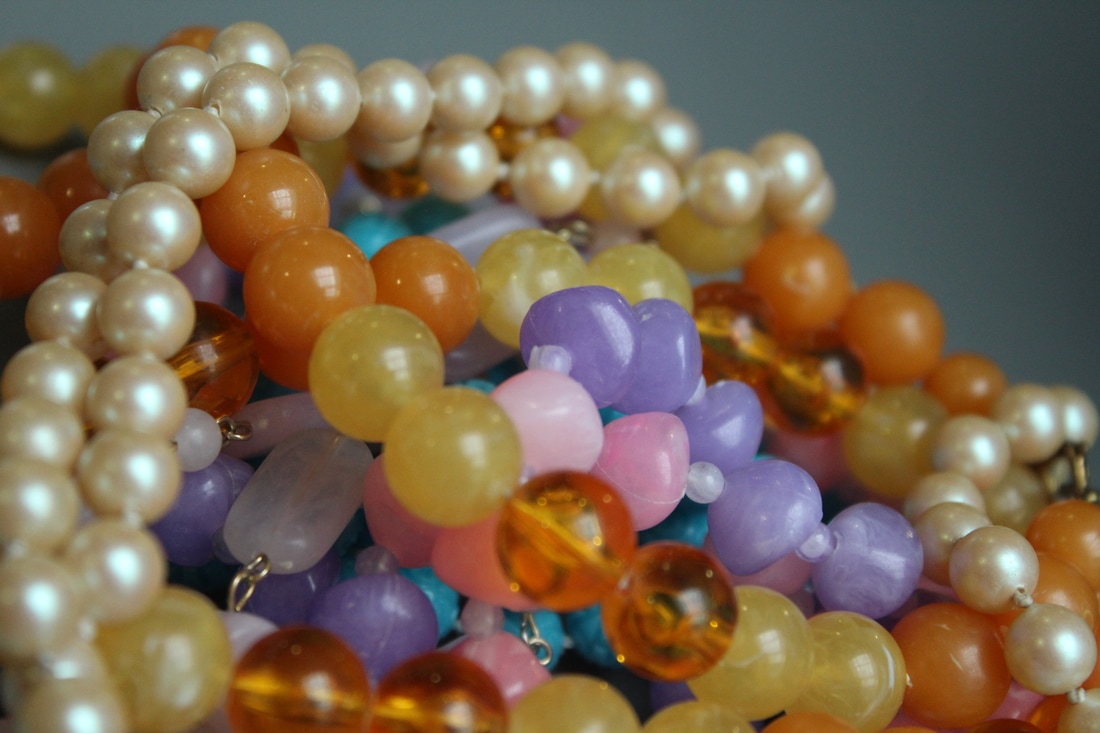
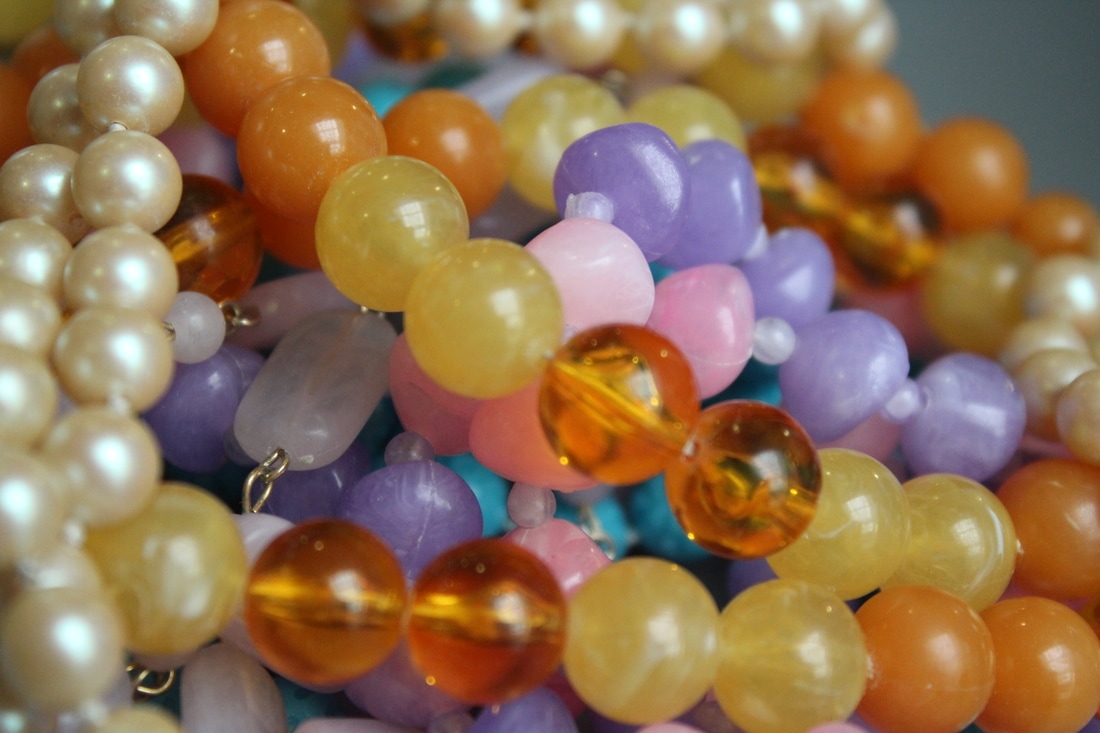
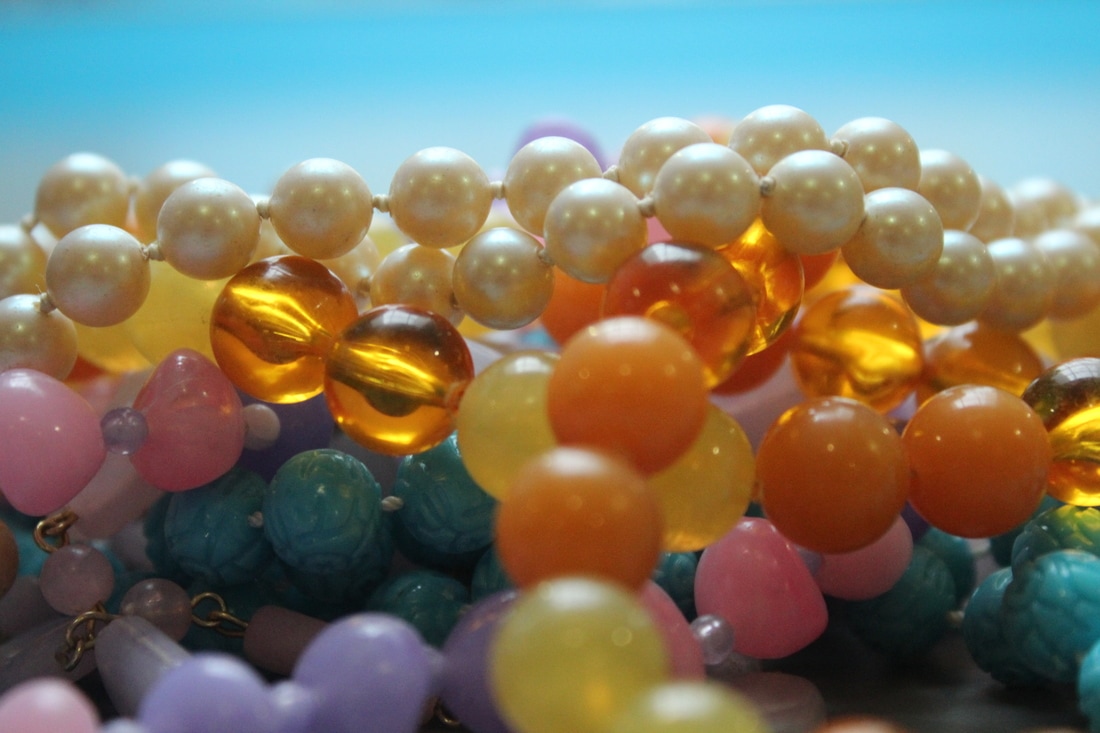
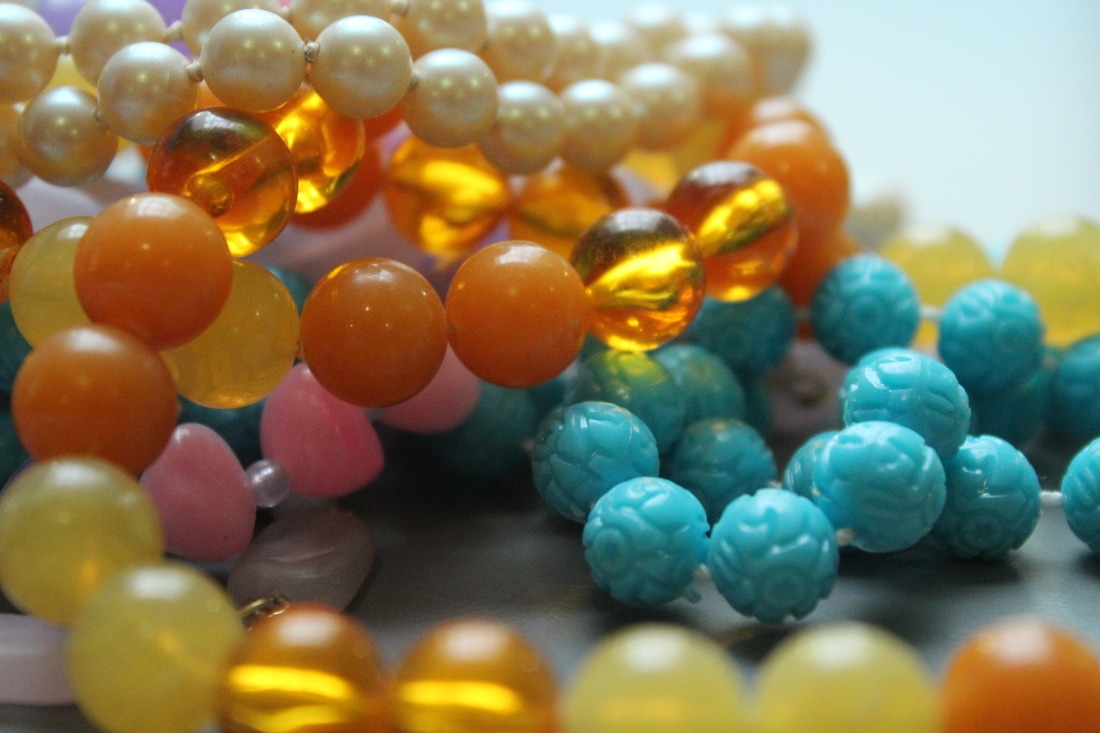
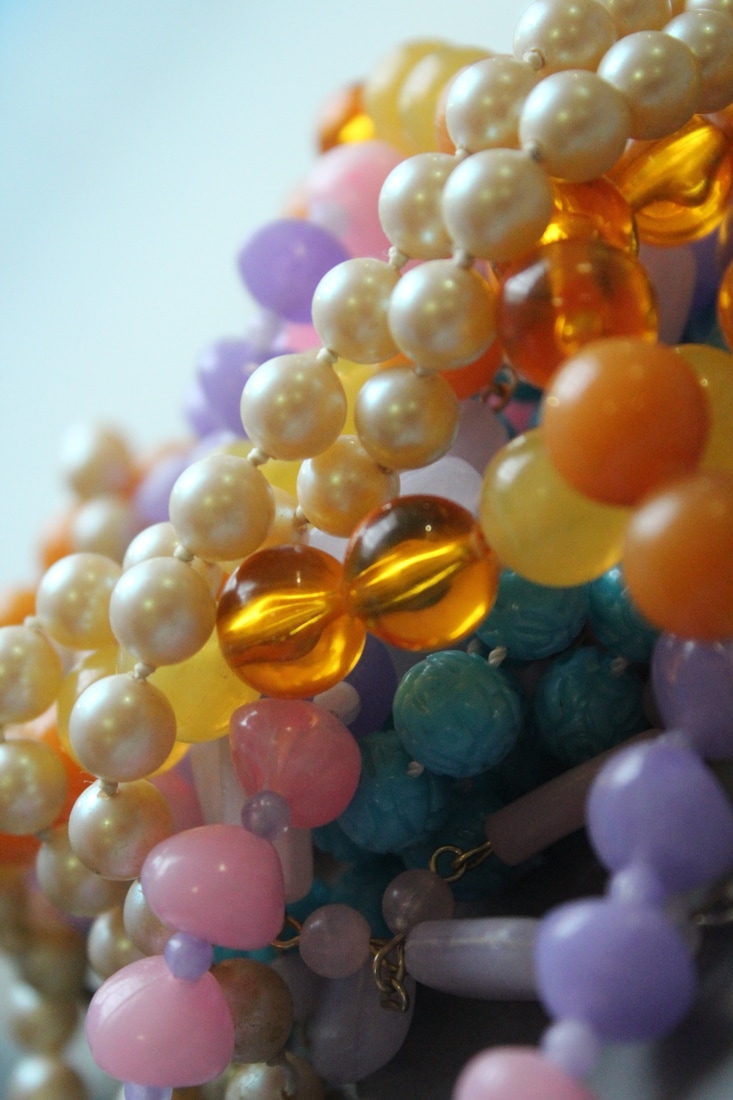
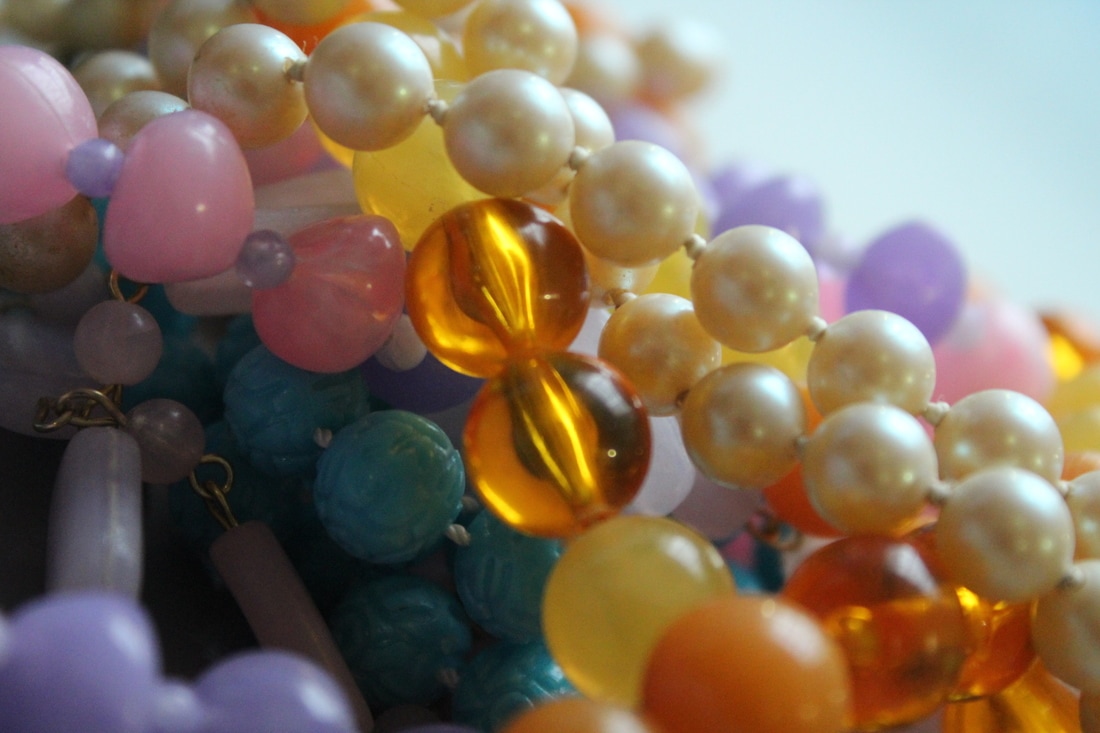
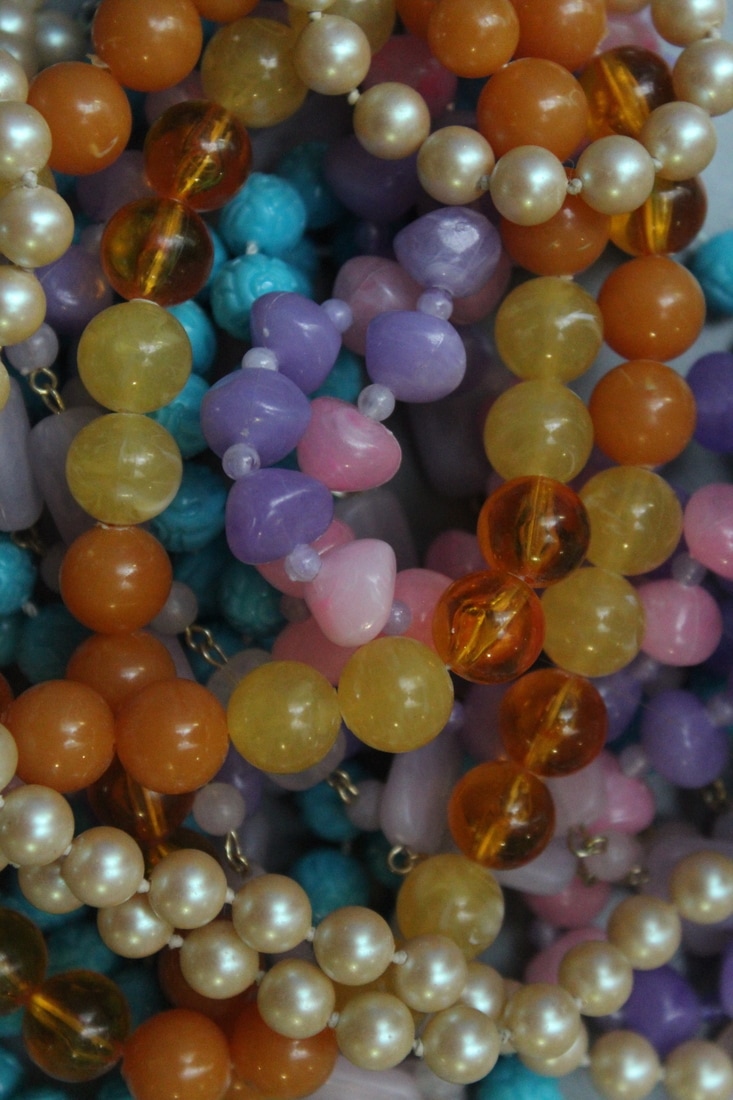
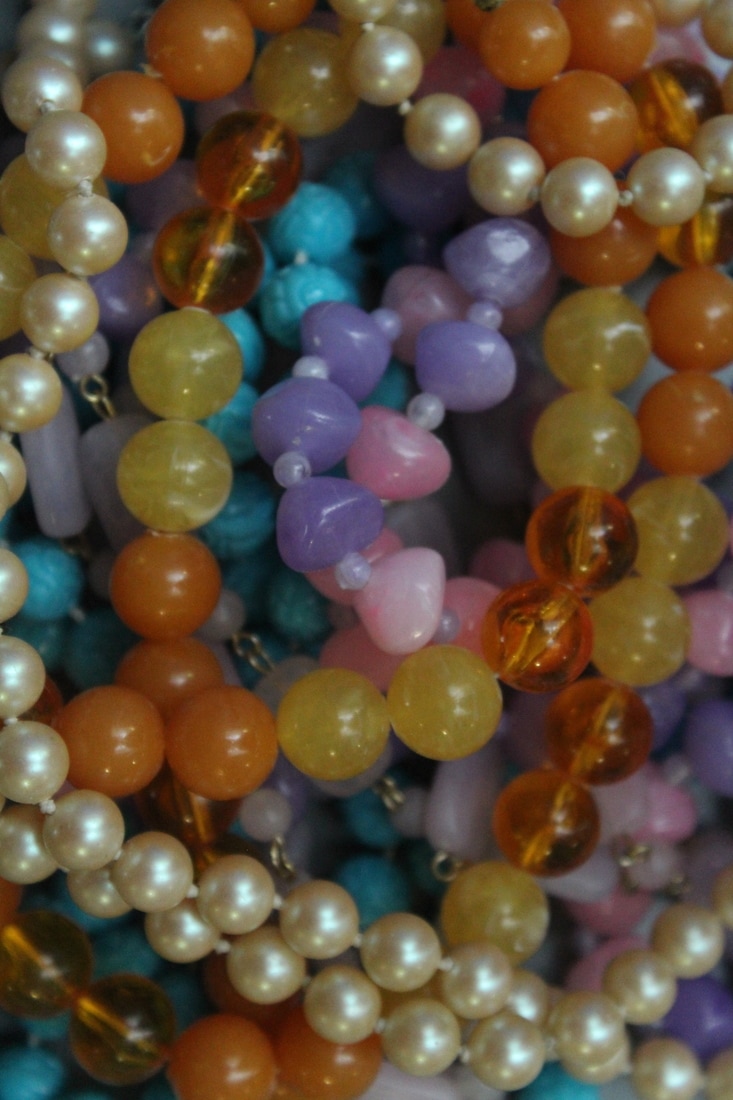
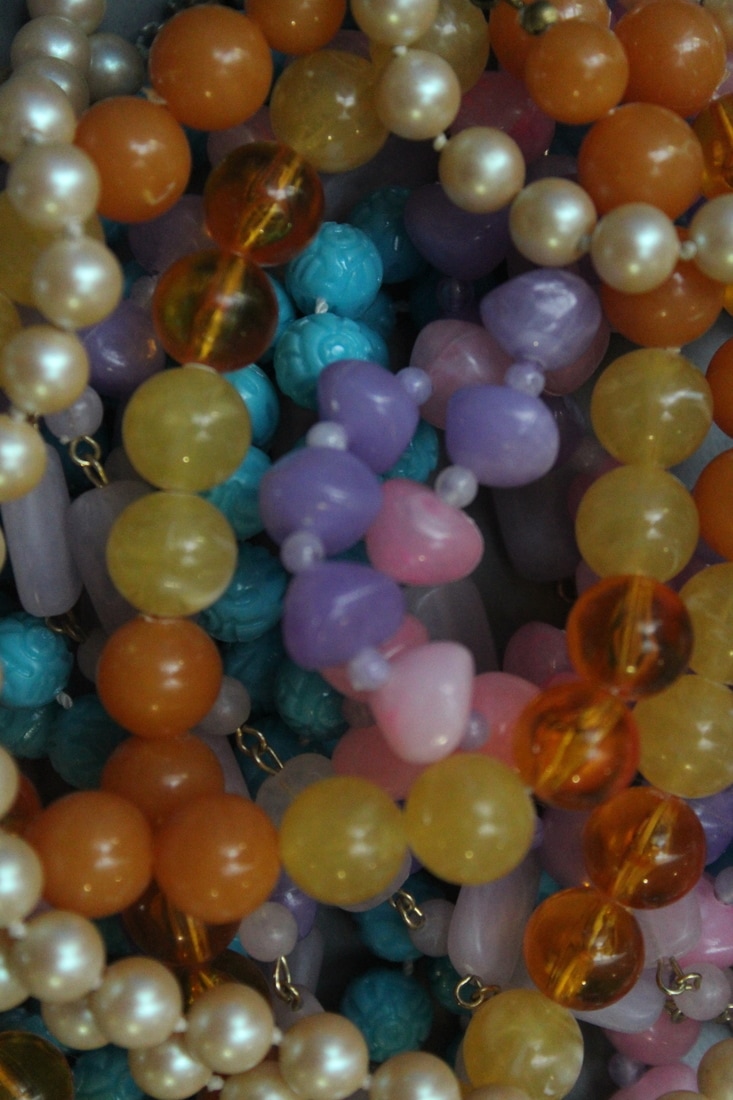
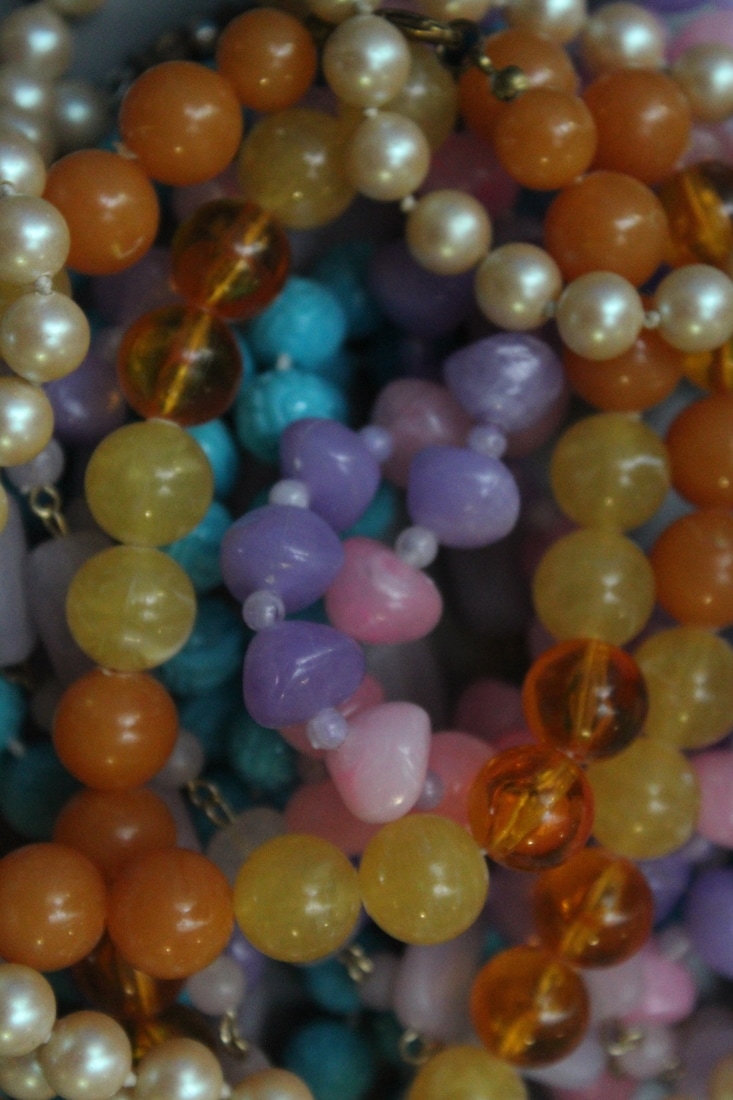
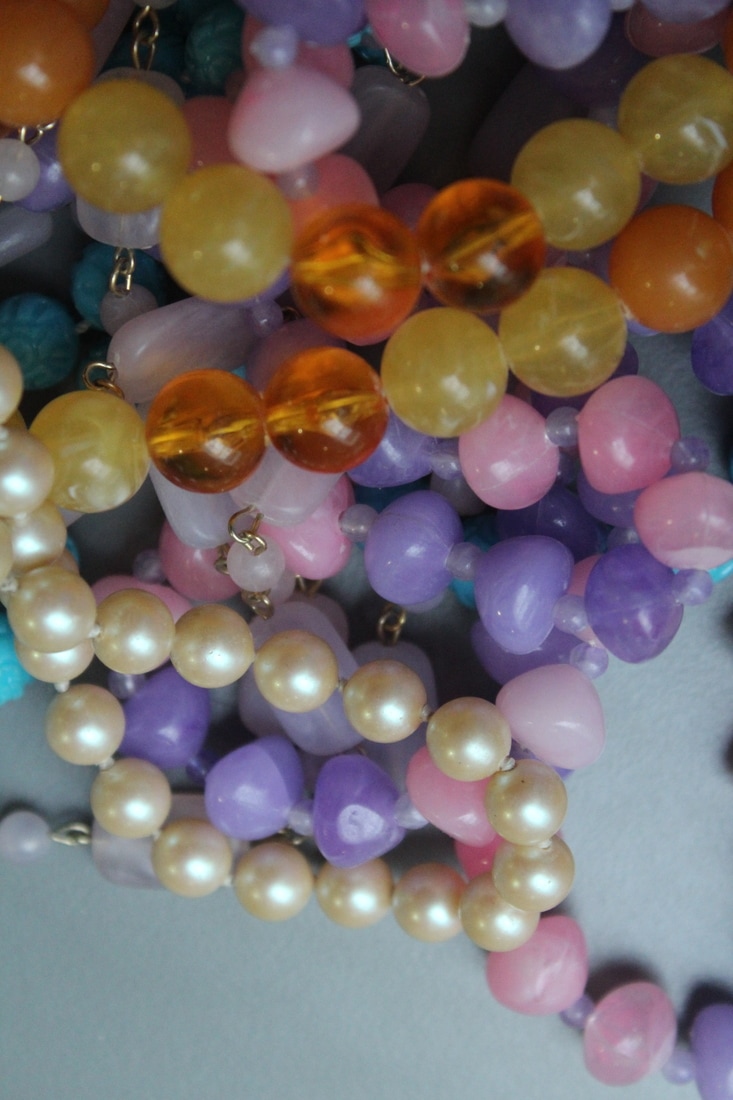
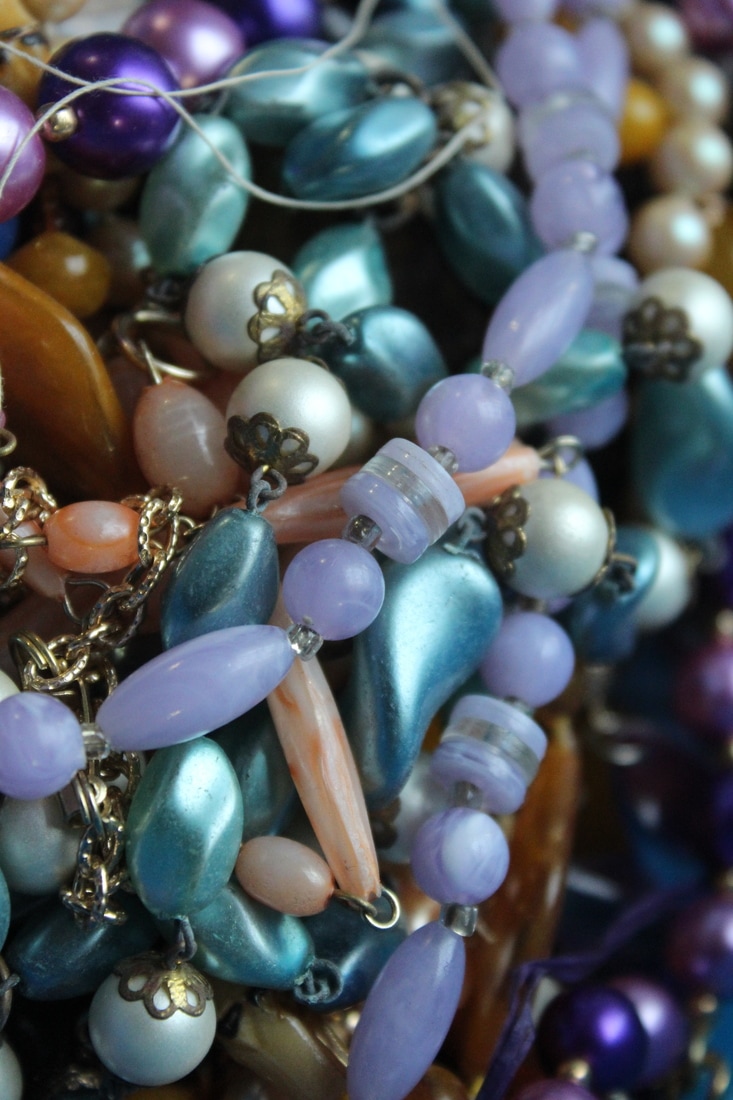
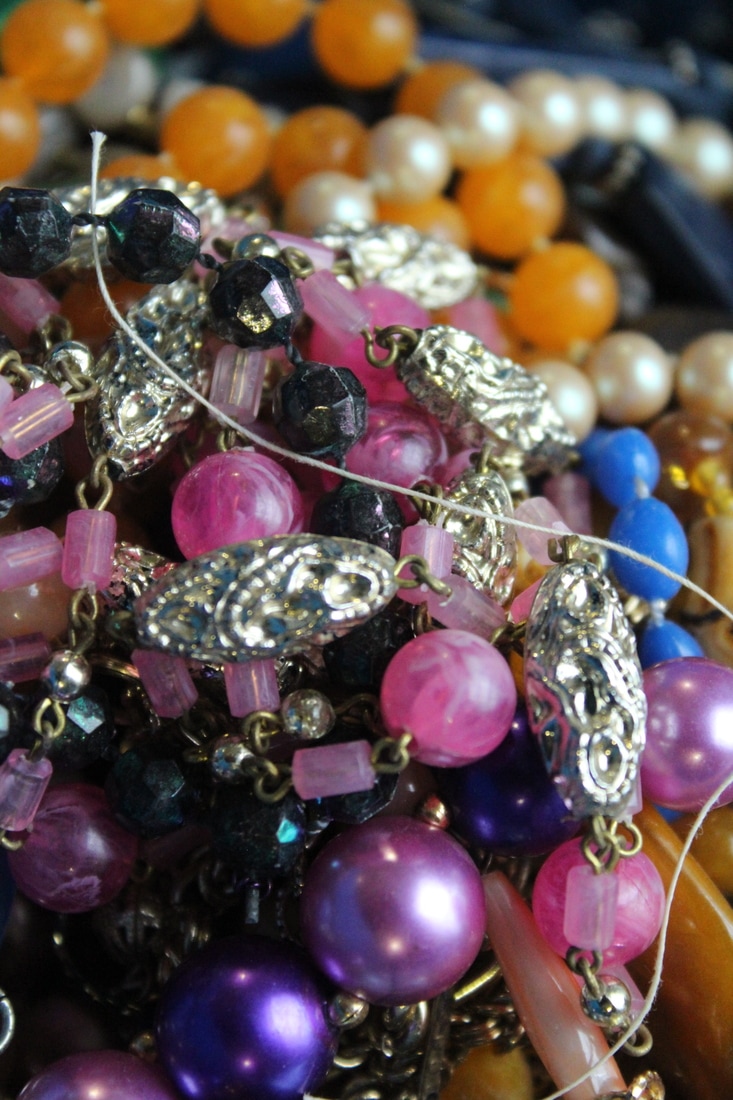
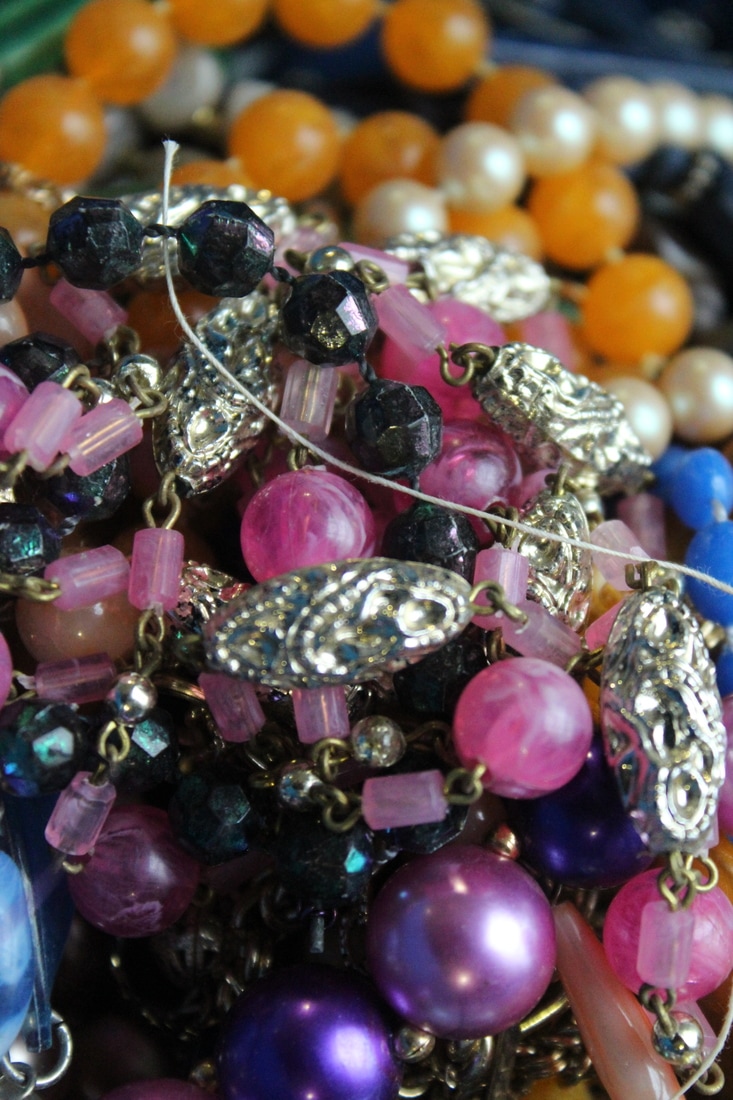
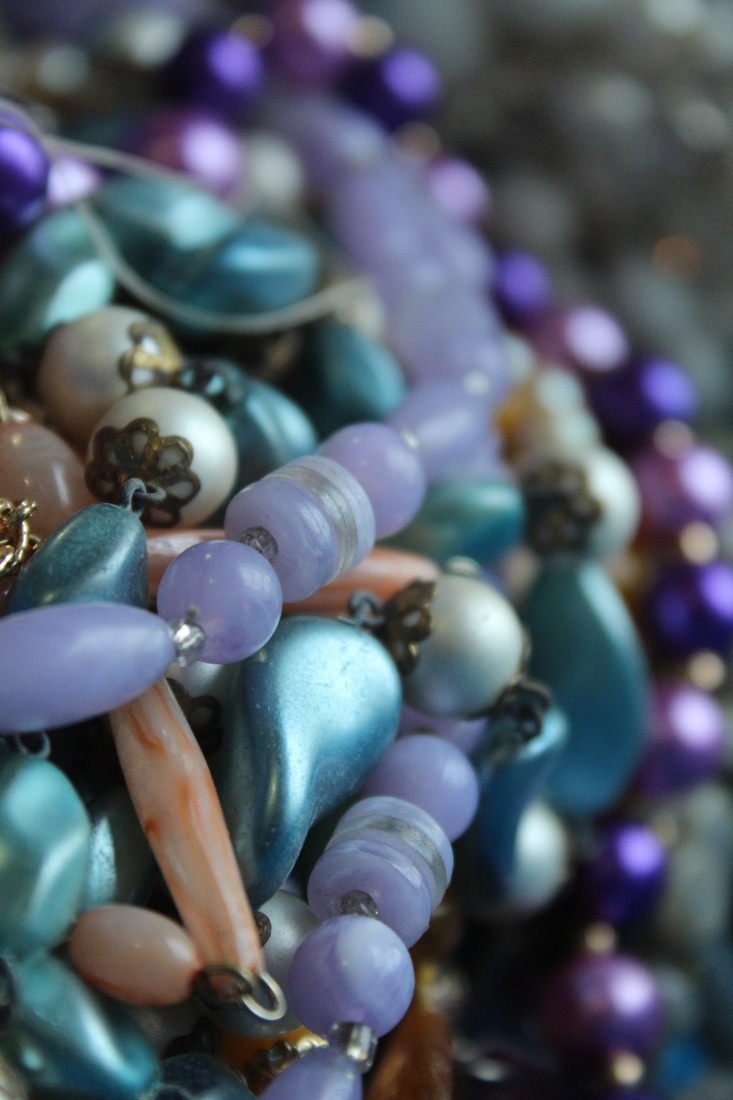
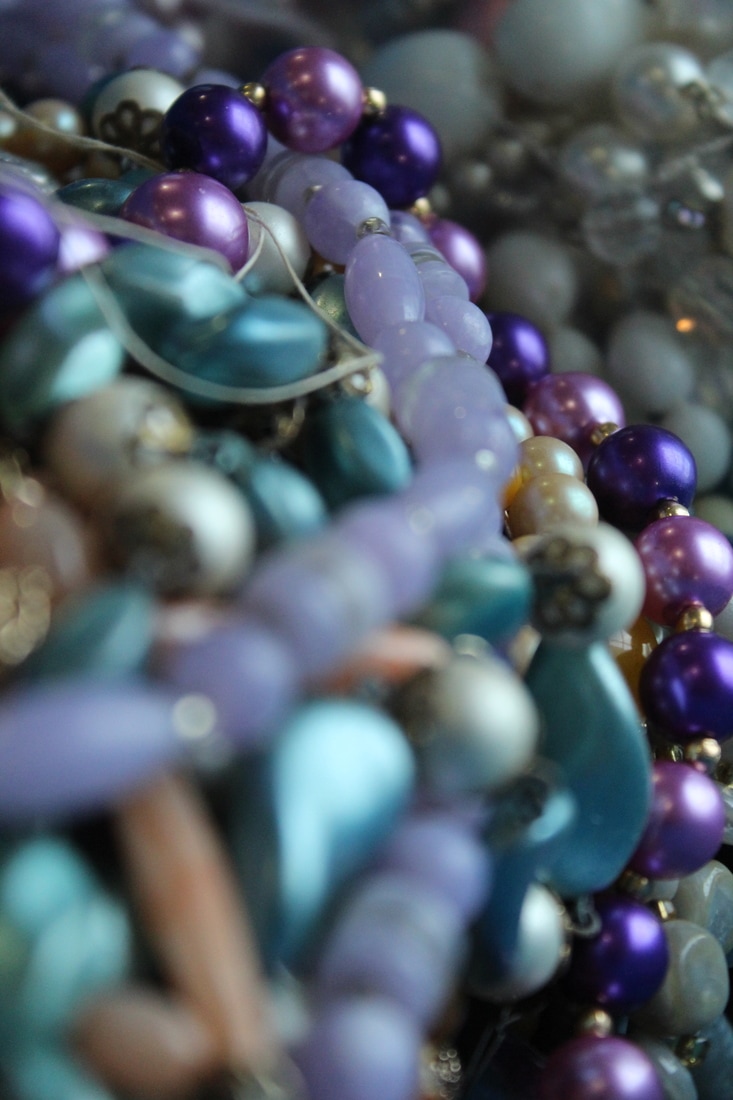
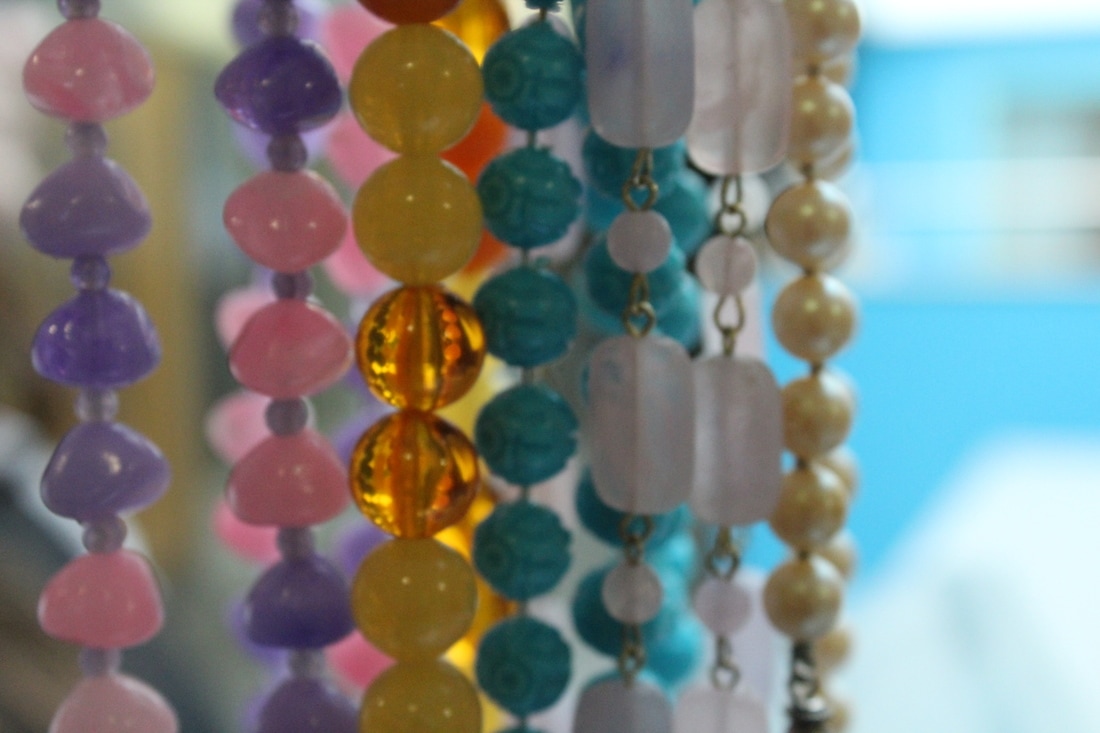
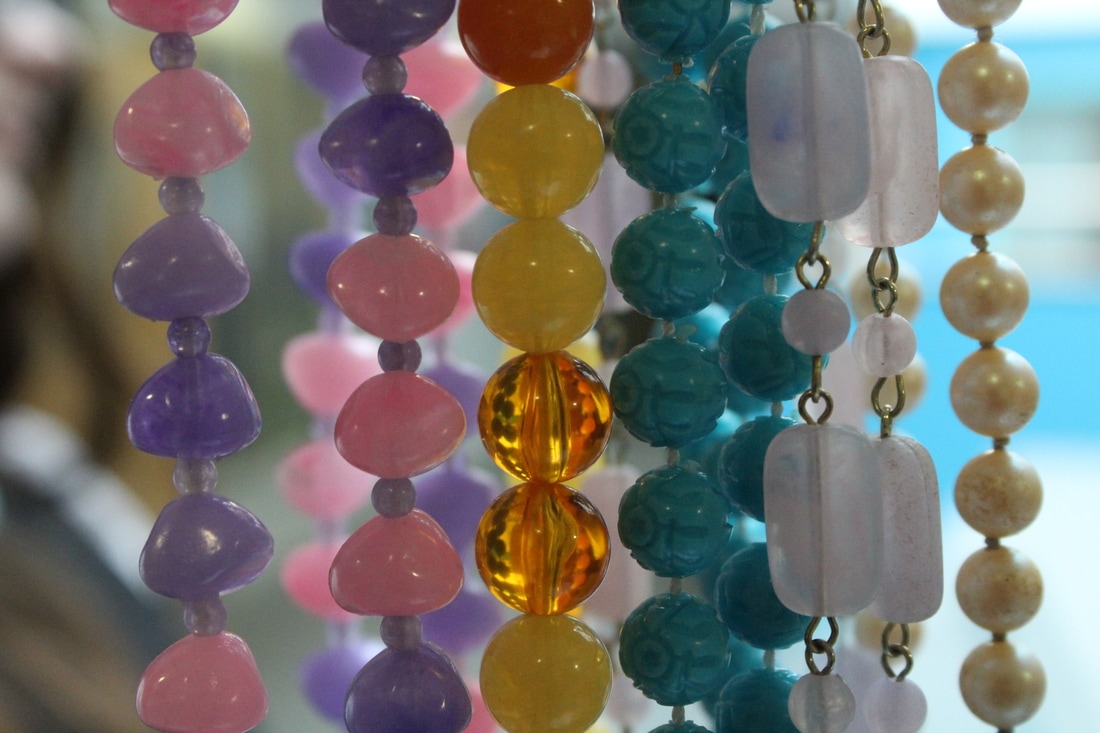
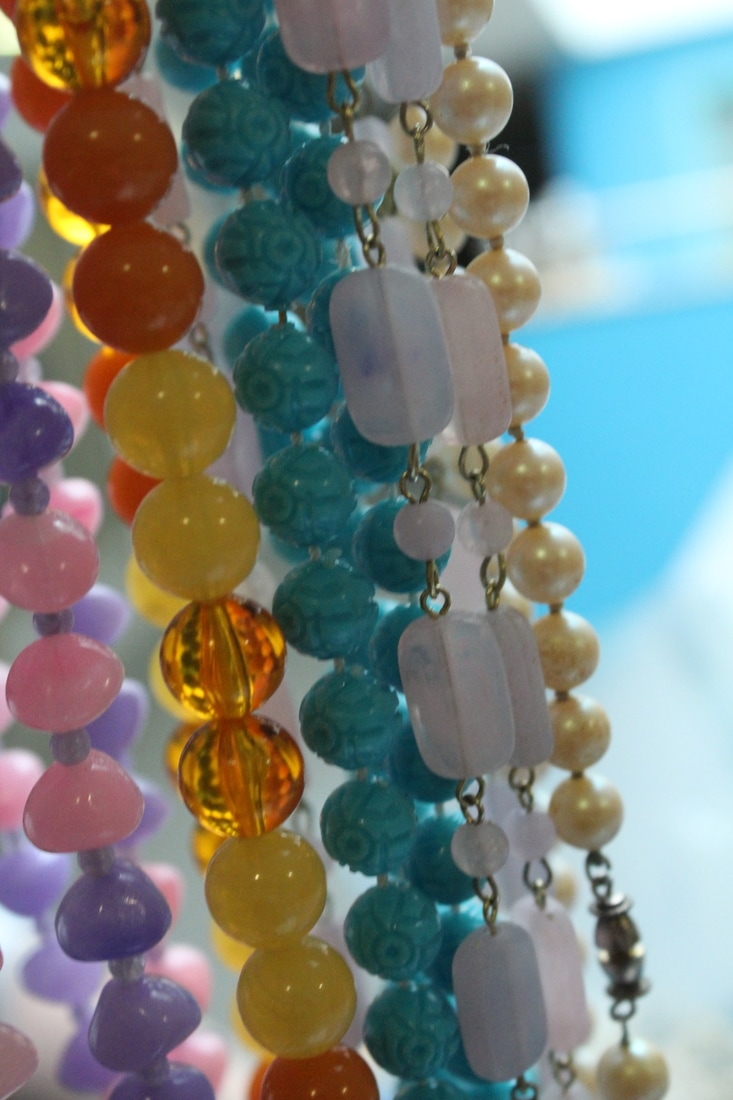
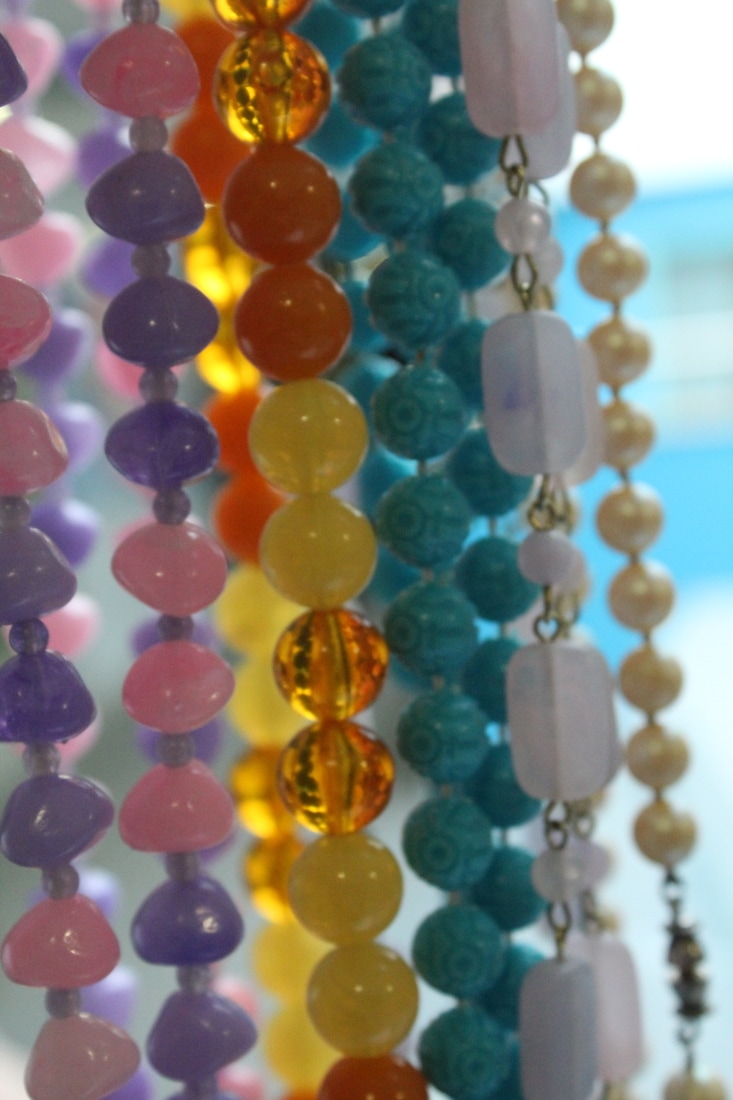
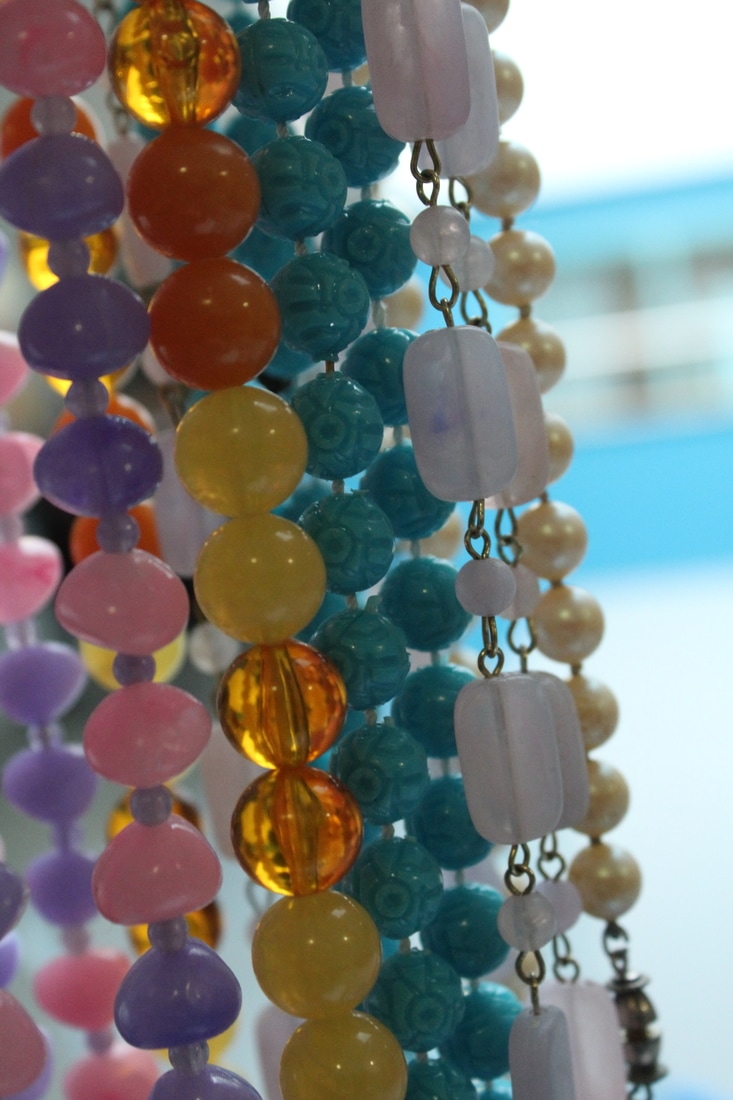
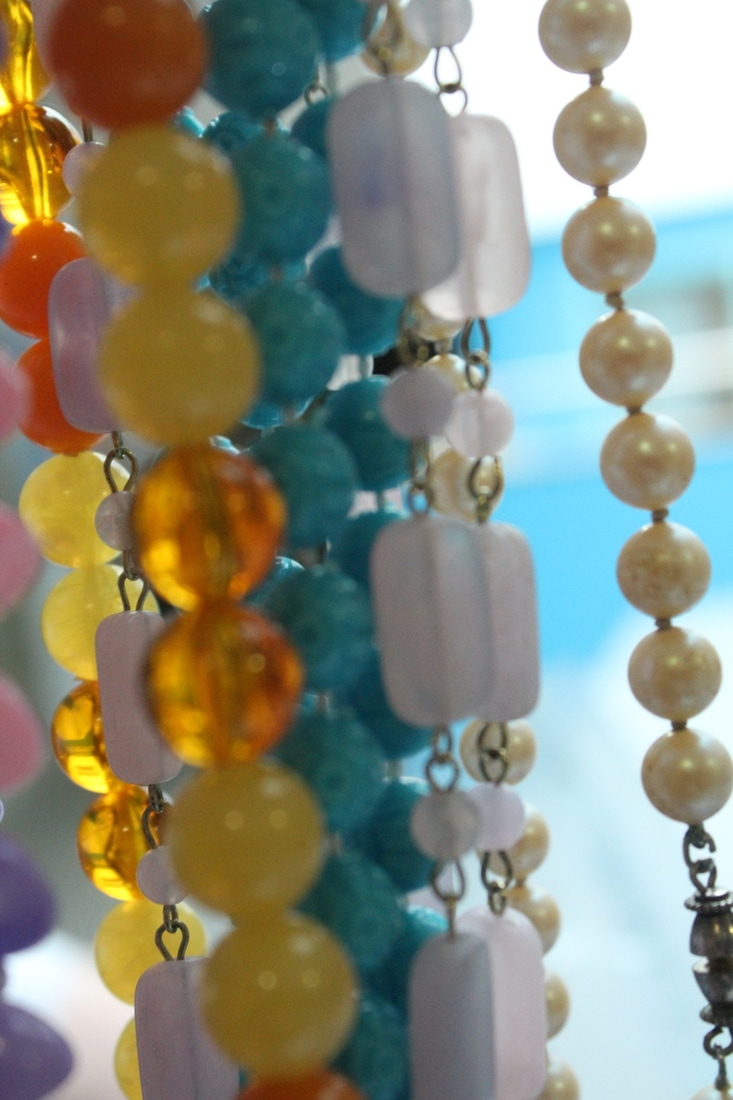
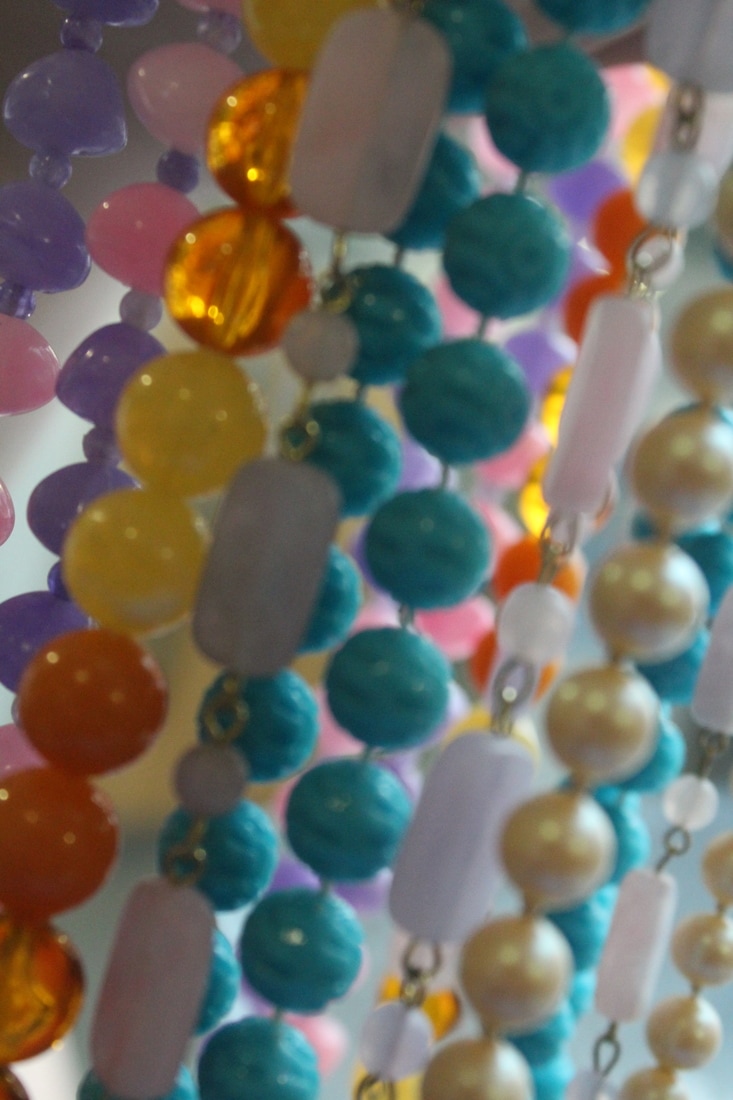
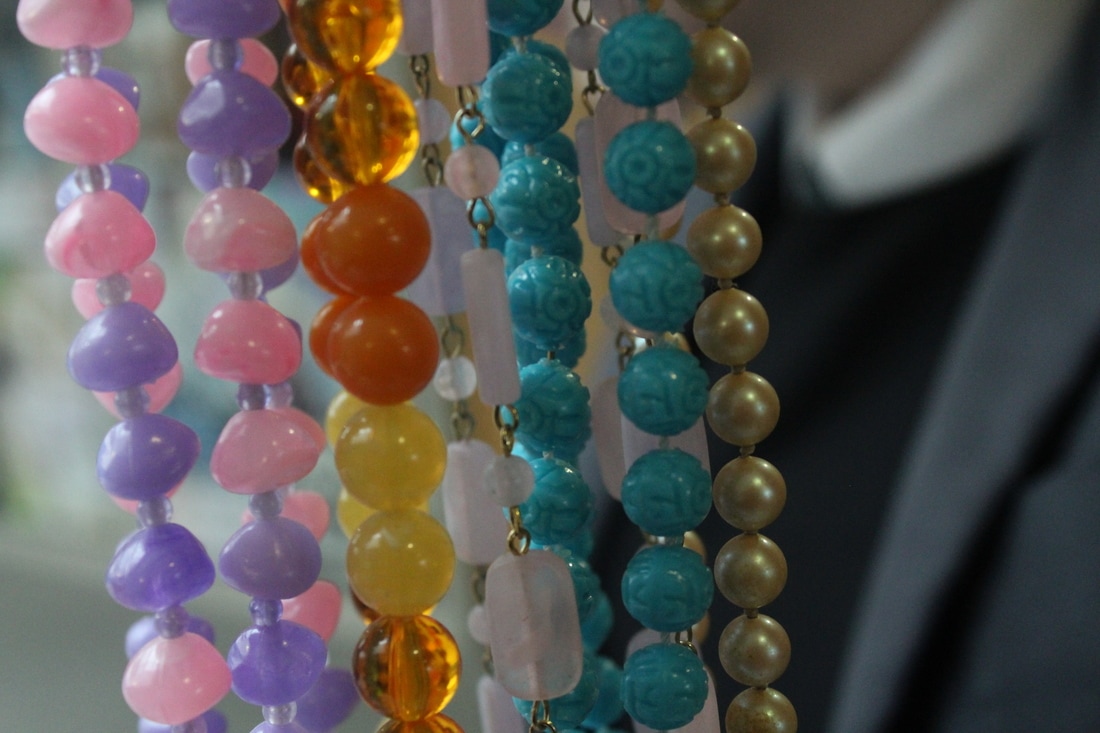
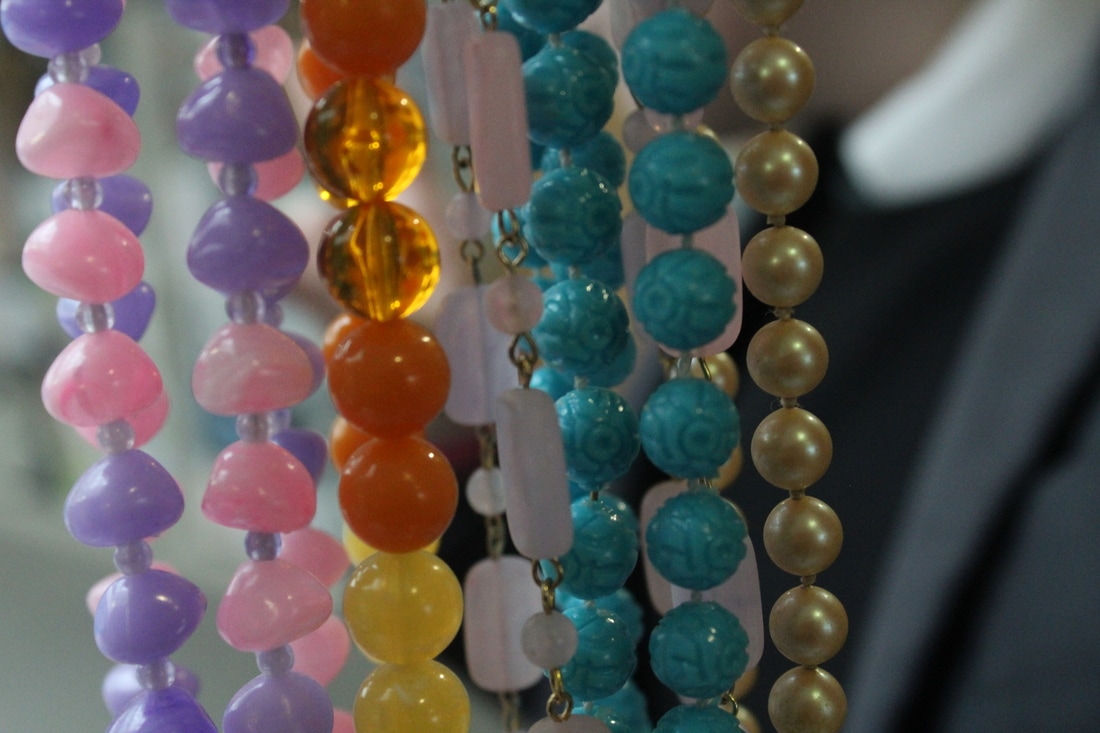
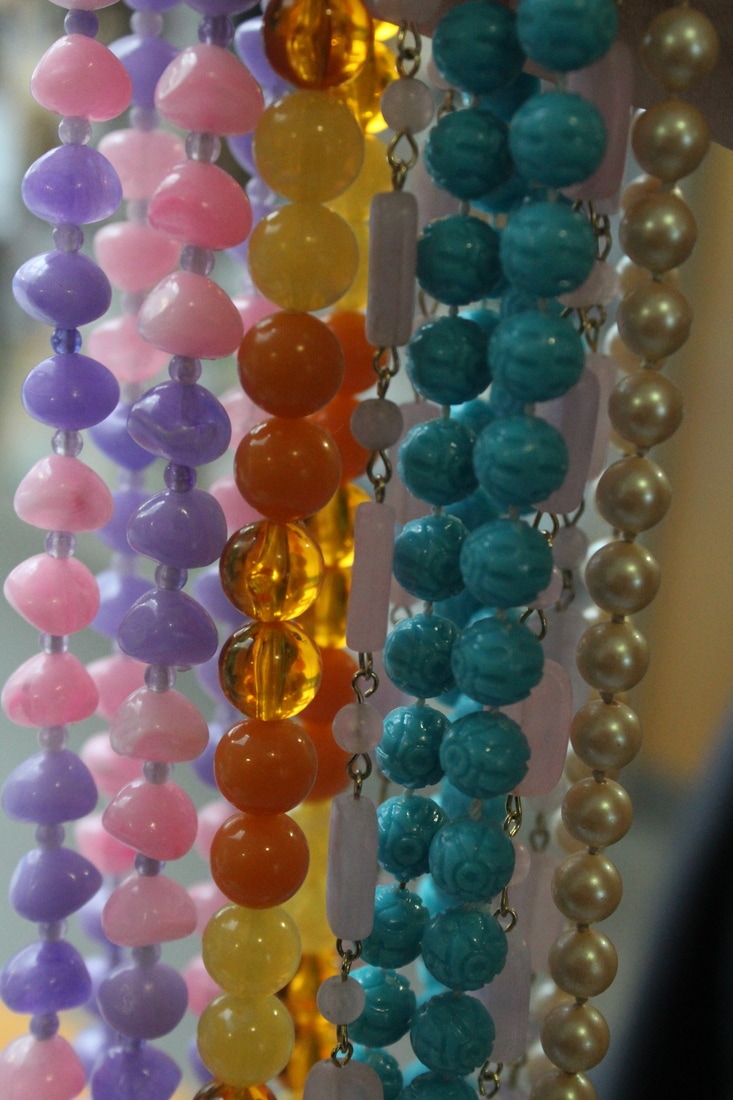
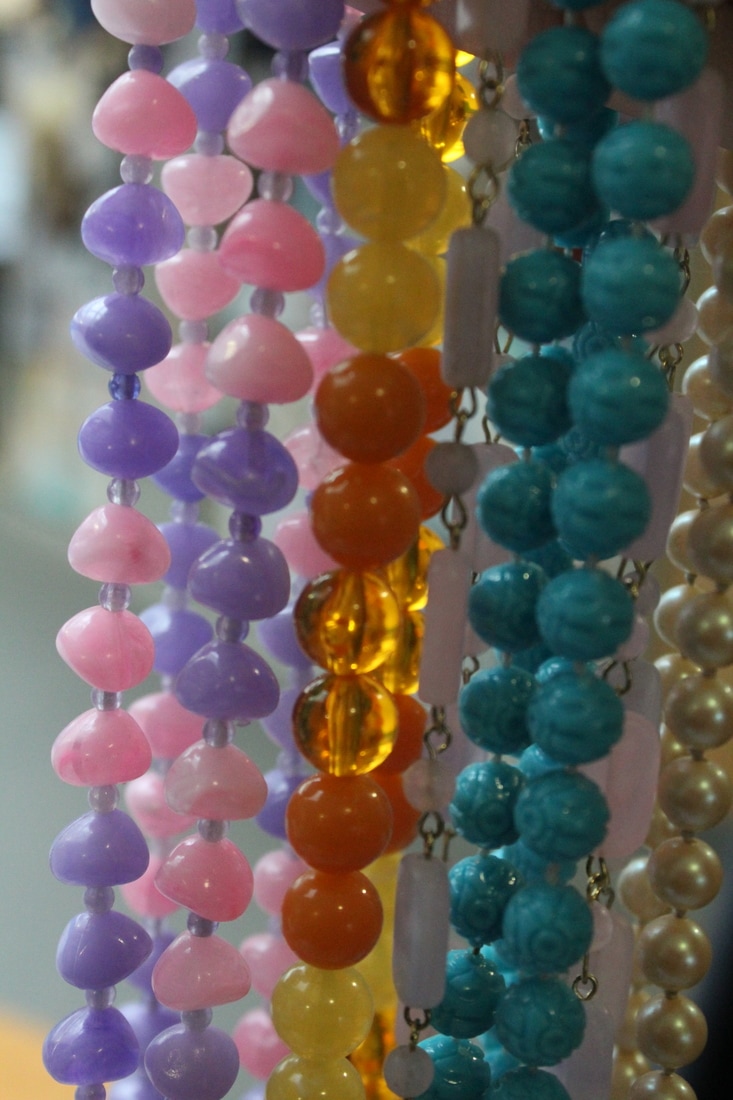
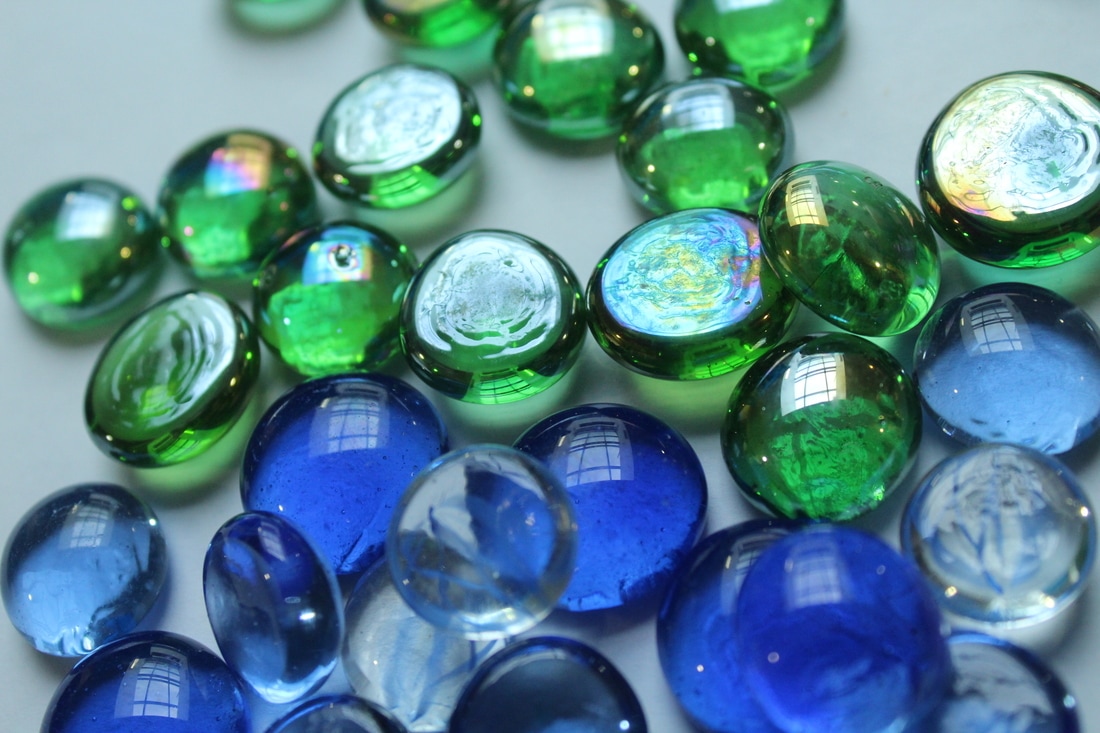
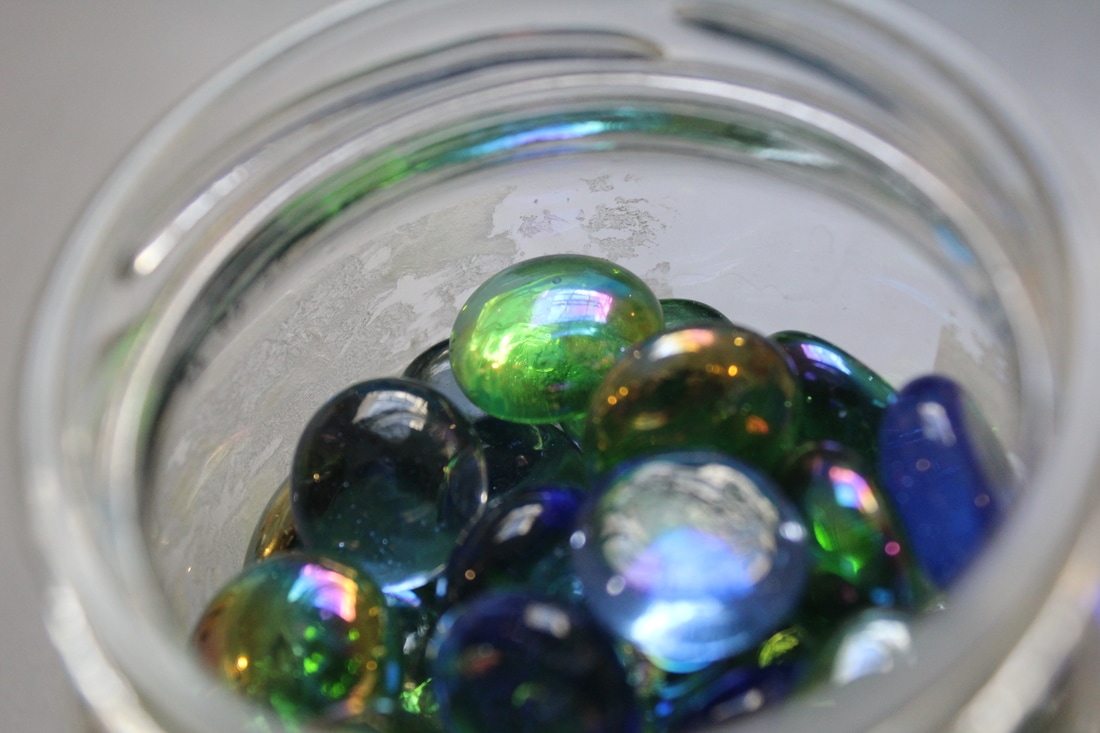
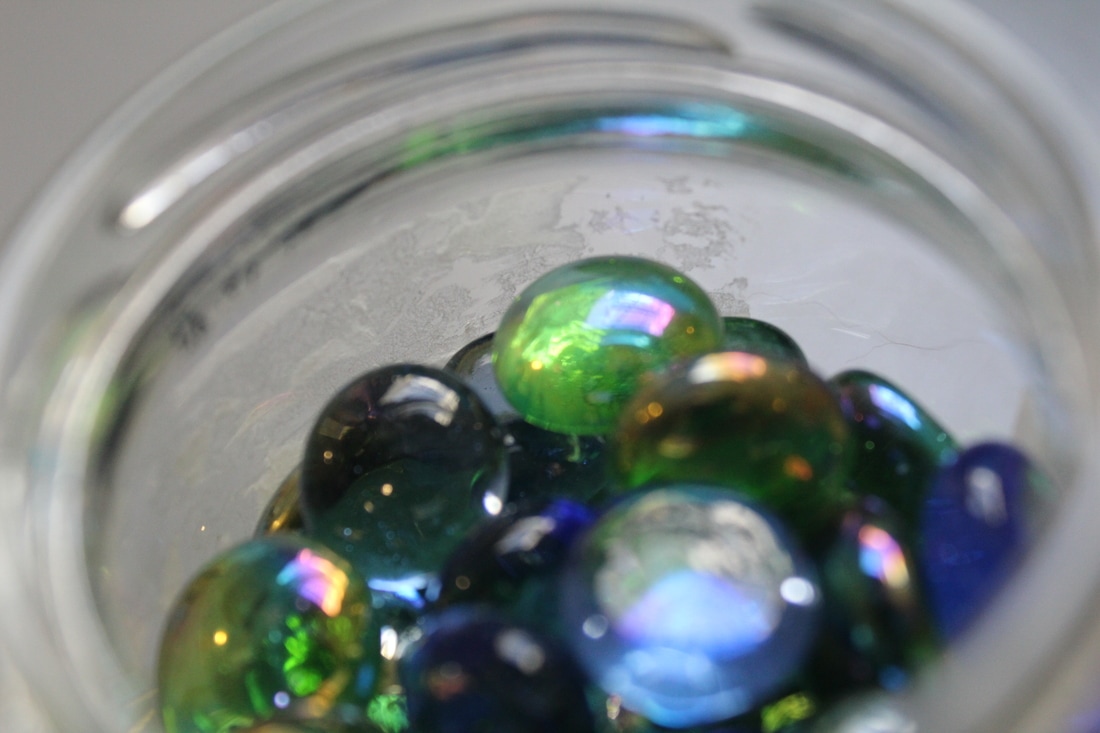
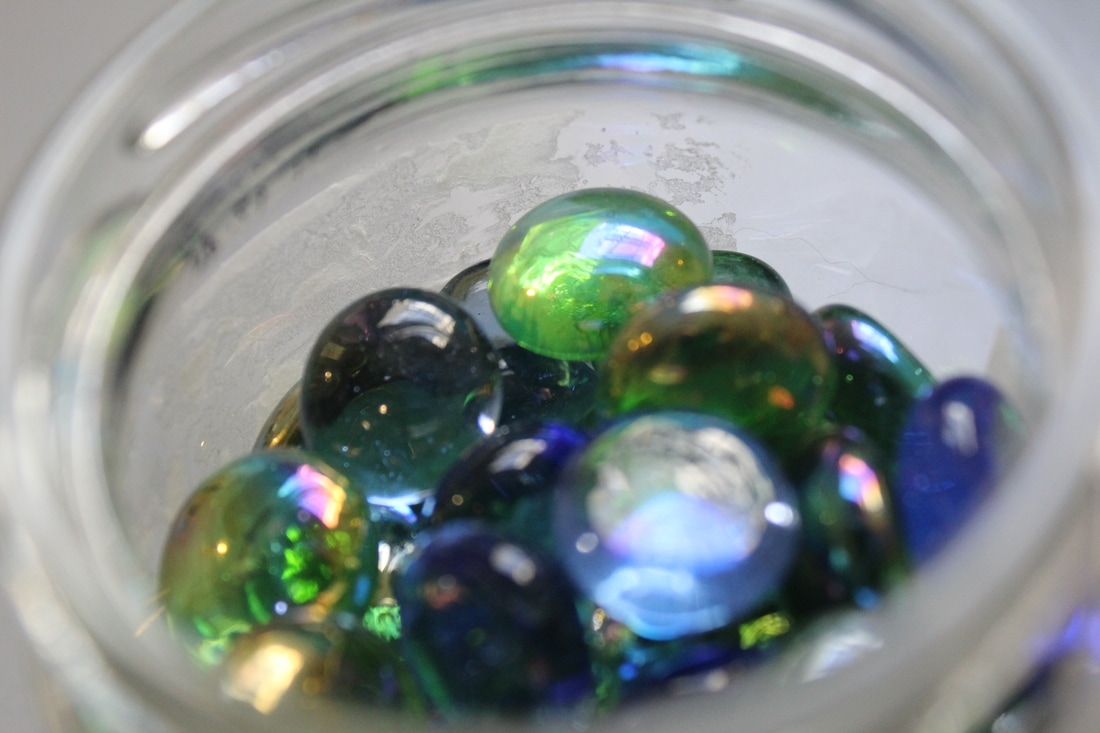
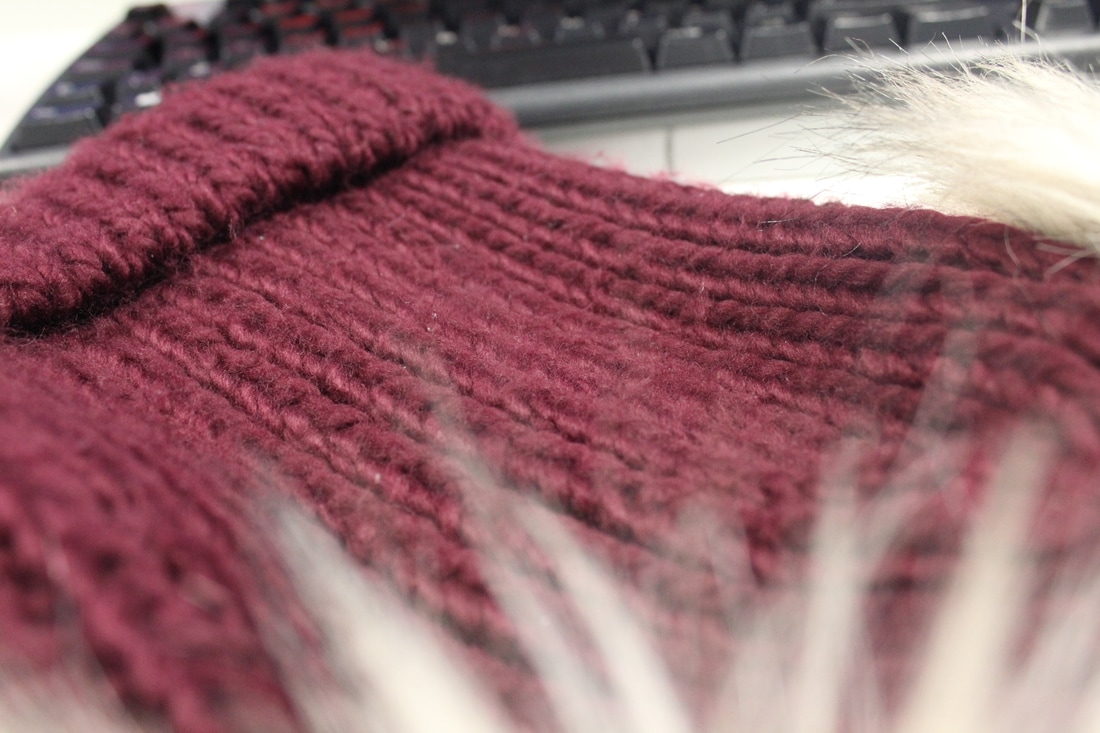
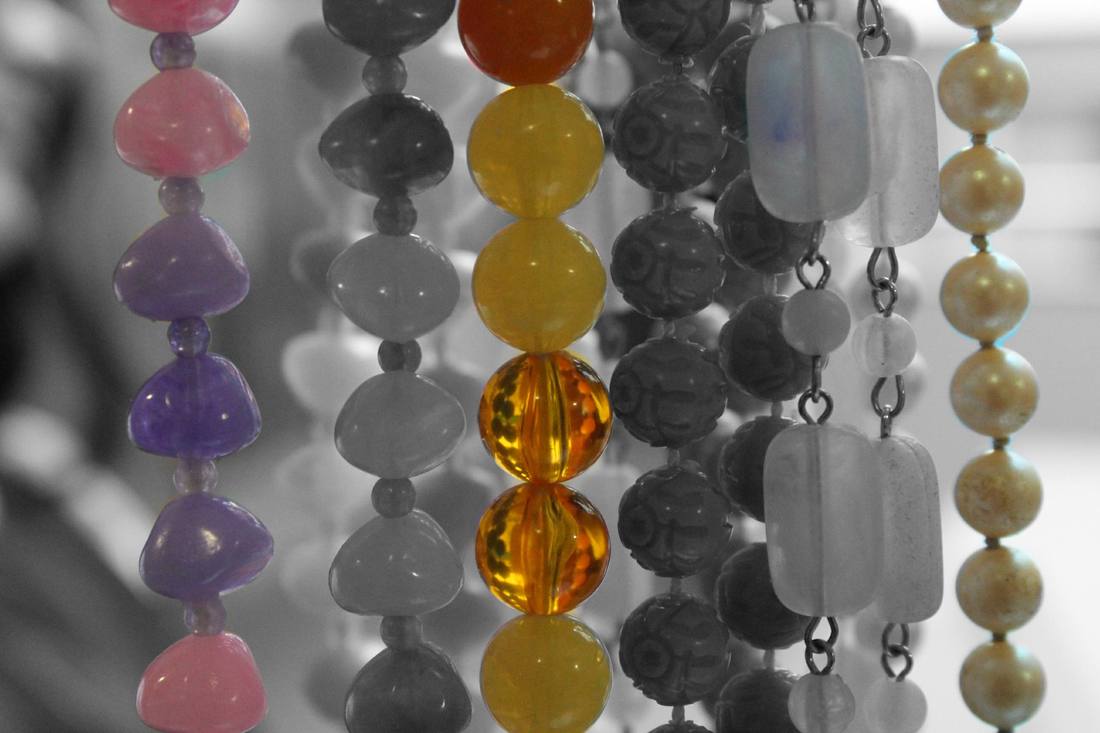
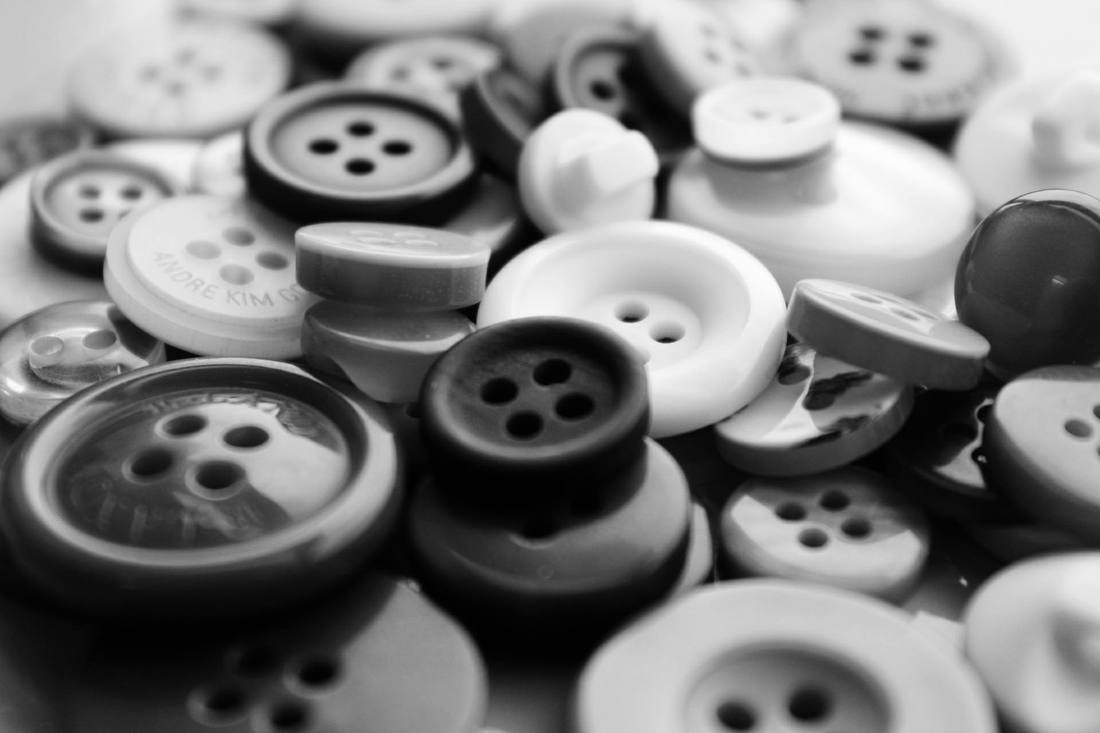
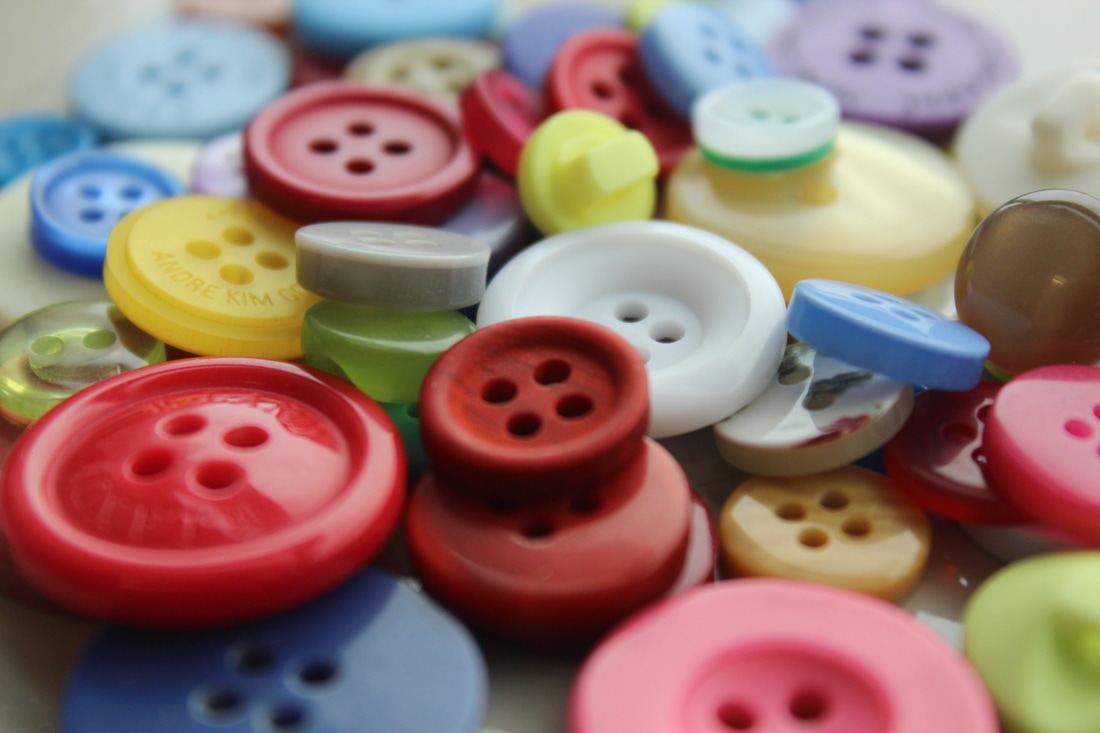
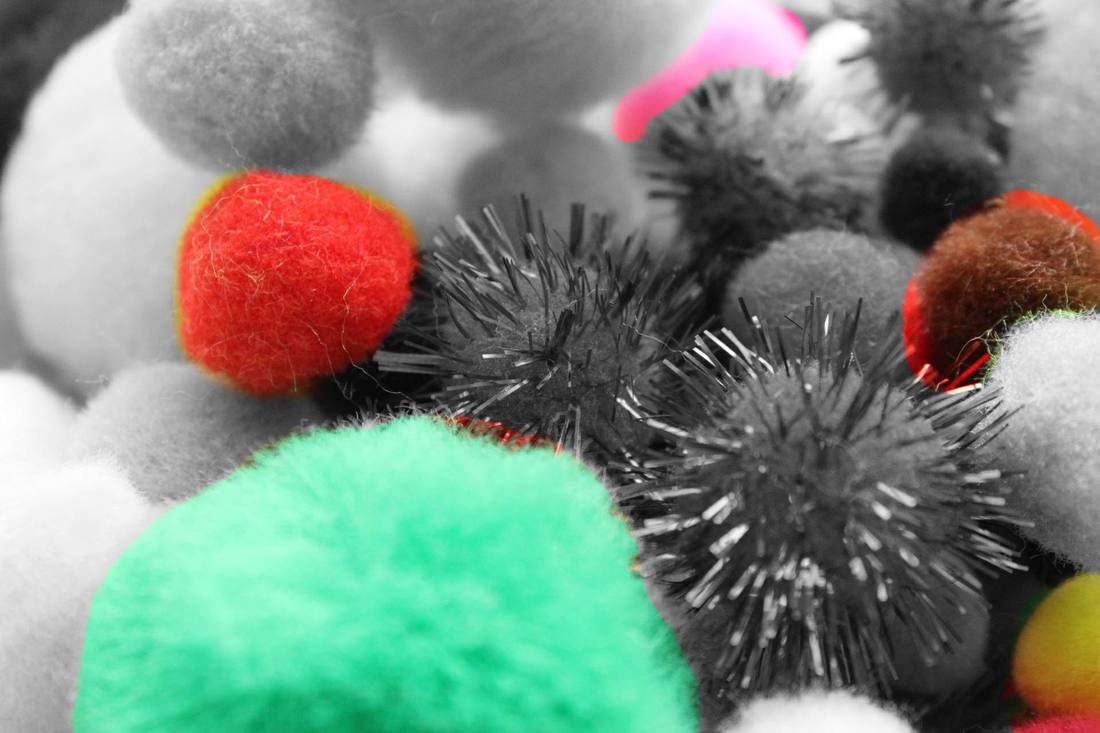
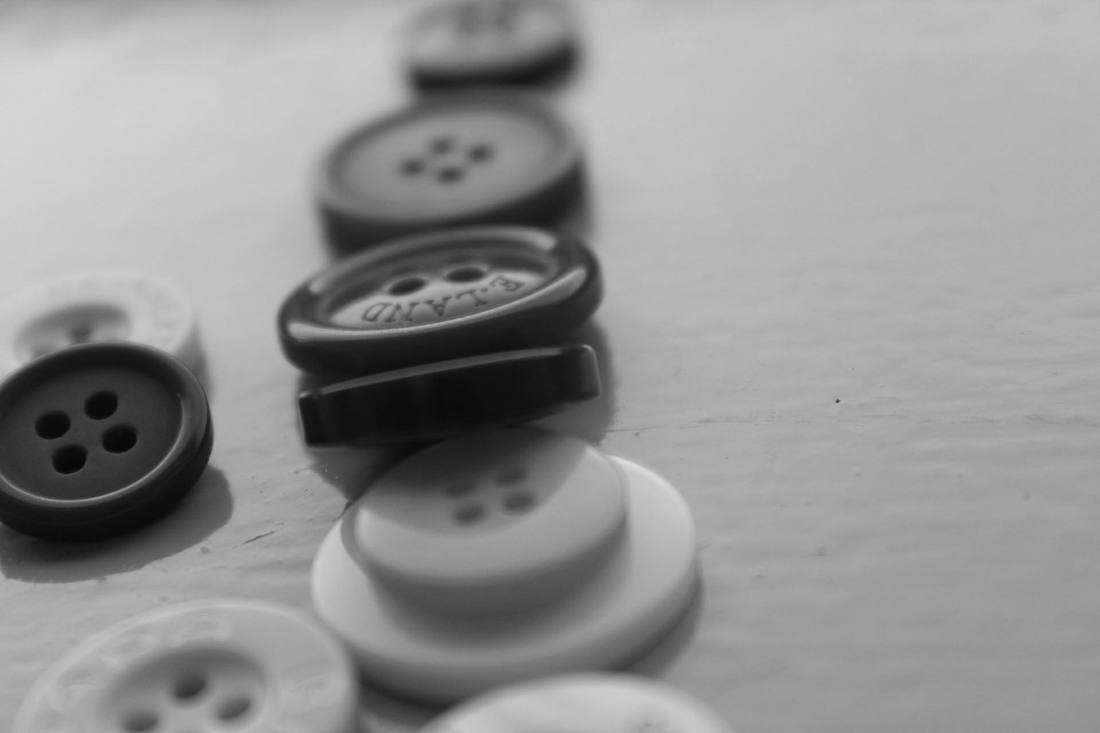
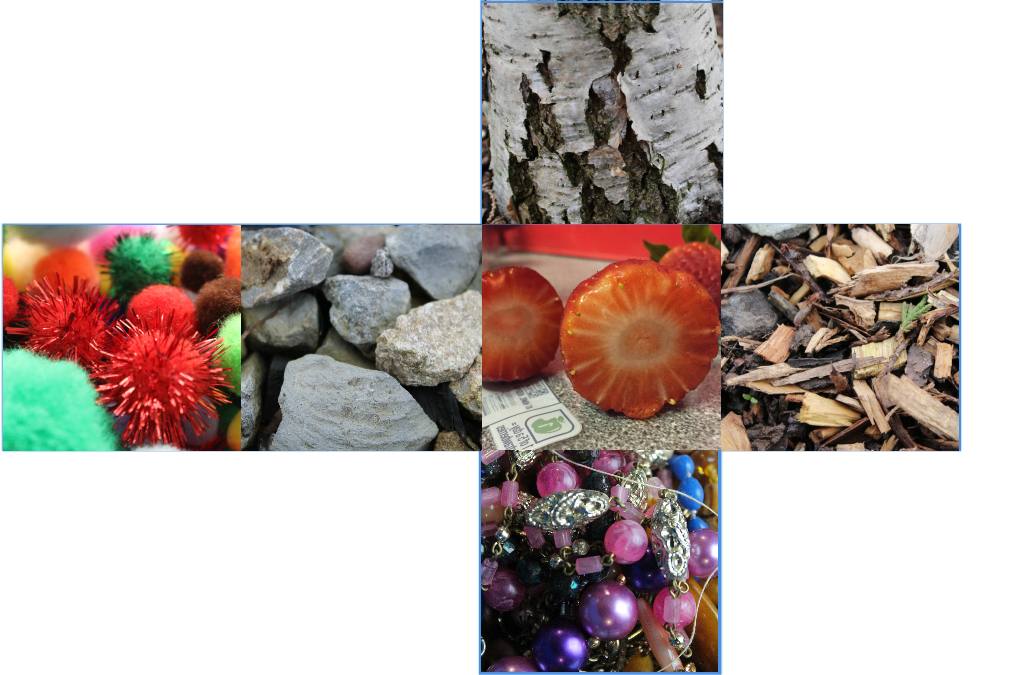
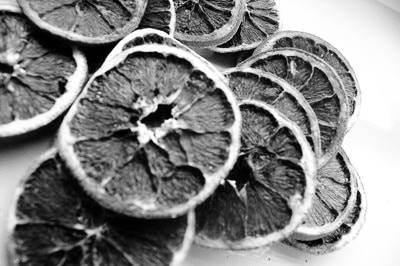
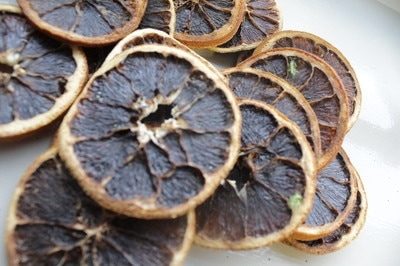
In this shoot I am going to find collations of different objects like buttons and beads of all different colours. I will take close ups of the detail/patterns on the objects. Then I will refine the photos and make them work in the style of Henry Troup and edit different objects to black and white to make it stand out more and capture the detail more.


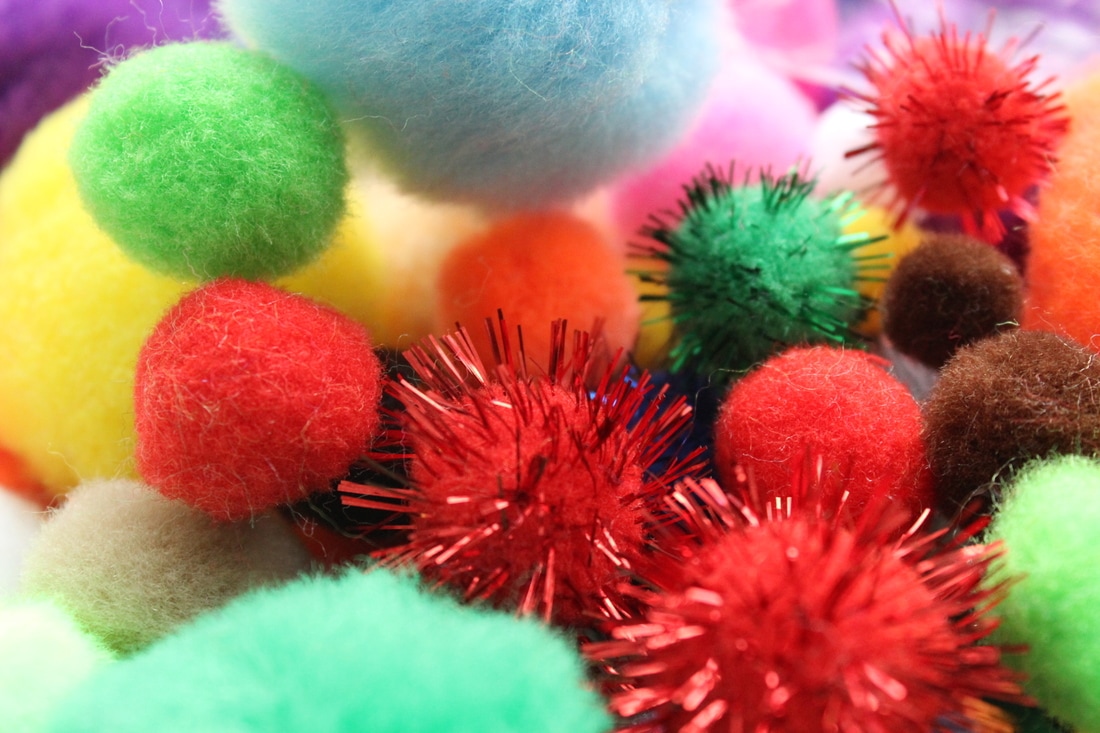
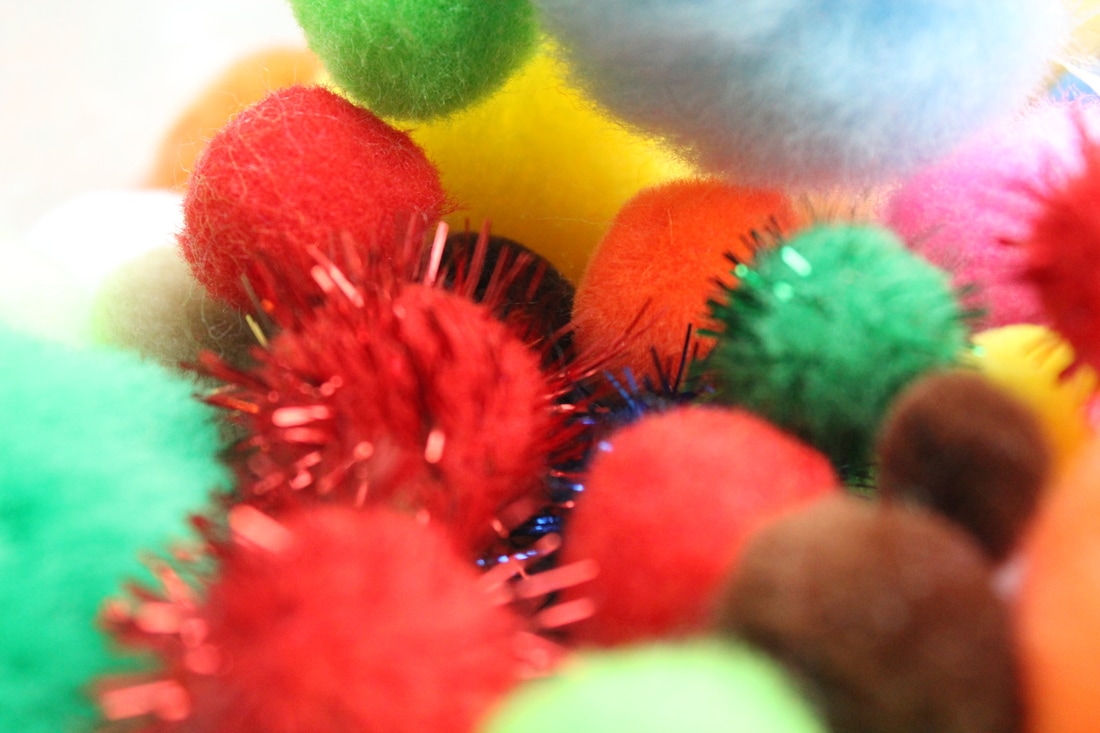

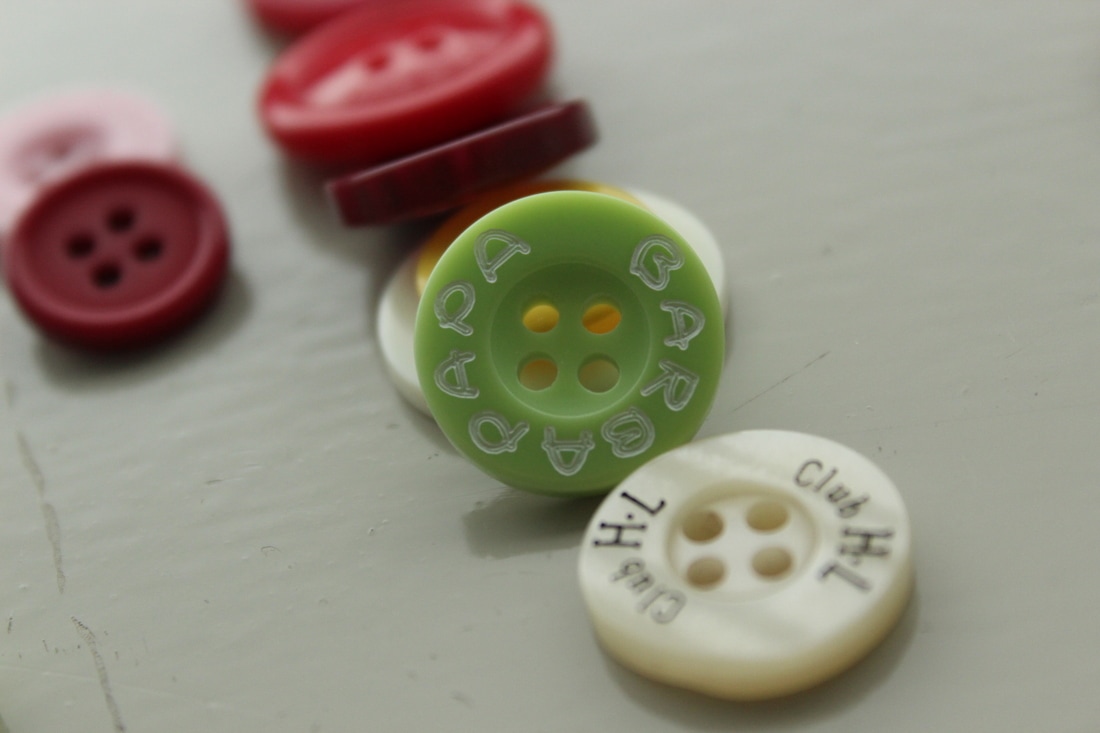


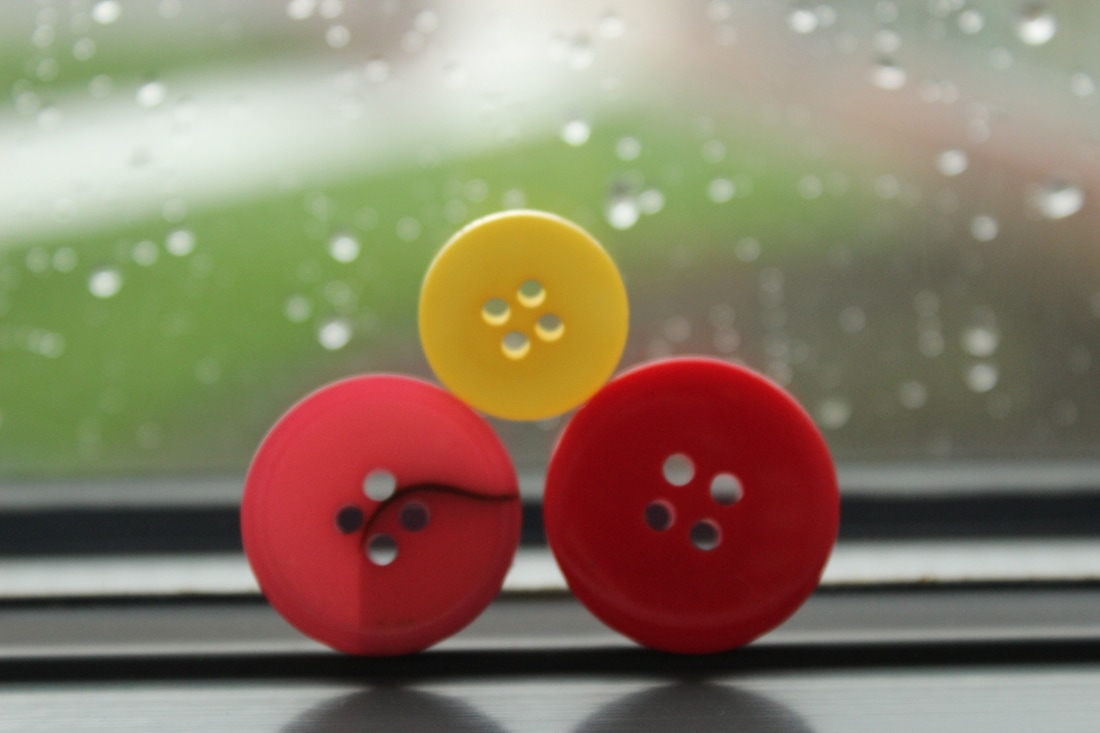

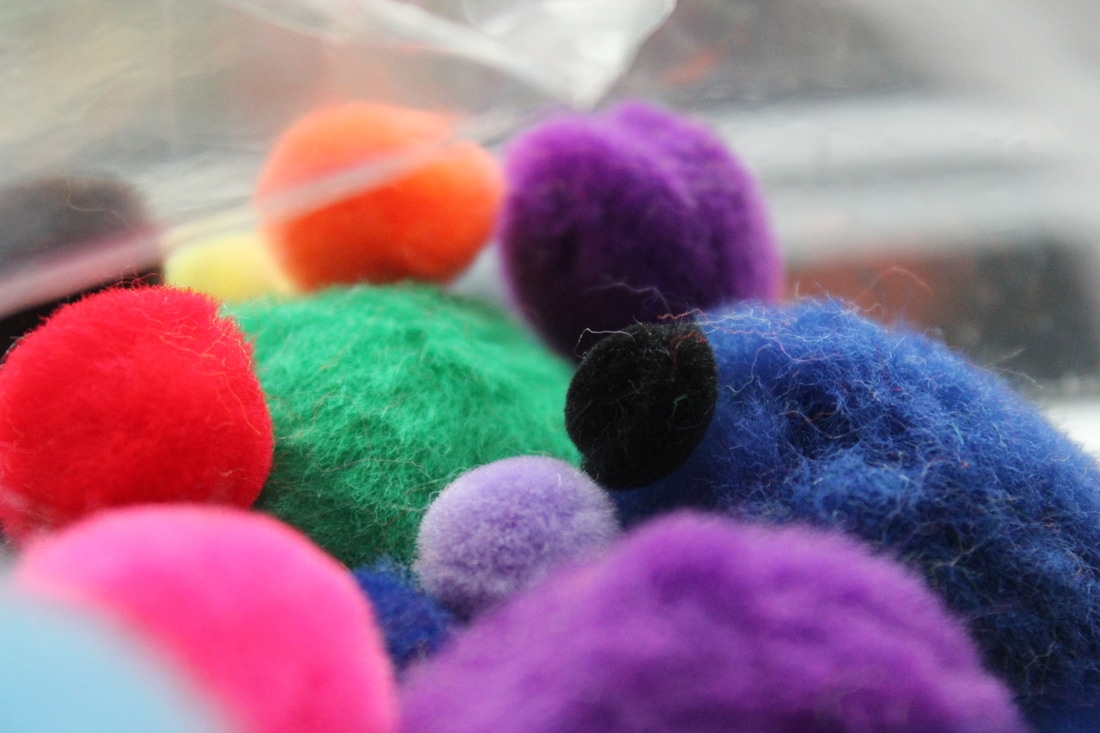
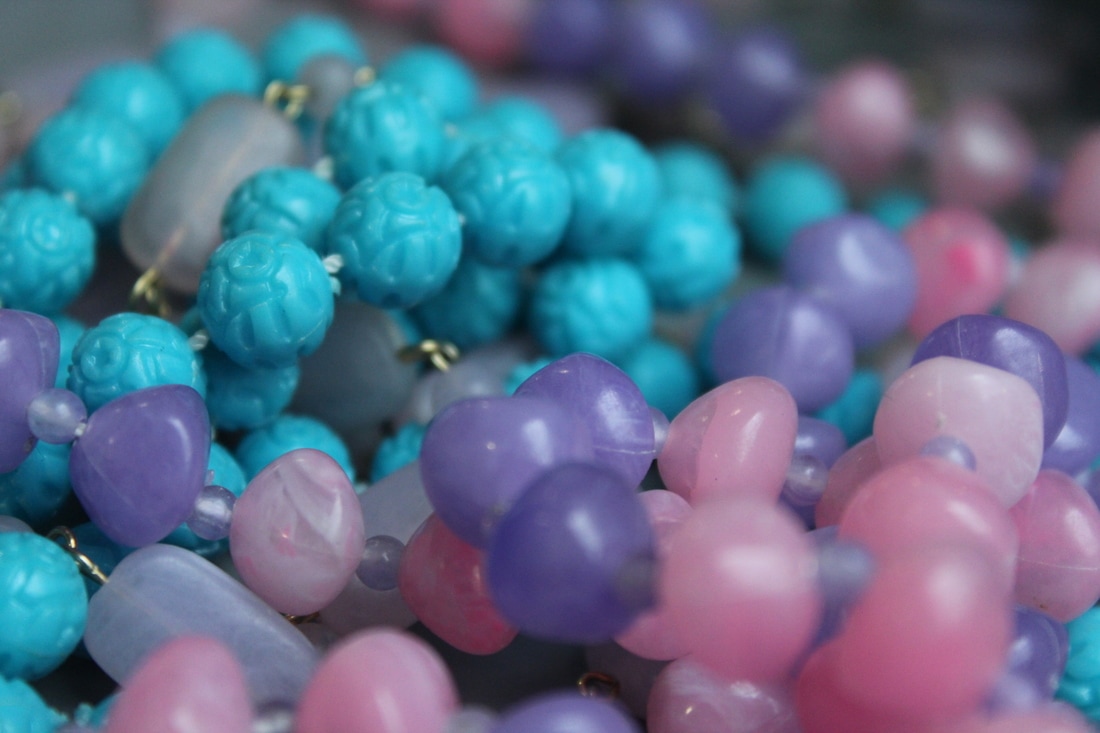
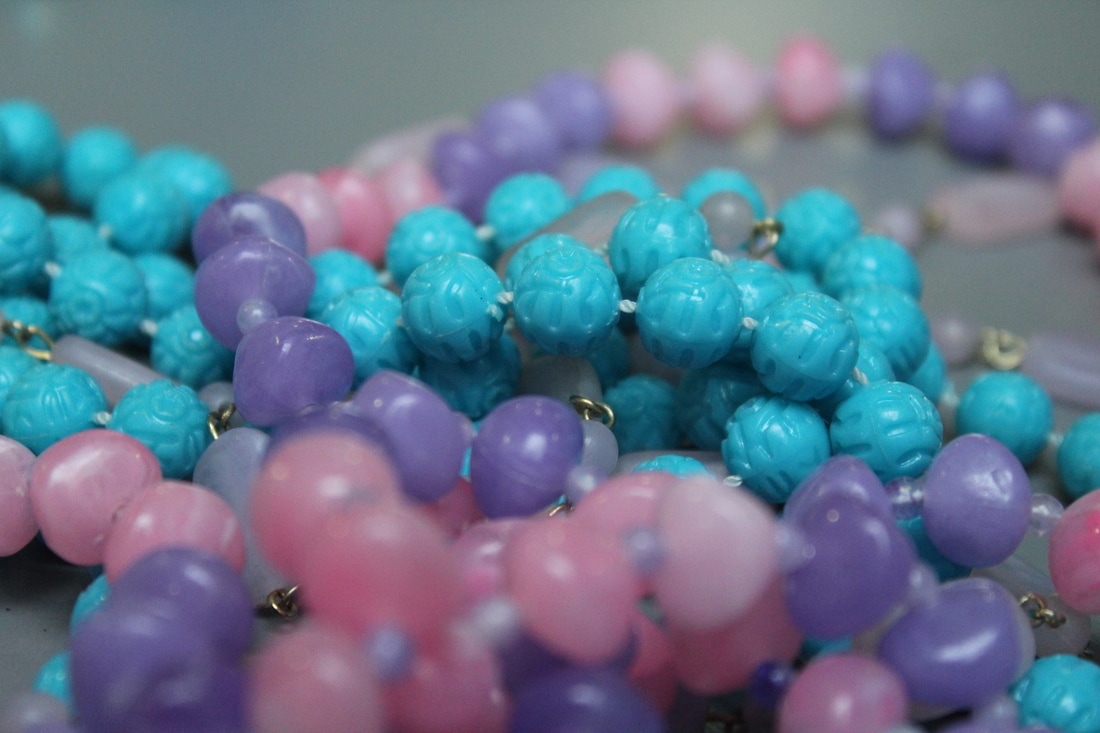
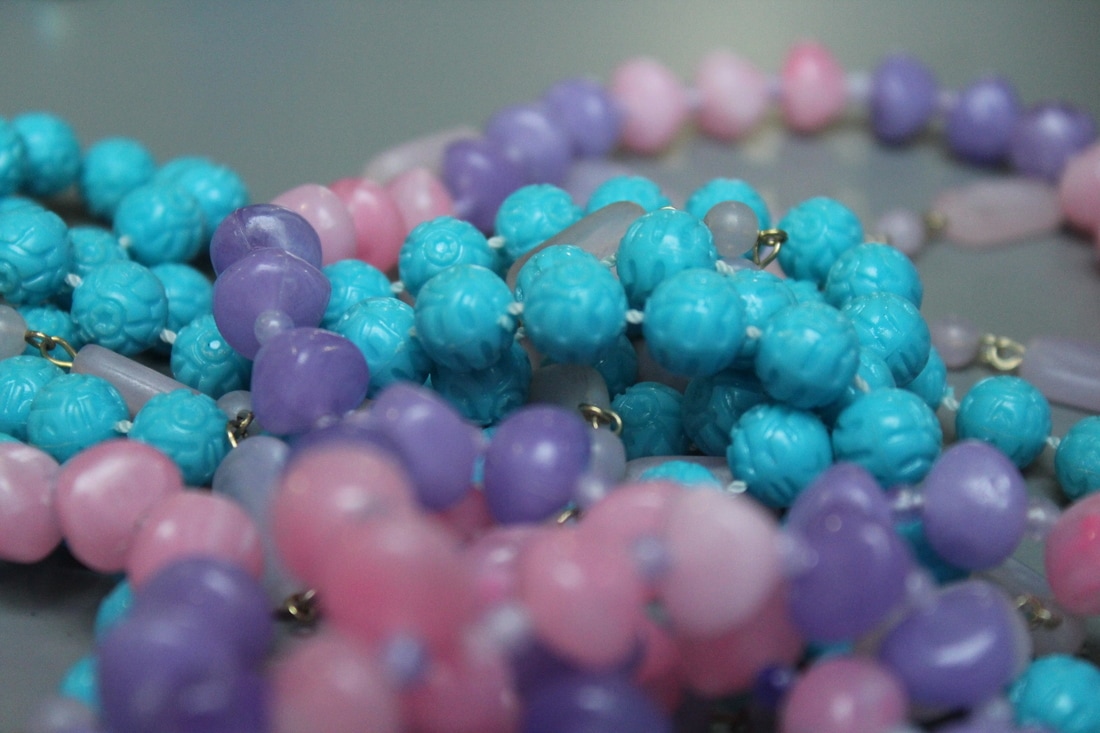


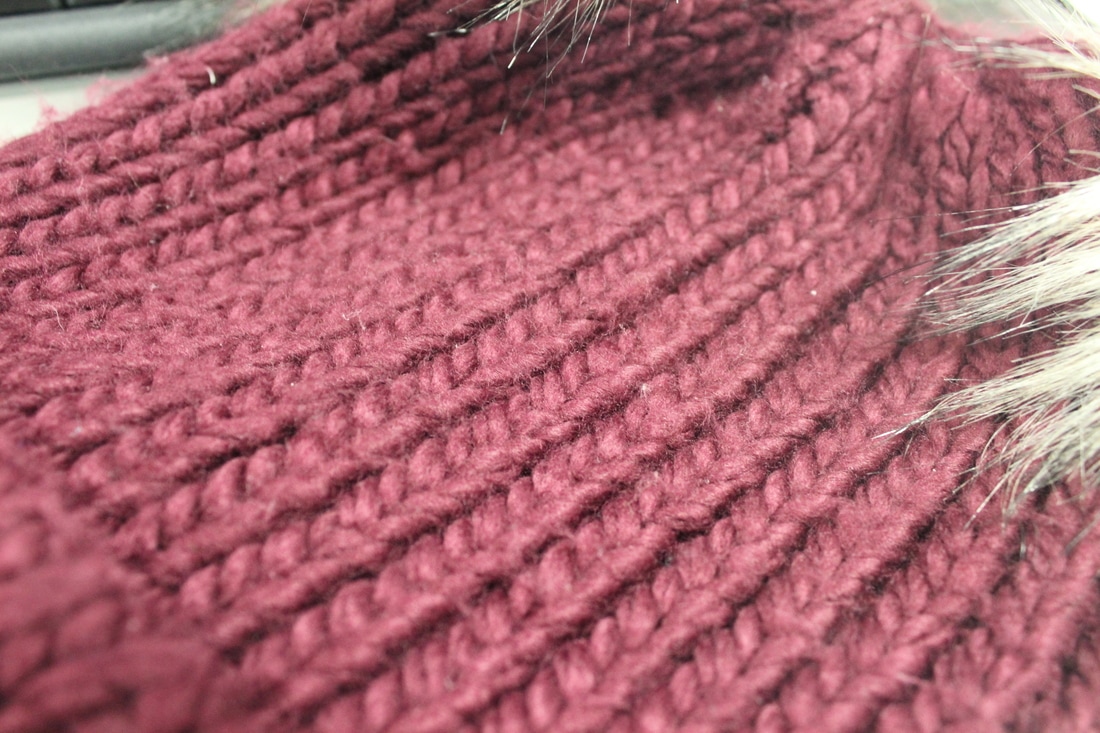
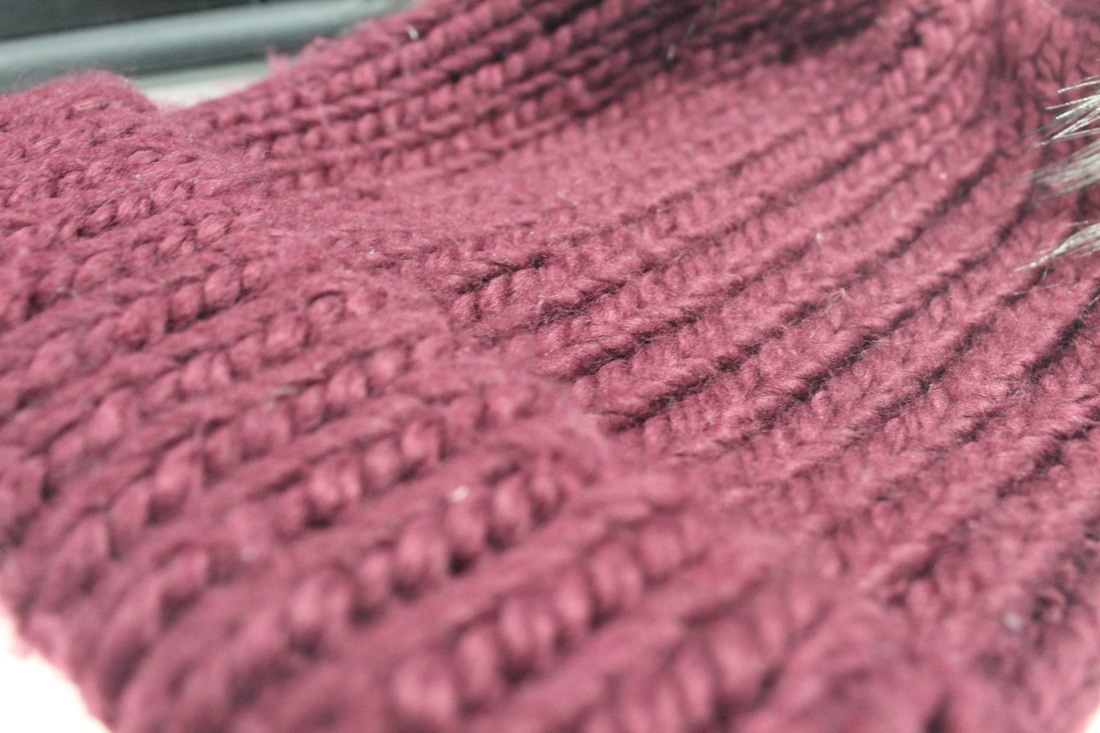
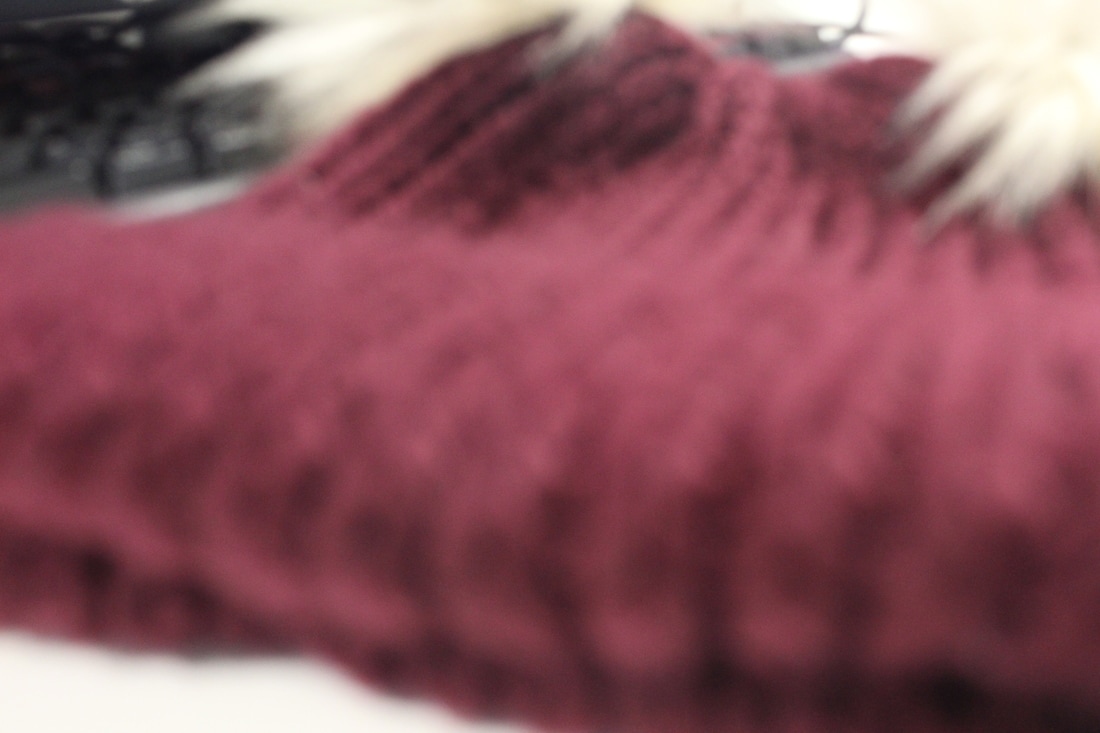
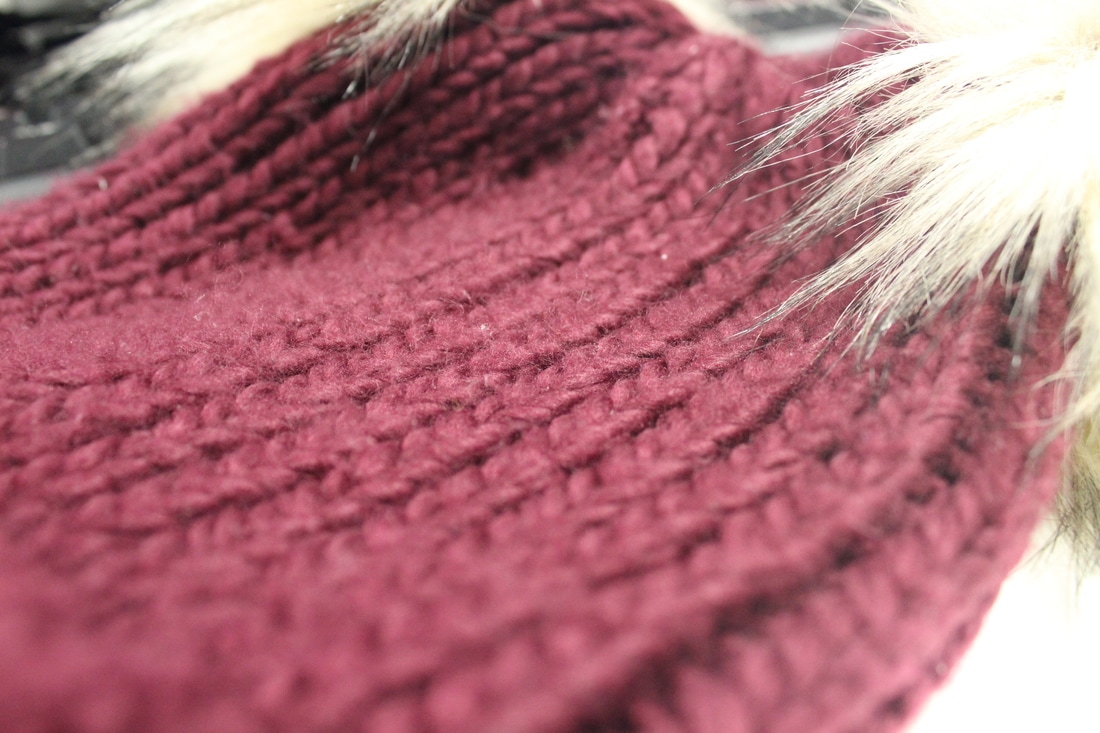
Worst
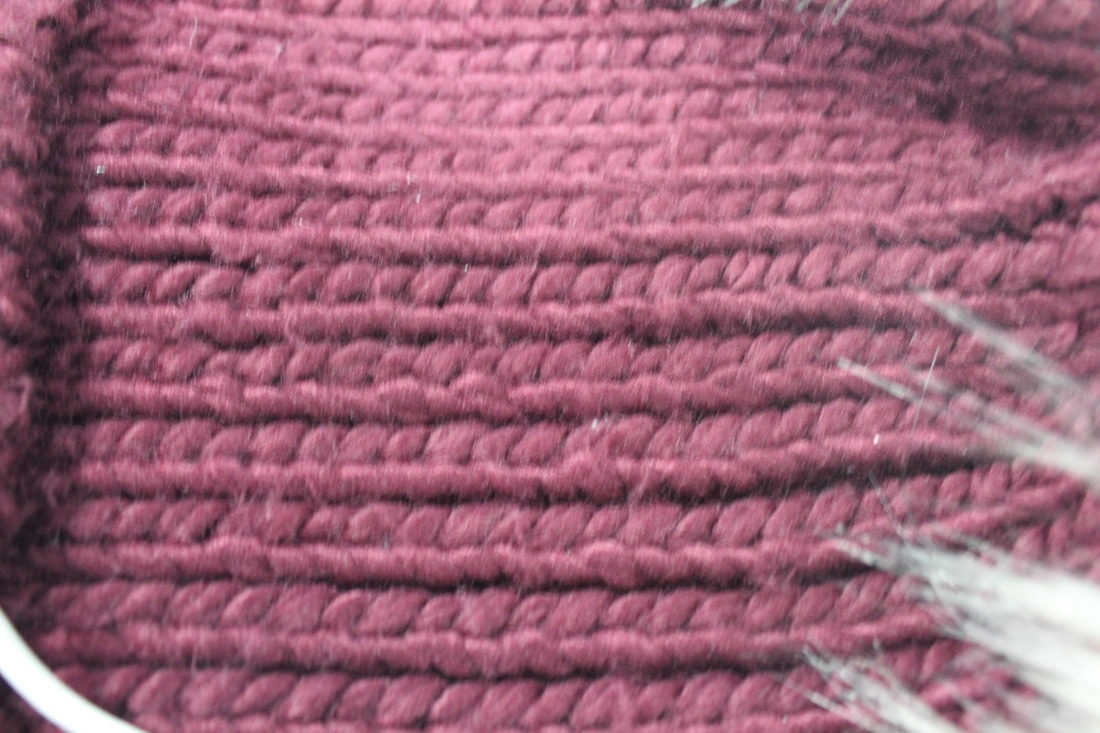
I took this photo inside a classroom with the aperture 5.6 .The reason I don't like this photo is it is really blurry and doesn't capture any detail on the knitted hat.

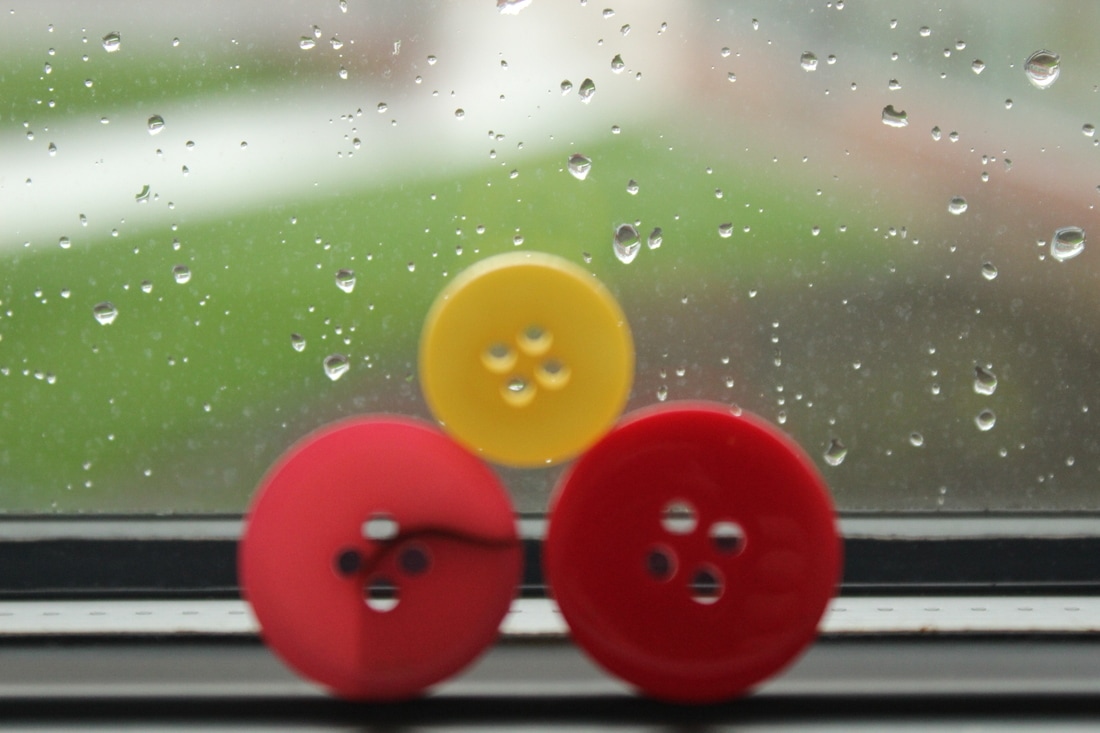
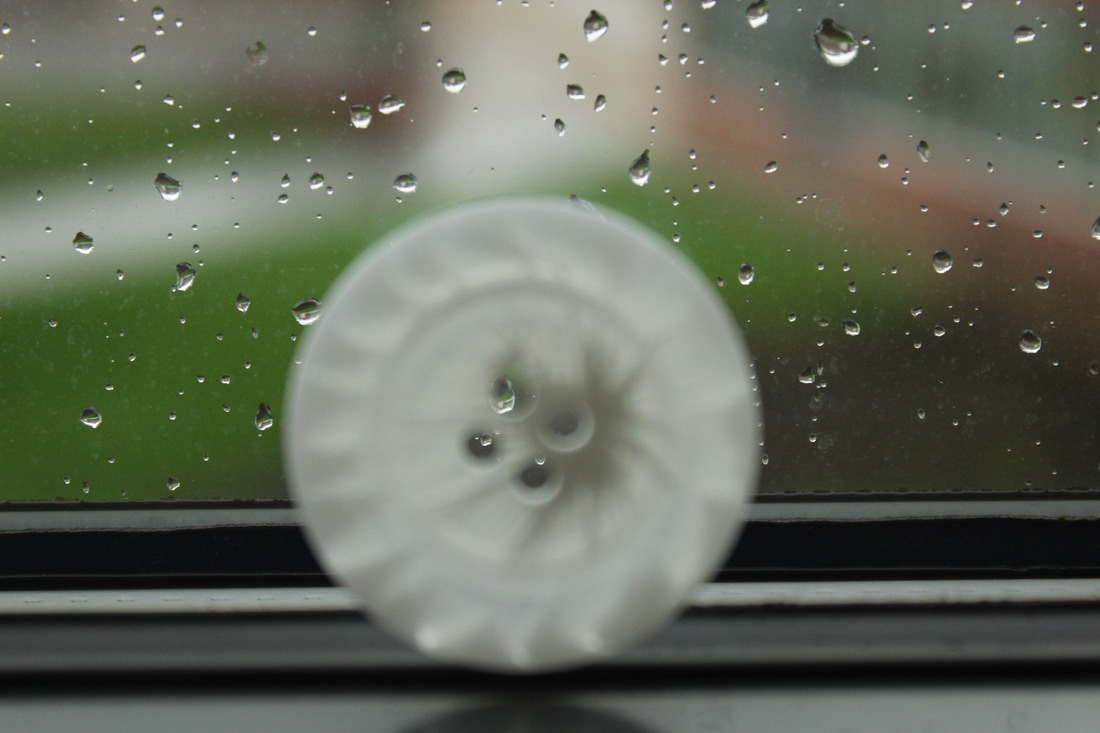
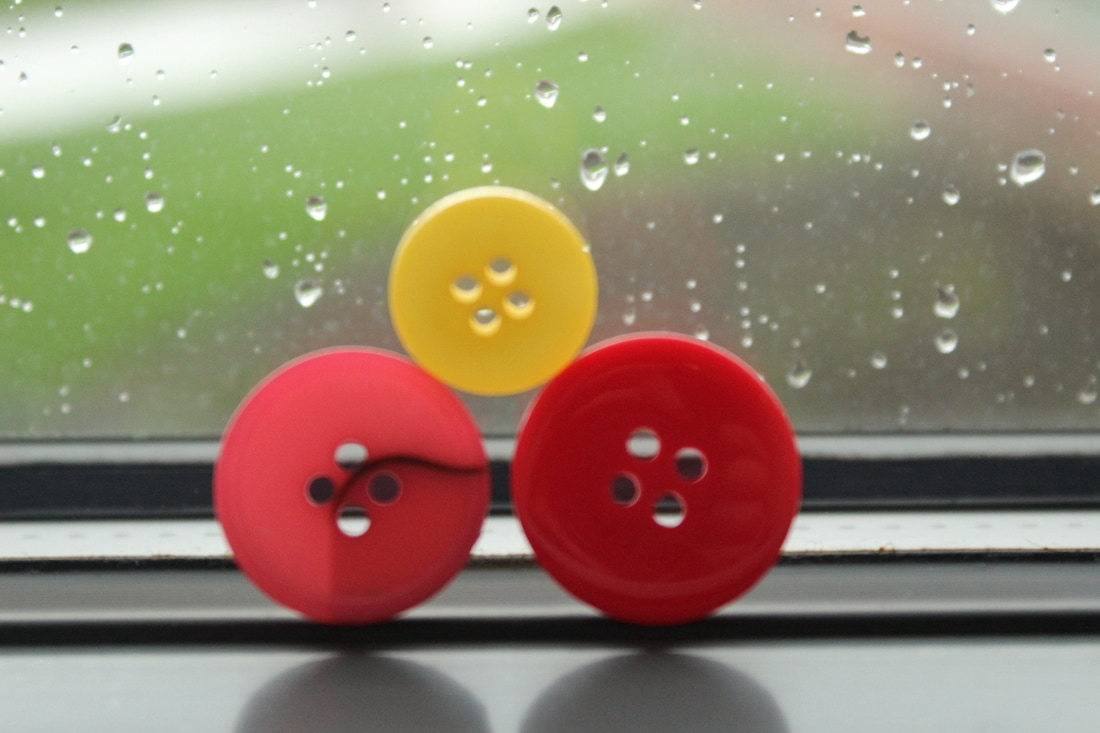
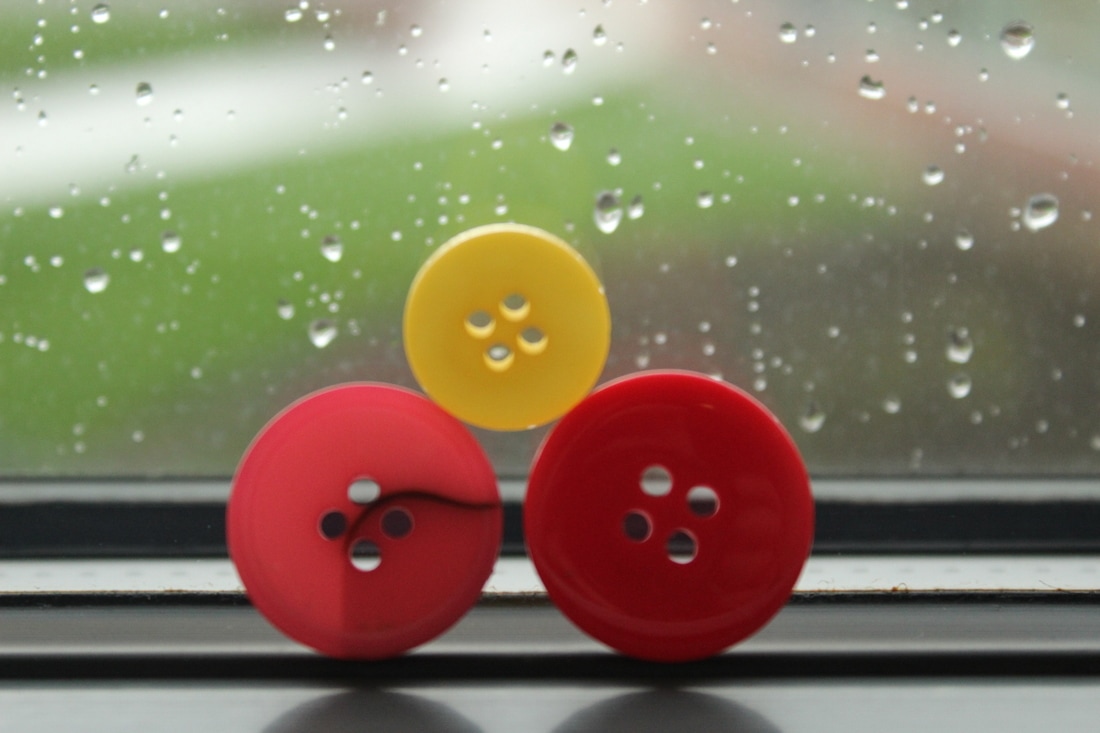
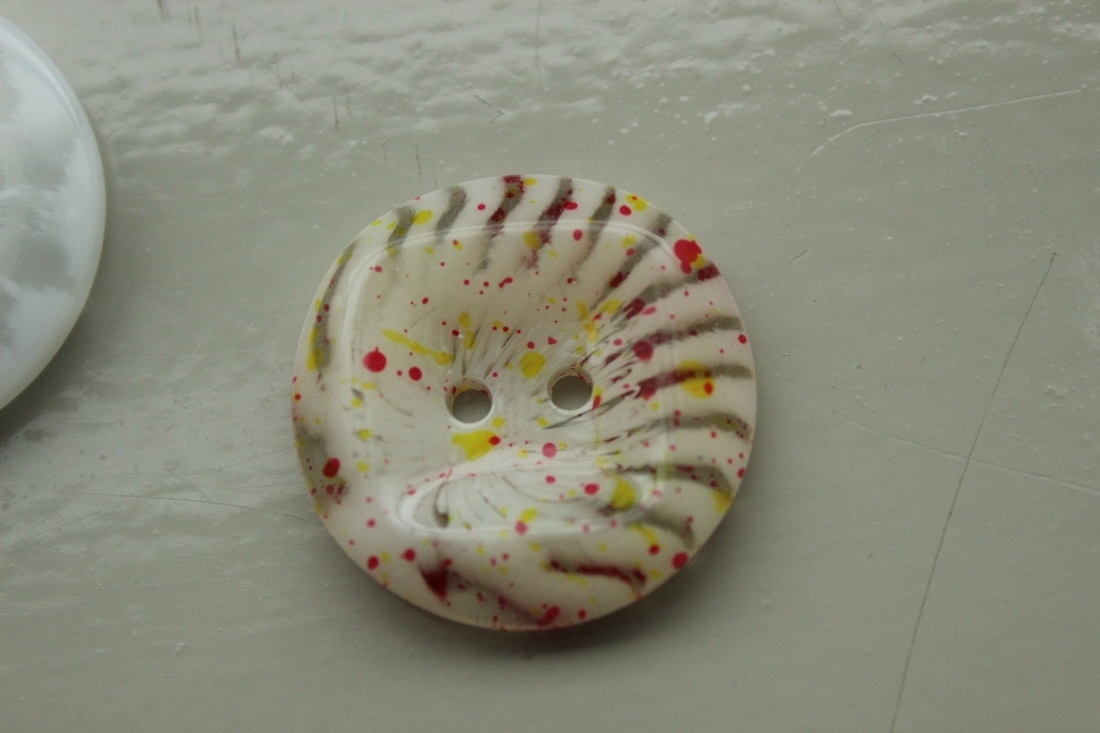
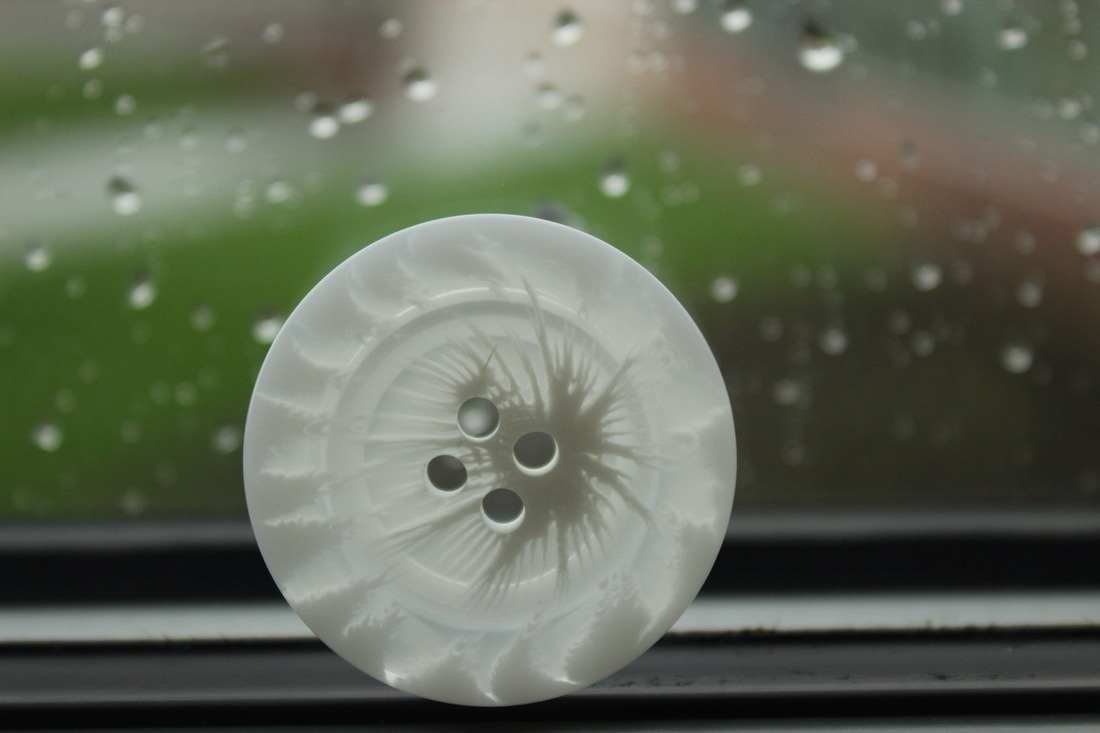
Best
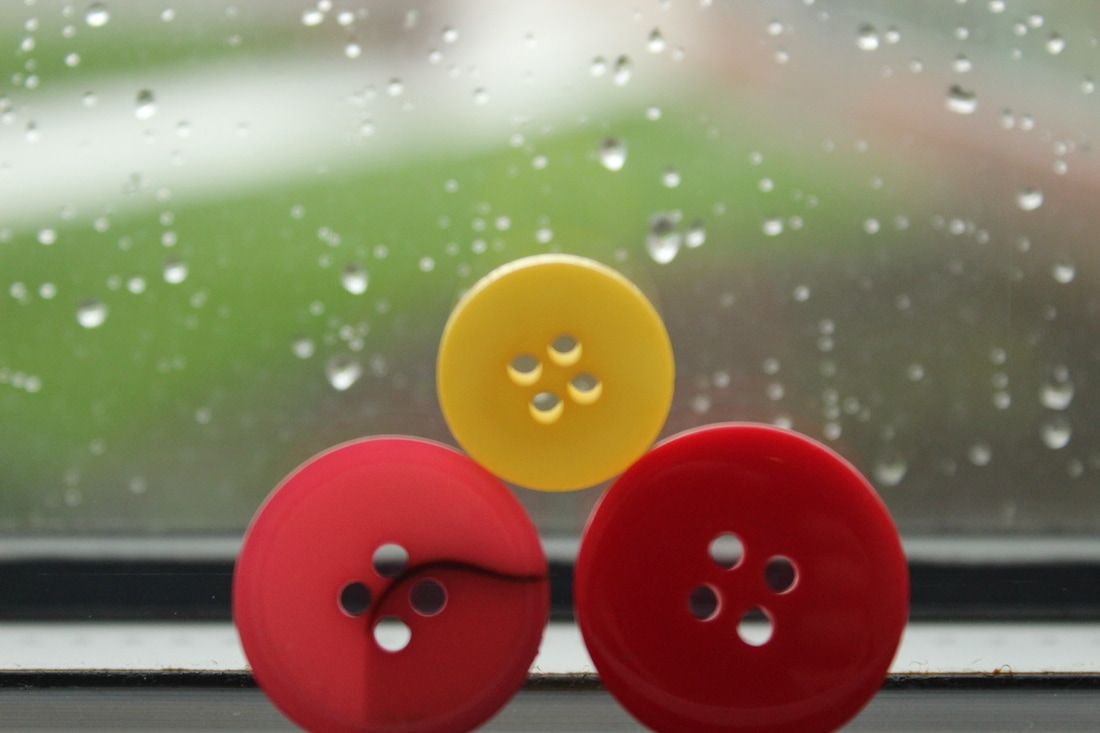
For this photo I chose a button with detail on and put it on a window to feature the raindrops in the background to contrast the different details and capture movement of the rain on the window. I think this photo because


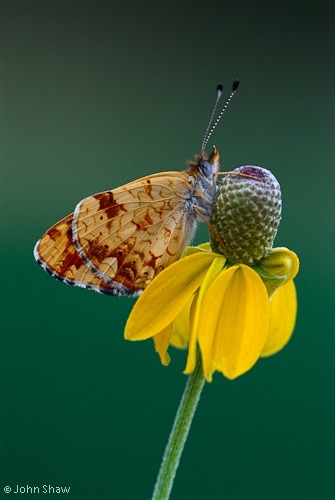
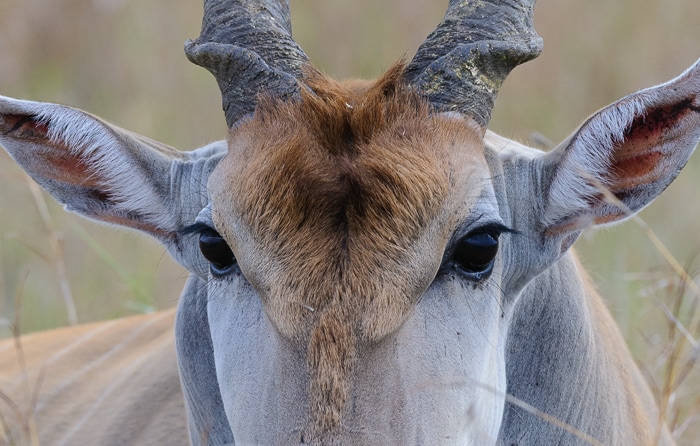
John Shaw

John has been a professional nature photographer since the early 1970s.His work has been published in many publications and books, including National Geographic, Nature’s Best, National Wildlife, Audubon, Outdoor Photographer, and many others. In 1997 he received the first-ever Outstanding Photographer Award given by NANPA (North American Nature Photography Association).

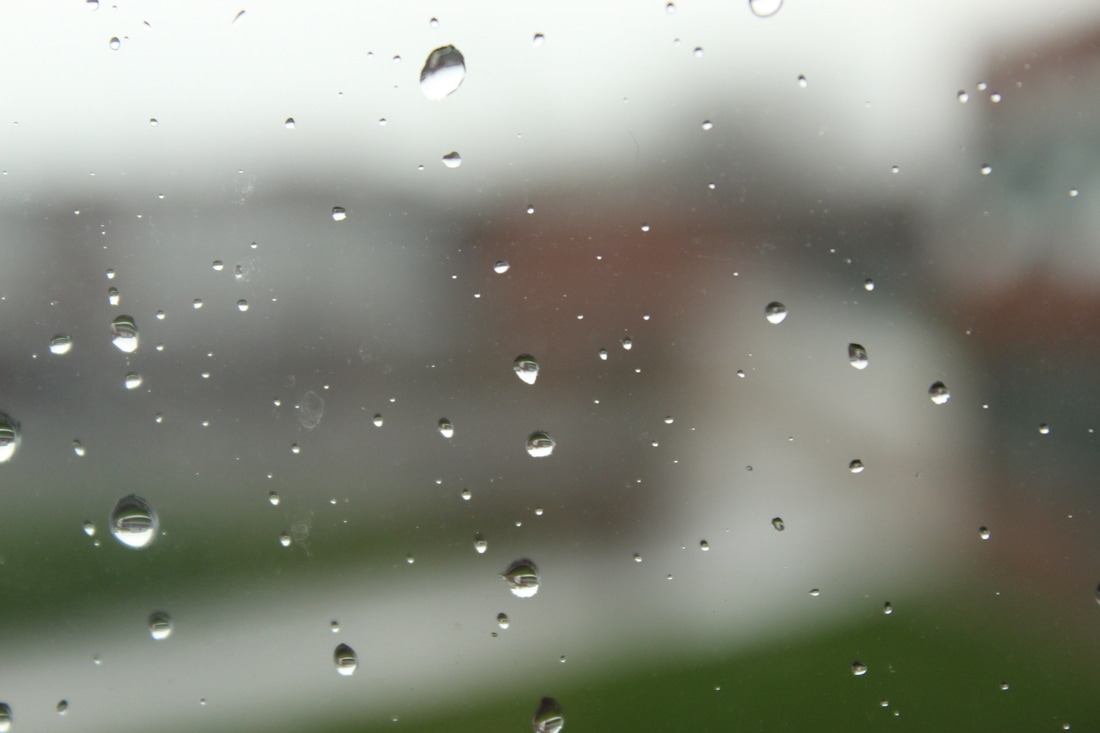
Worst
I don't like this photo because out of all the photos I've seen this one has the worst quality which doesn't show the raindrops clearly.

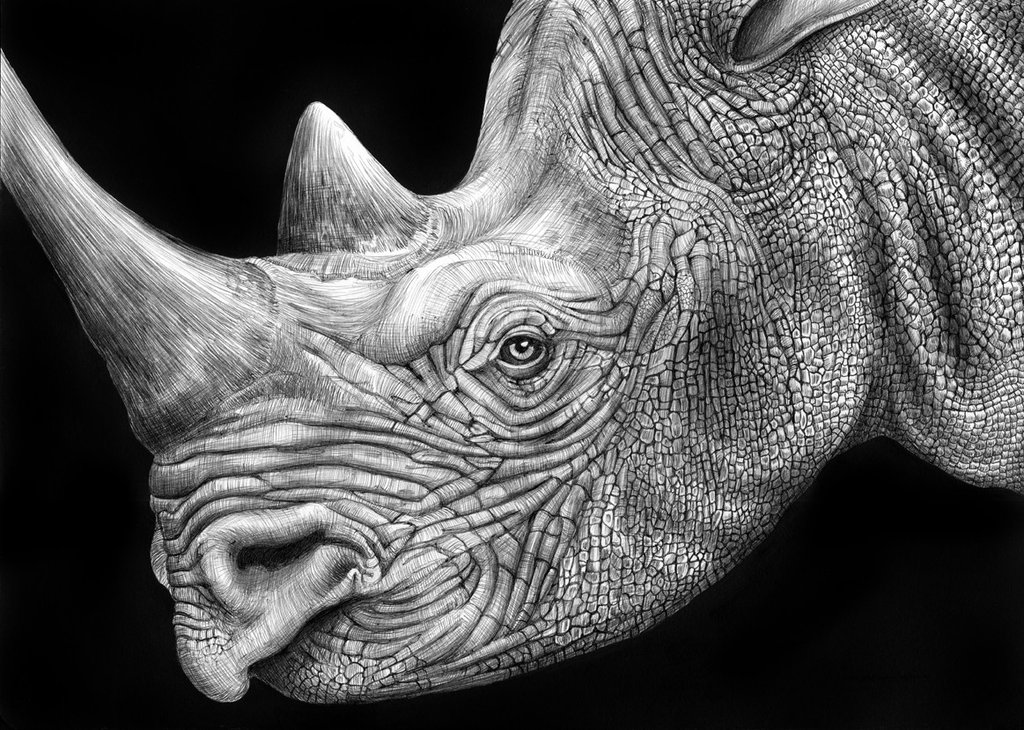
Best
In the photo the photographer John Shaw has shown detail on the bird and its feathers by blurring out the background to the photo which really captures the contrast between the colours green and brown. I like the different patterns on the bird and the texture as it makes the bird feel smooth and soft.

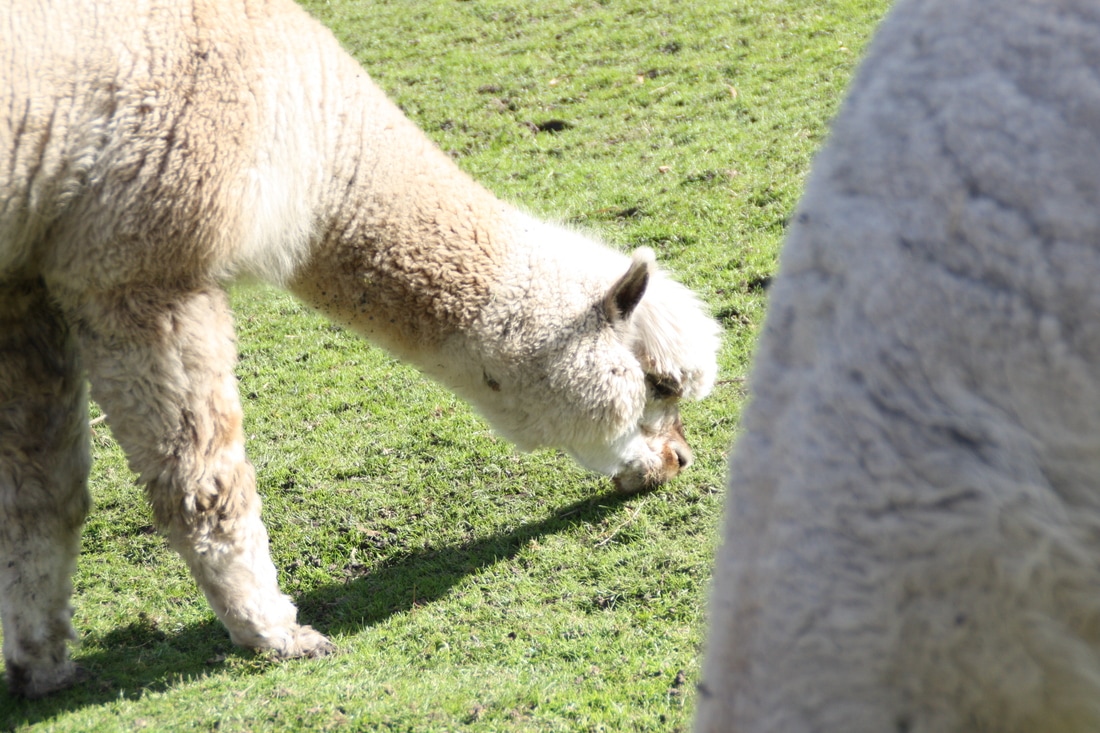
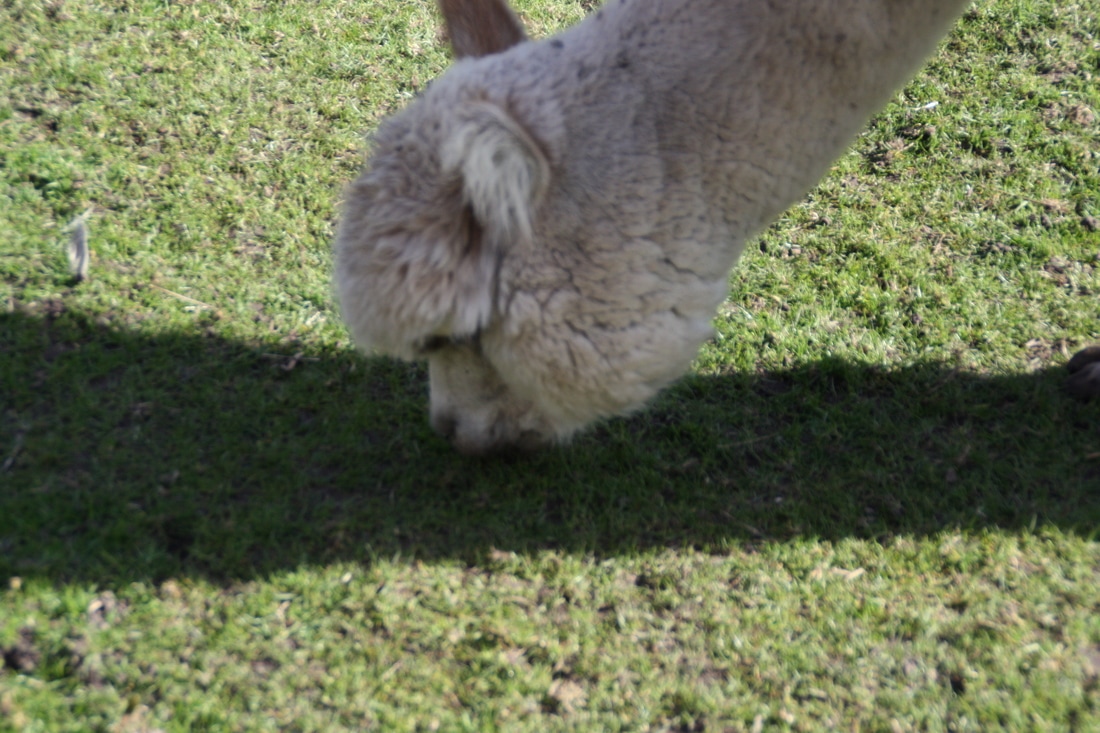
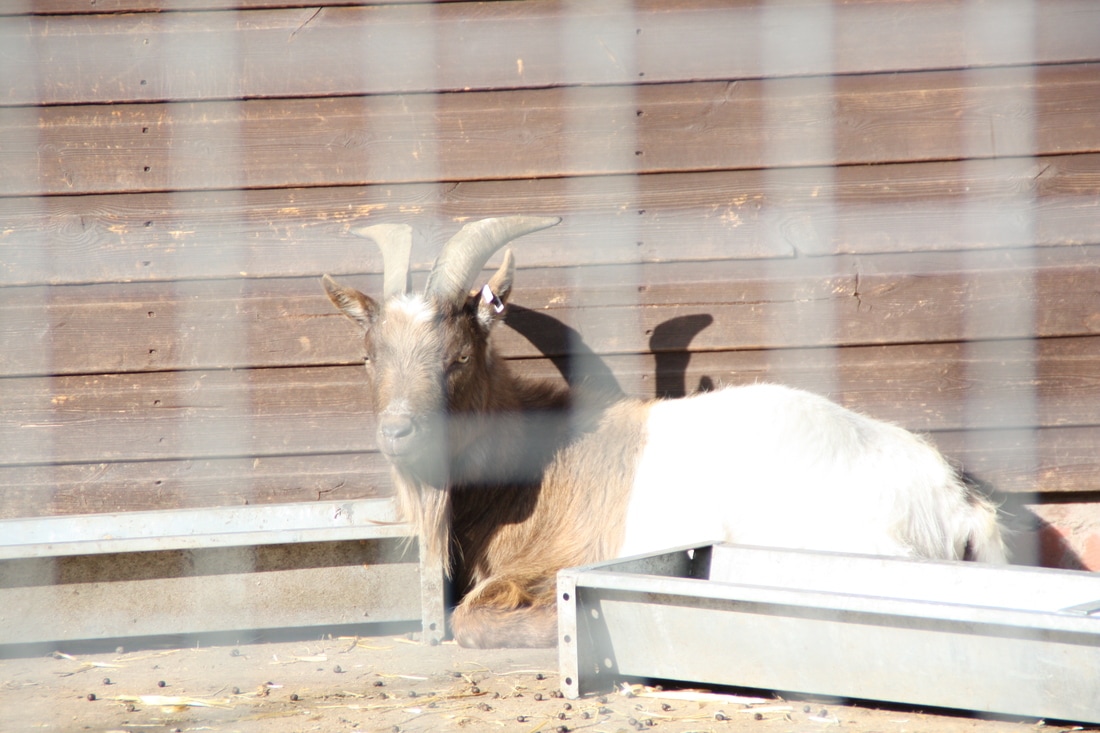
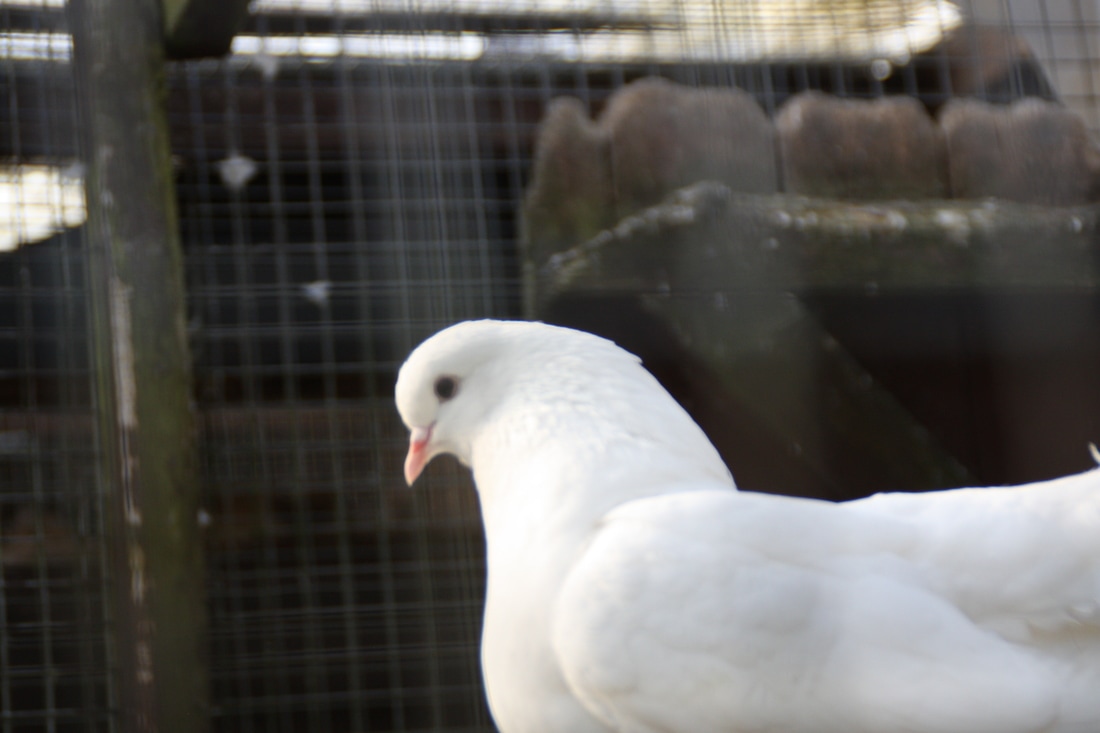
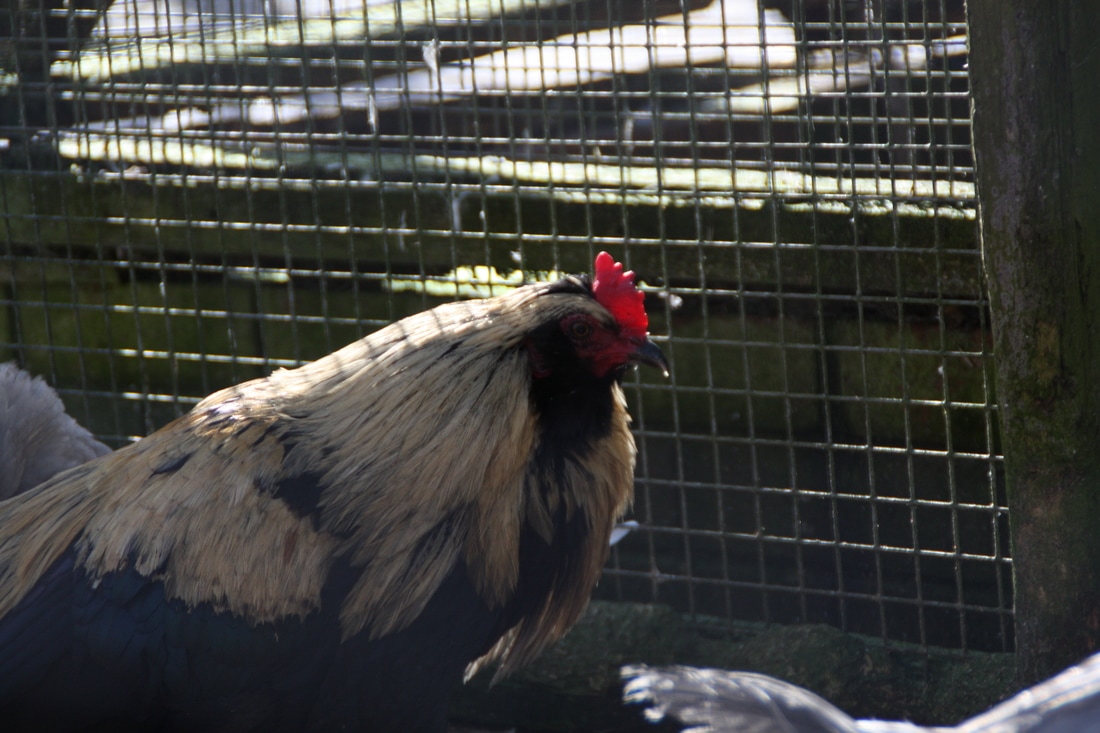
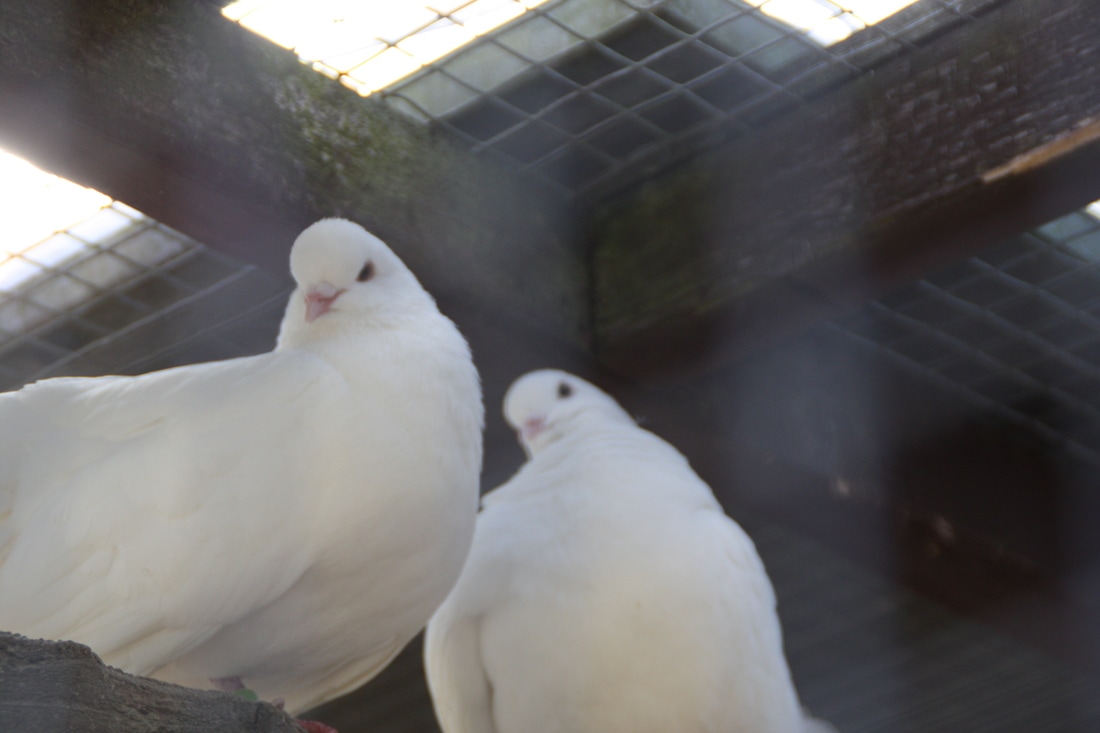
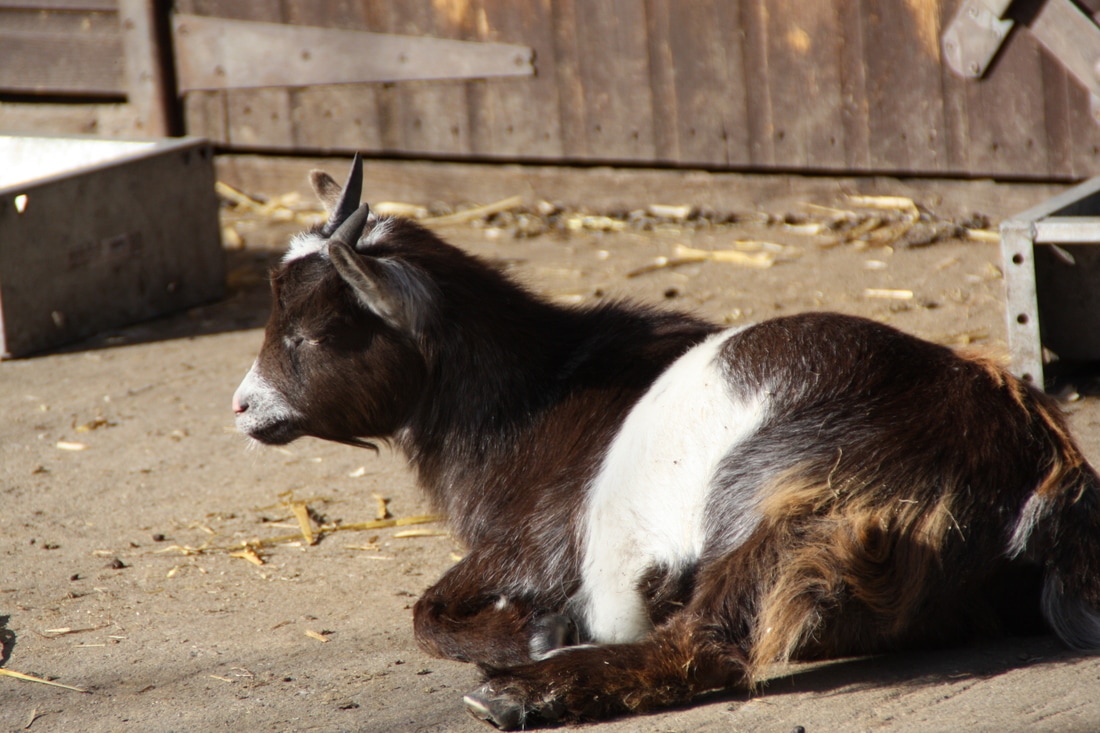
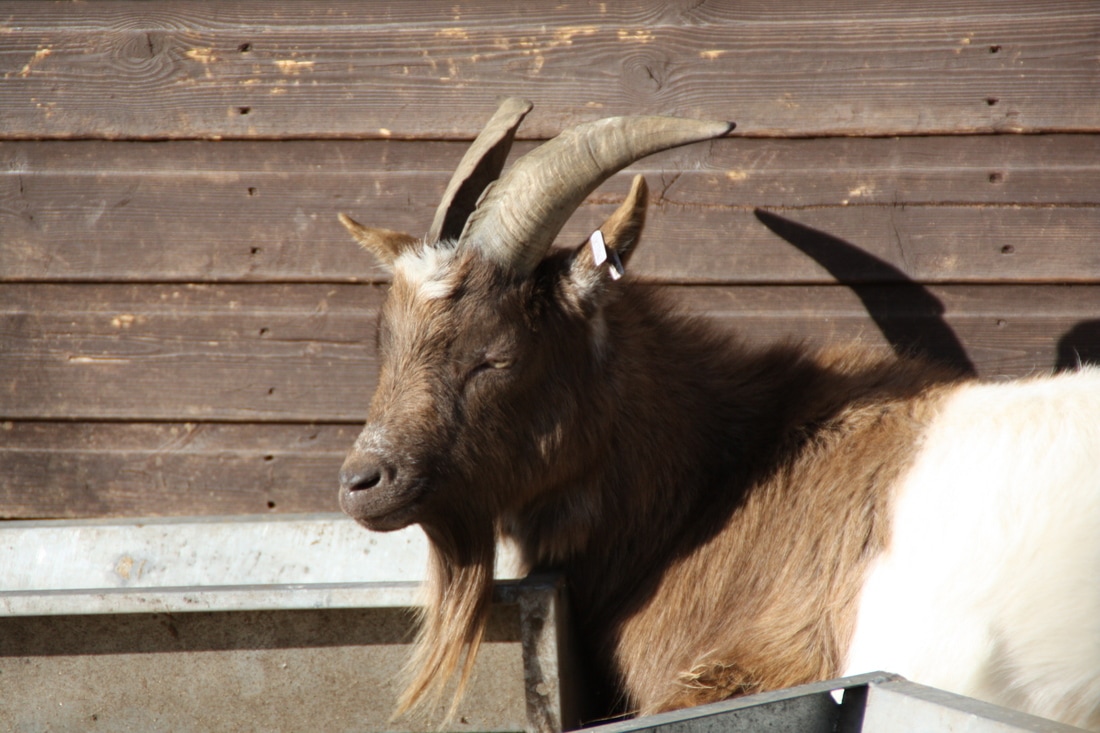
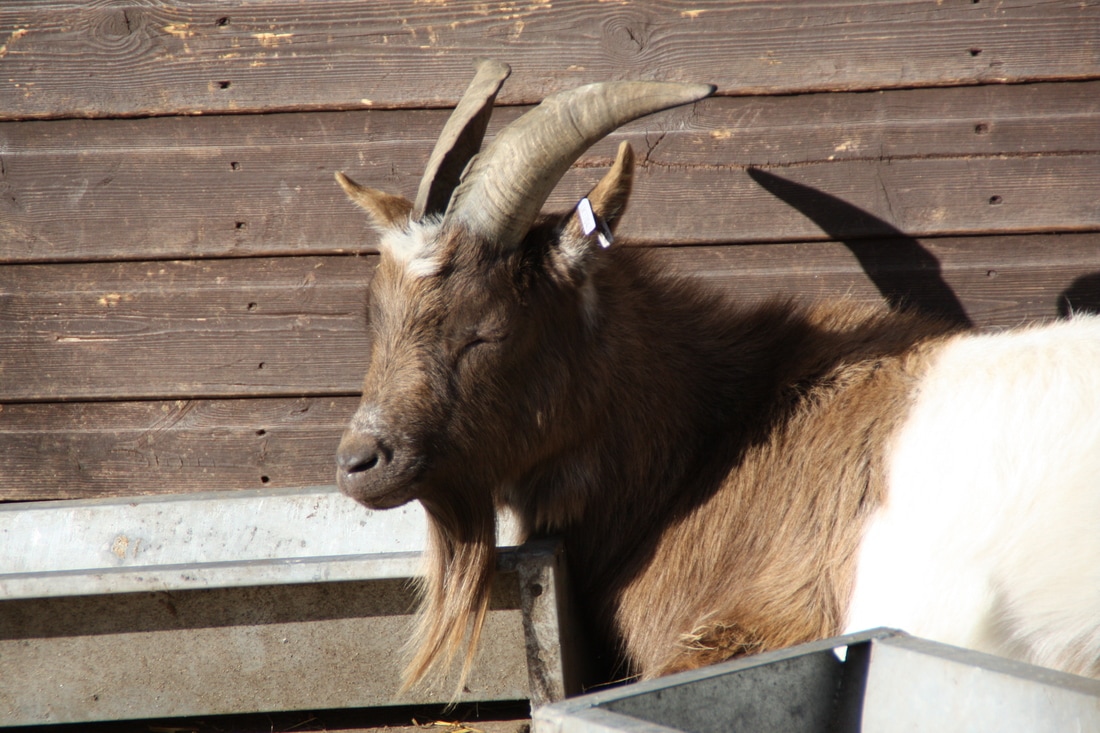
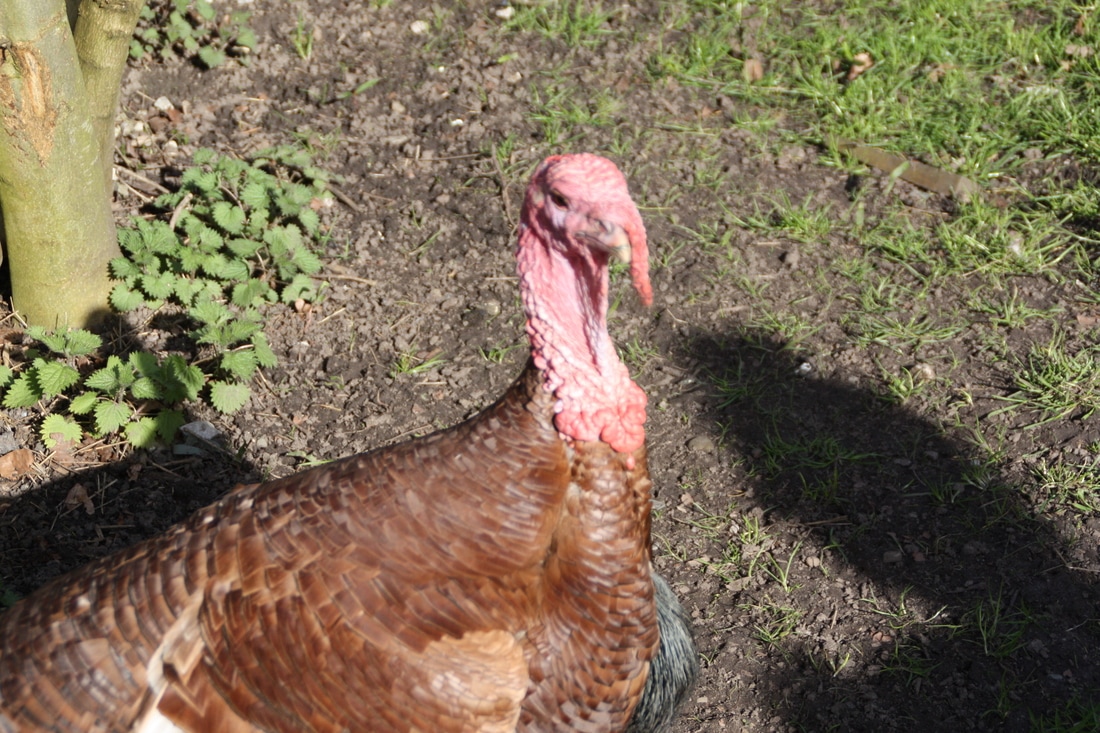
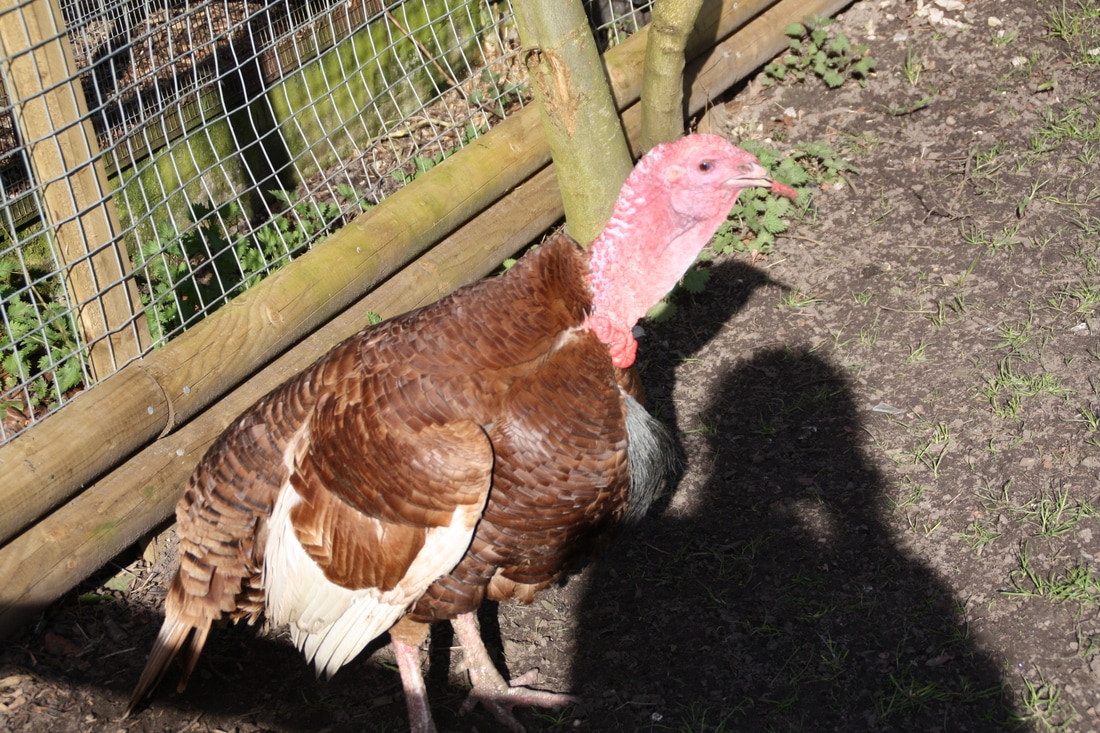
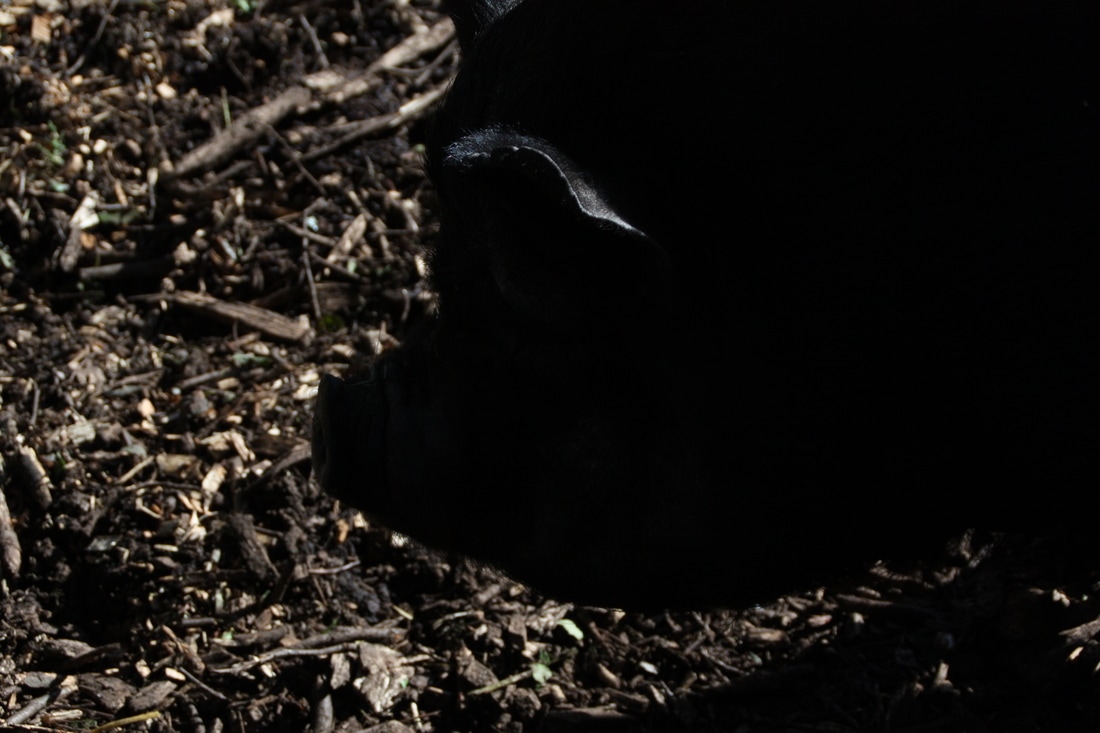
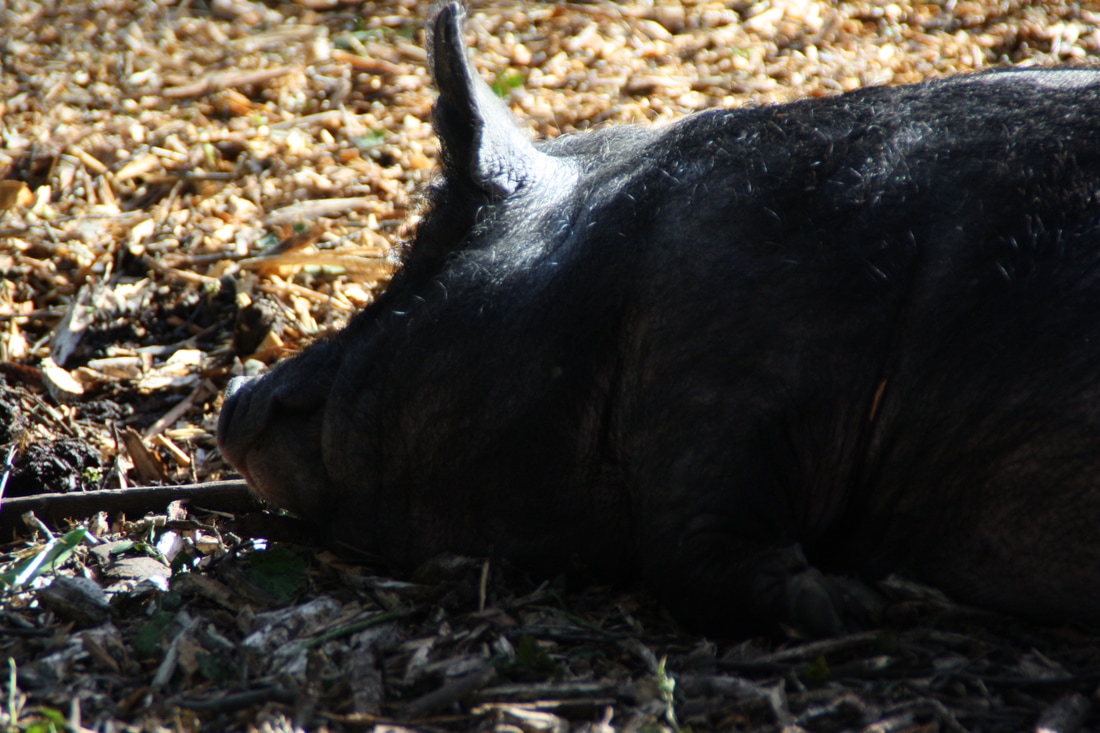
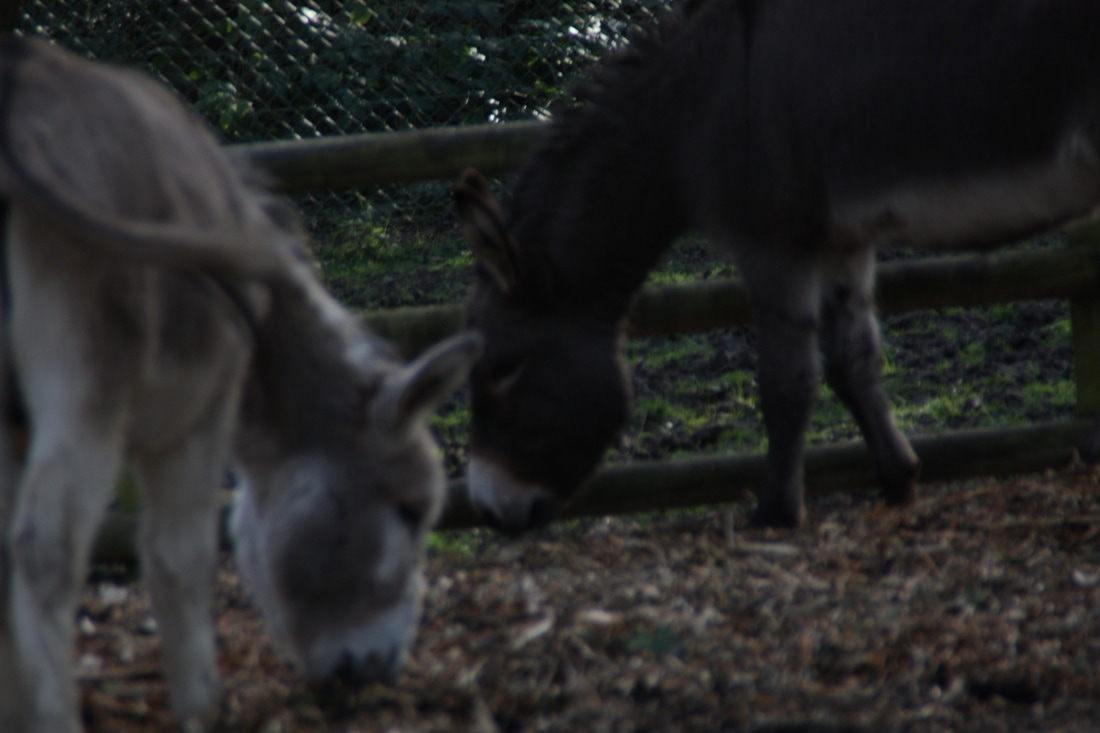
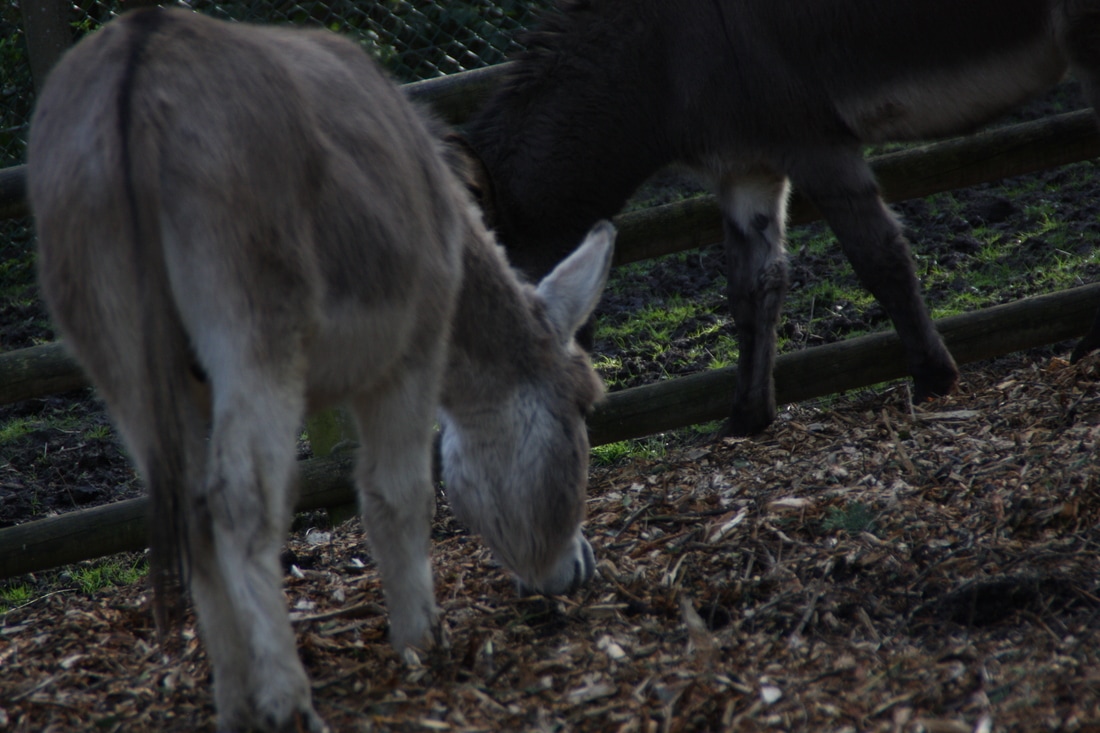
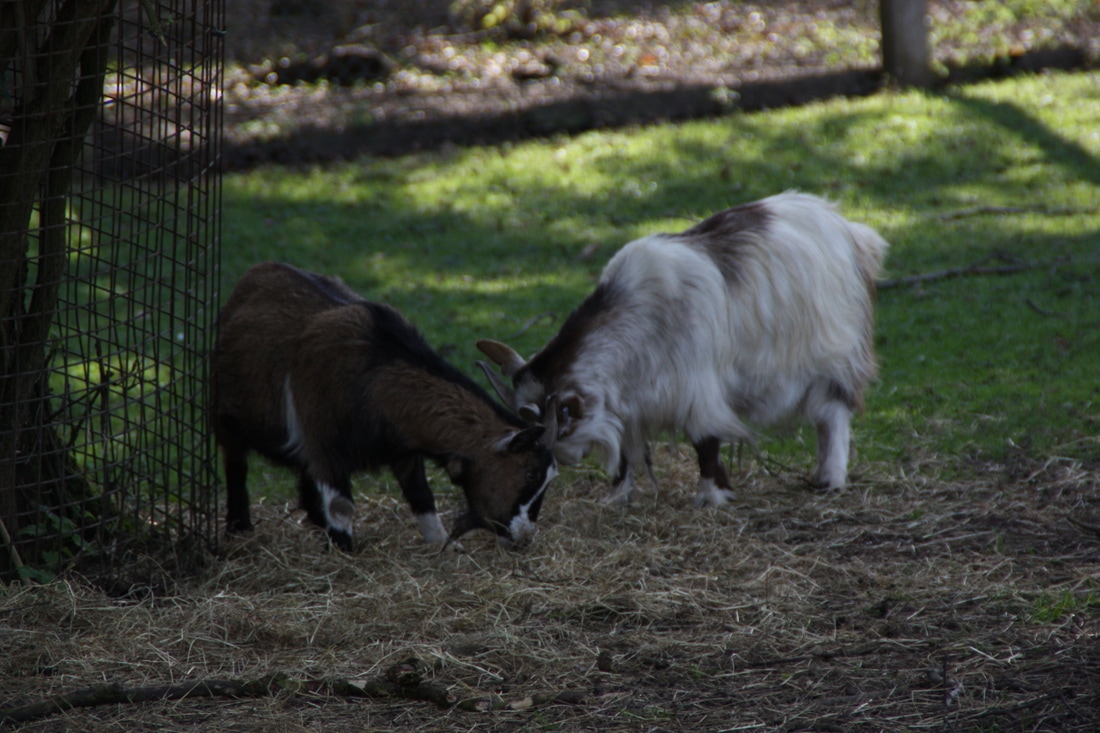
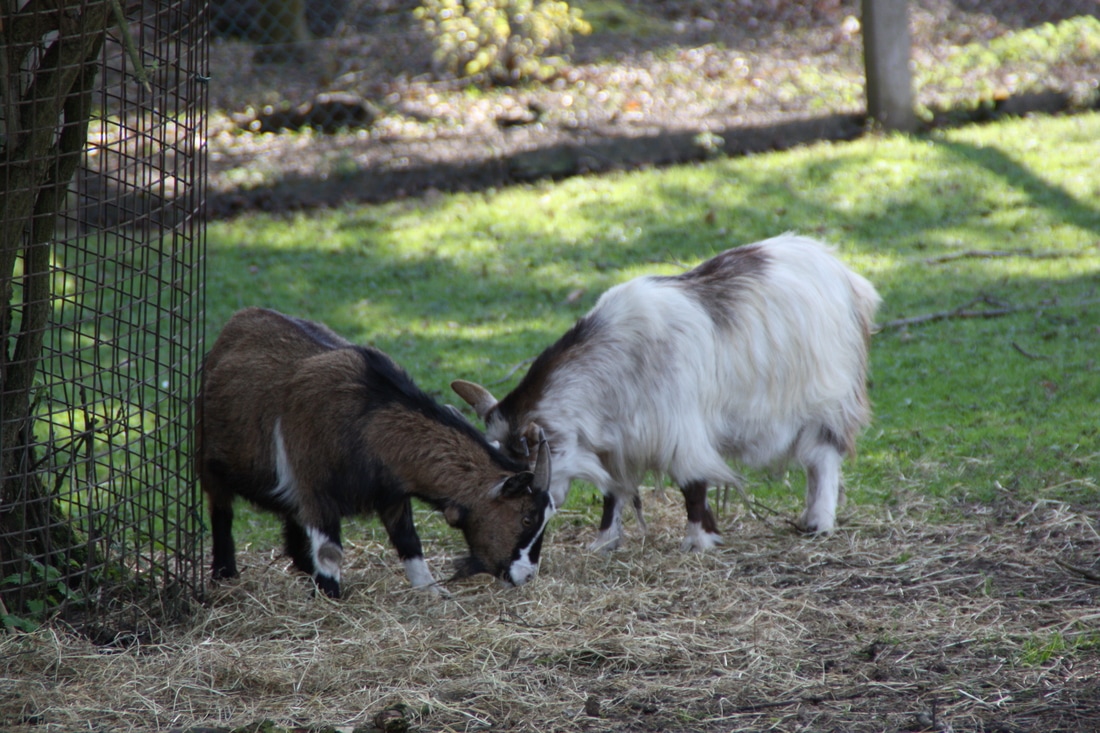
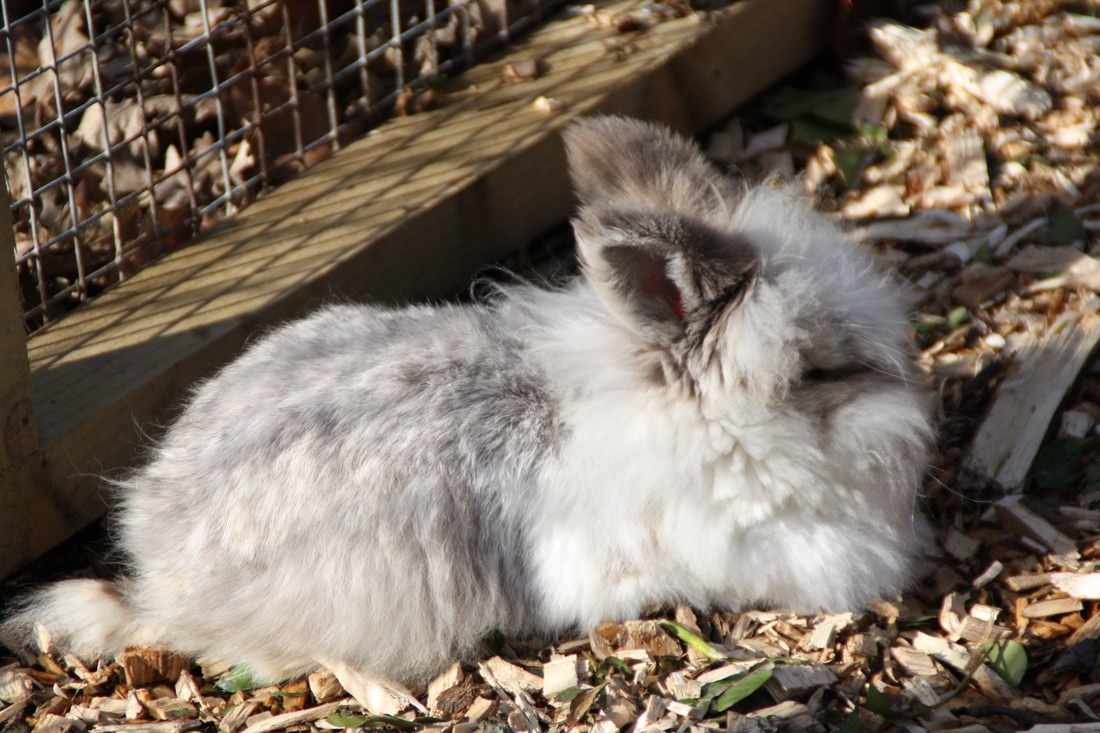
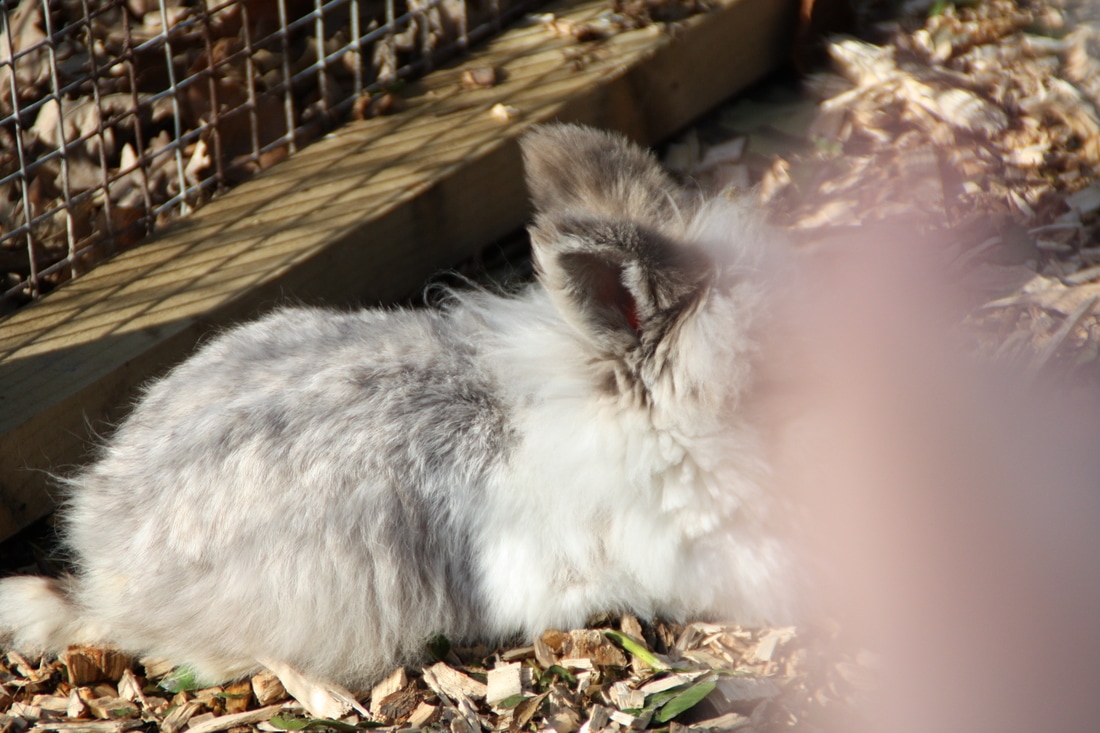
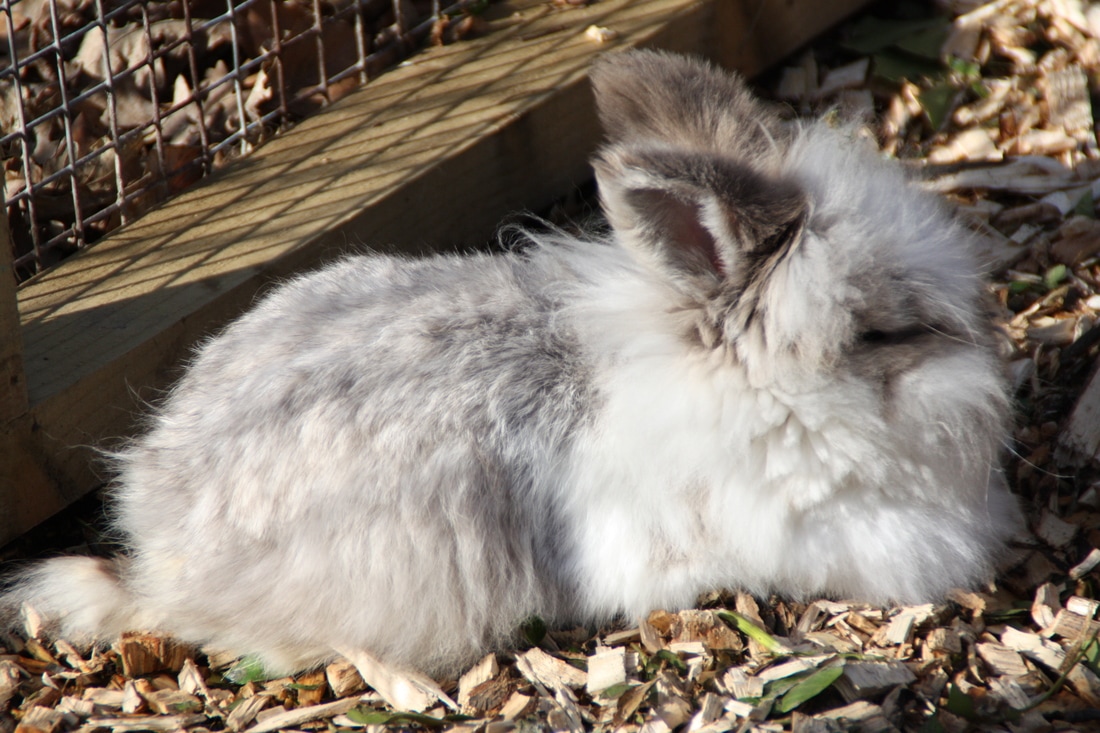
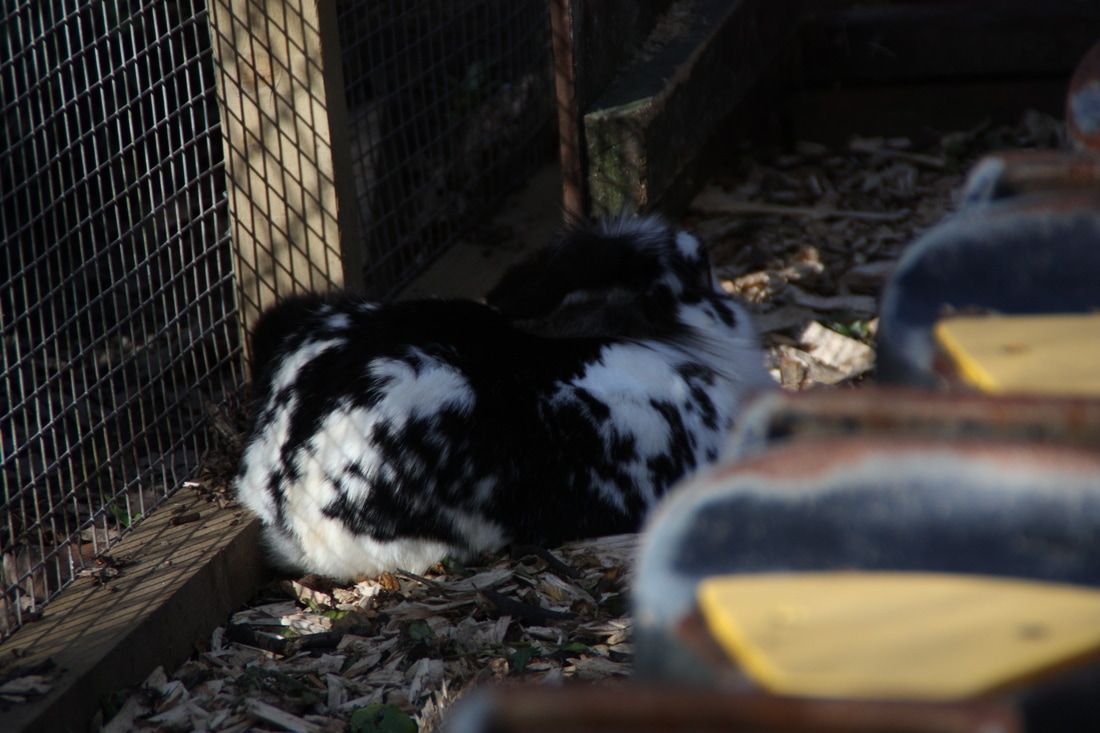
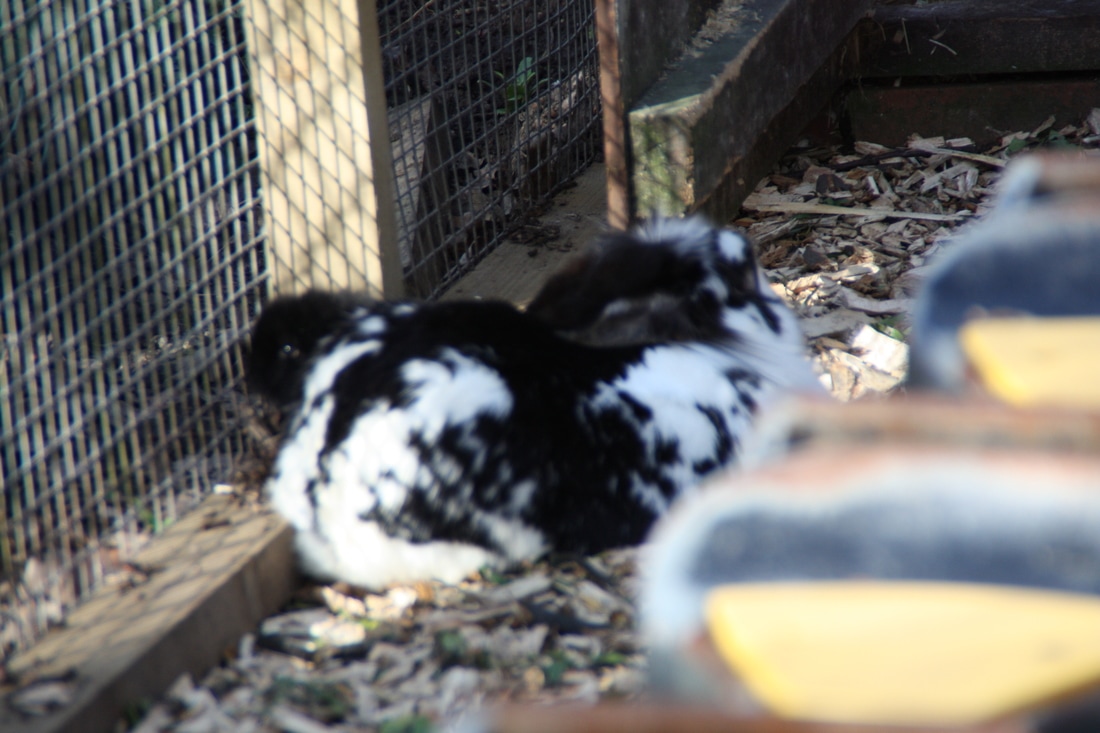
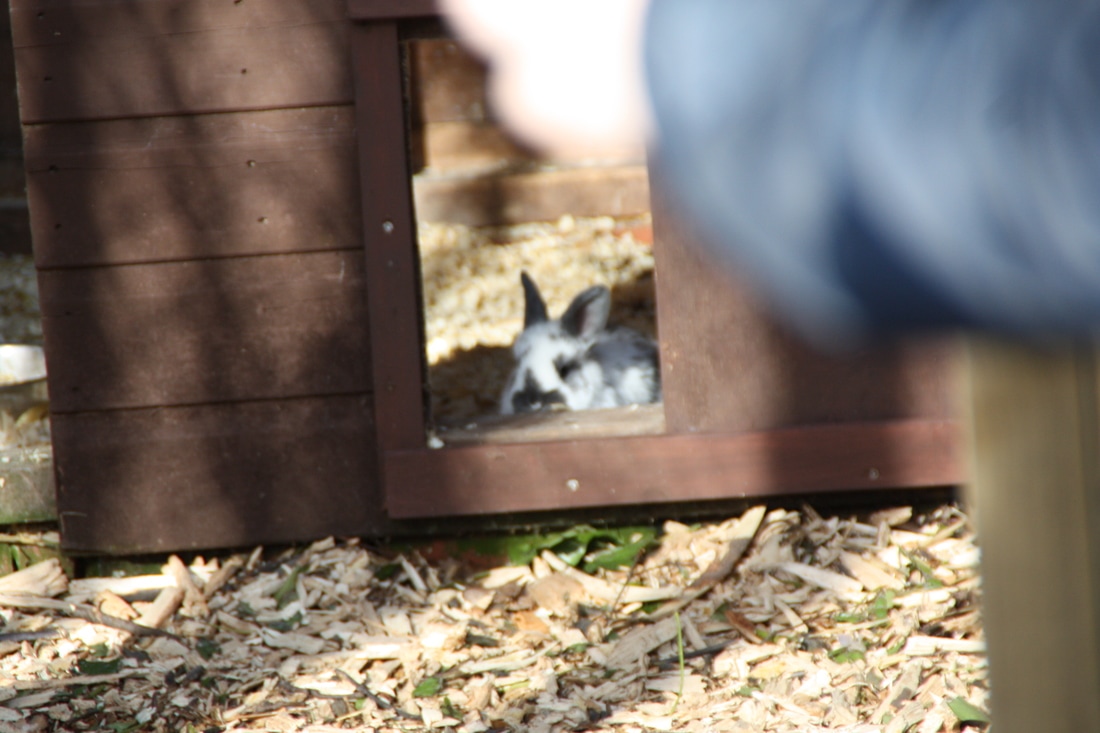
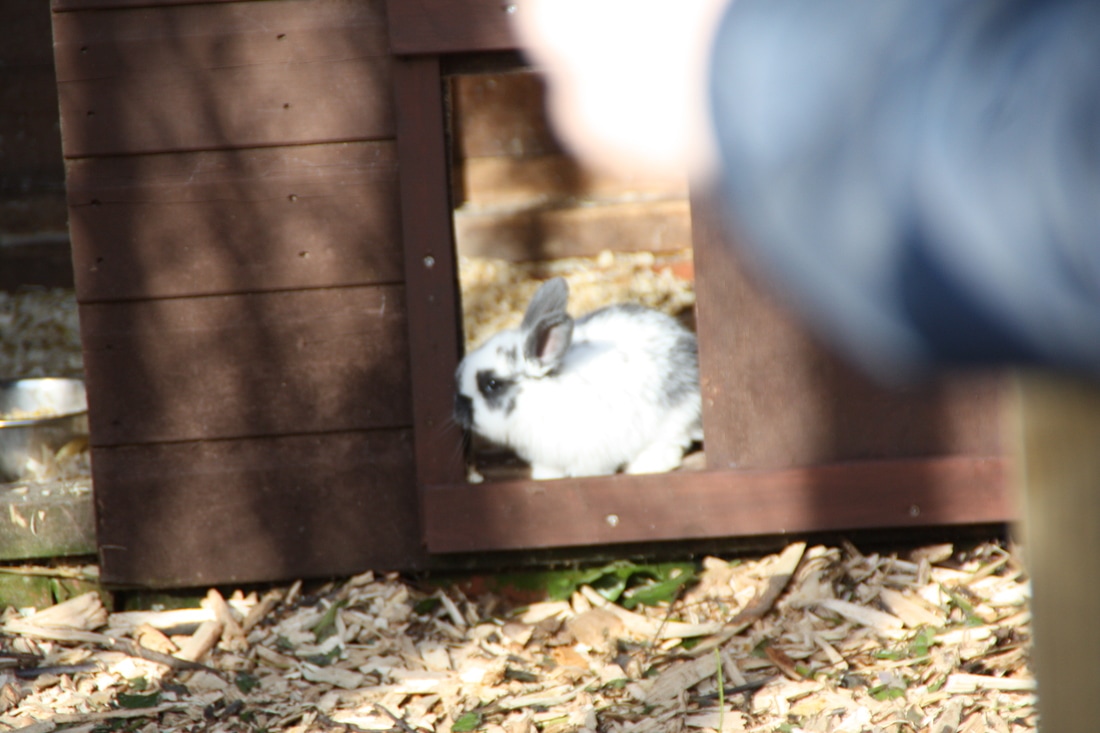
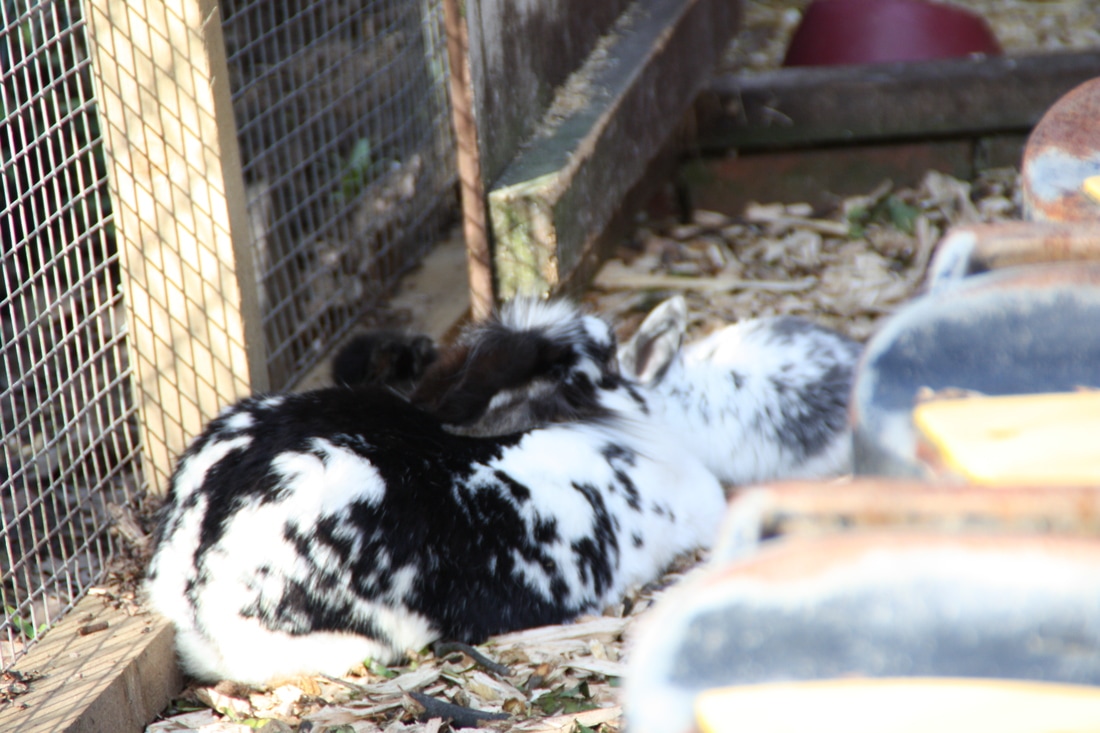
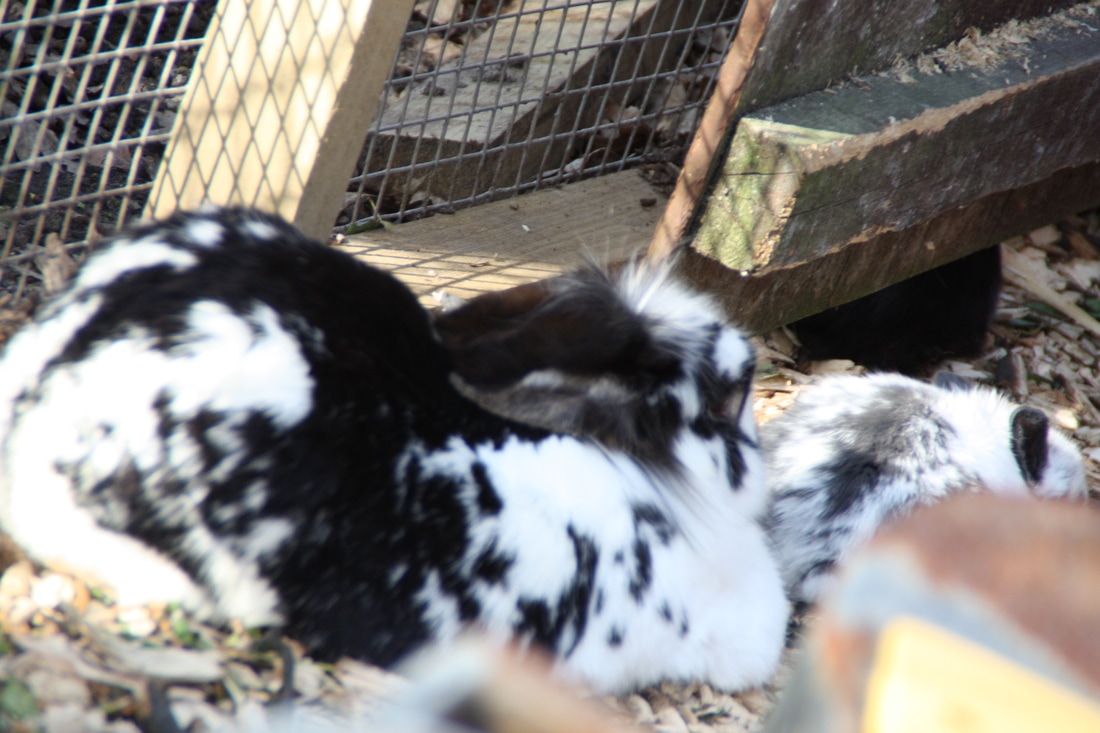
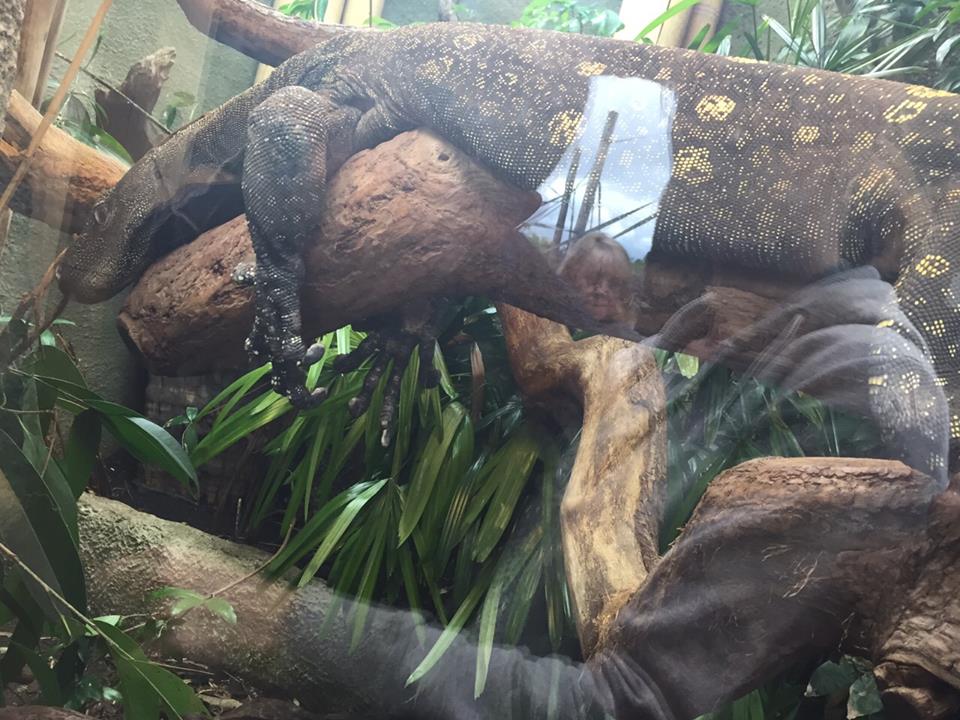
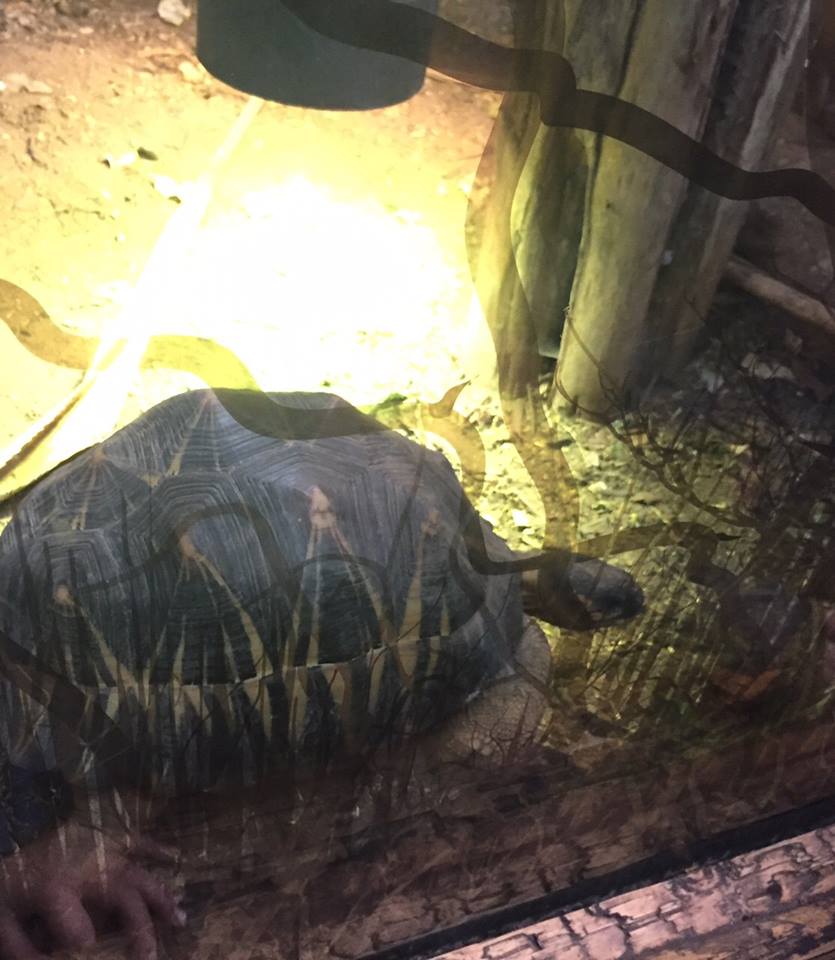
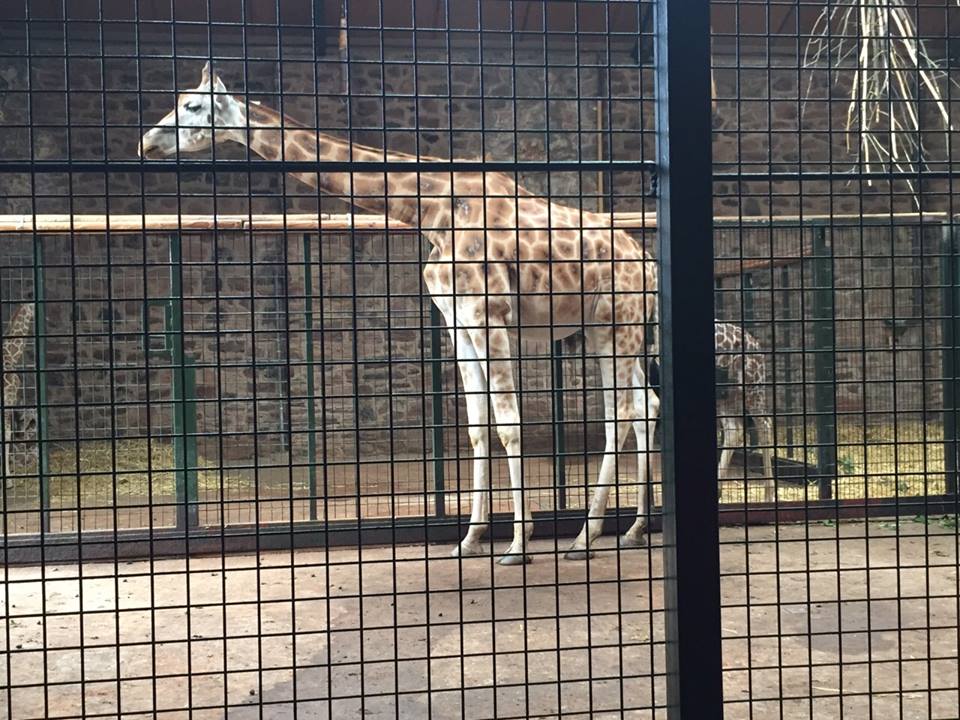
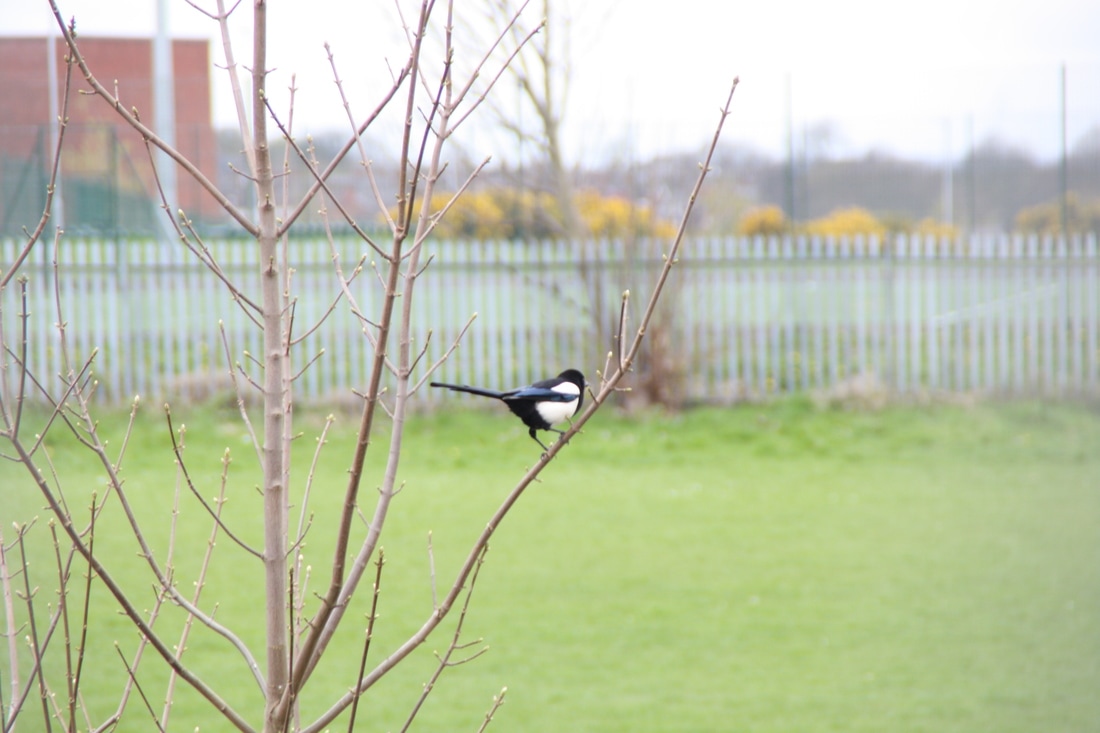
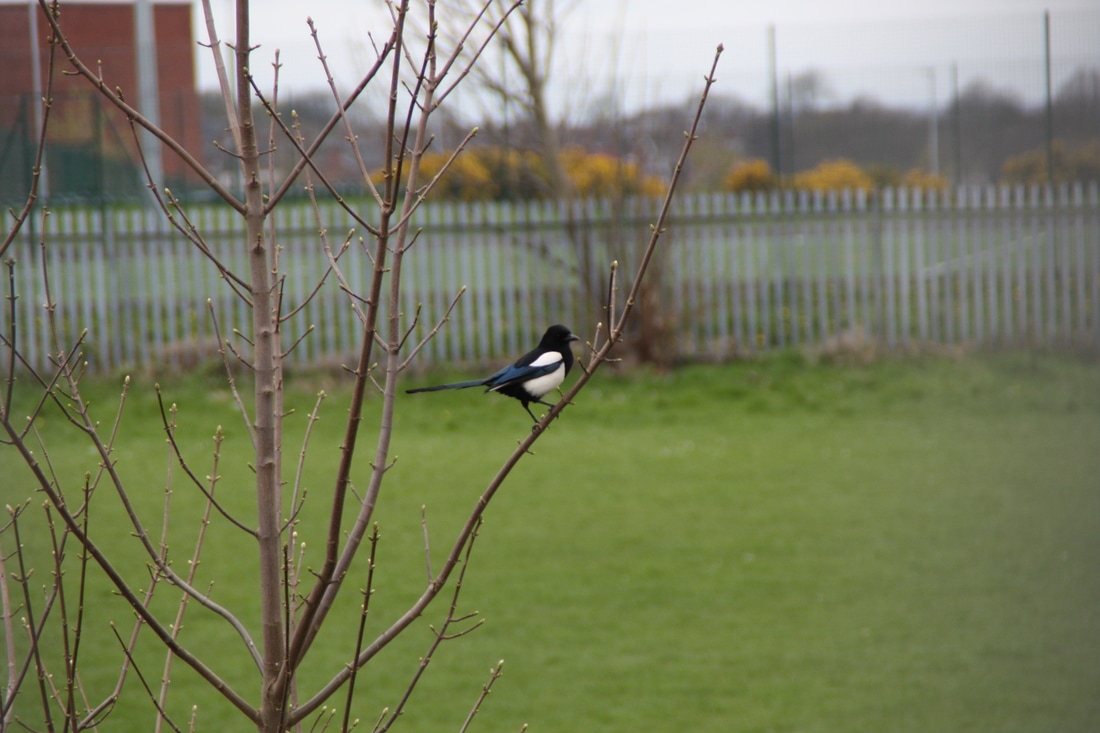
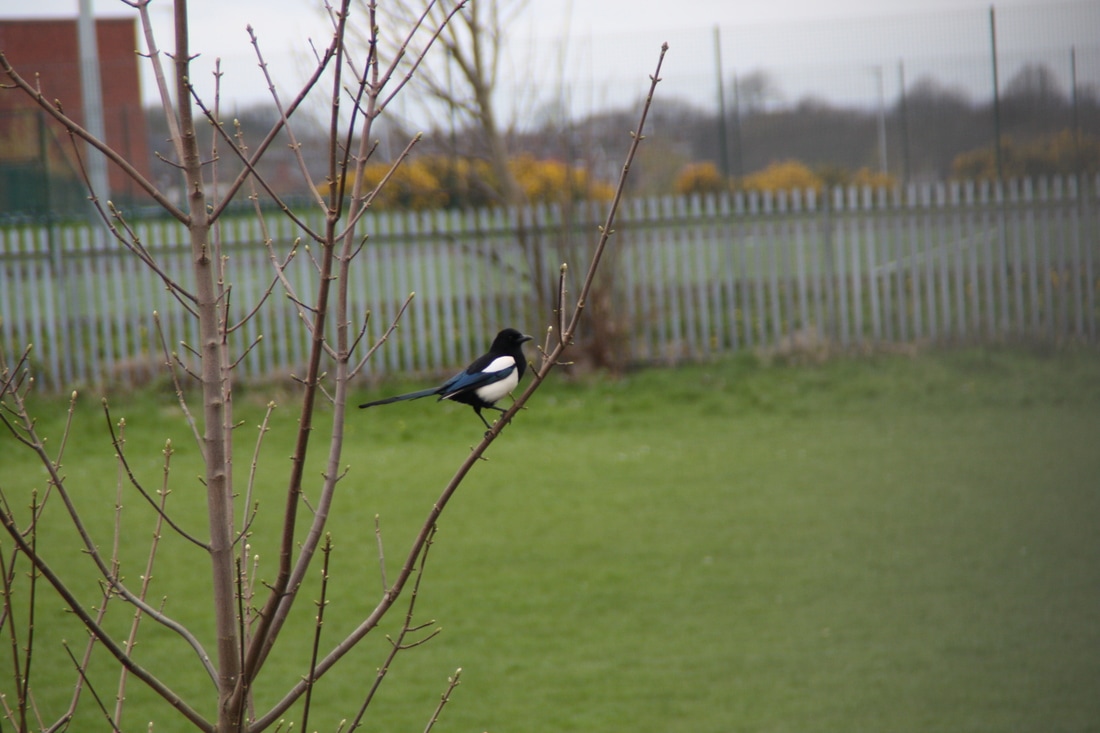
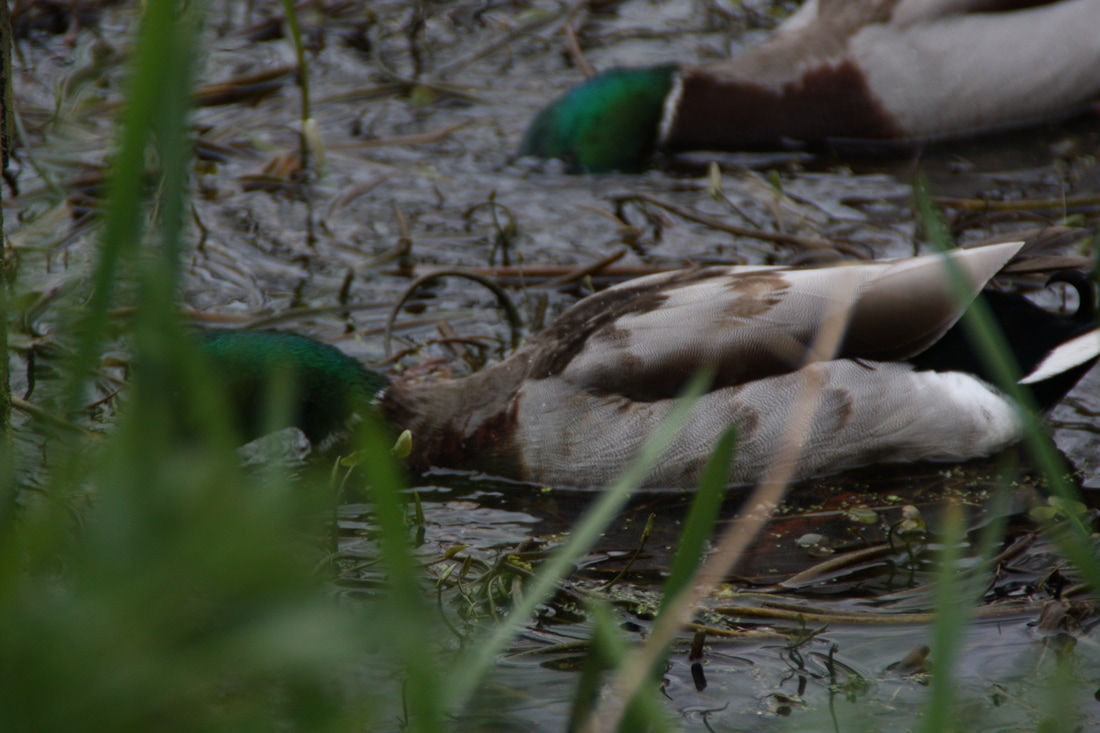
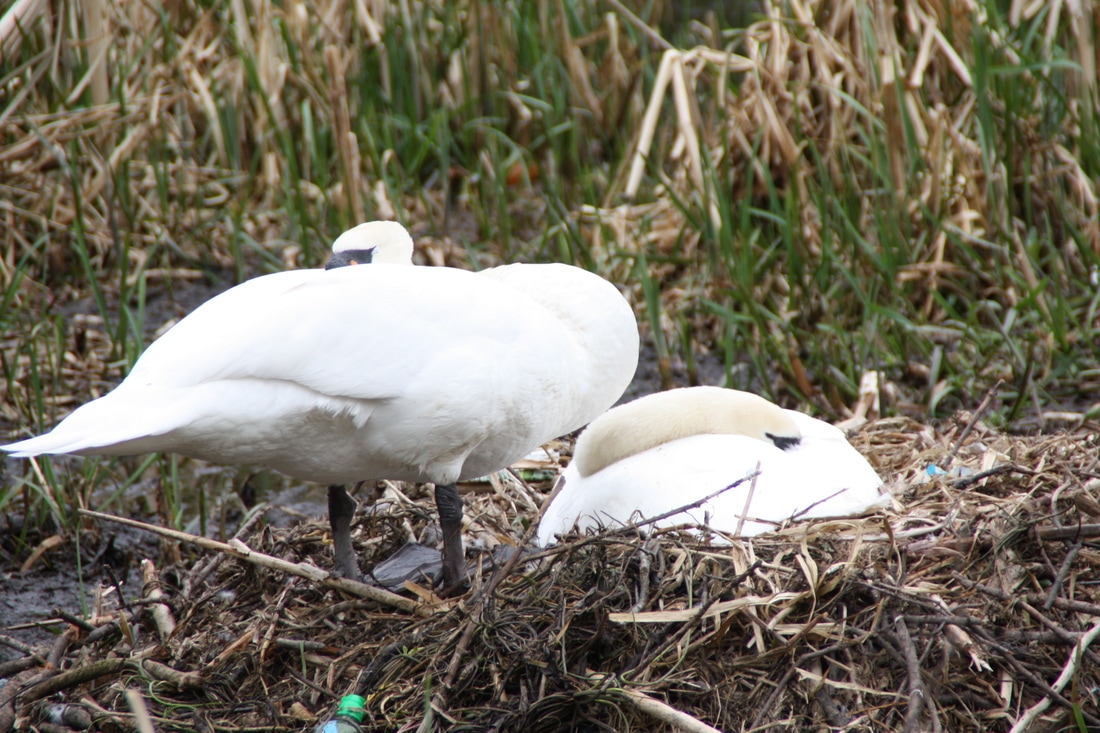
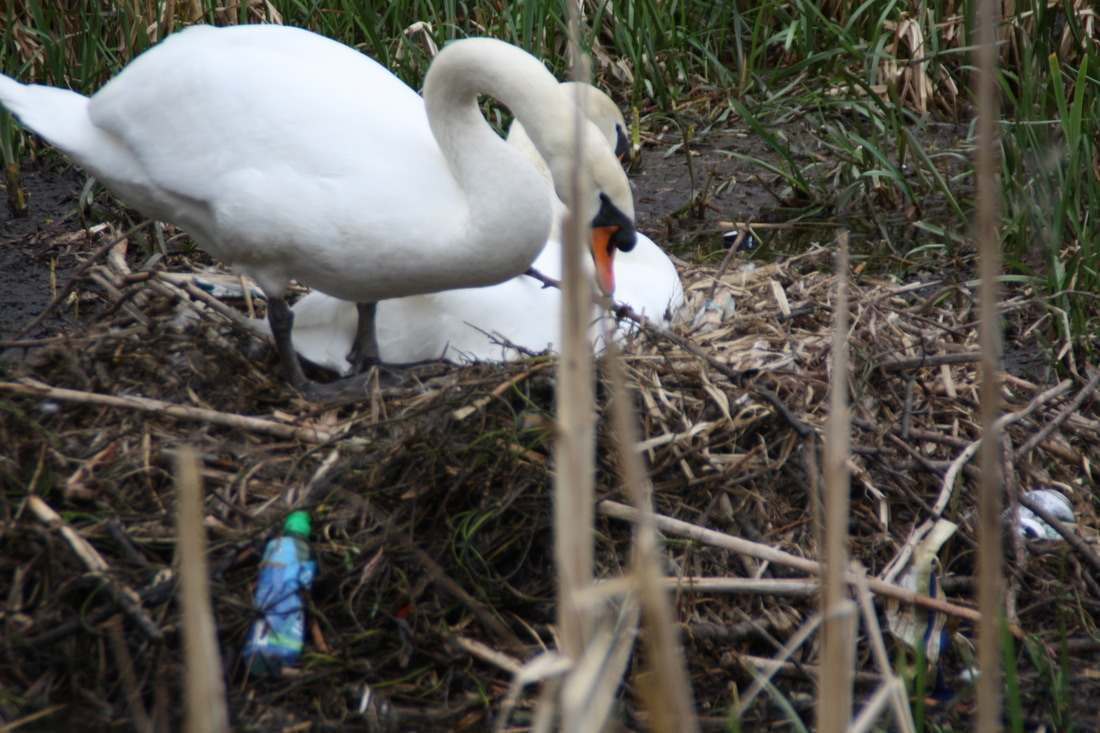
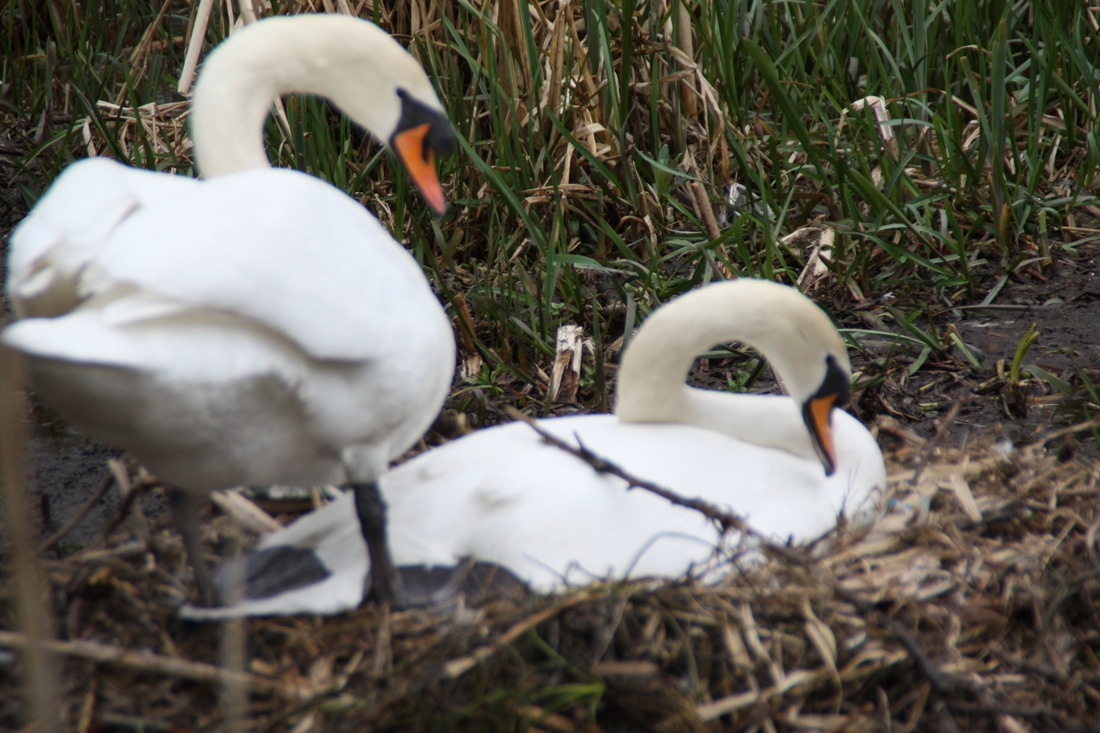
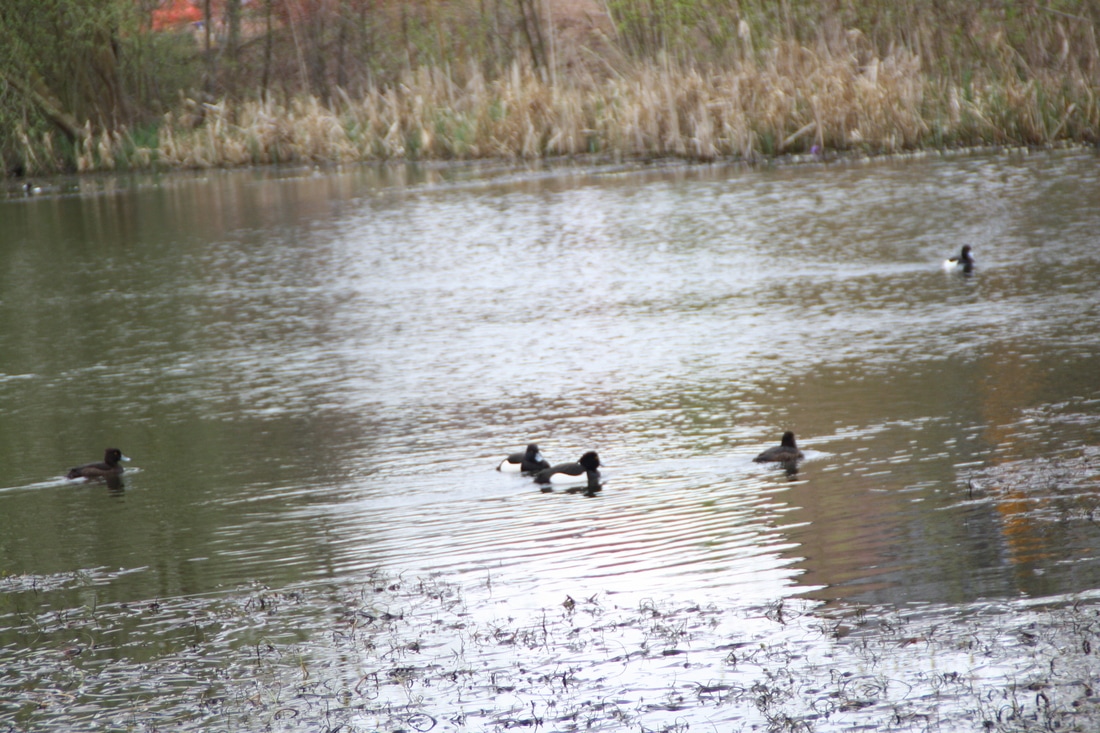
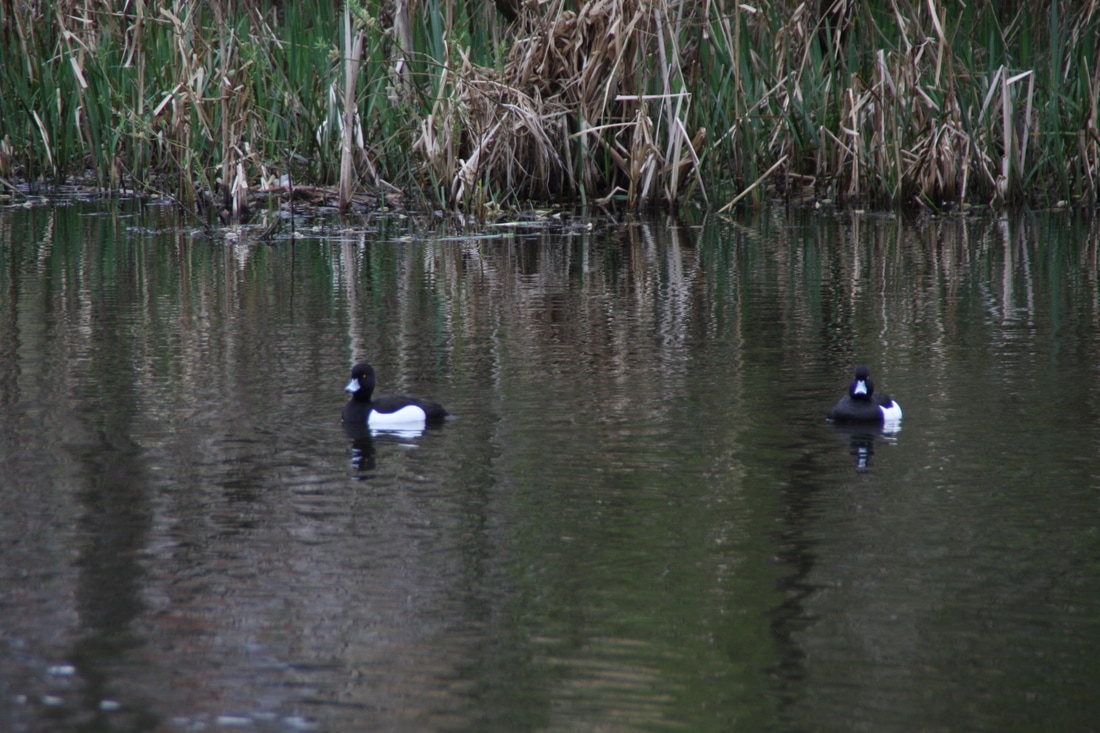
Shoot 5
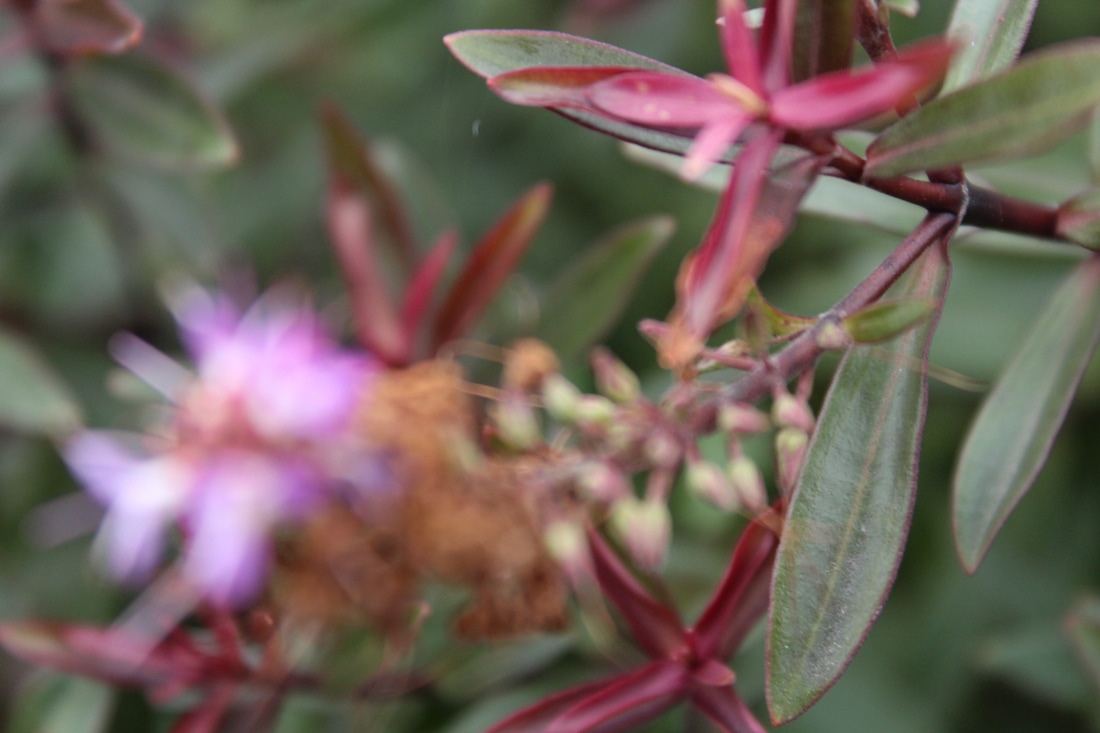
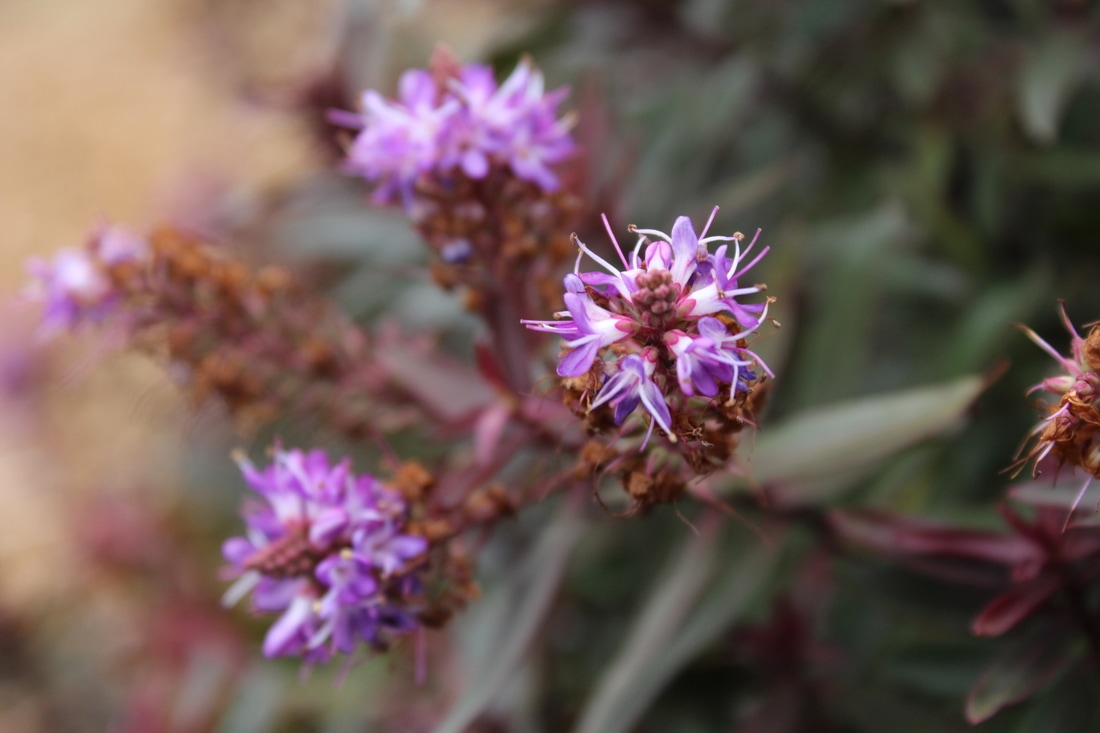
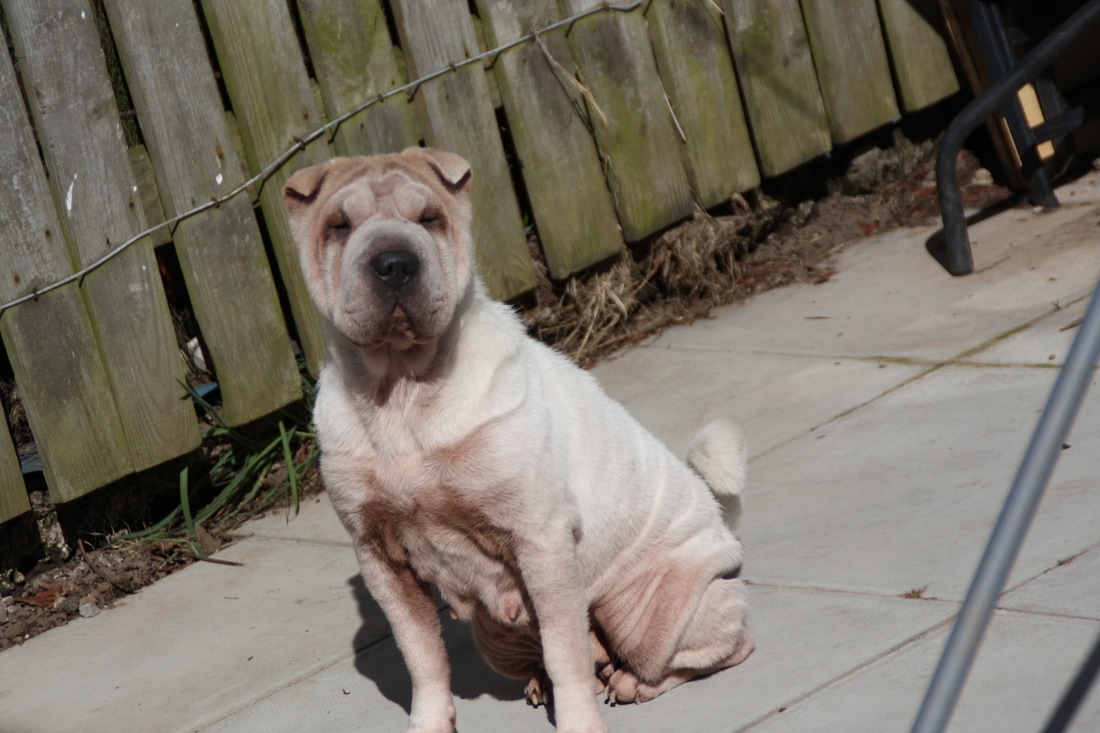
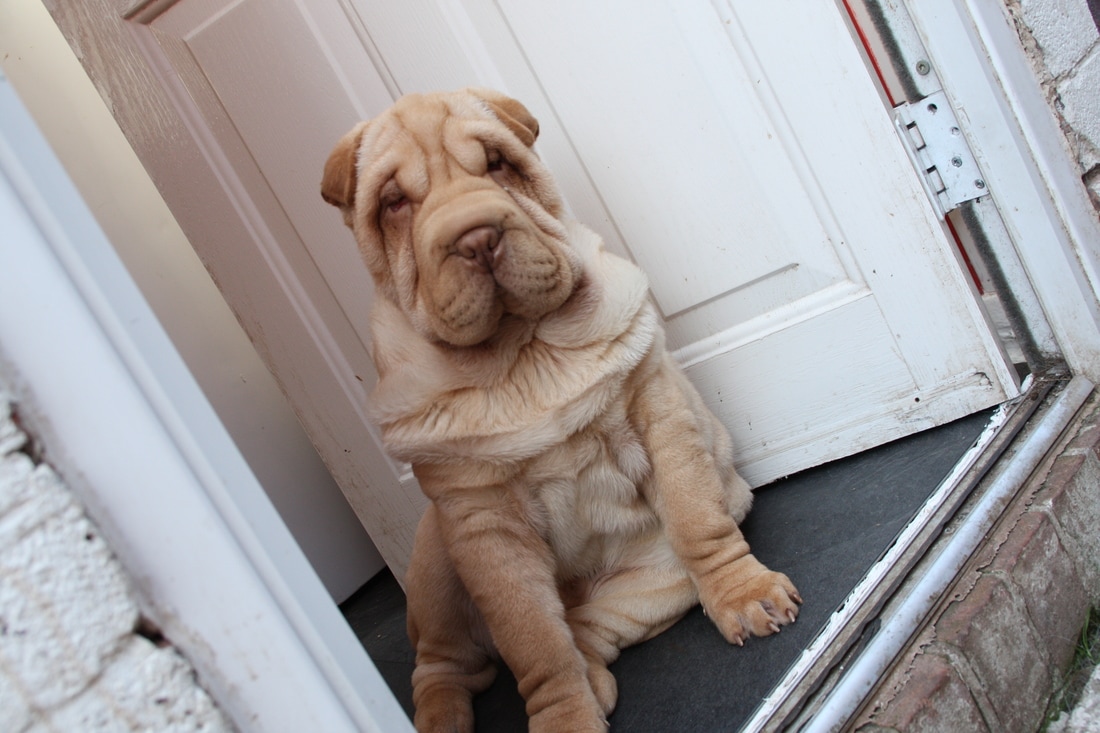
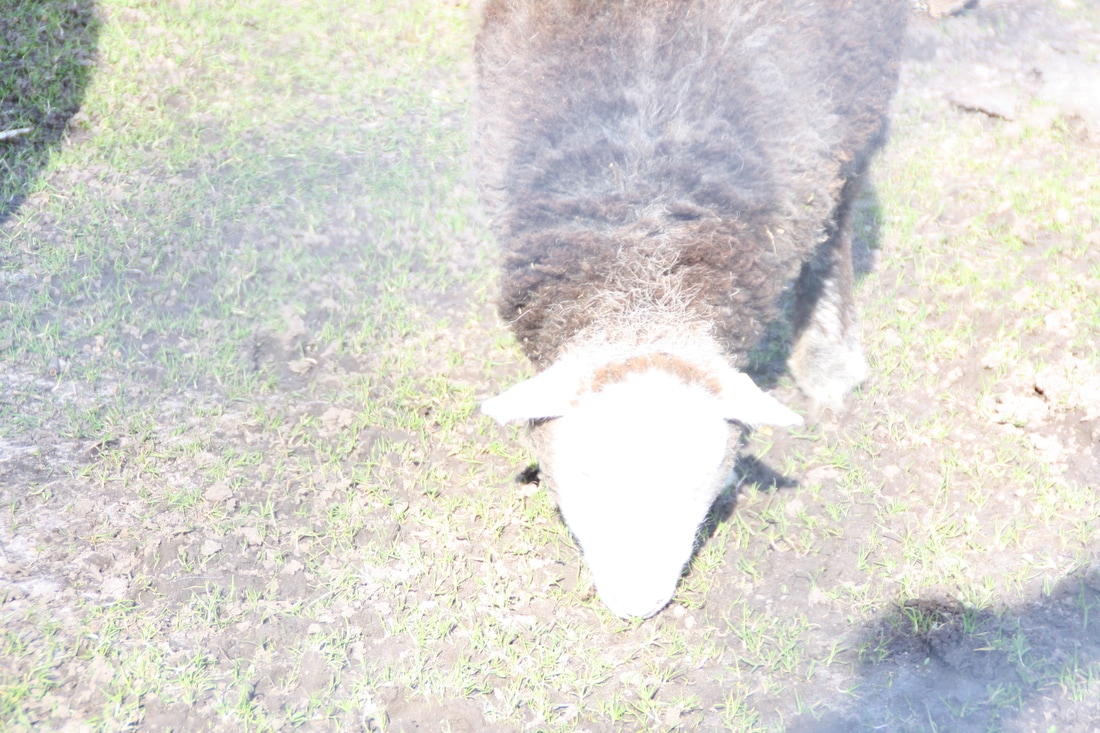
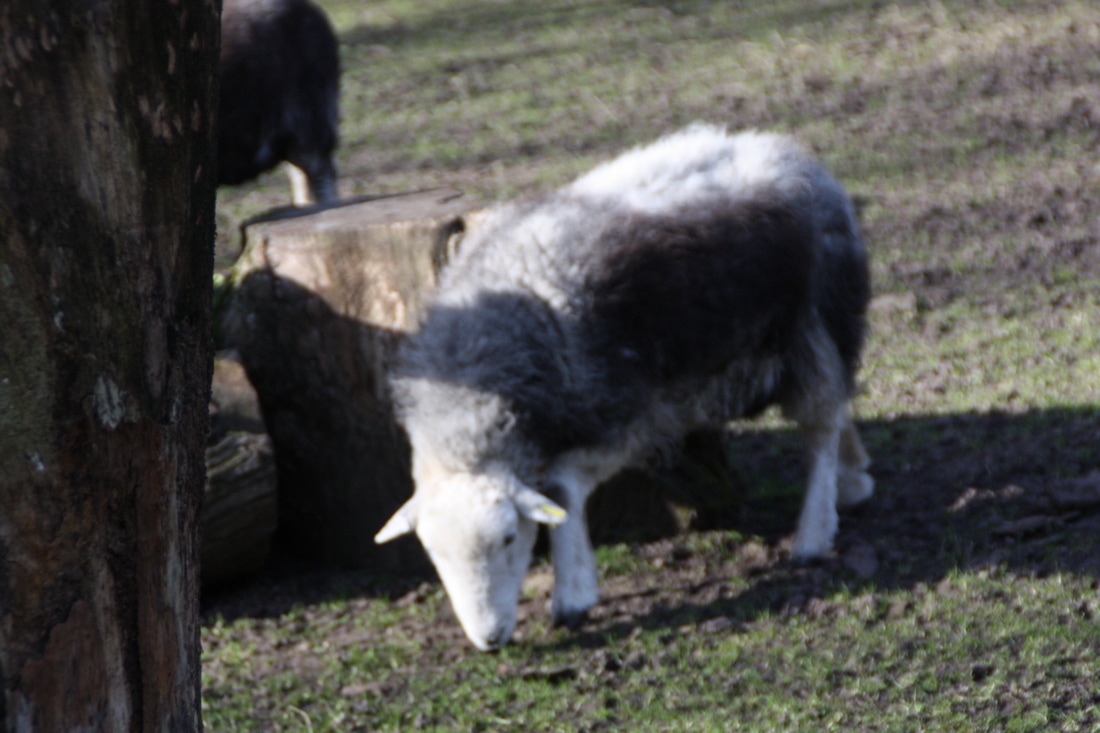
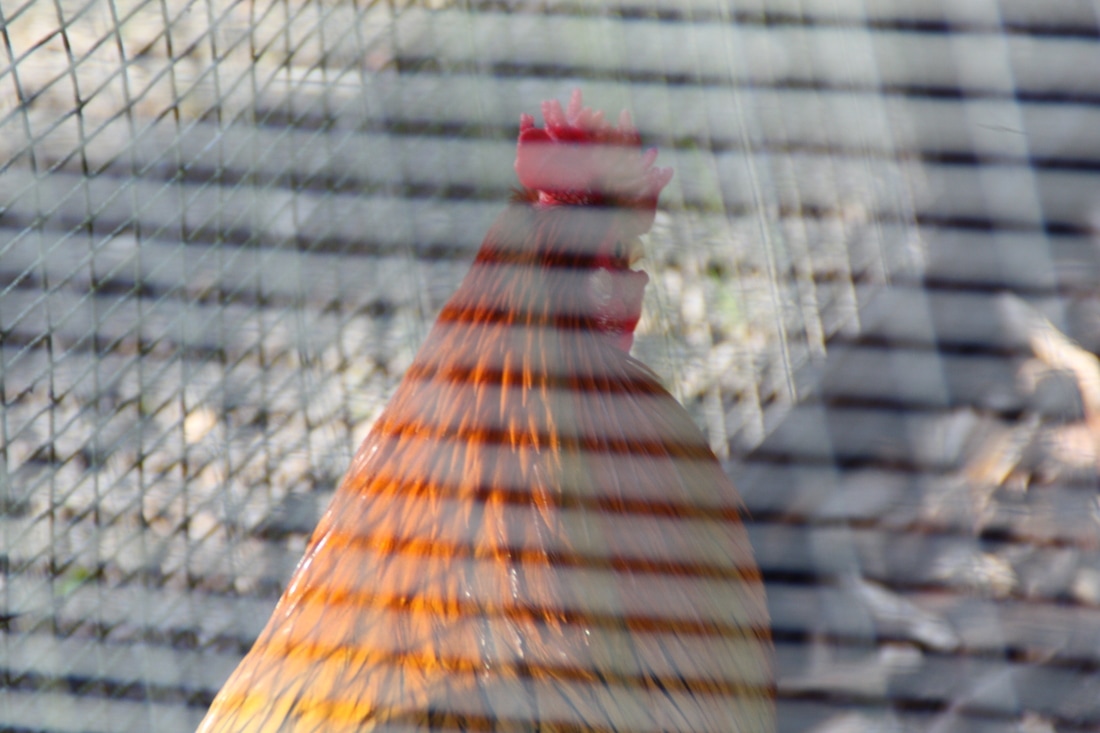
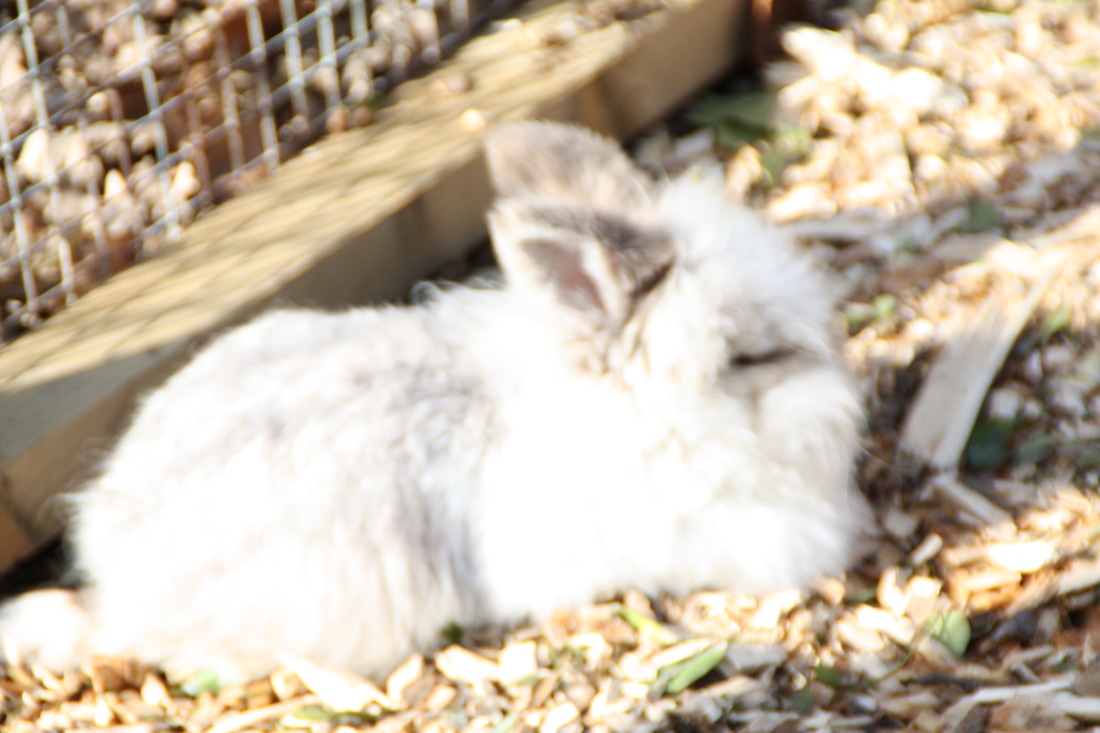
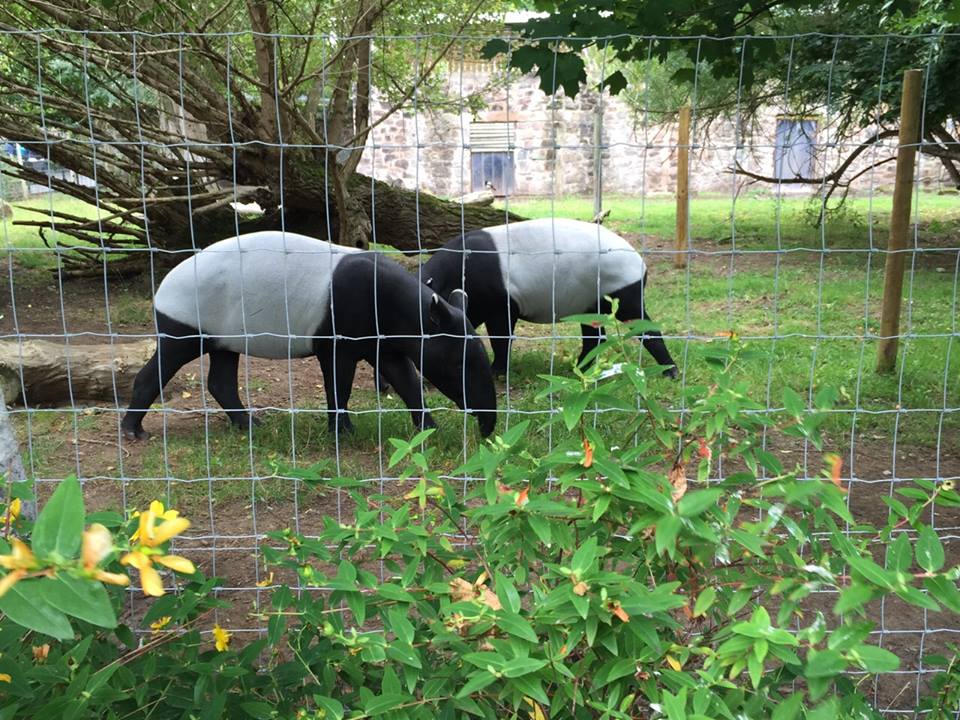
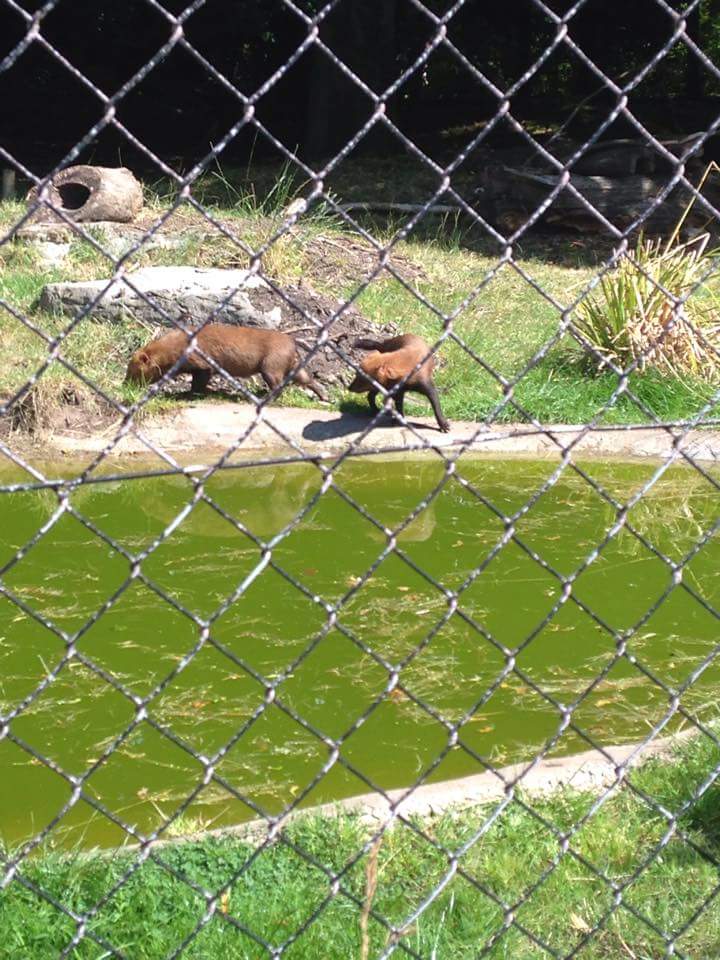
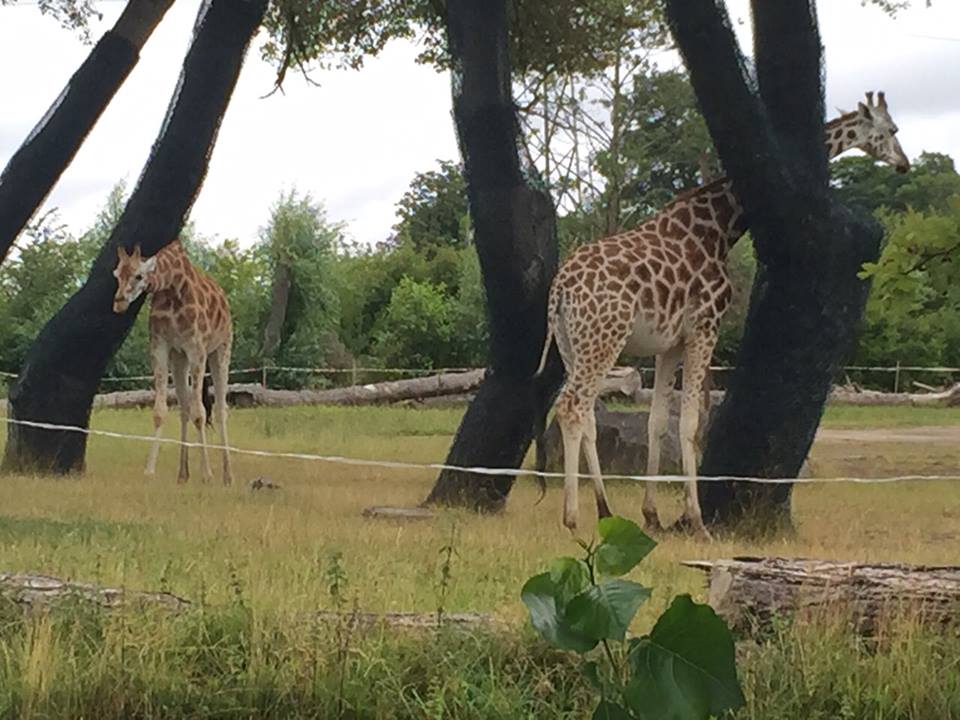
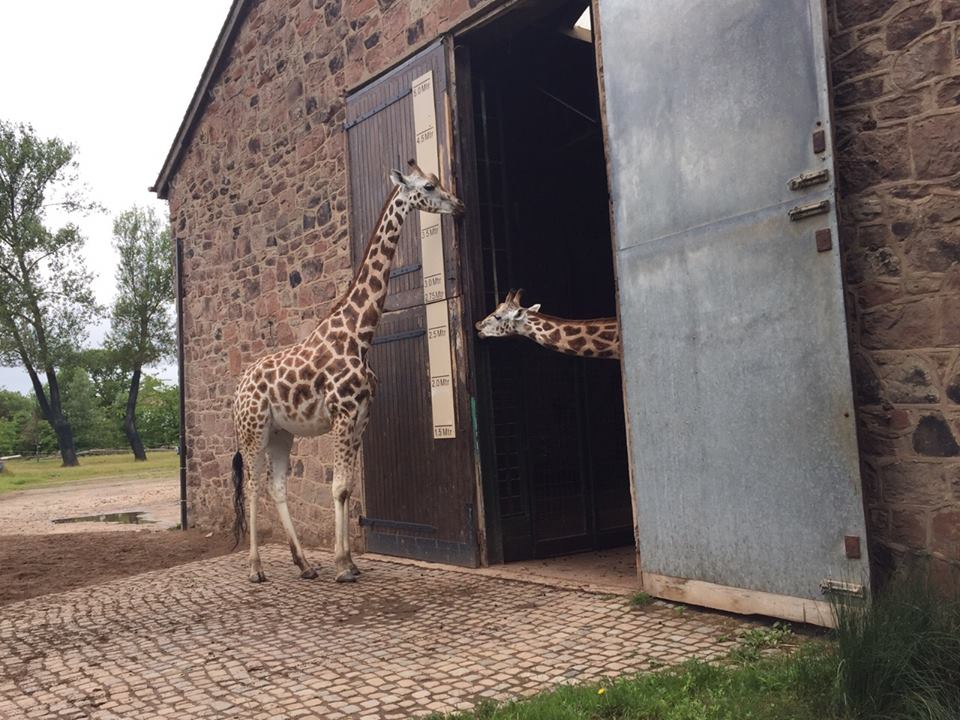
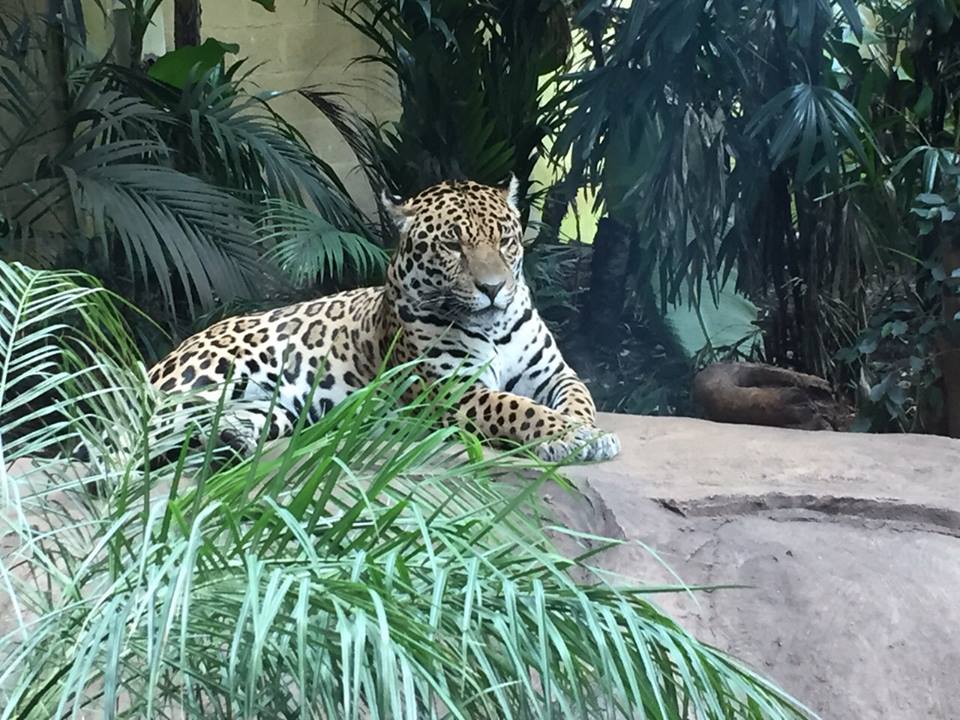
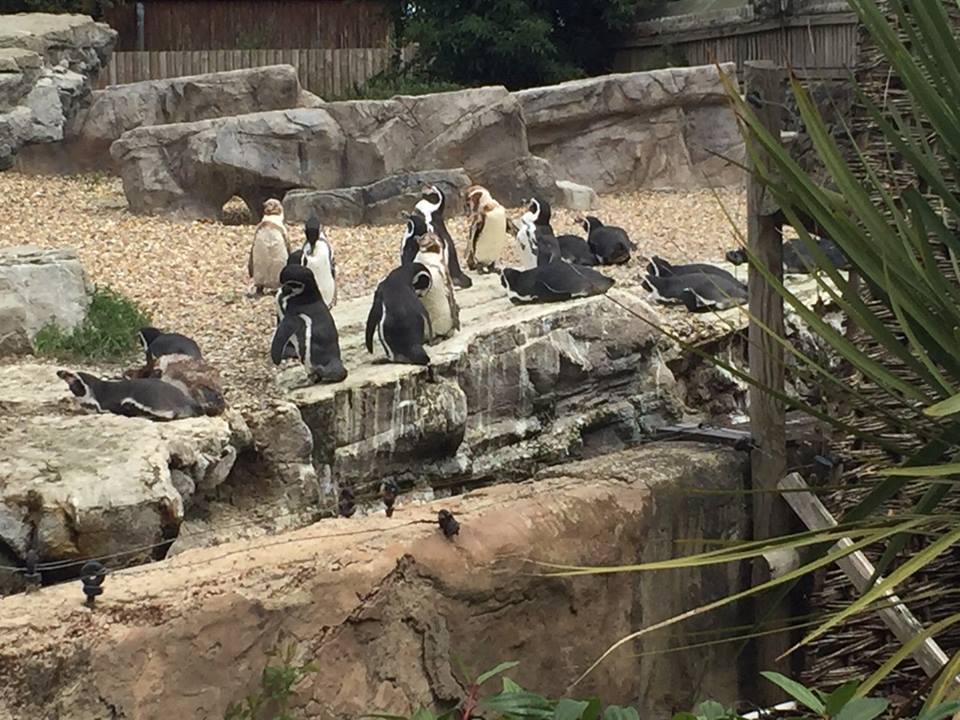
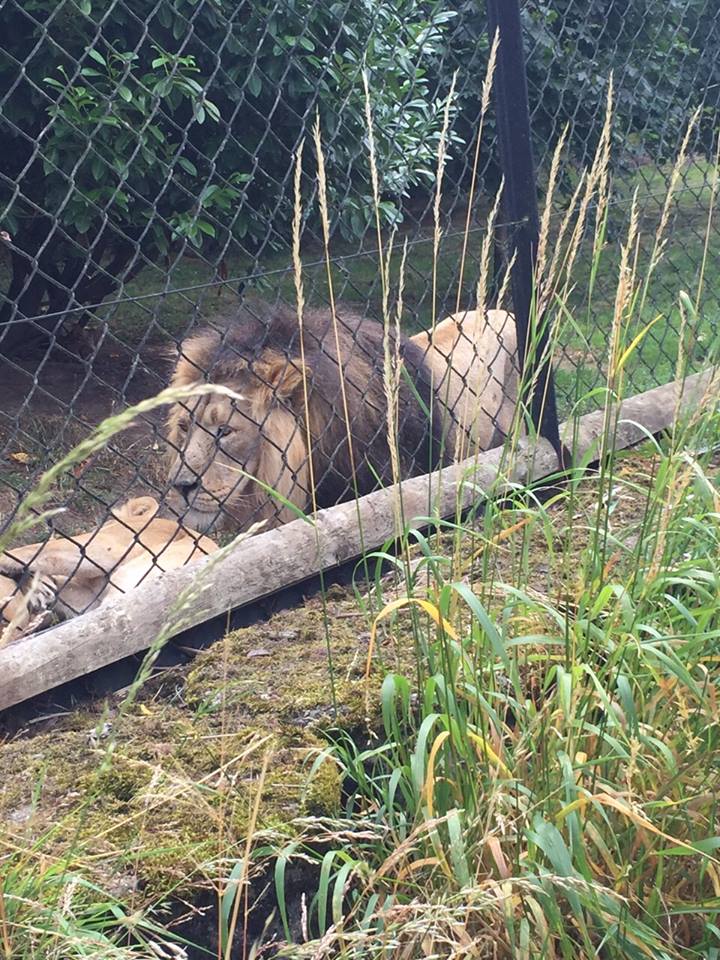
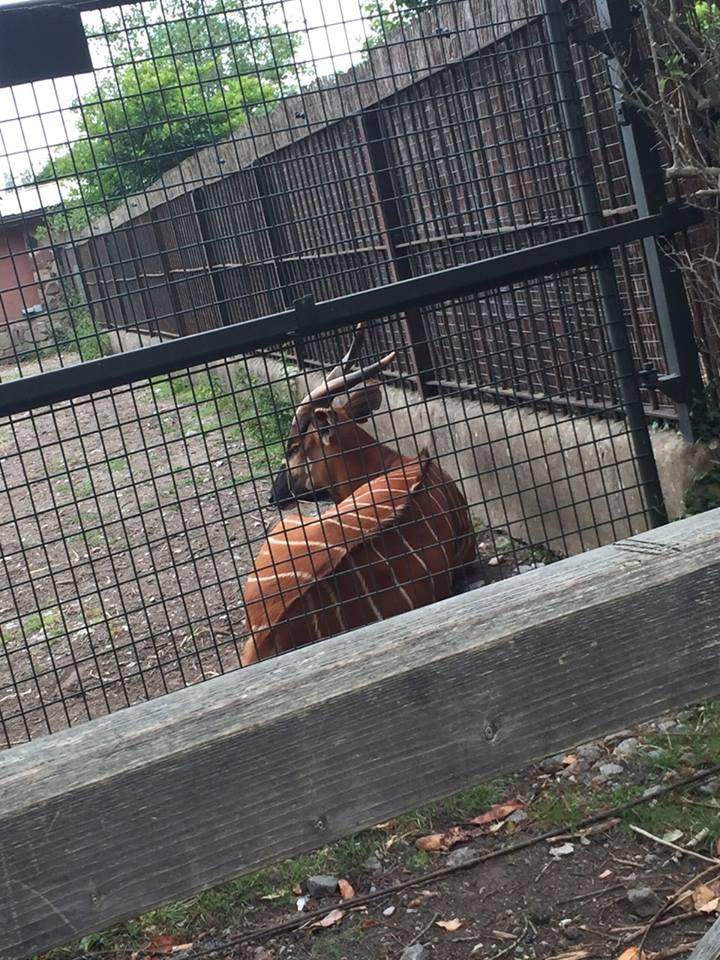
In shoot 5 I will follow my plan and take close ups of animals. I will mainly focus the camera on the different colours of the fur/feather to show a contrast and the detail on the animals and work in the style of John Shaw. For this I will take the photos outside of dogs and farm animals etc. and at different location like the zoo or Walton Gardens.


John Shaw Photo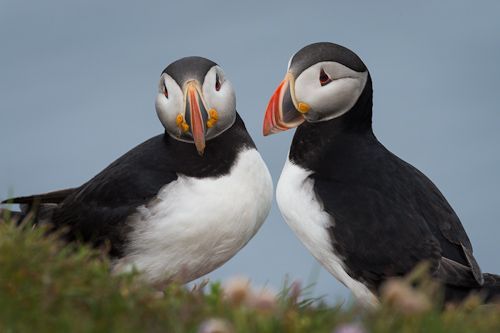
|
My Photo
|
Worst
This photo was taken outside at Walton gardens. I don't like this photo because it is over exposed due to the sun and doesn't show the aim of my shoot as there is no detail shown. Therefore this photo doesn't show any photography techniques like the macro photography effect.
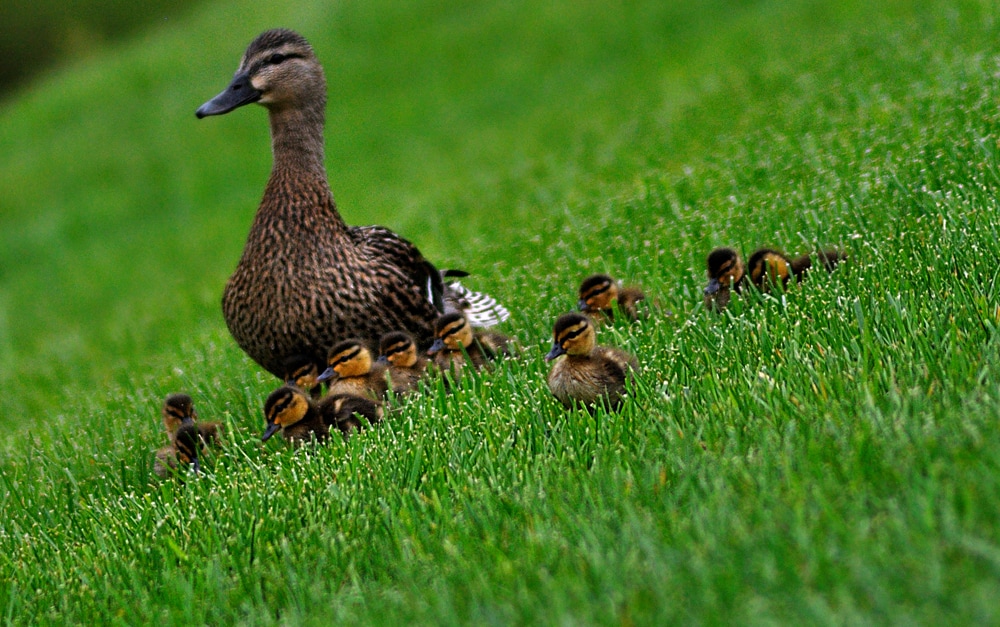
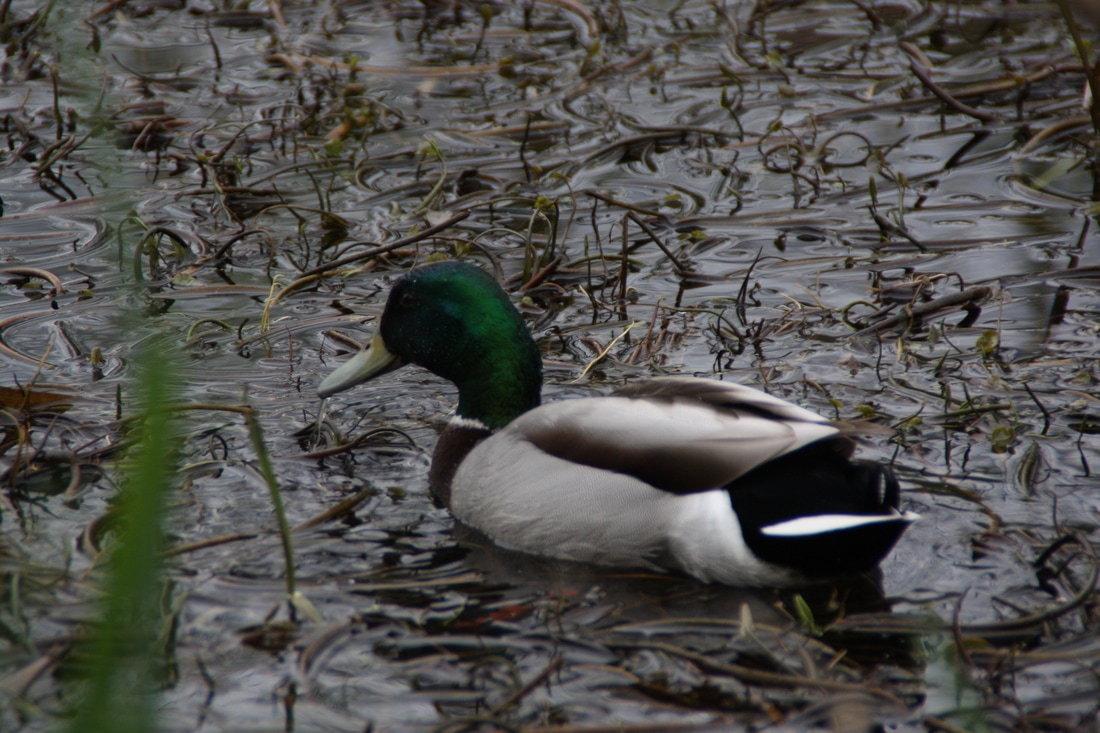
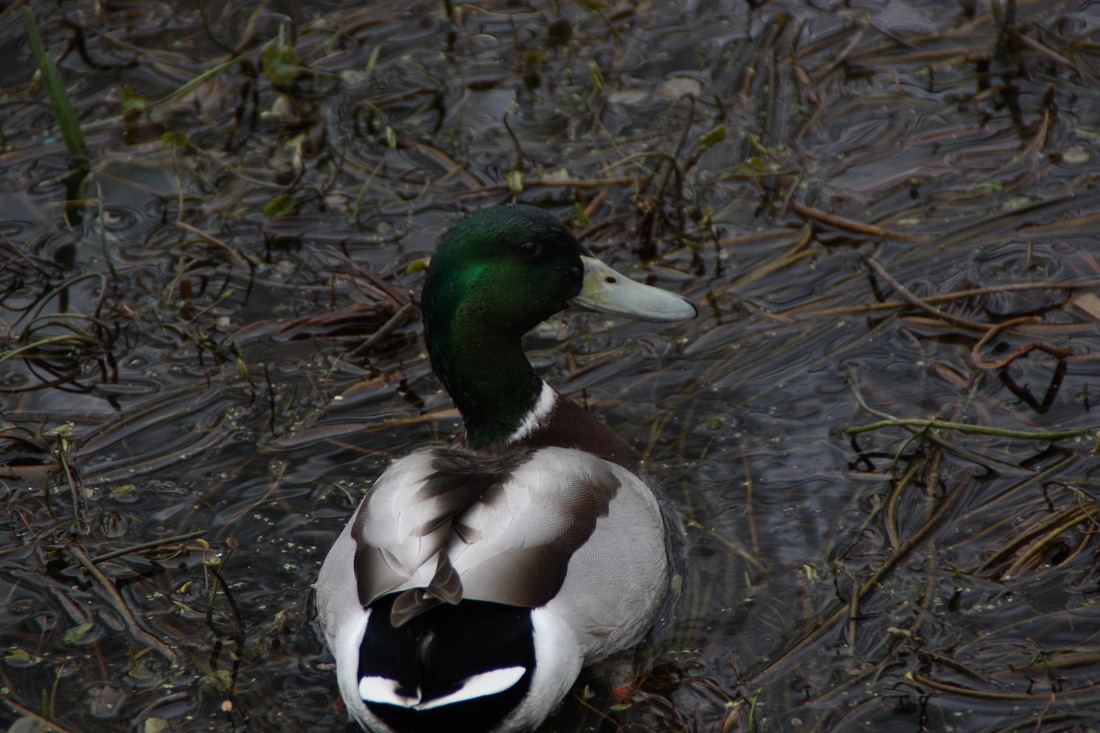
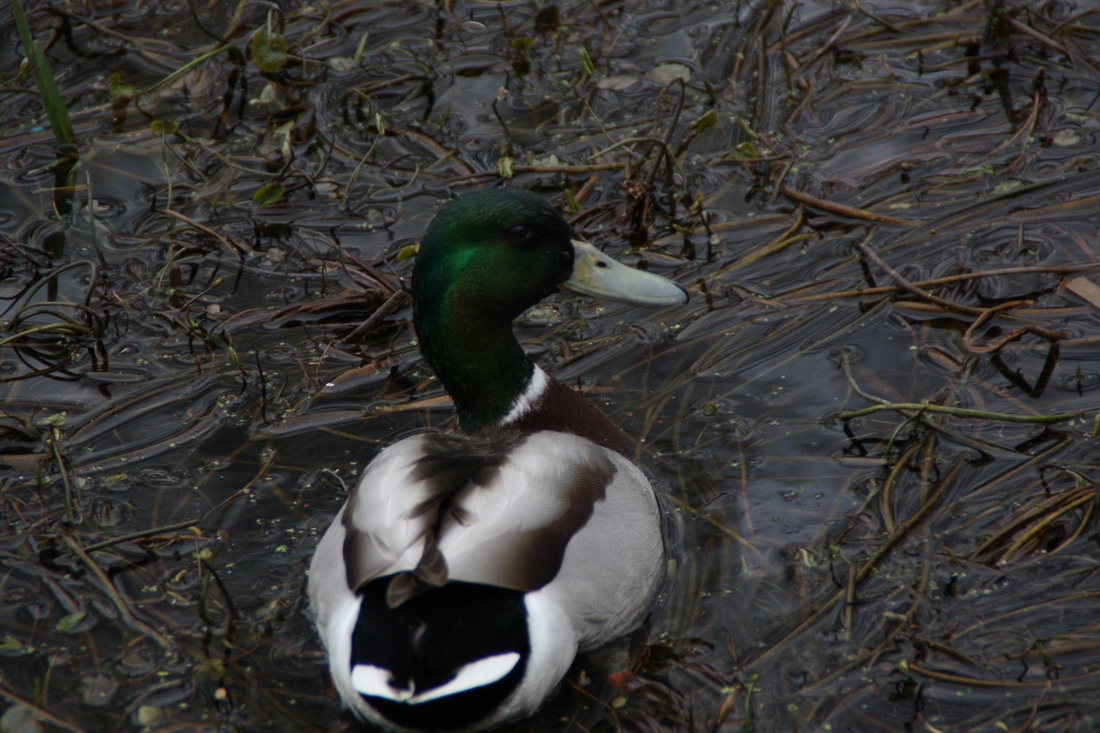
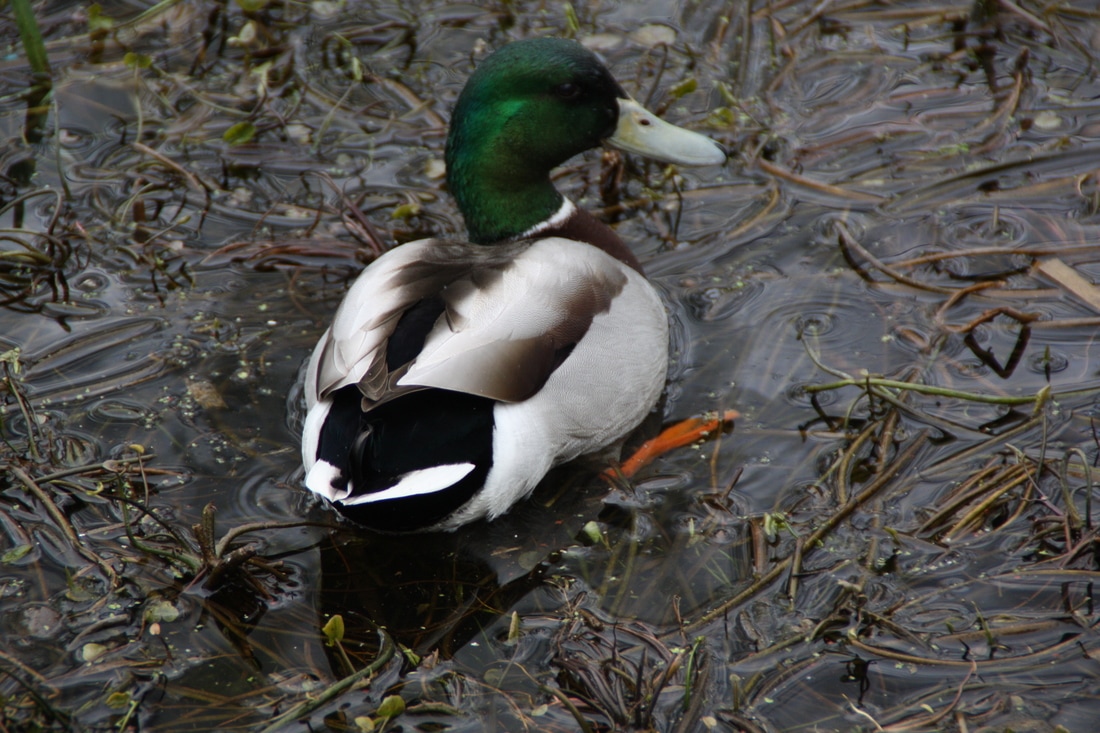
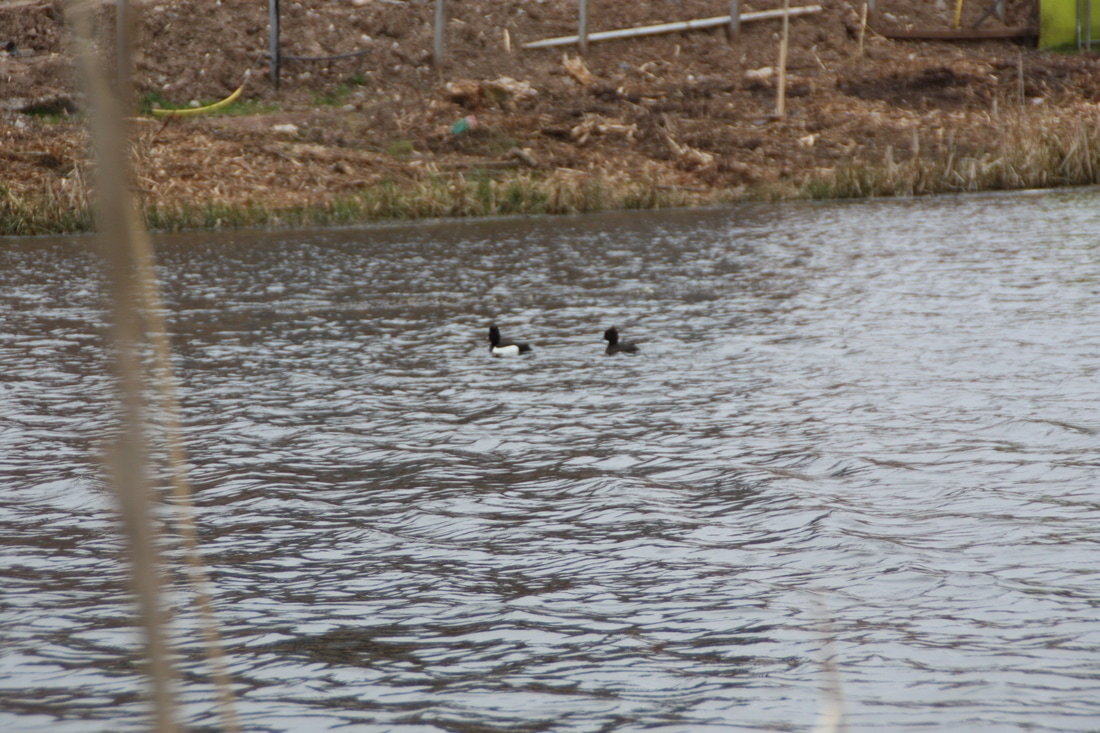
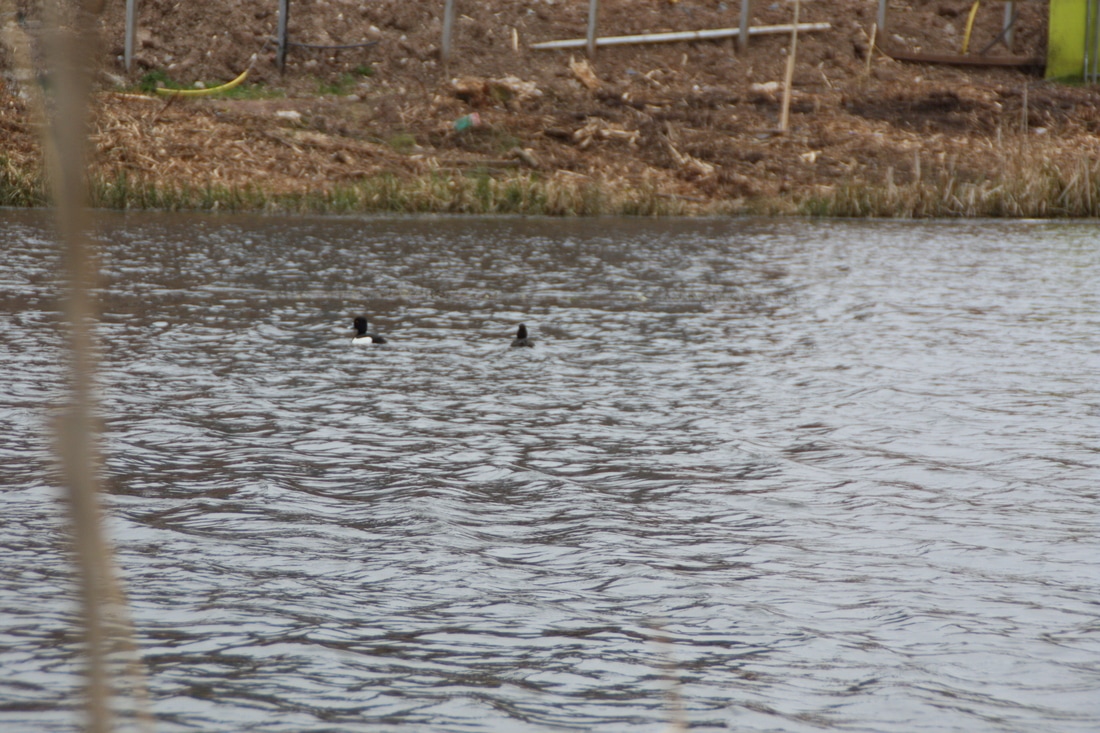
Best
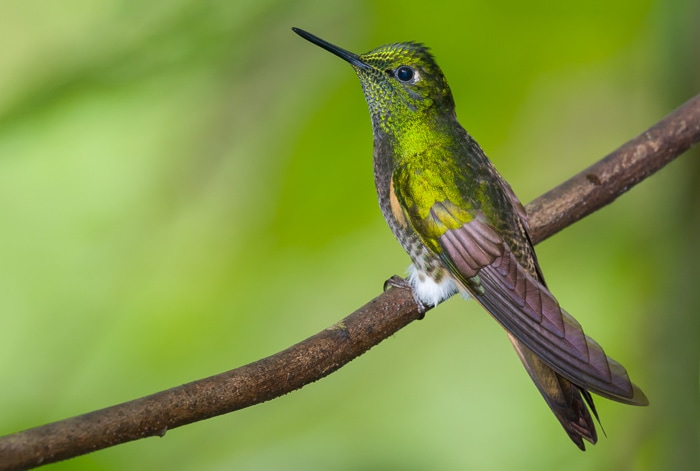
This photo was taken at a pond in a park with the perfect exposure and aperture. I like this photo of the duck the best out of this shoot because it shows the sections of colours the duck feathers feature and the colours that merge together in detail. For instance, the brown and white on top of the ducks back. The photo also shows the detail of the way the plant stems are in the pond around the duck like as if the duck is being ganged up on plant stems. In addition, the photos features the rule of third, pattern and macro photography on the duck.

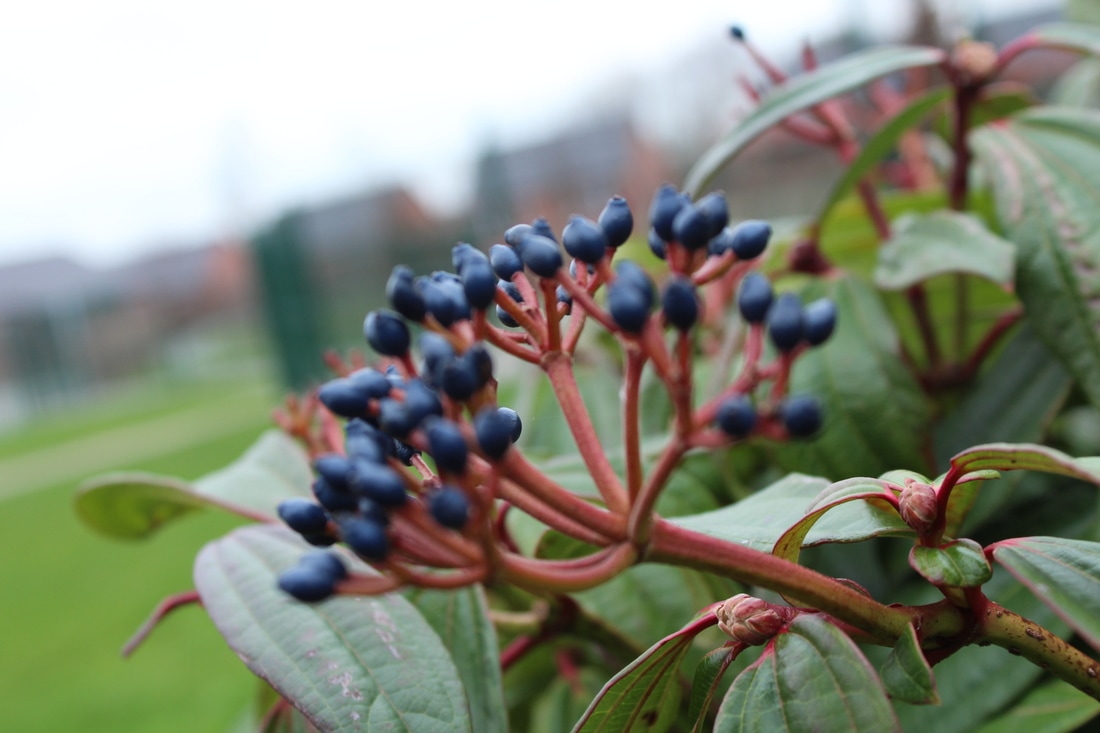
Shoot 6
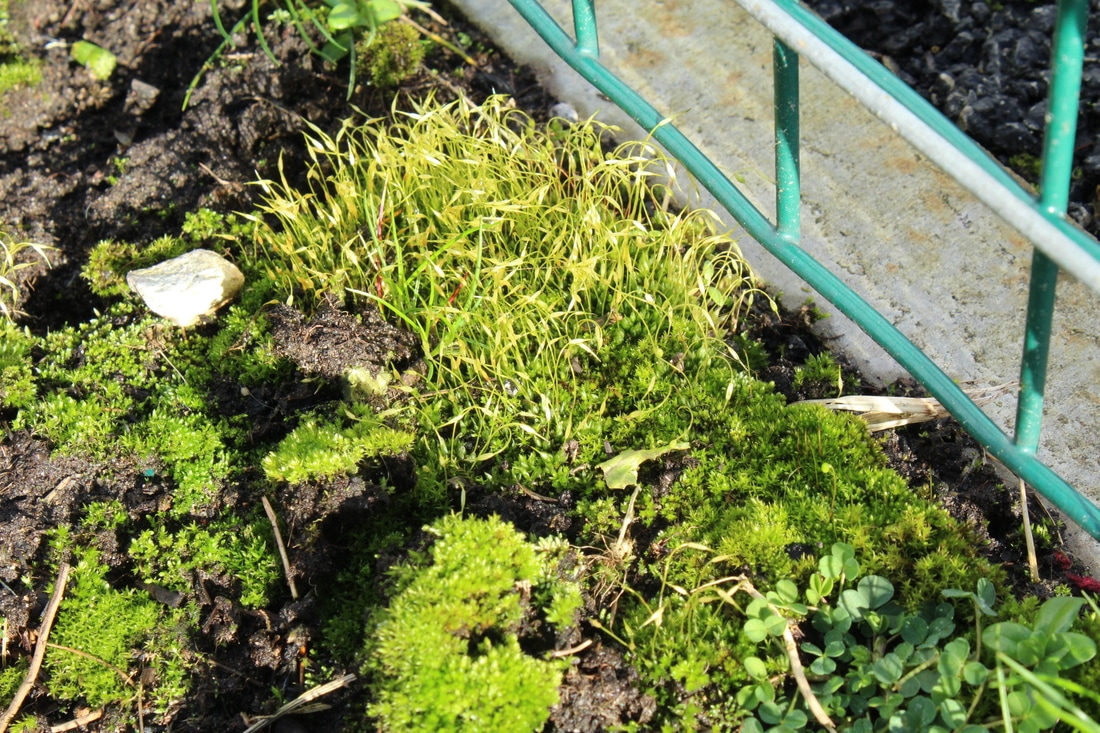
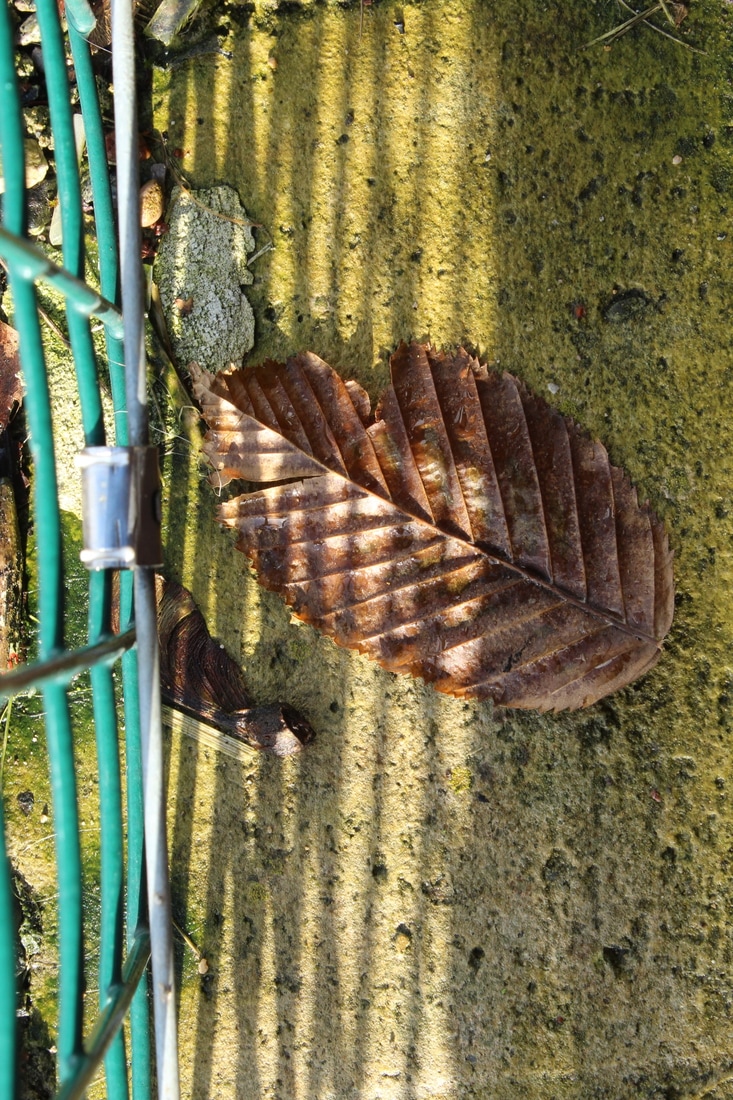
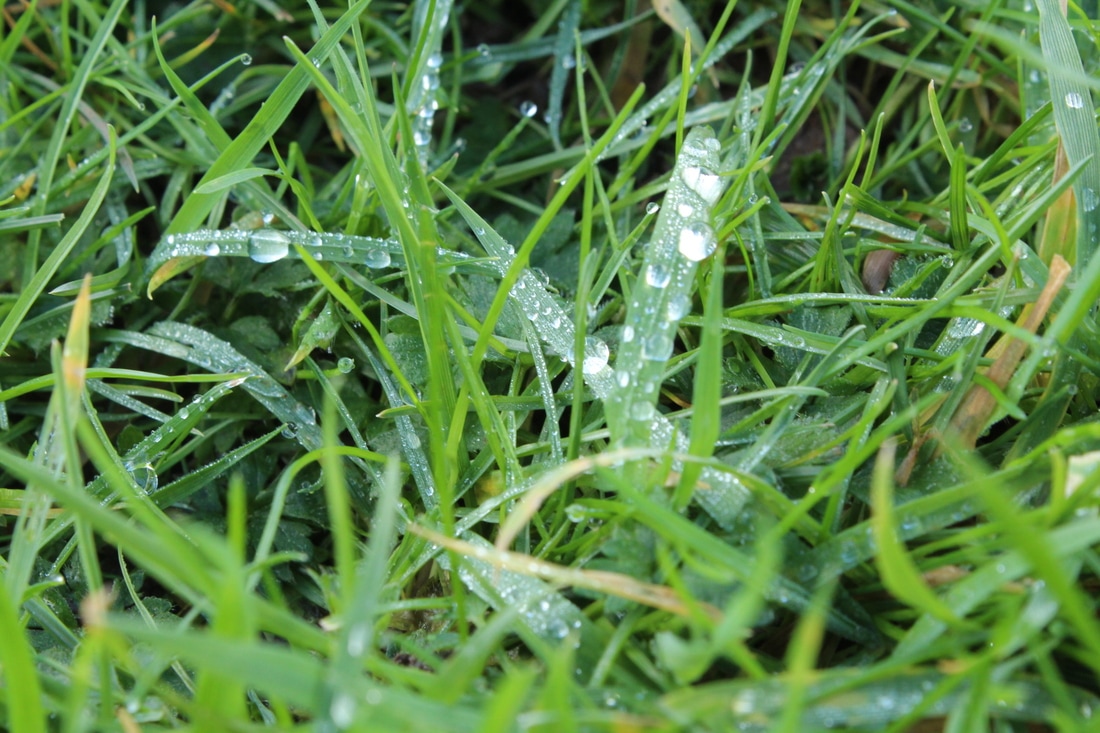
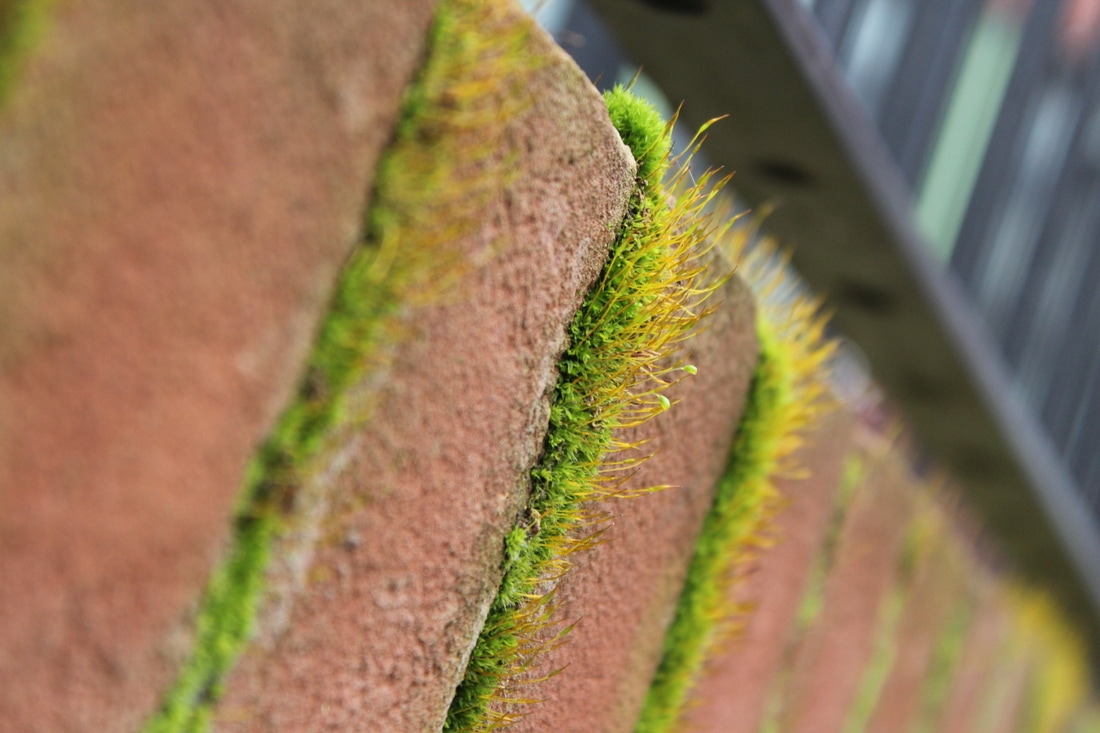
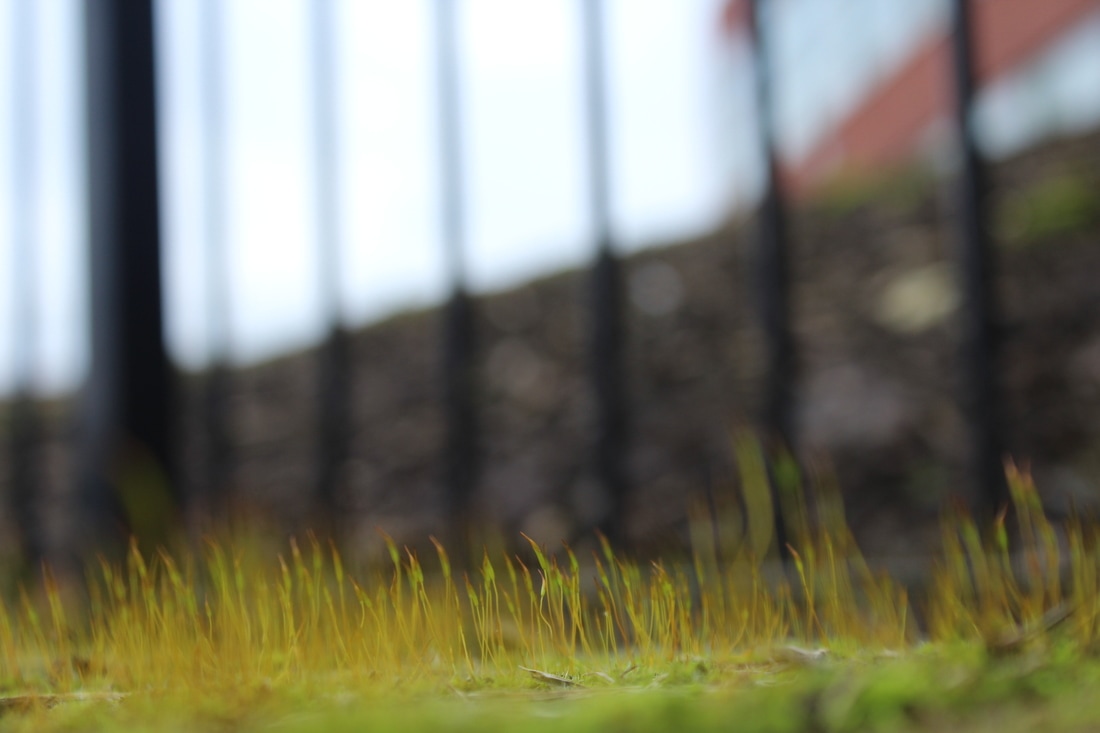
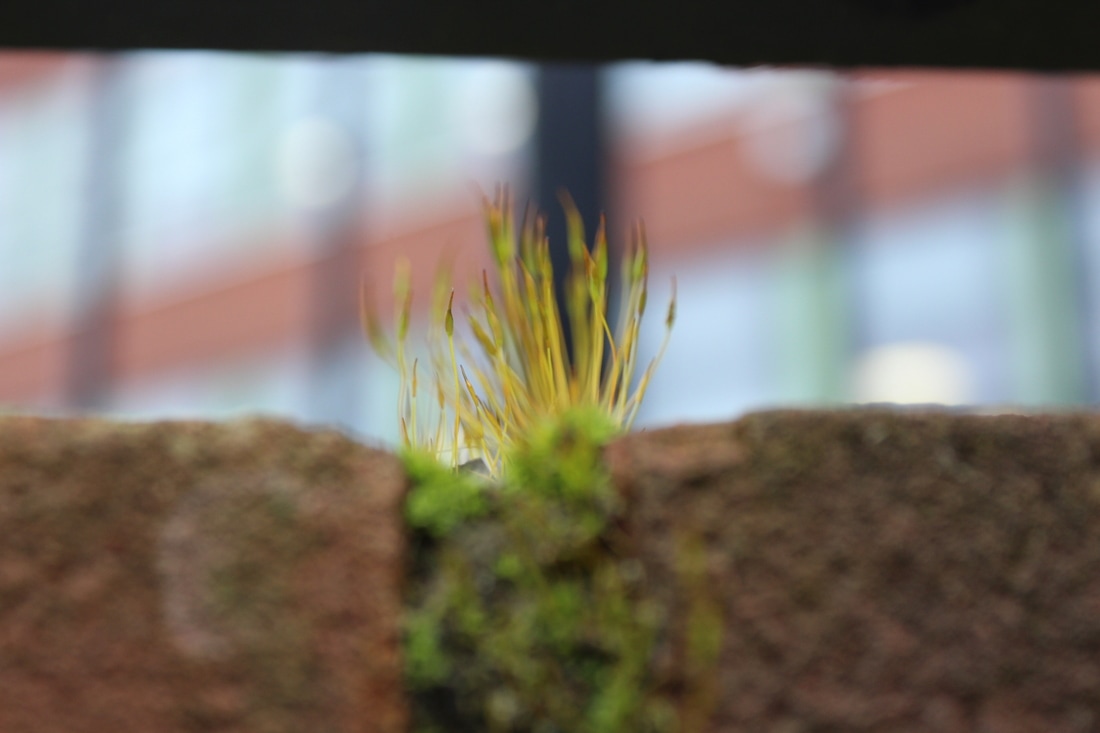
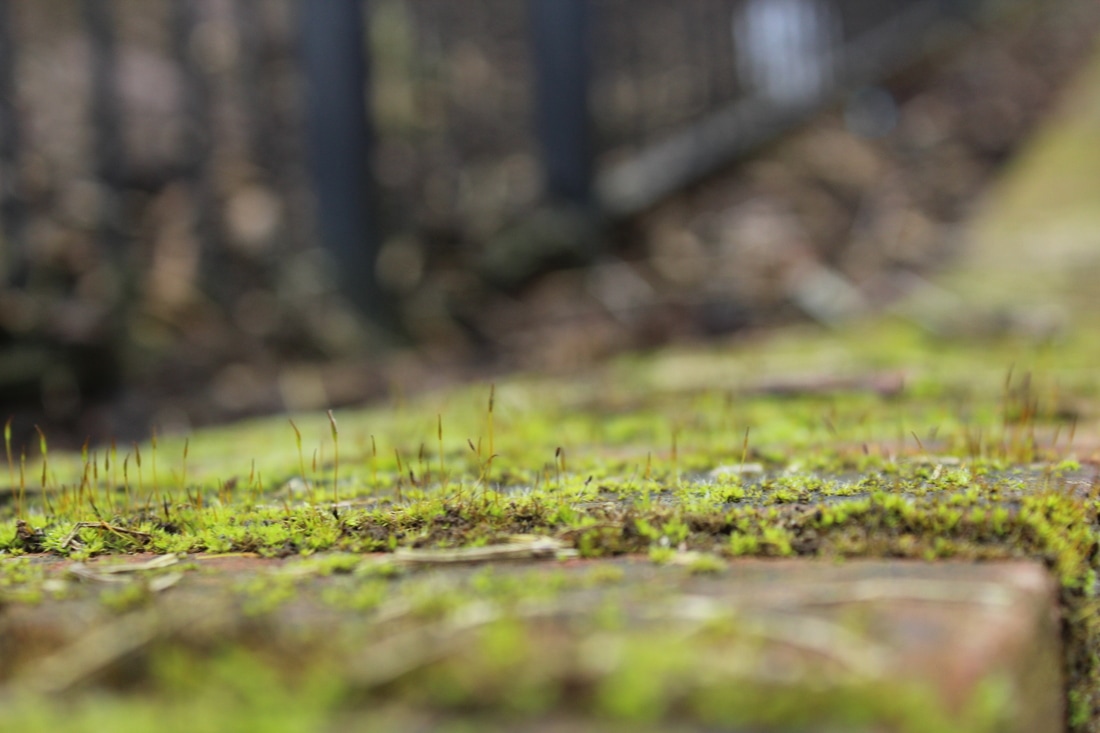
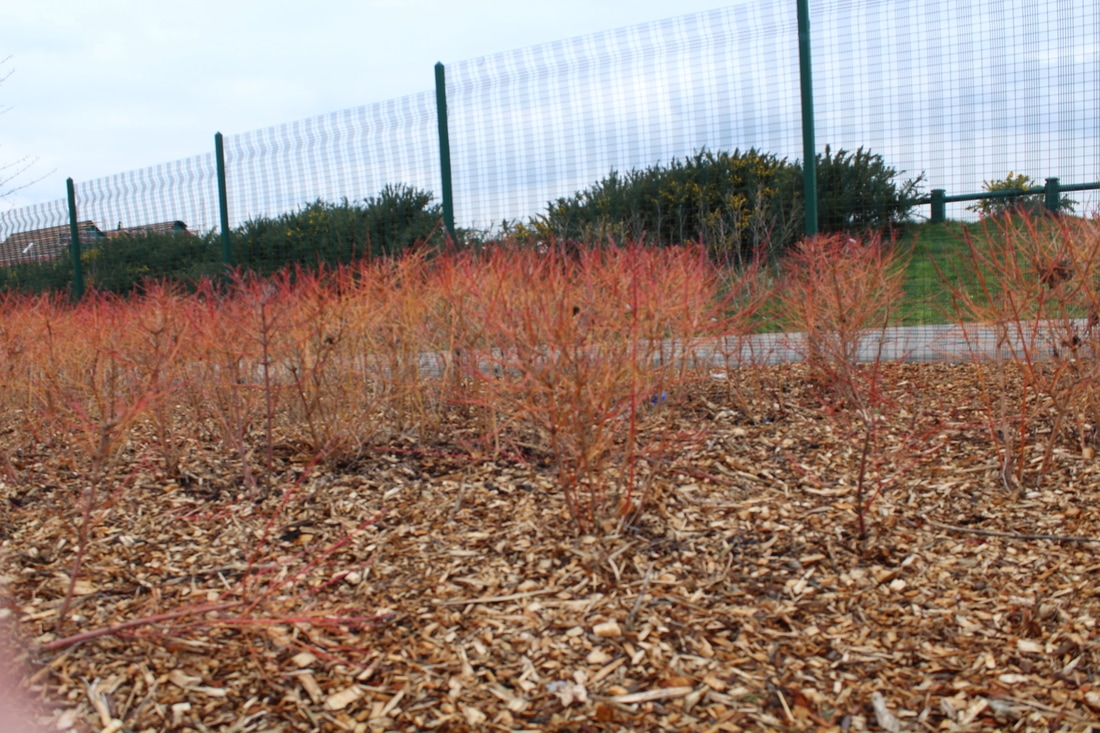
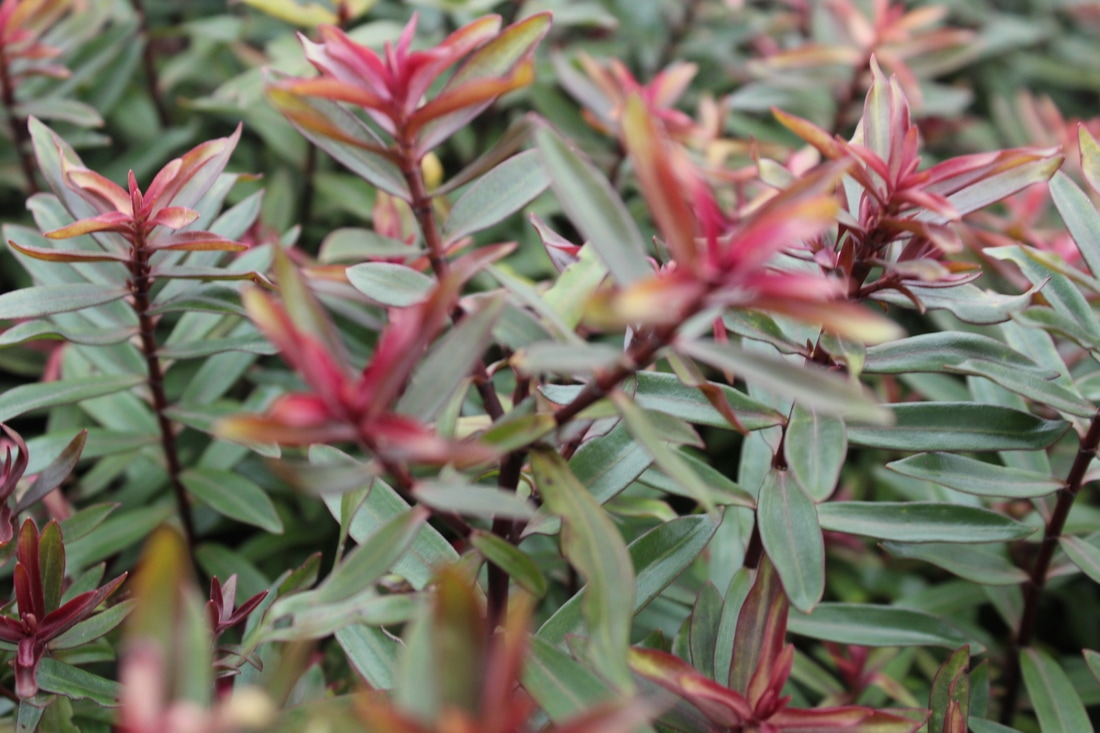
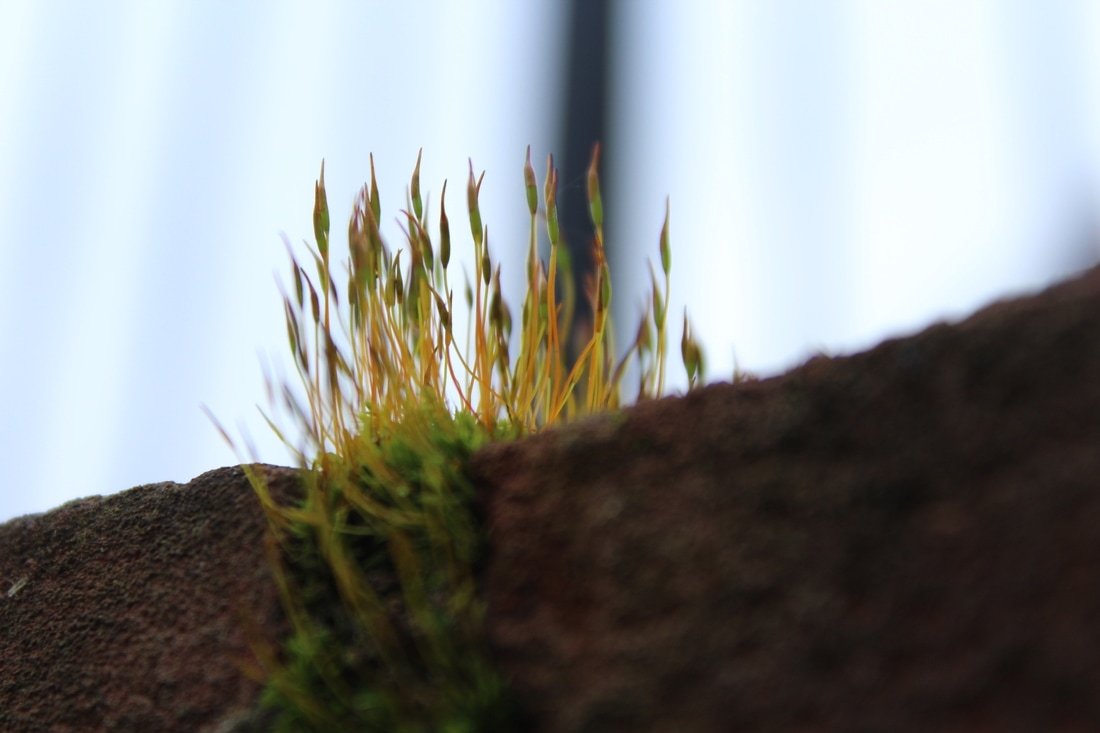
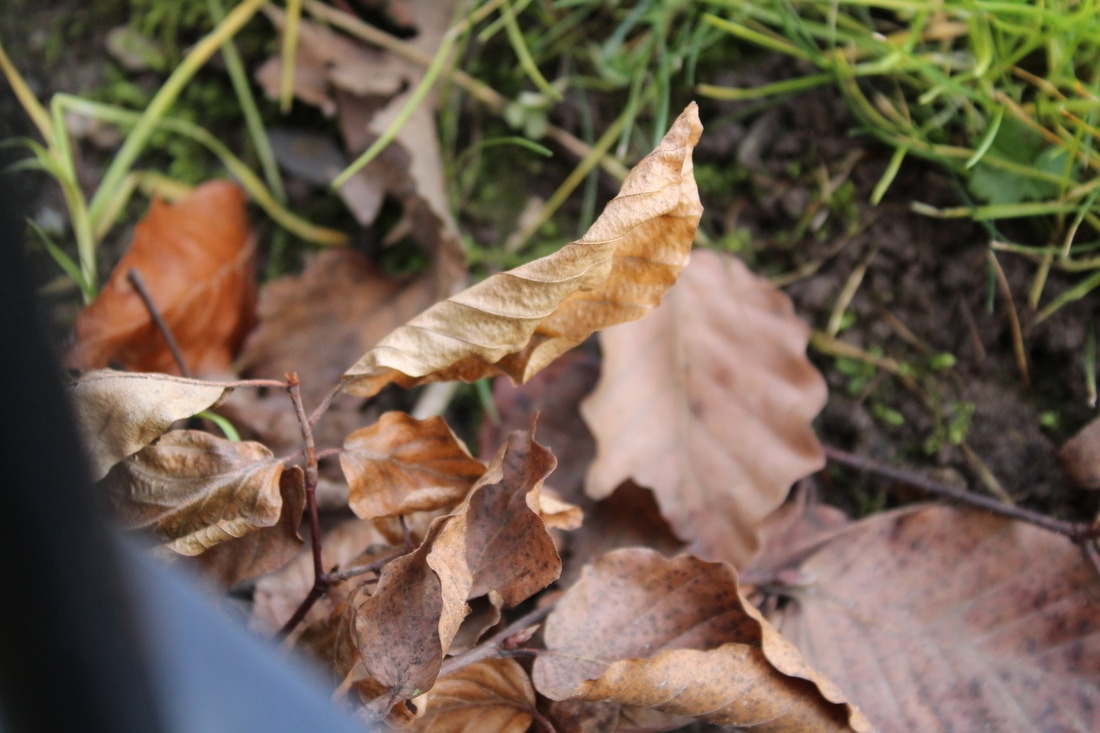
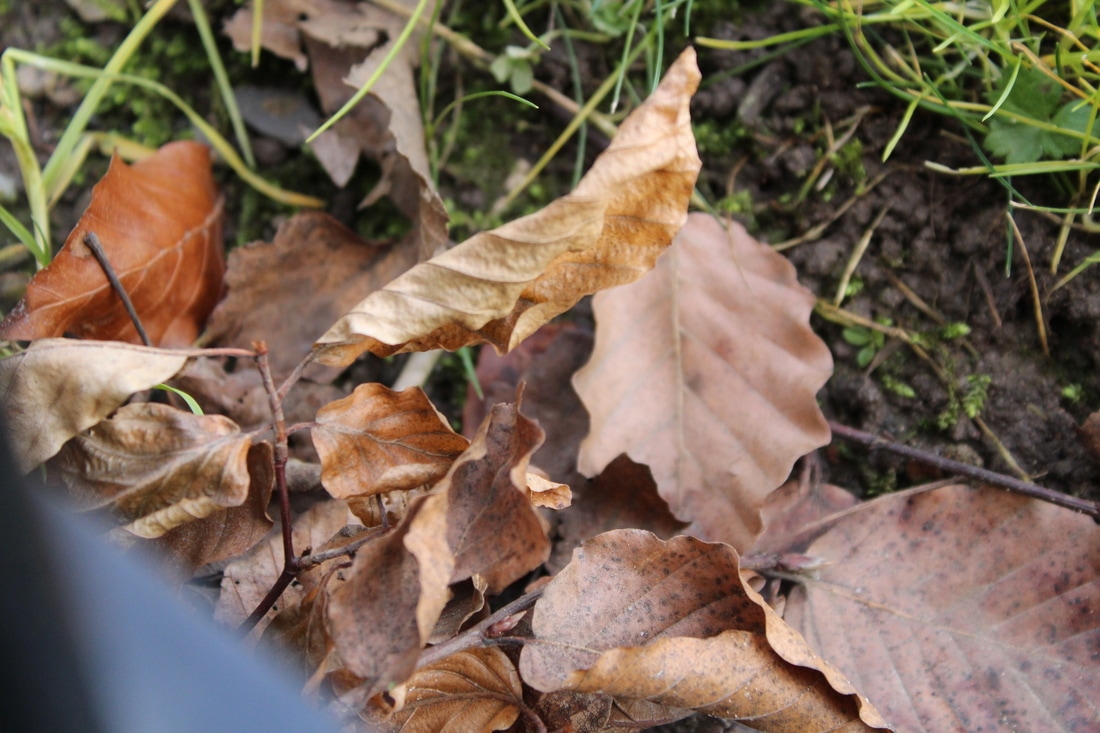
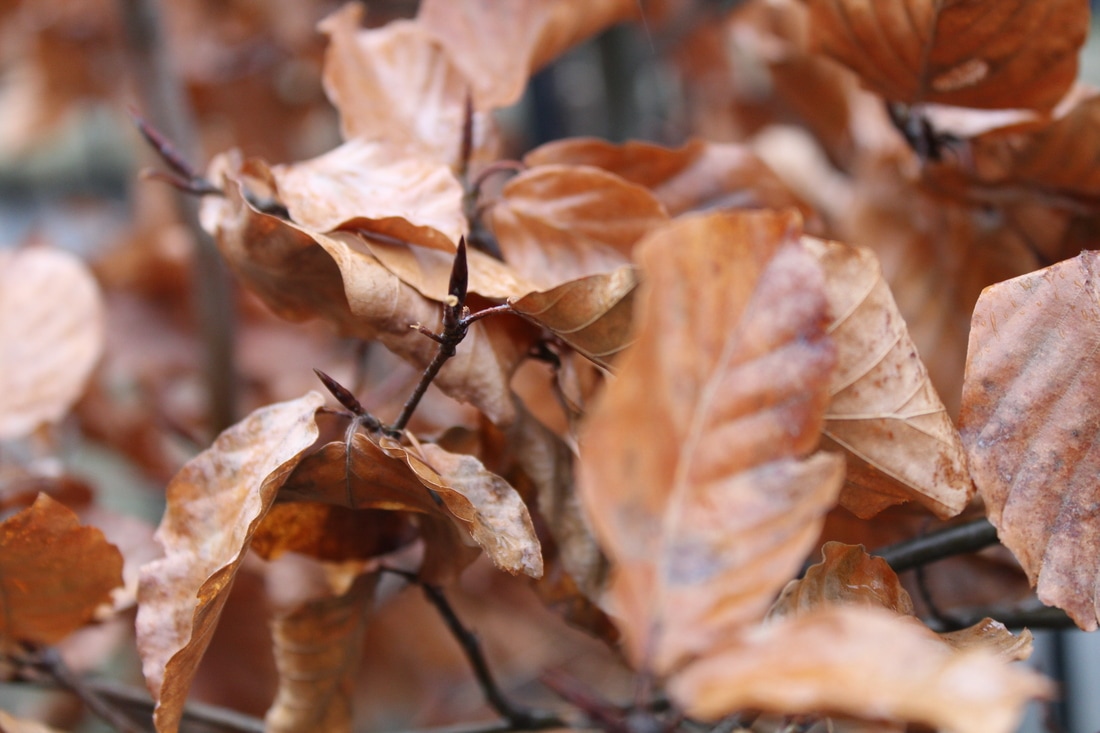
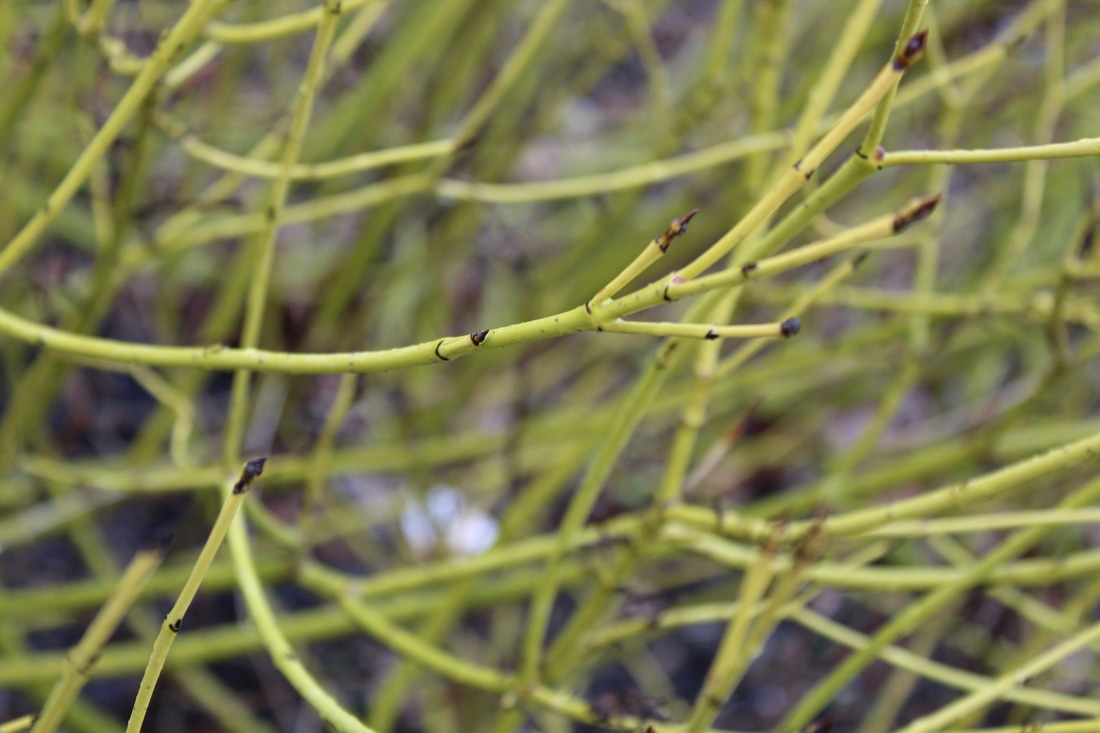
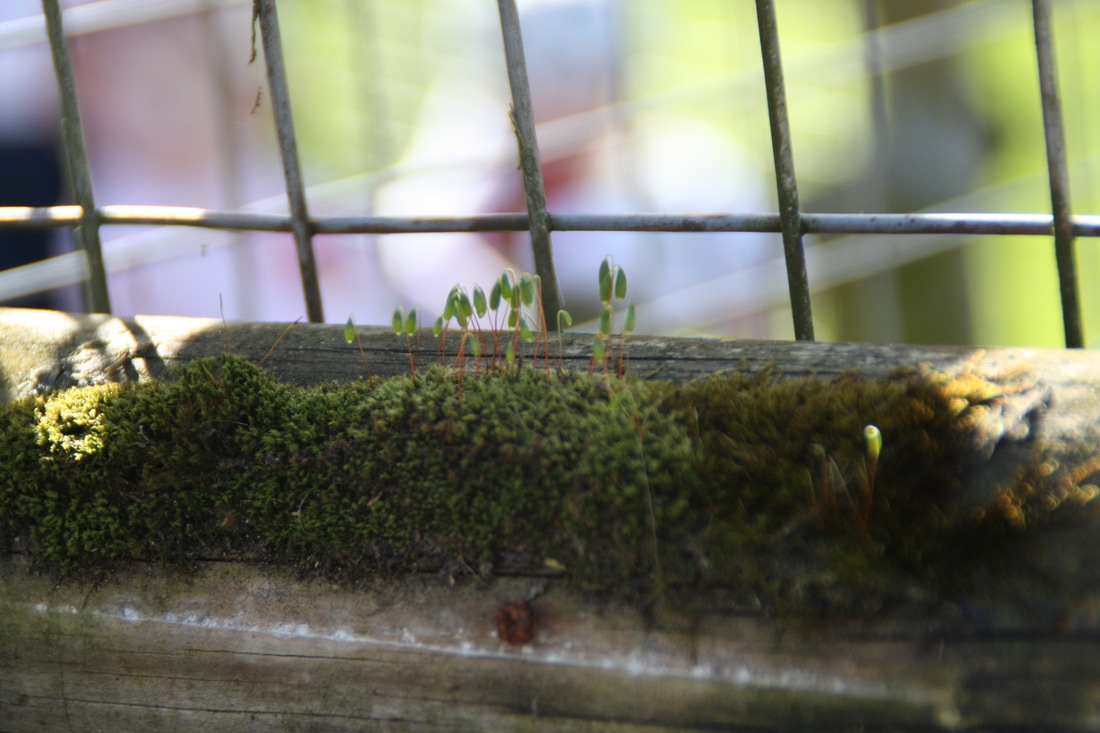
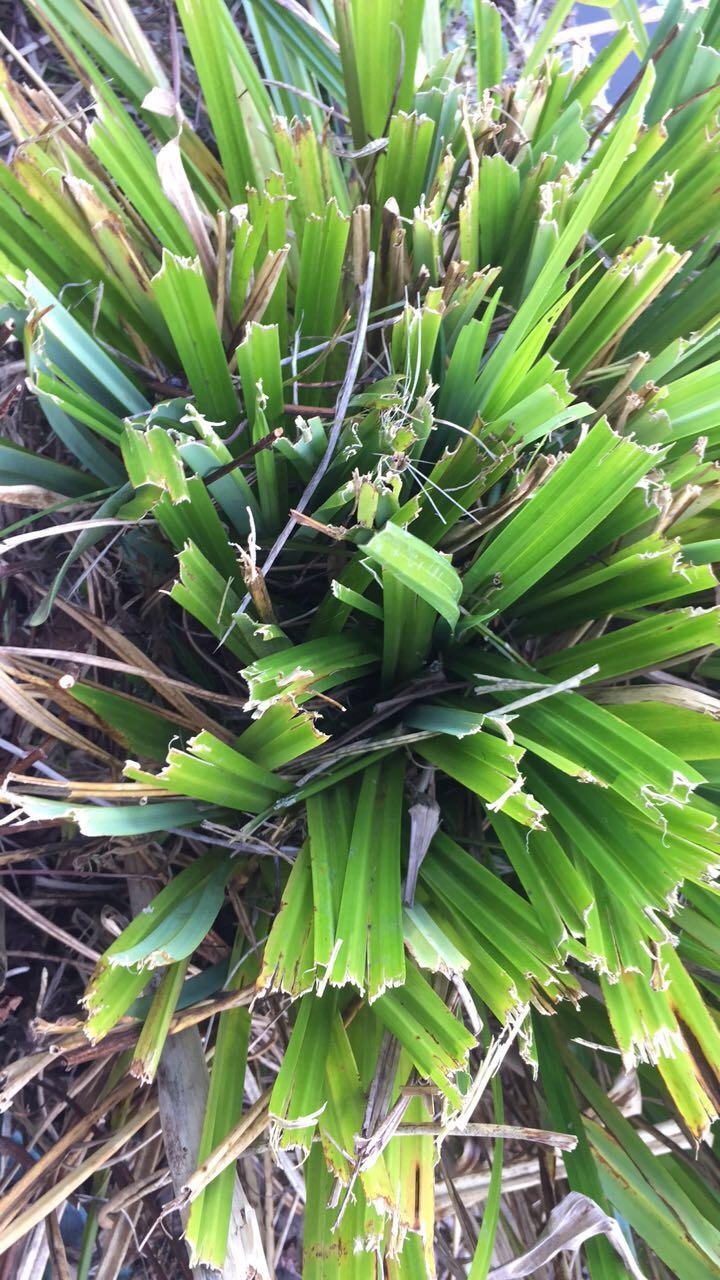
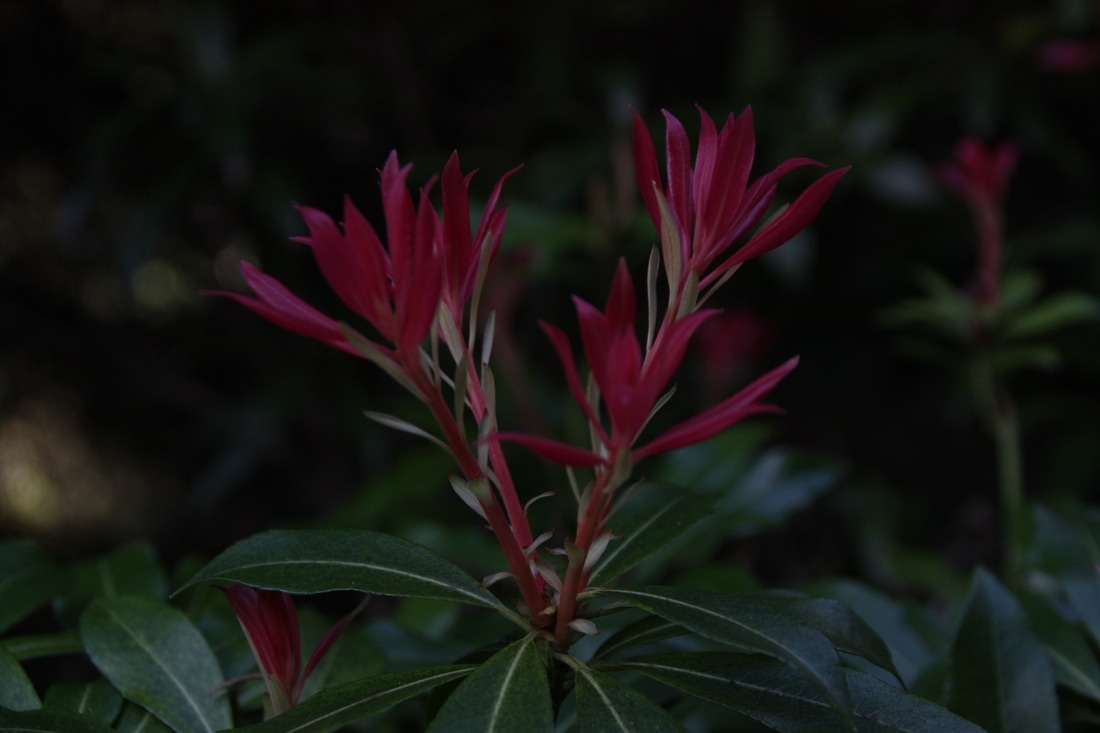
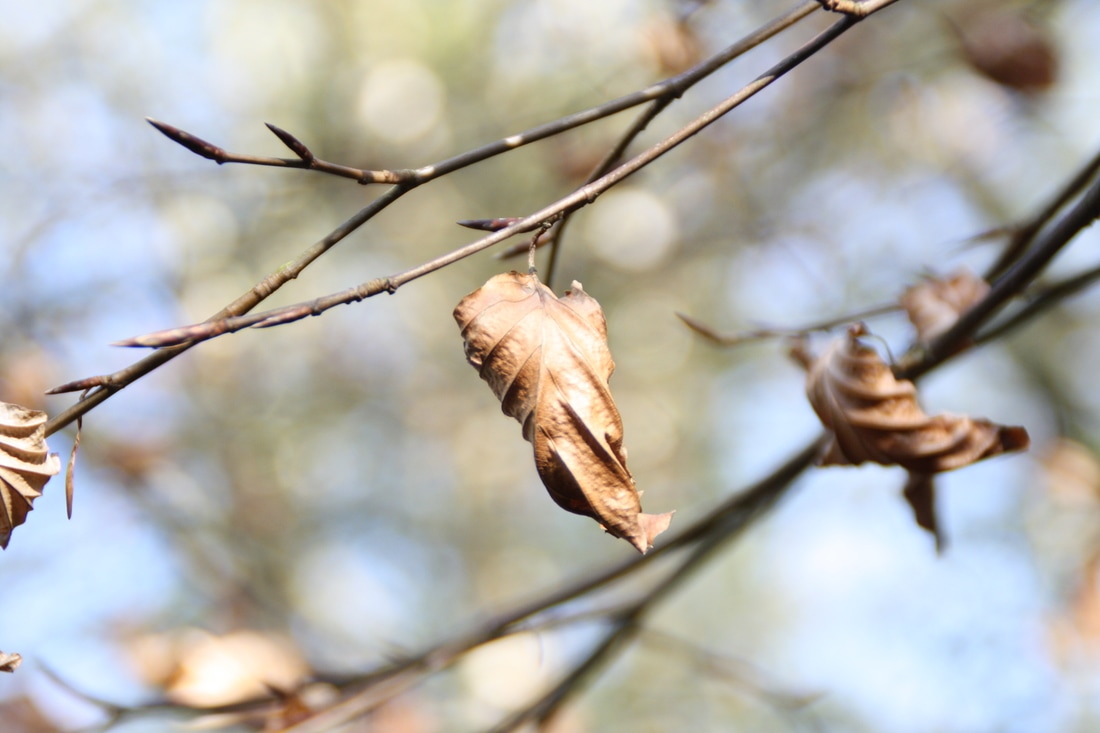
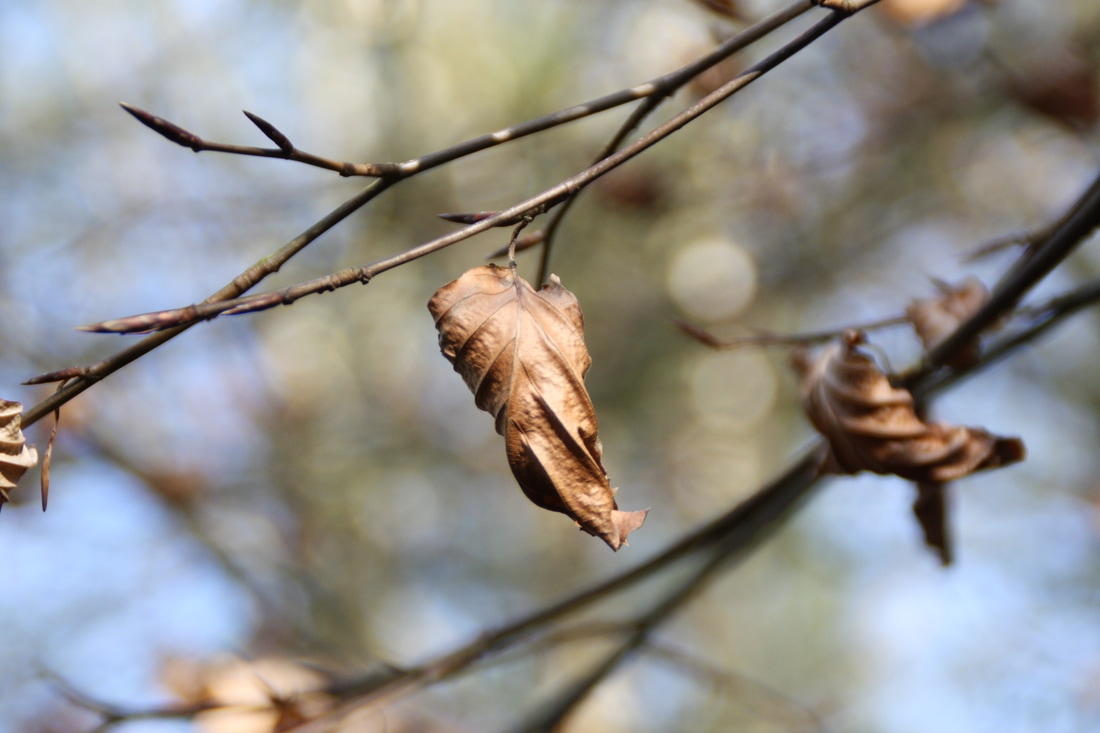
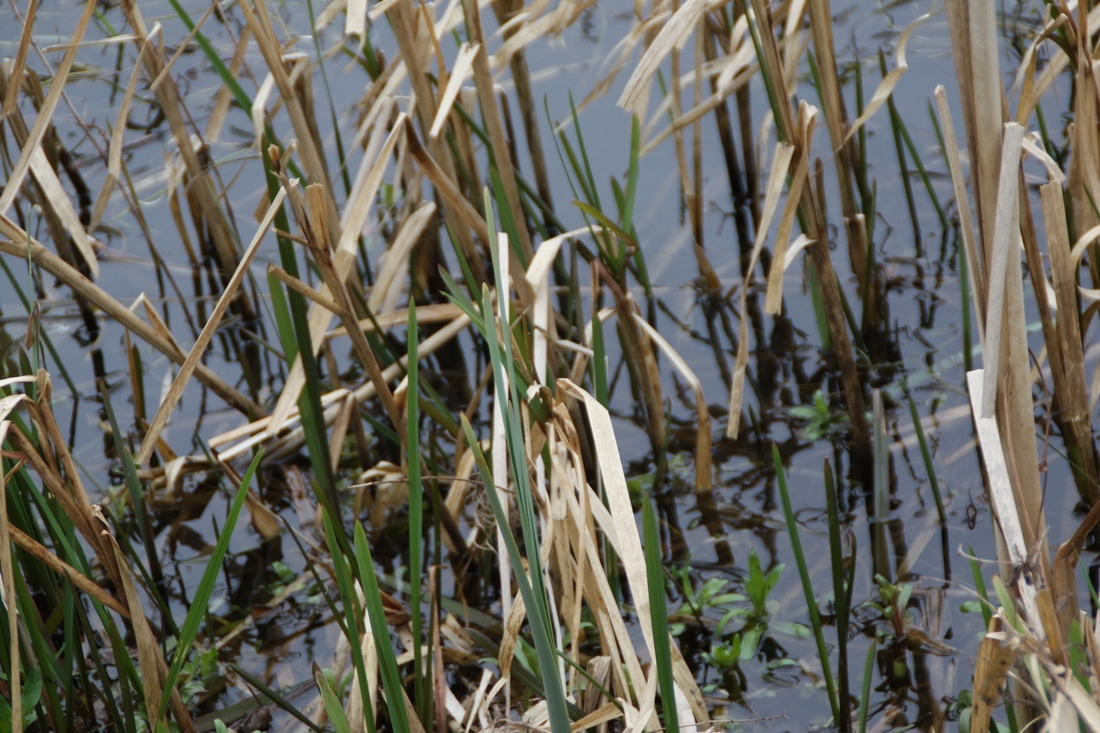
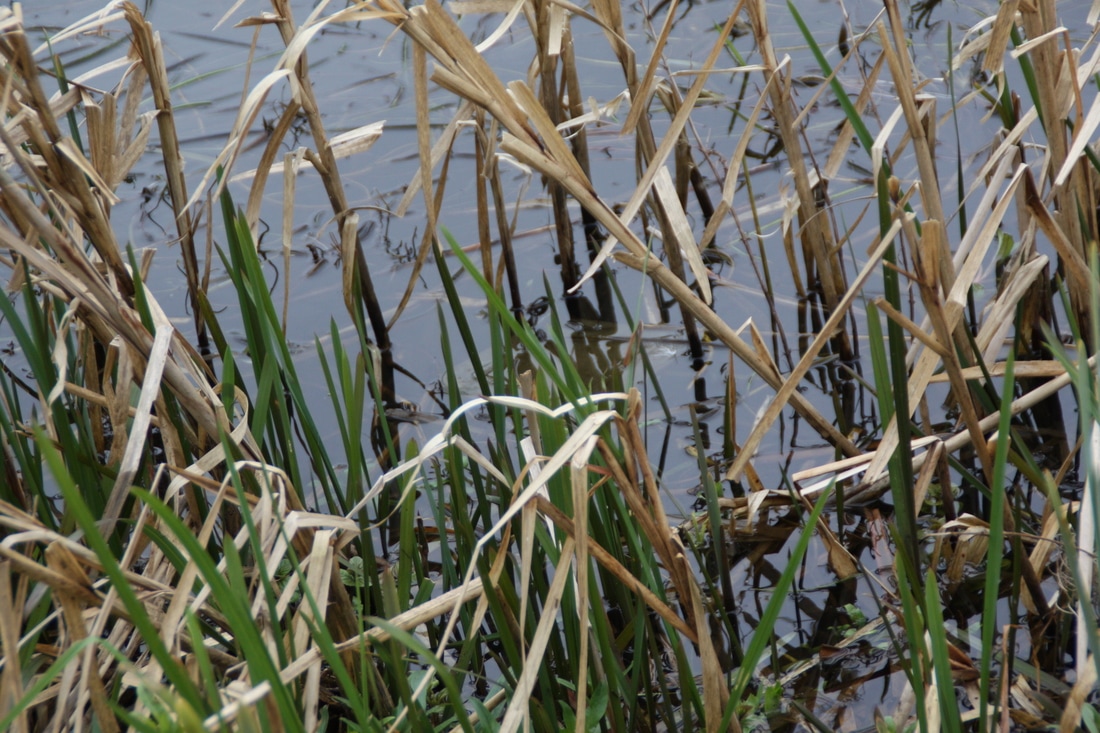
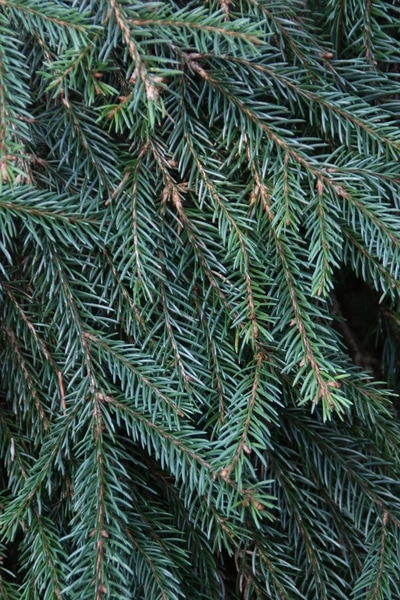
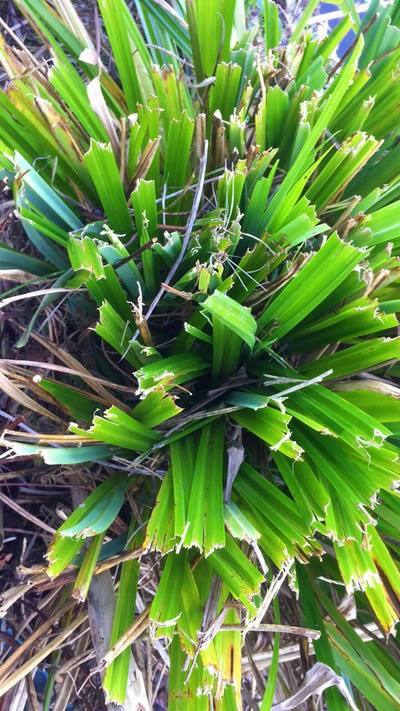
For shoot 6 I am going to show refinement of nature from my first shoot to this shoot. In this shoot I'm going to focus on nature that is green because it represents nature and the positivity of life. The shoot will take place outside in variety of places like the wood, park and my back garden.
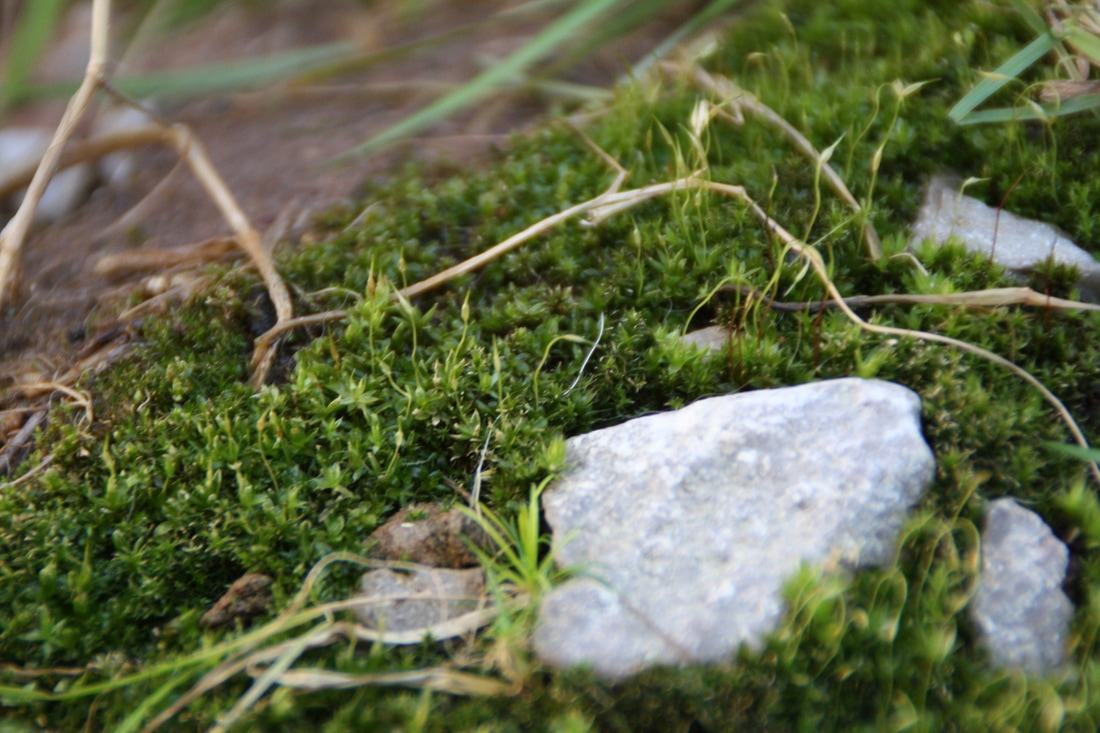

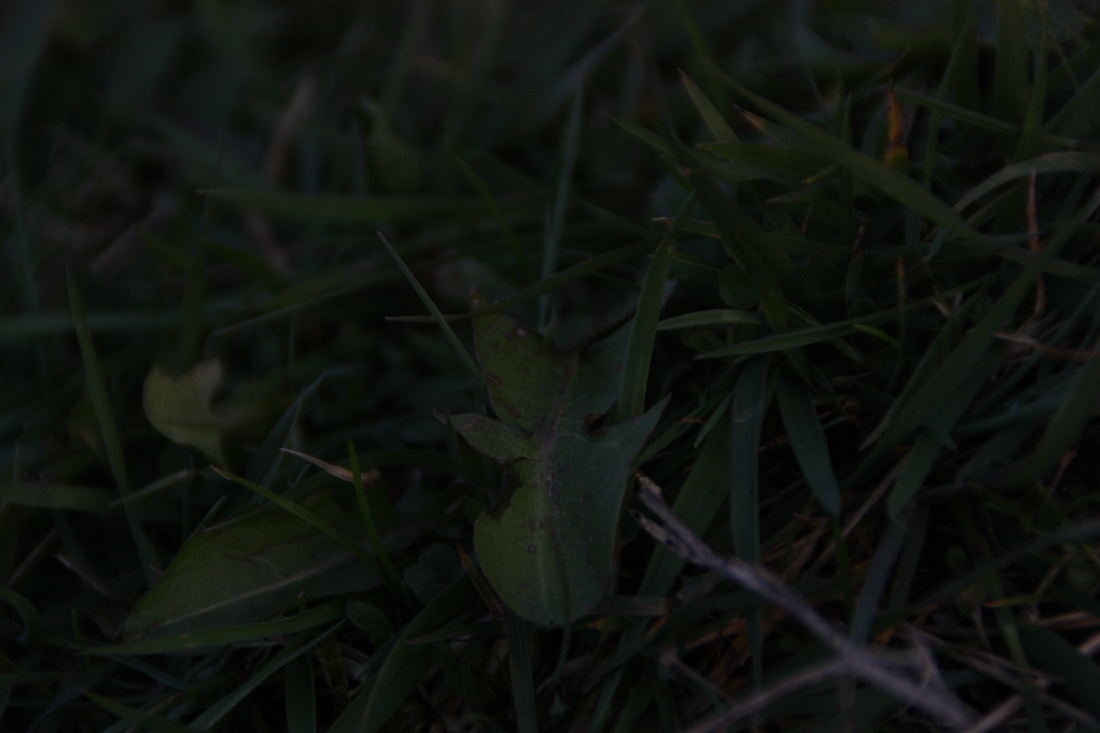
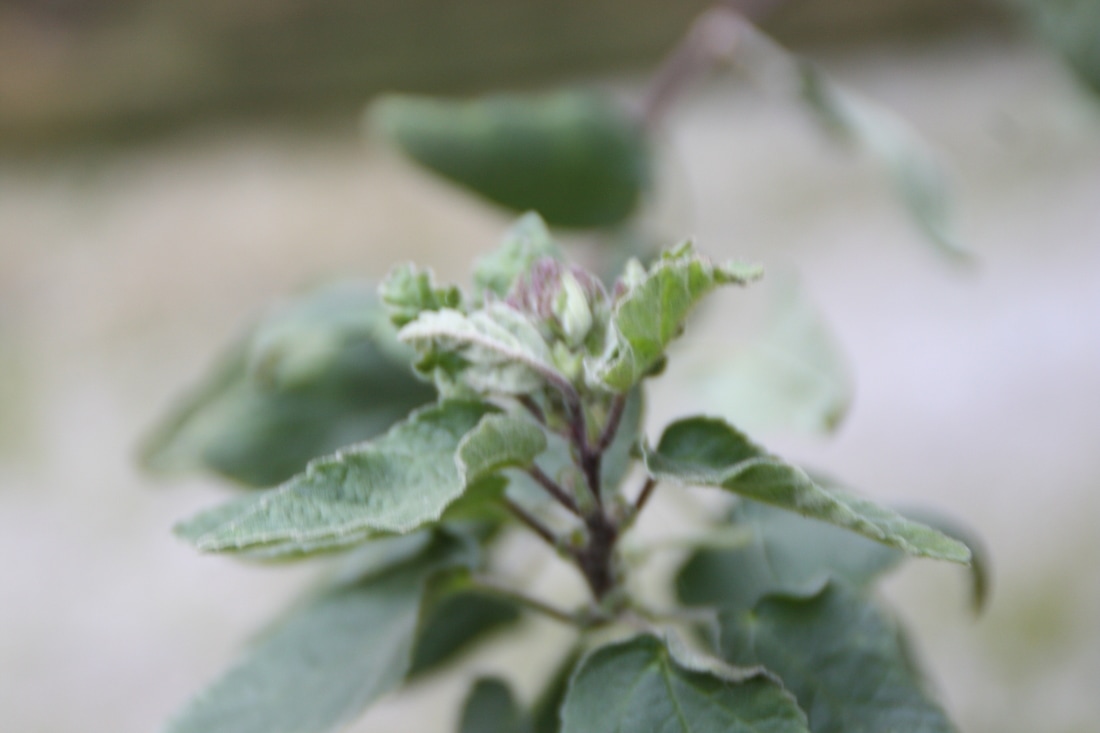


Worst
The I don't like the photo because it is under exposed which makes the photo look dark and shows very little detail.

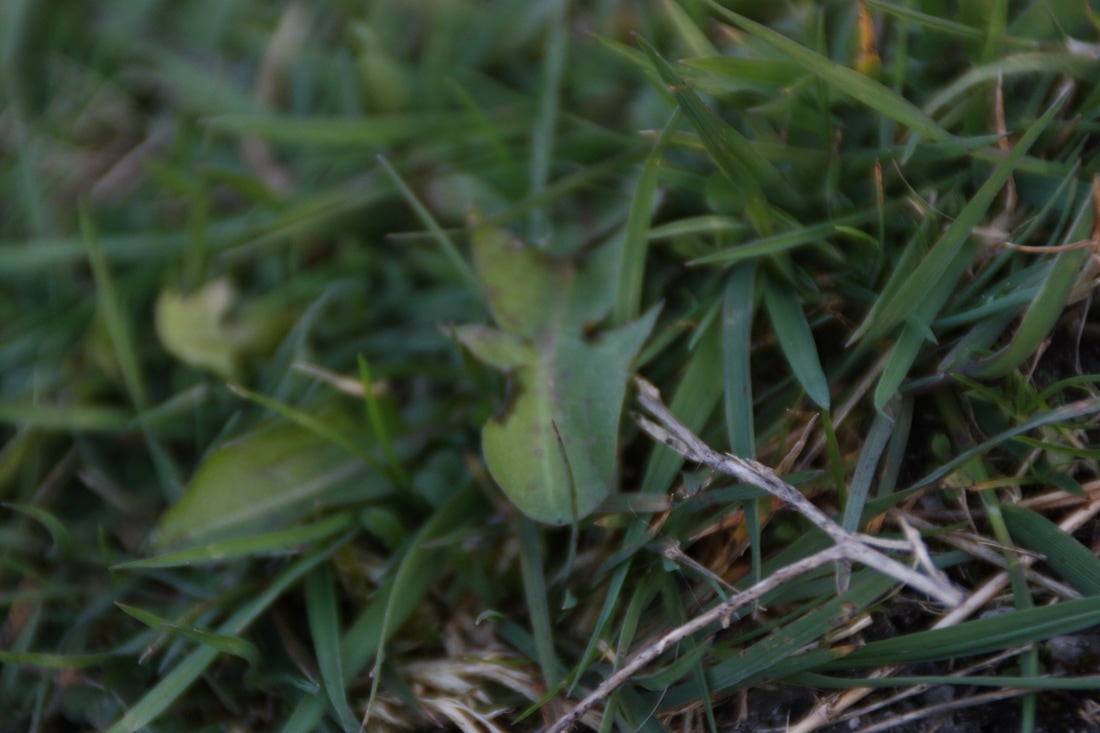
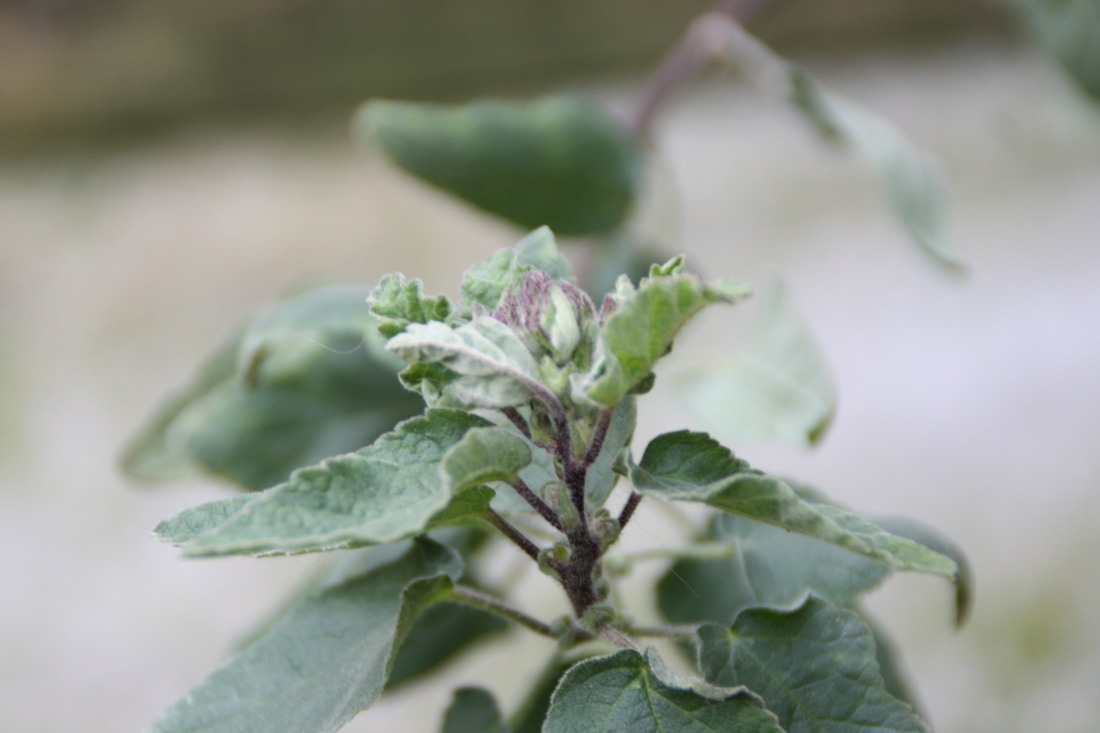
Best
I took the photo of the leaves from a birds eye view angle to make it different from other photos I have taken in previous shoots. I like the detail the top of the leaves show and it looks as if it is a spiral

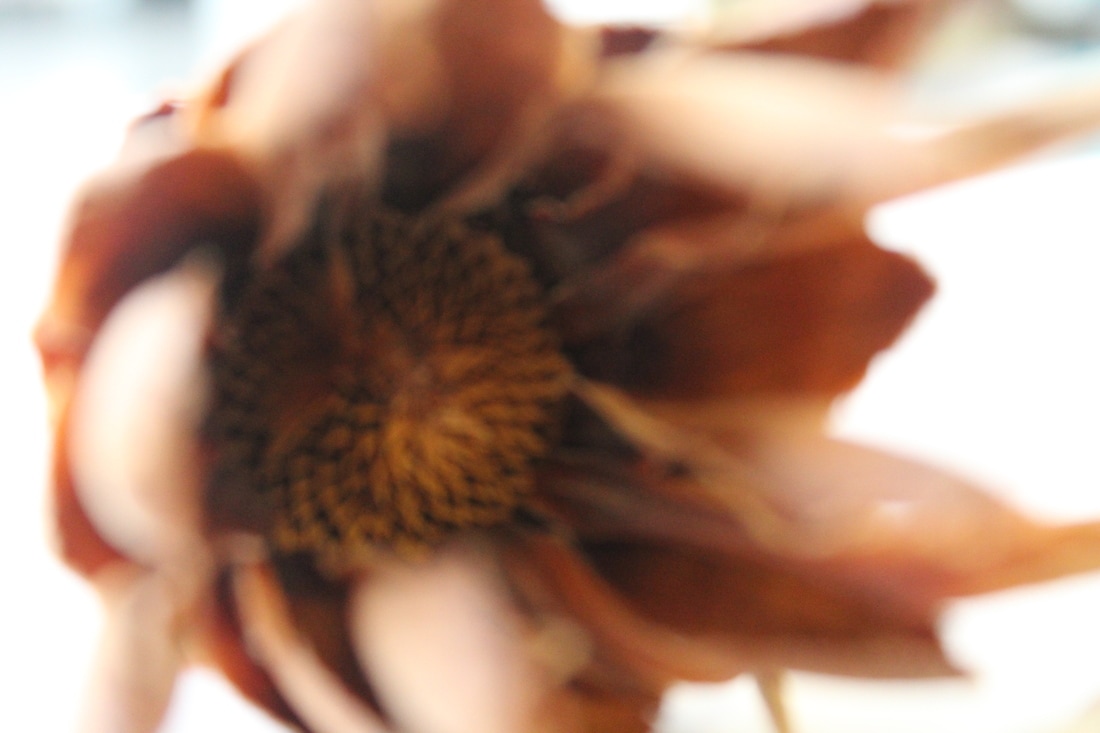
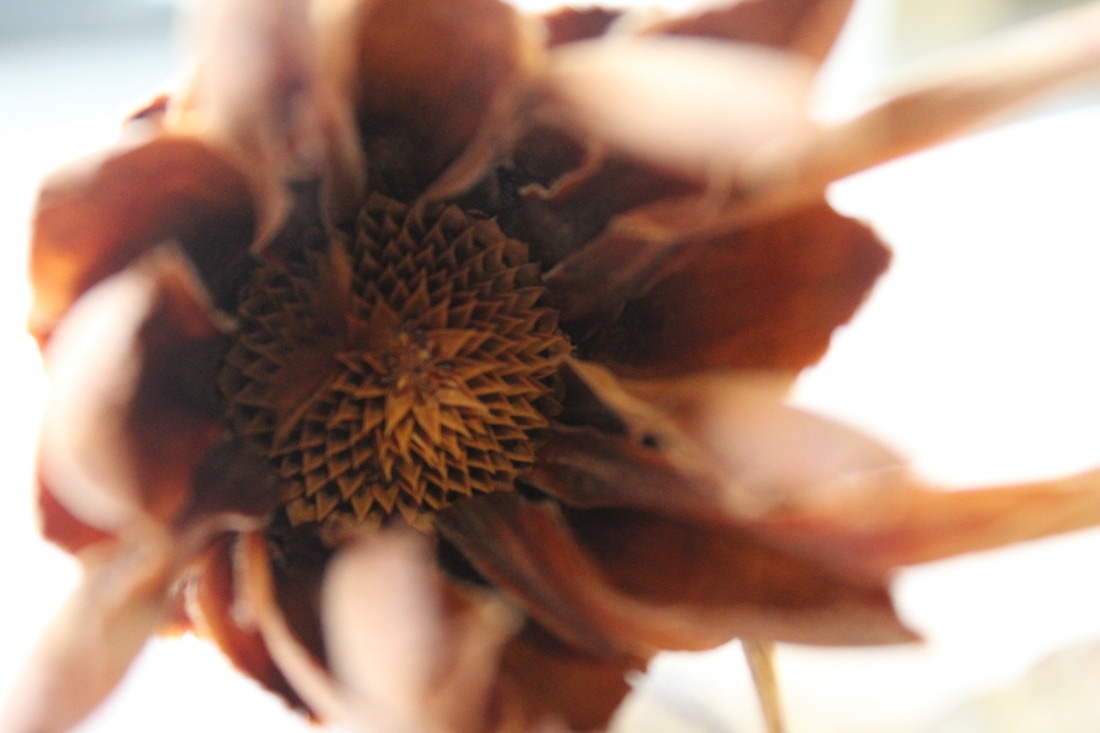
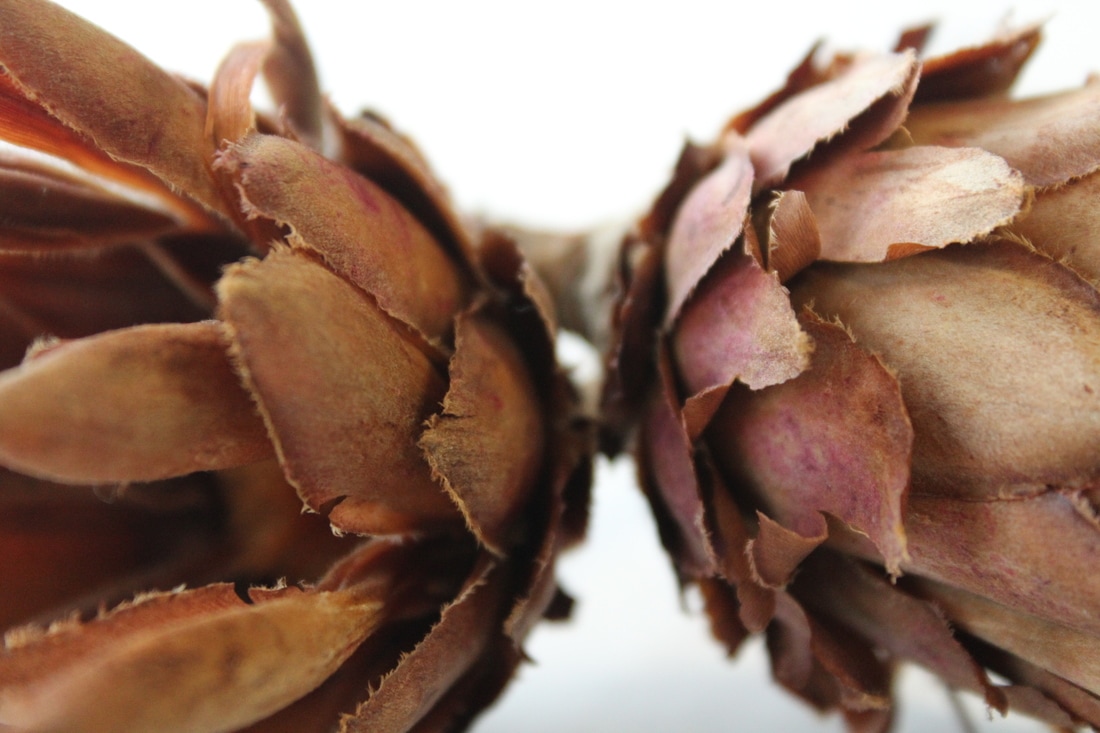
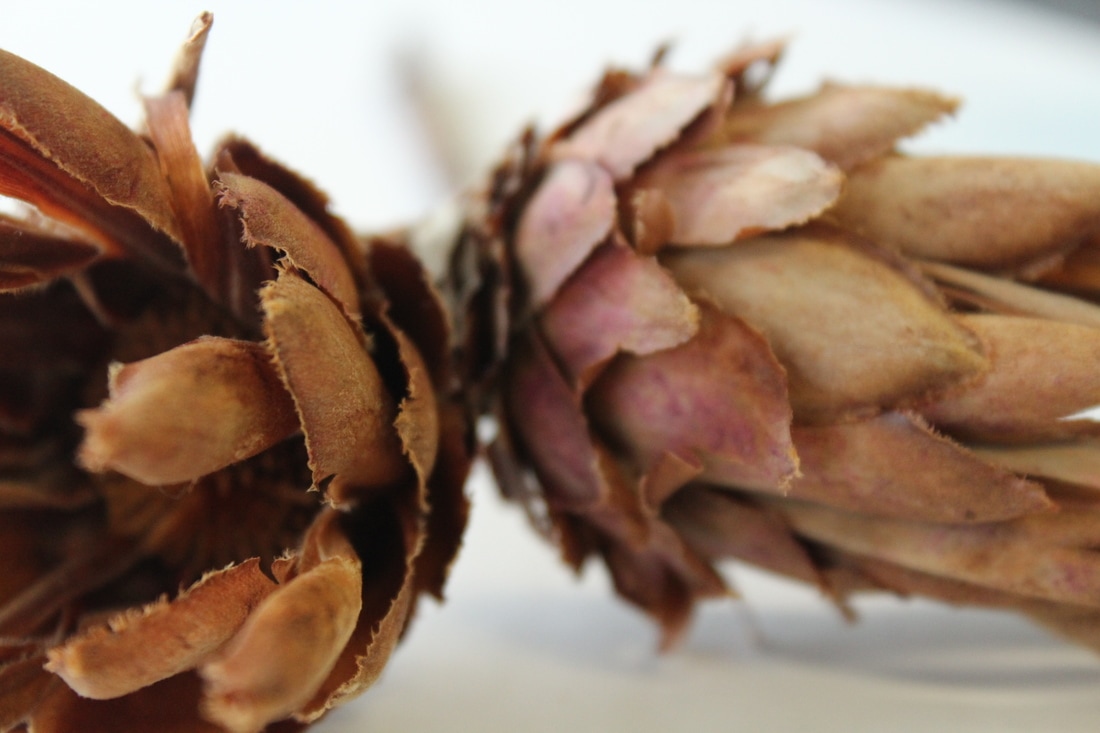
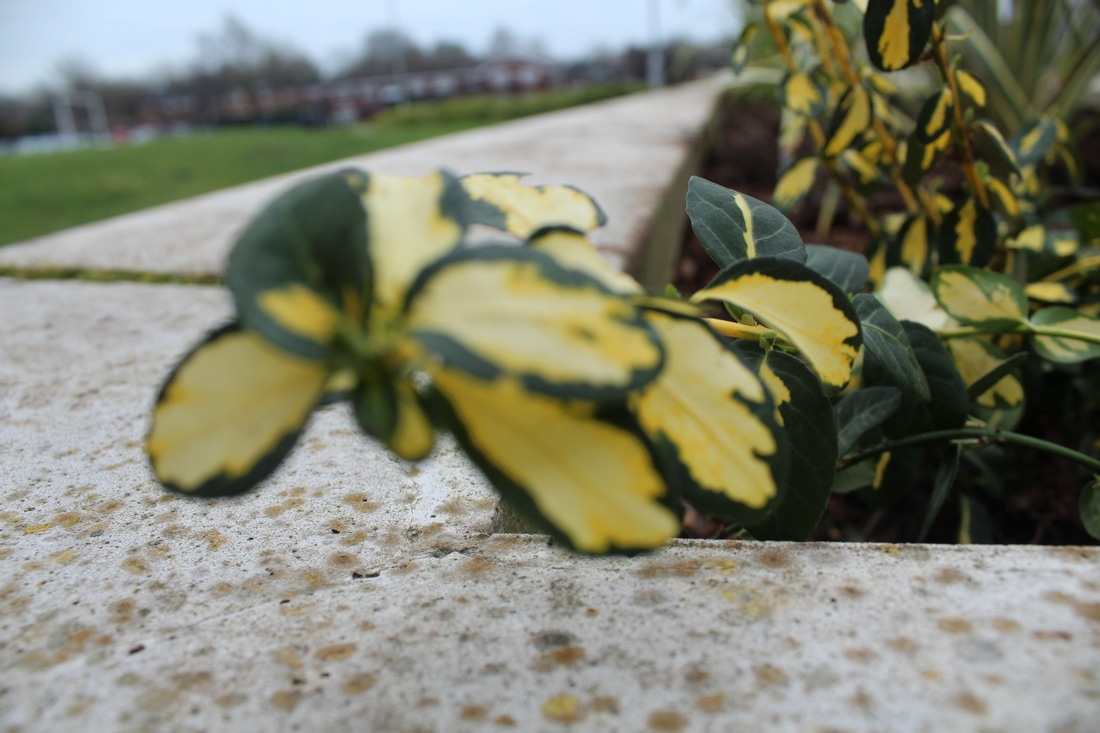
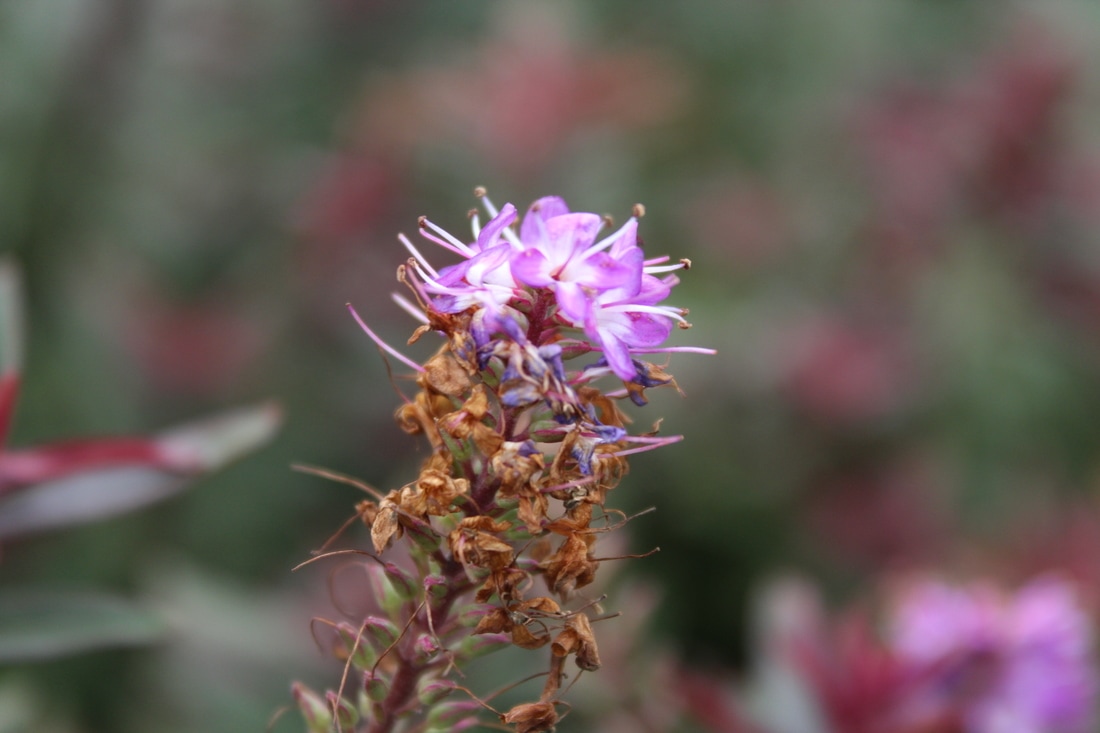
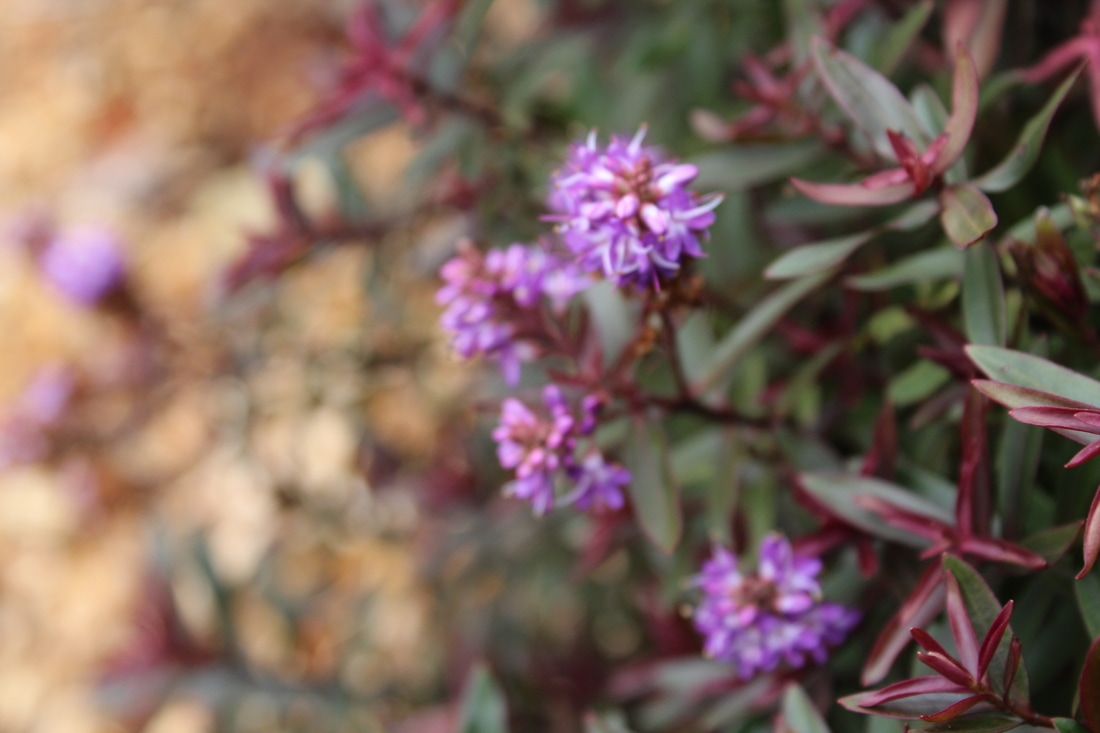
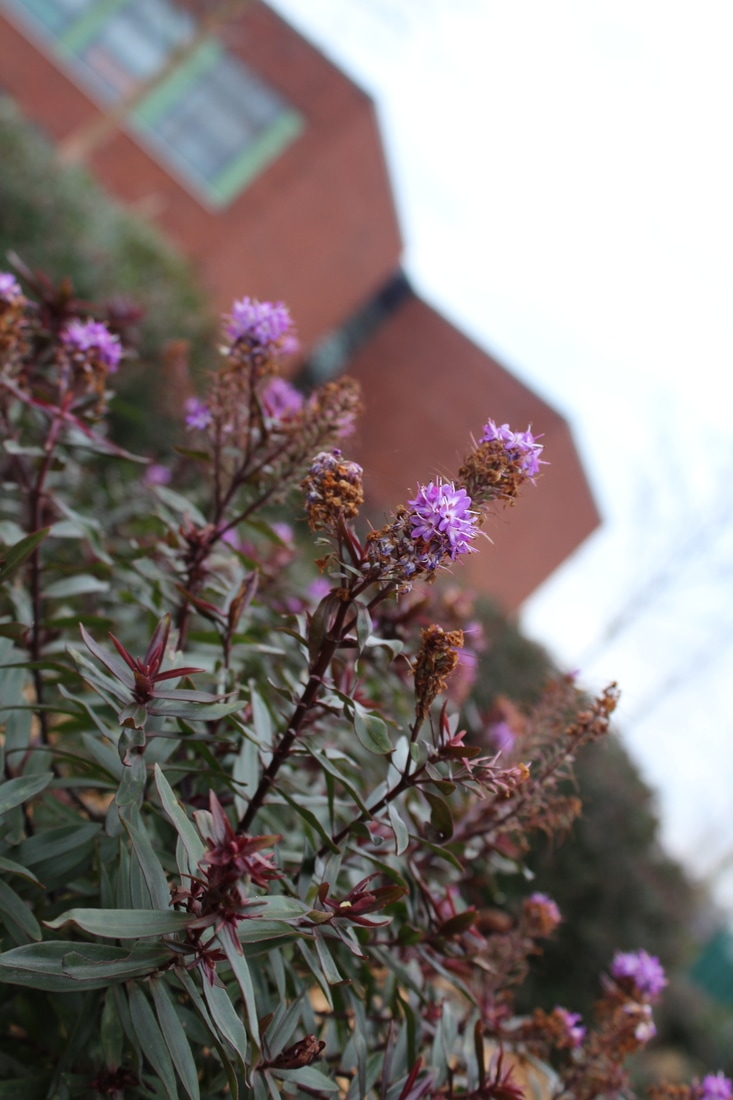
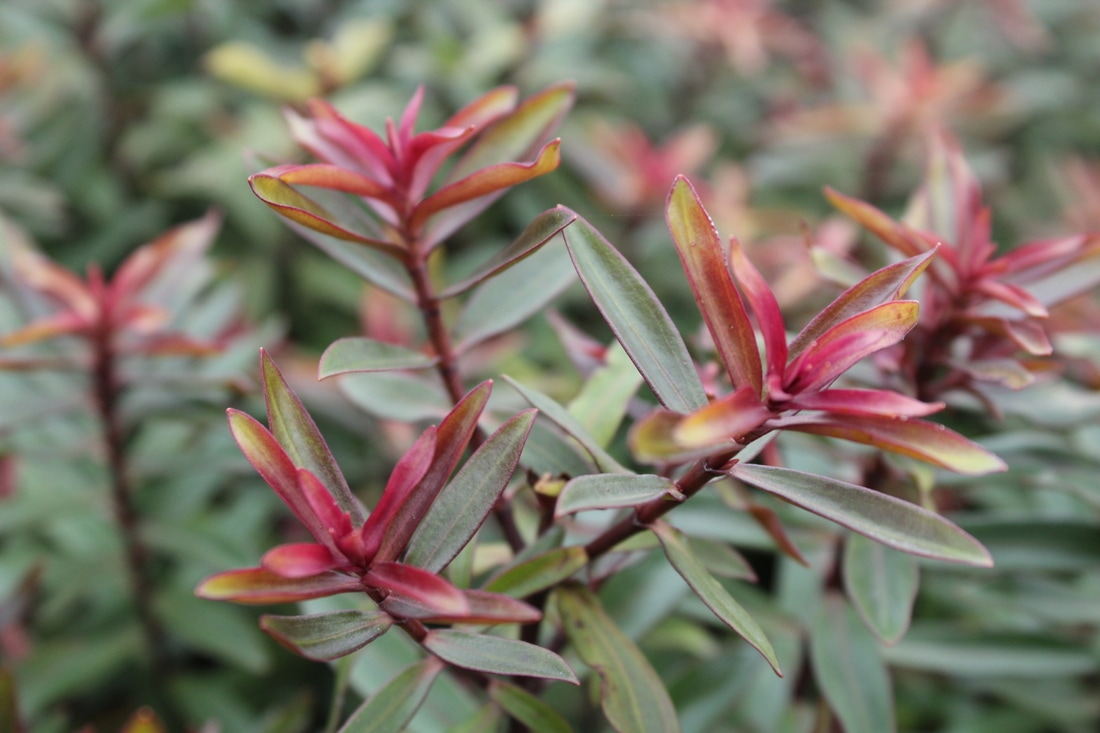
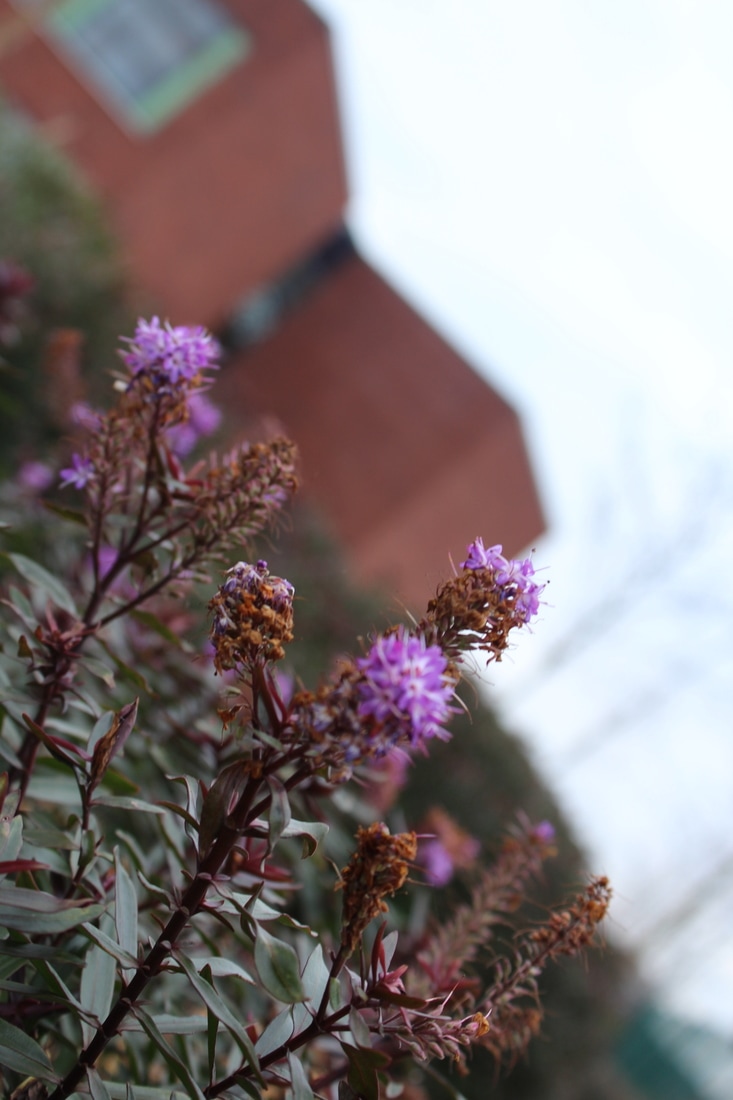
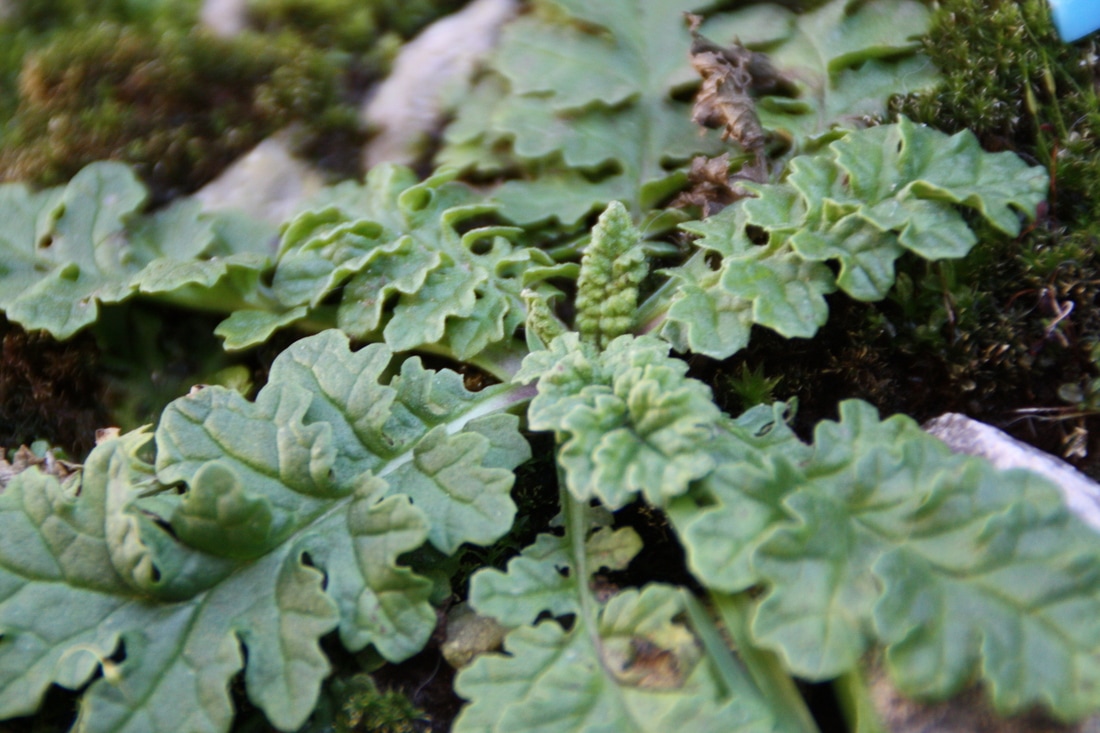
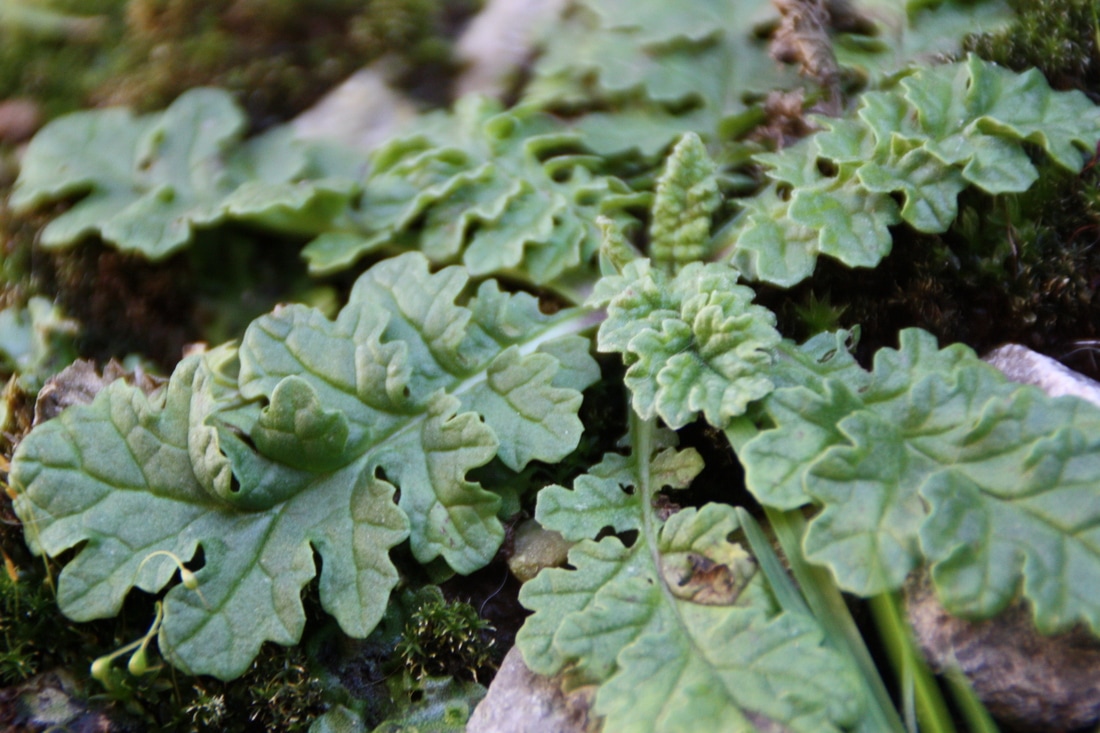
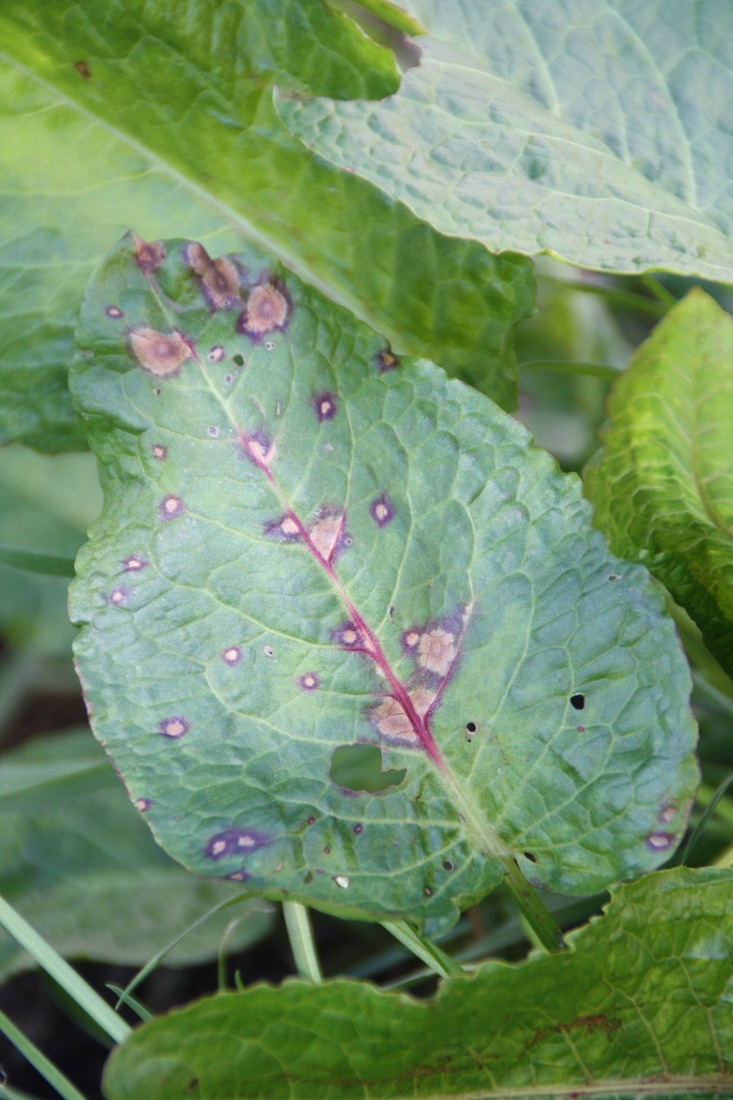
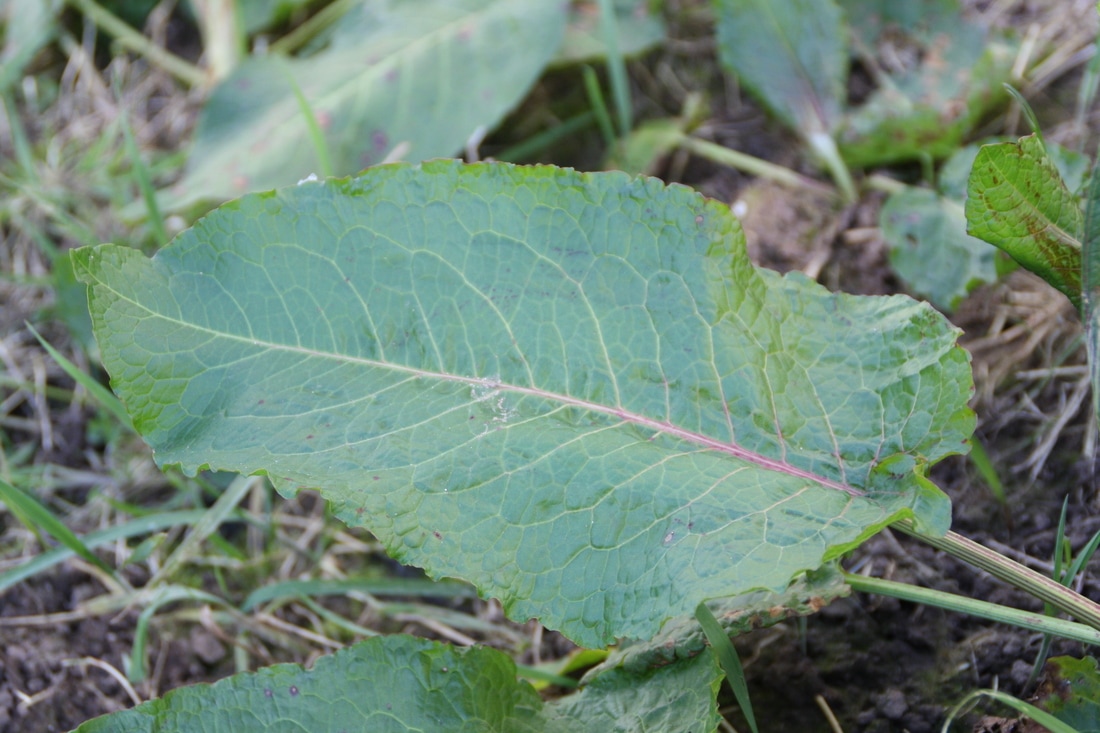
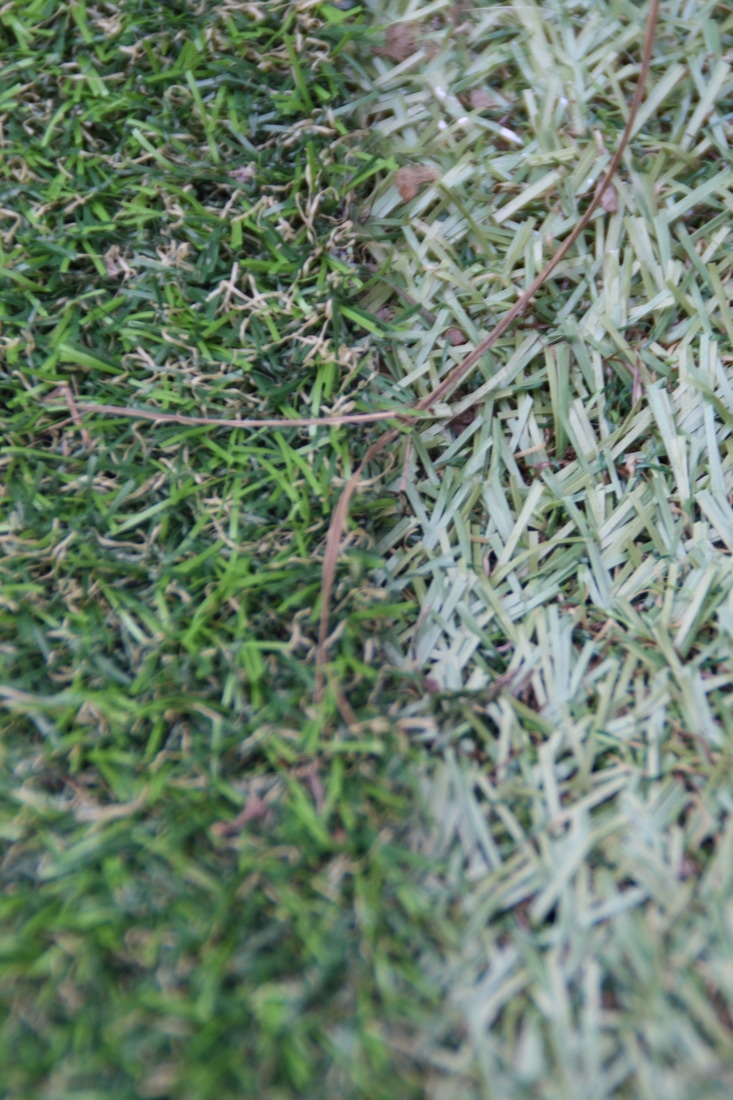
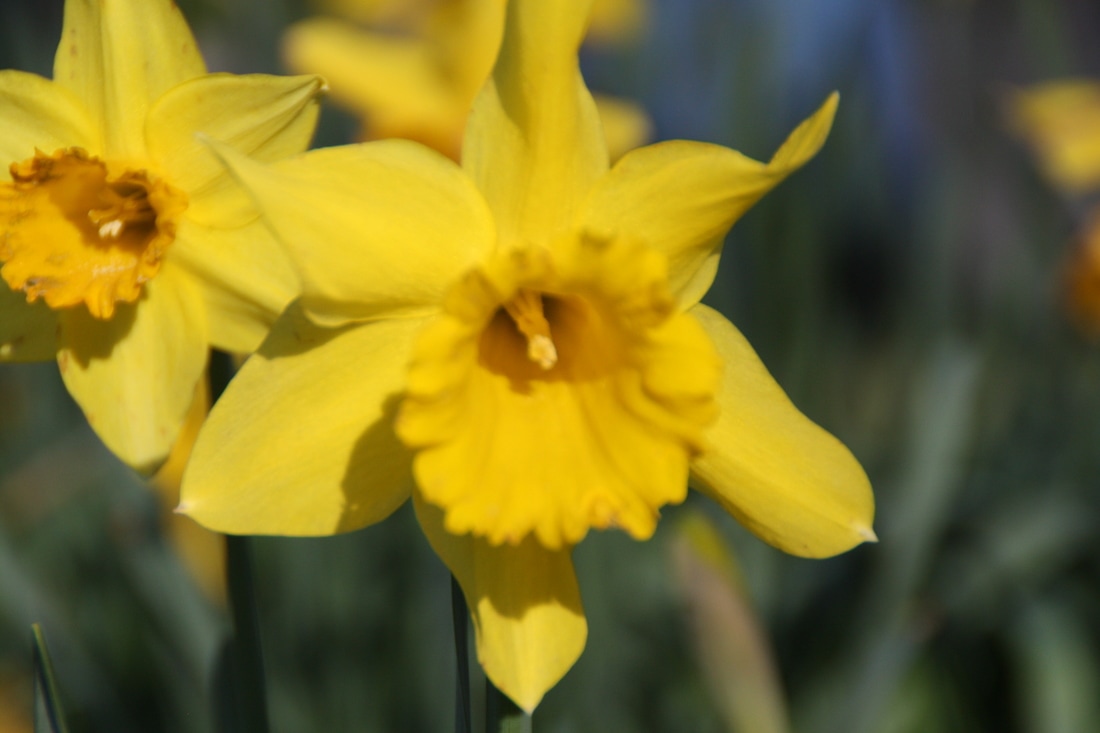
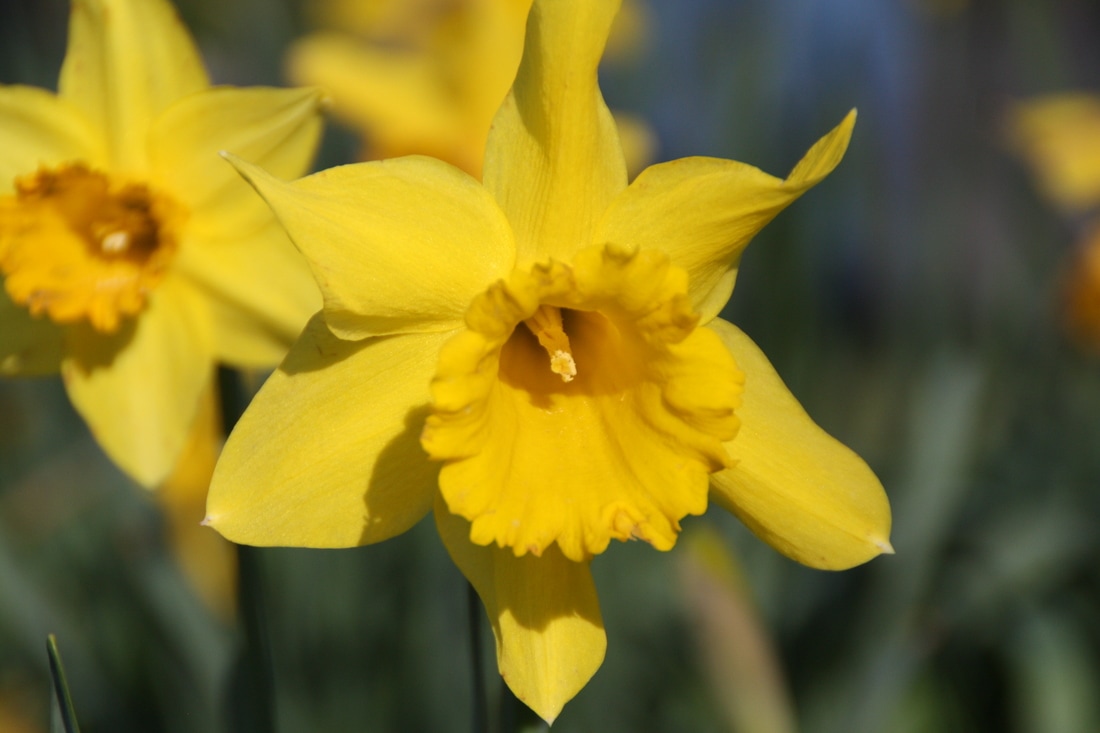
Shoot 7
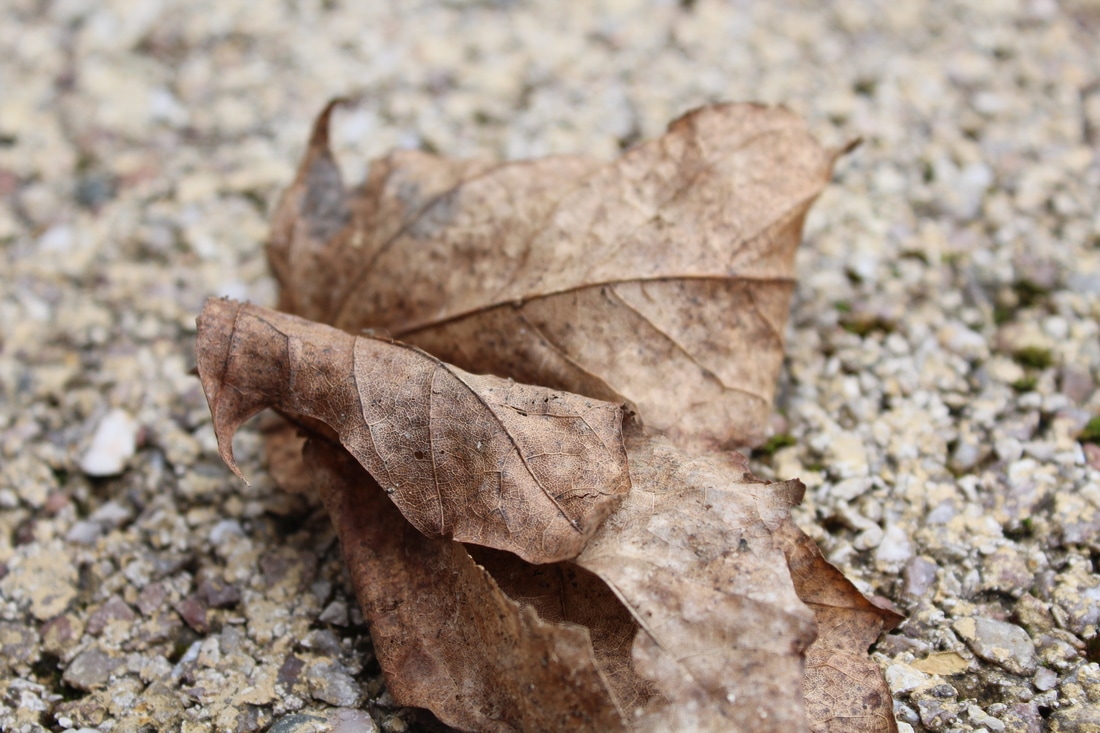
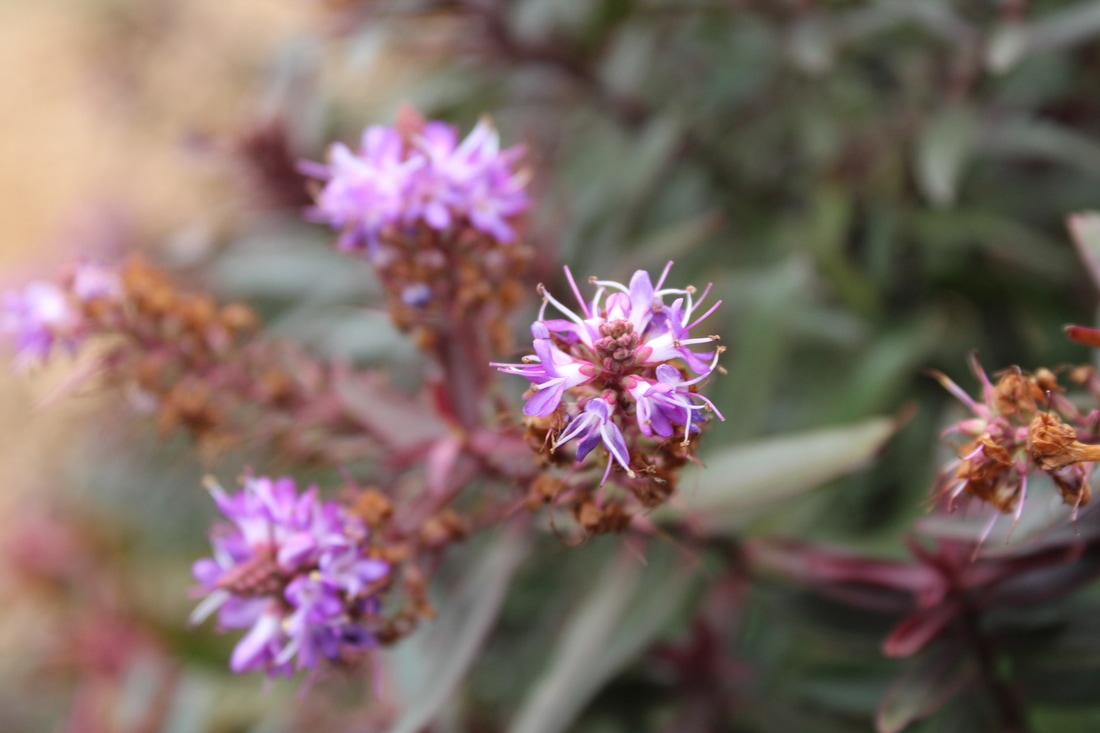
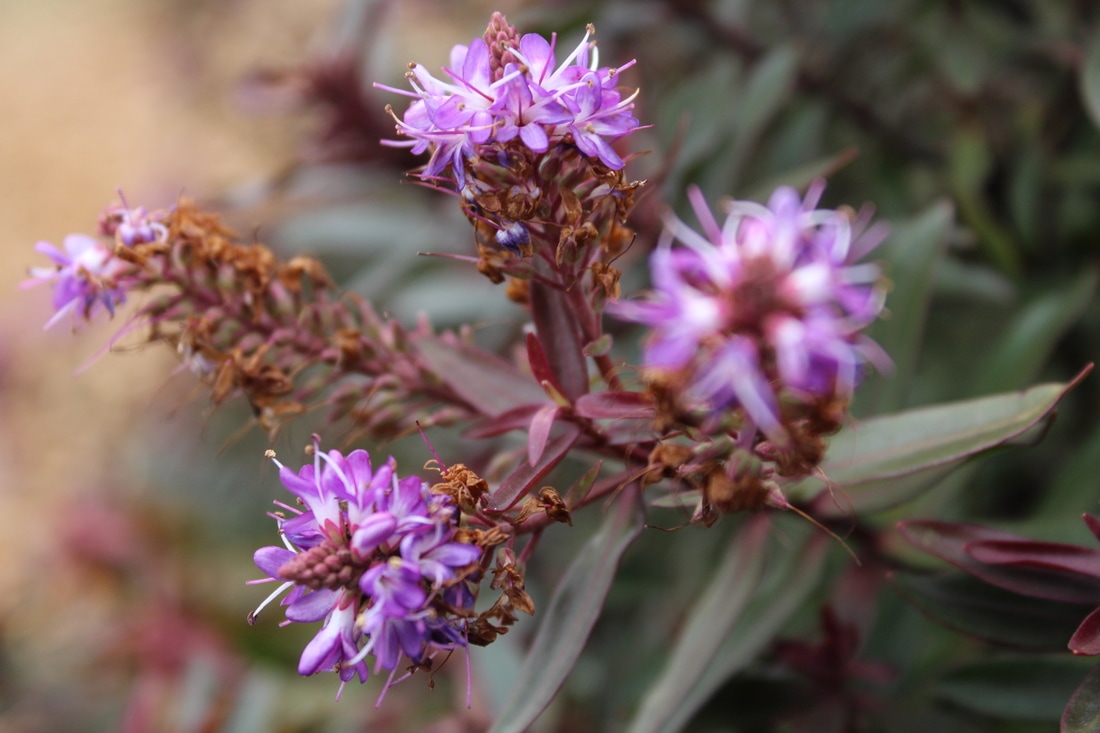
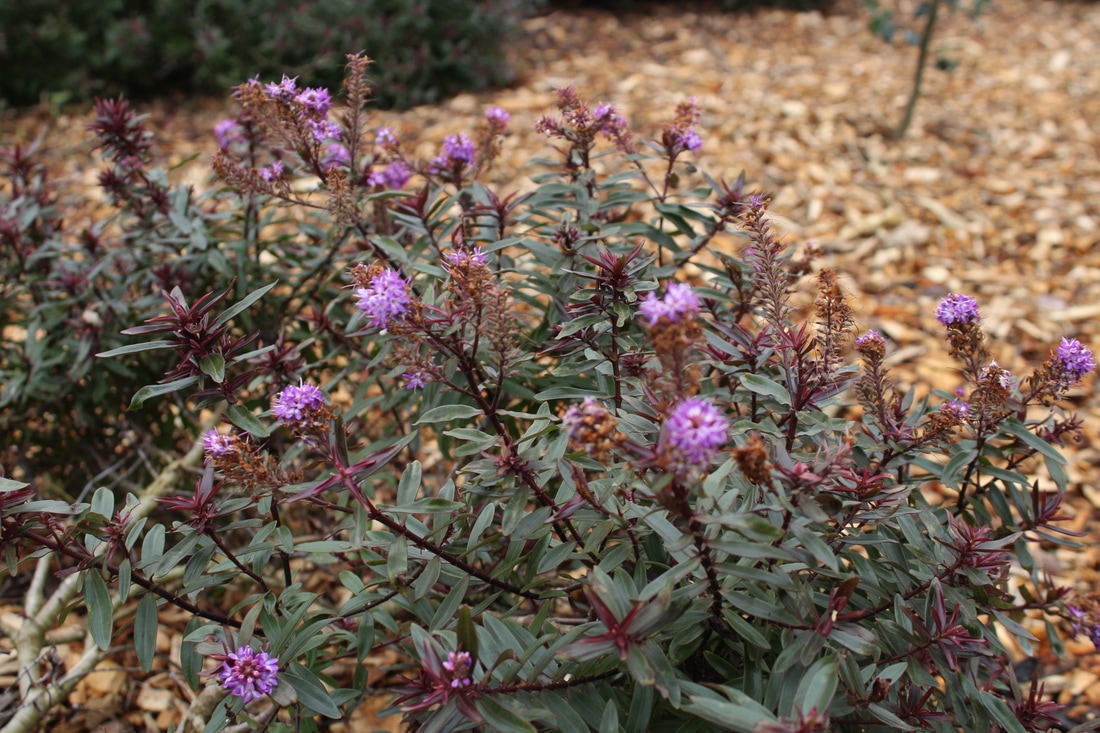
For shoot 7 I am going to show other forms of nature like flowers, leaves and trees and zoom in on the detailed parts of nature. I will find photos that give a range of colours and do this shoot outside on a sunny day to not only capture the detail put any shadows given from the flowers or leaves.

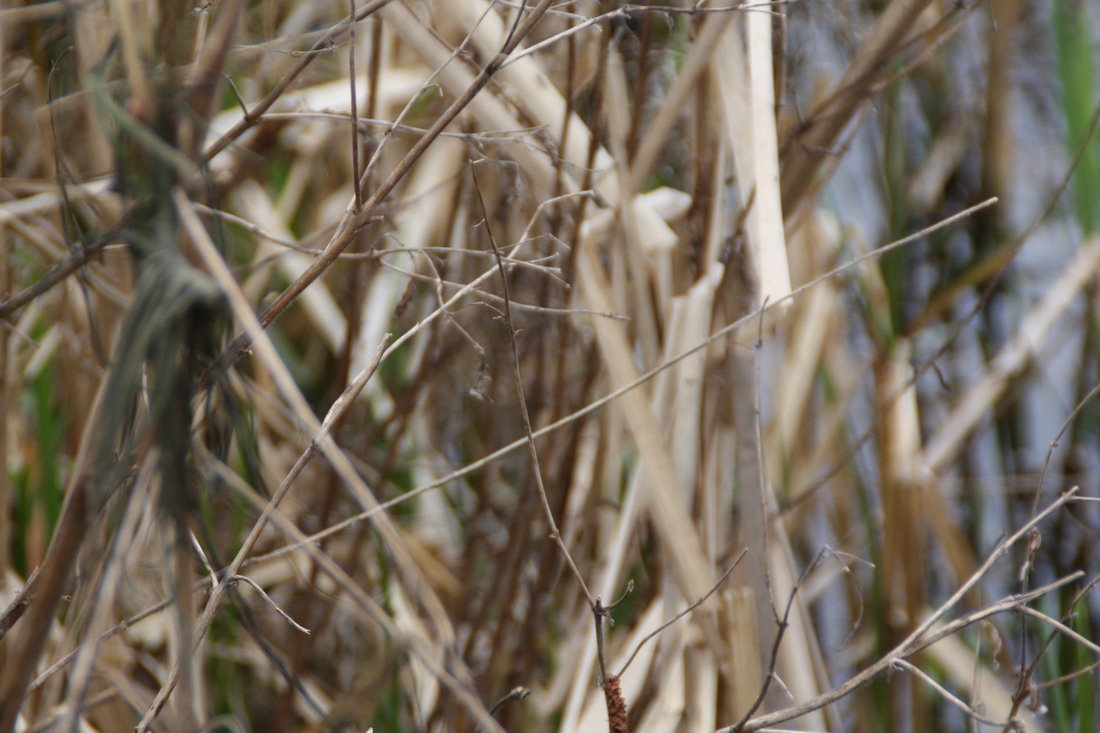


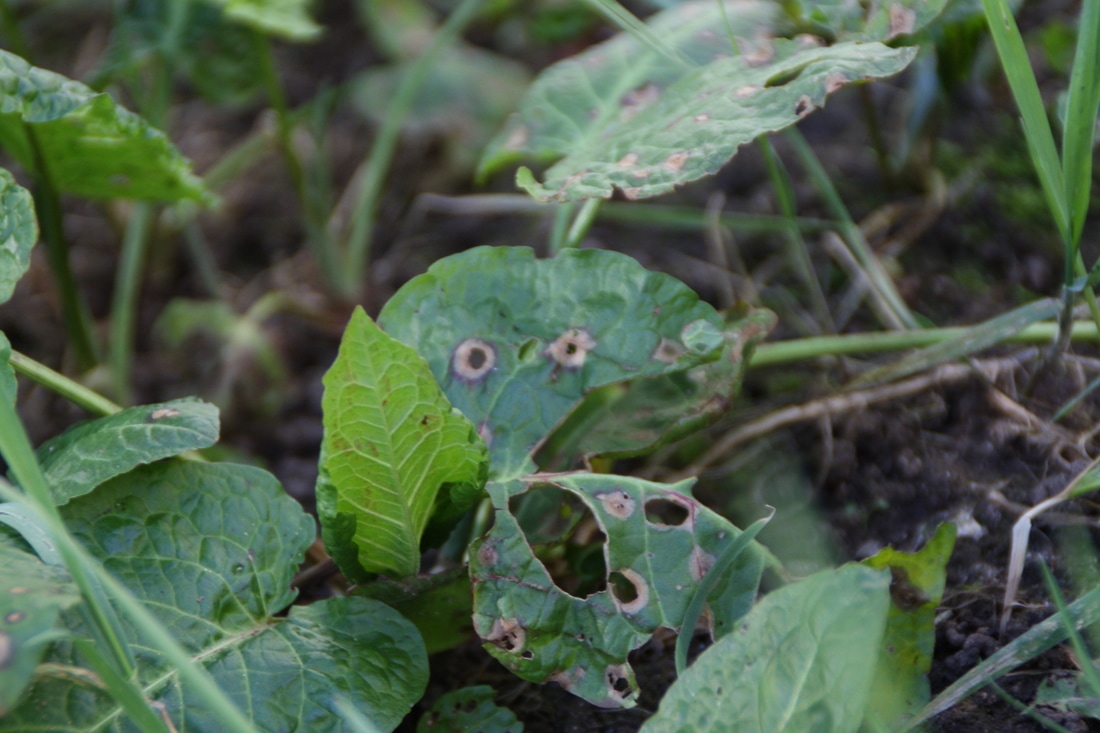
Worst
I don't like this photo because it is boring isn't focused on the broken/damaged weeds instead it focuses on the water.

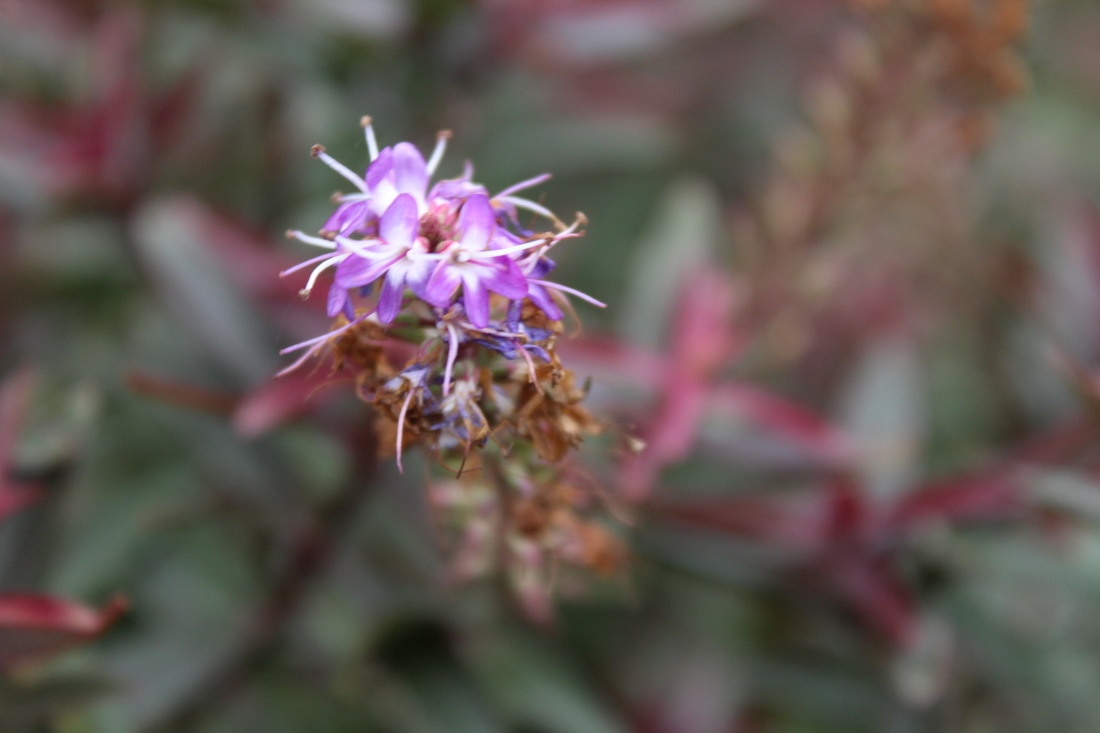
Best
I like these photos the best because it shows the difference in life and death for a flower in detail. the photos show the macro photography effect and have the right exposure and aperture.

|

|
Final Piece:
Mind map
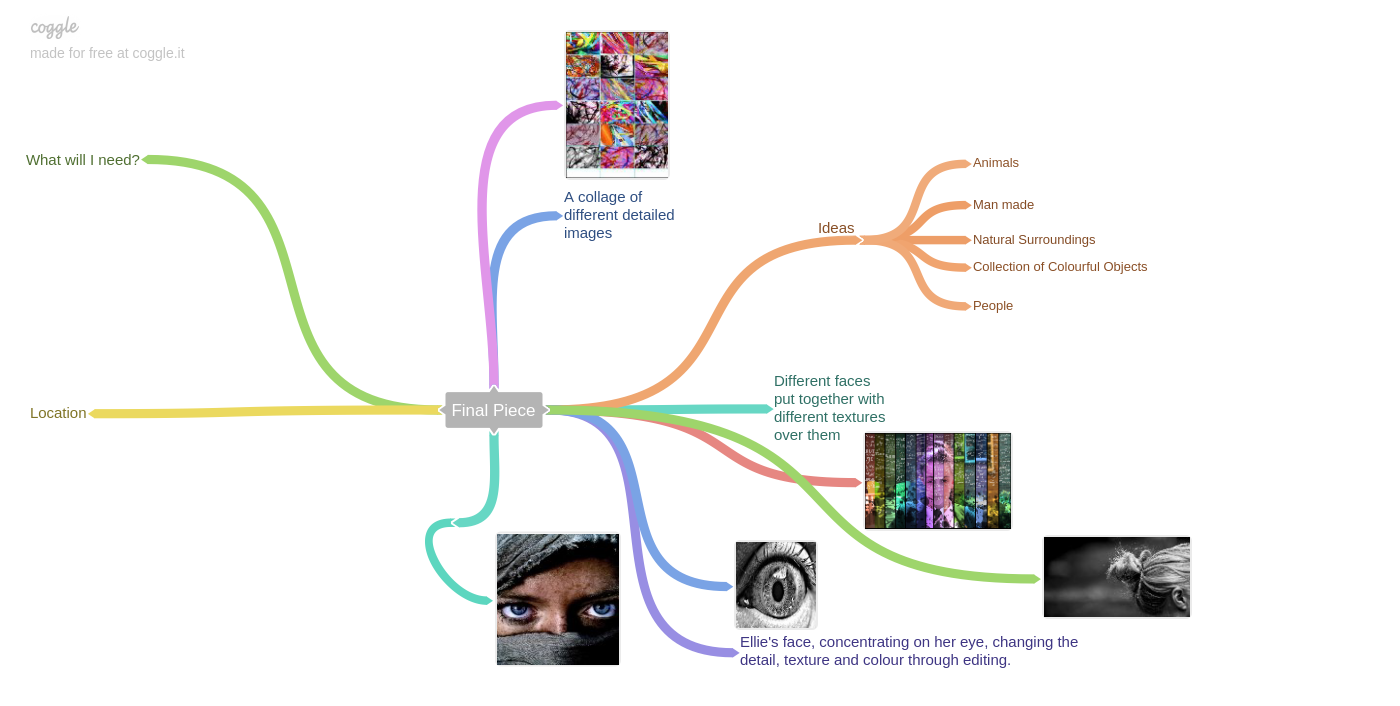
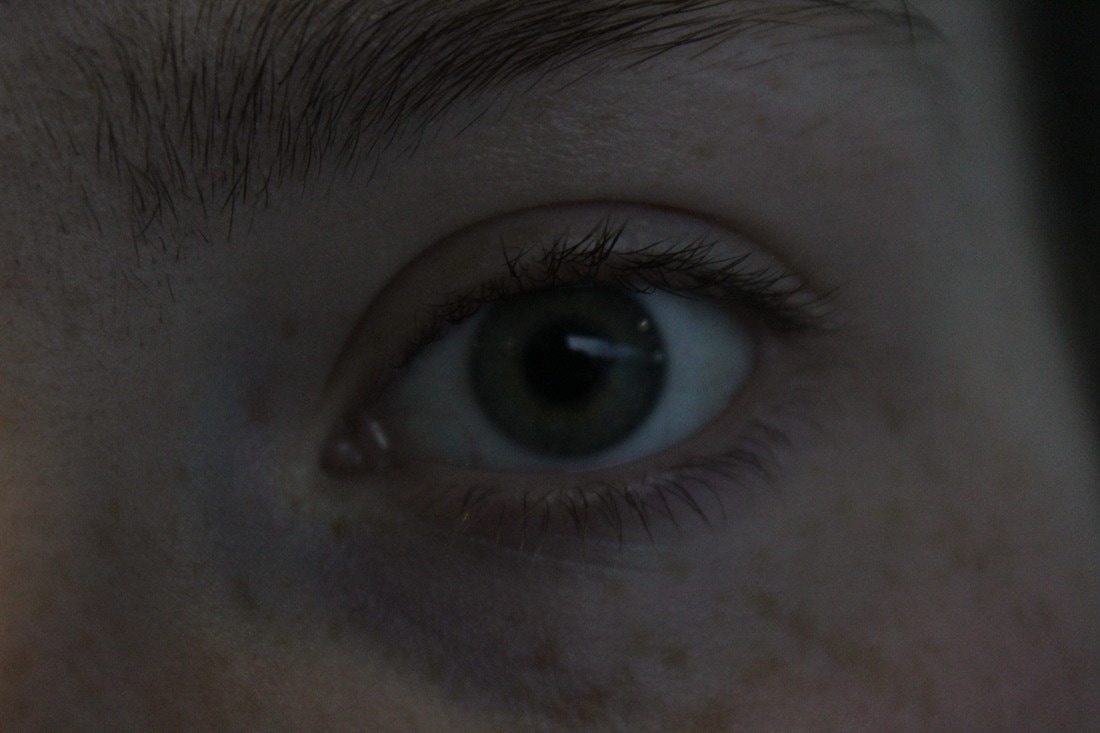
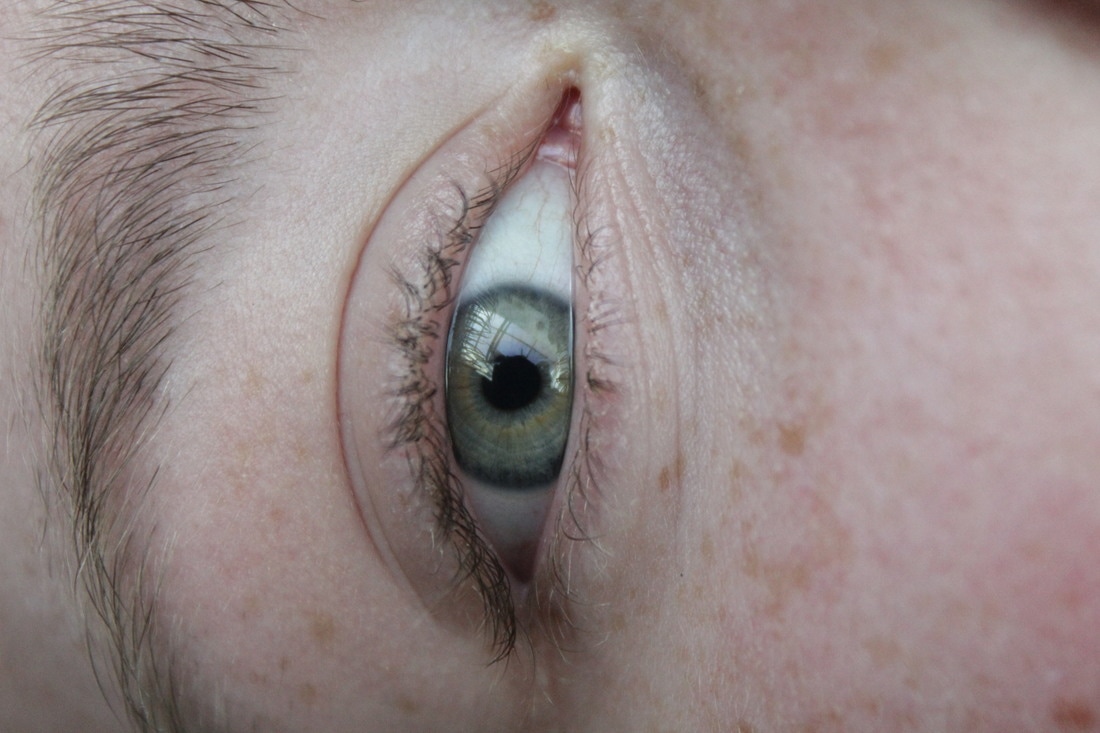
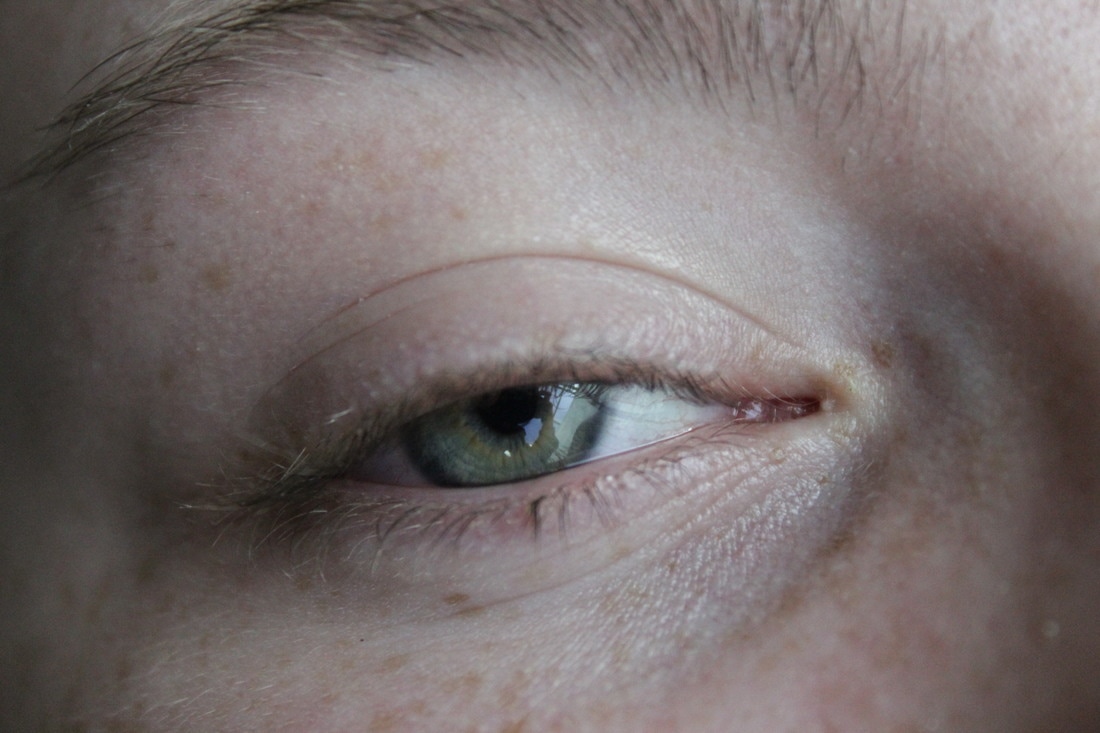
For my final piece I have an idea to take a close up of and eye with the eyebrow in. then I am going to get a collect of my photos and use photo plus to edit them on to the eye photo where I will change the white balance of the photos to match with the colour of the eye and part of the face.
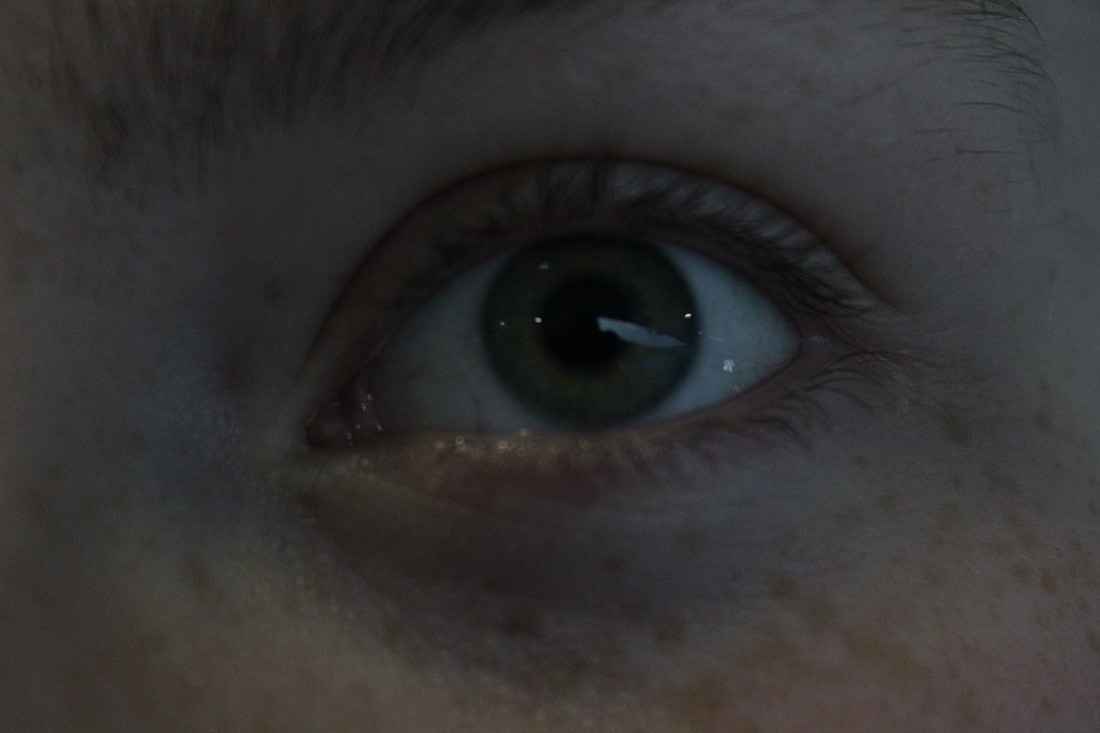
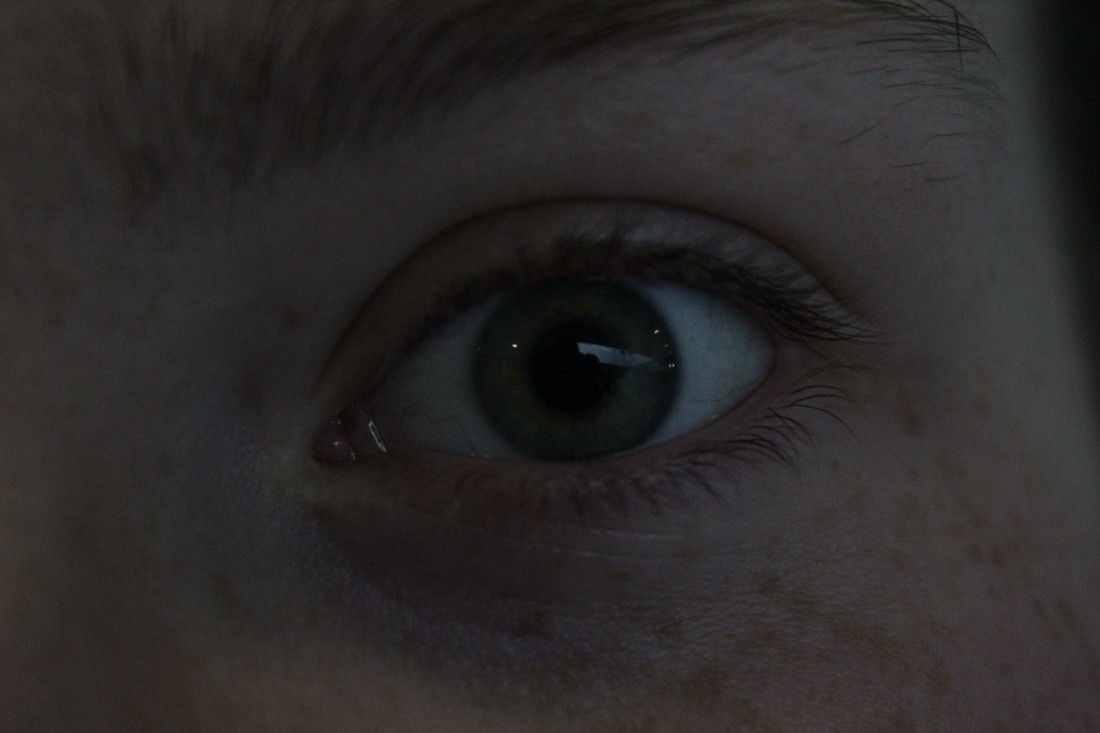
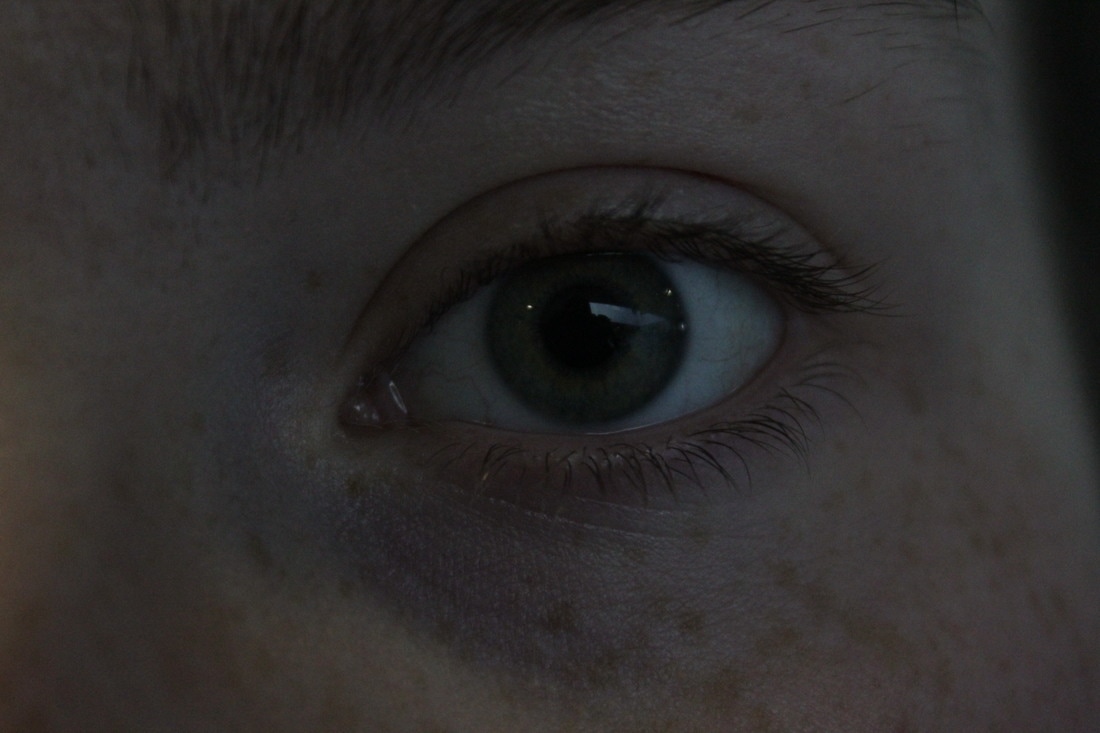
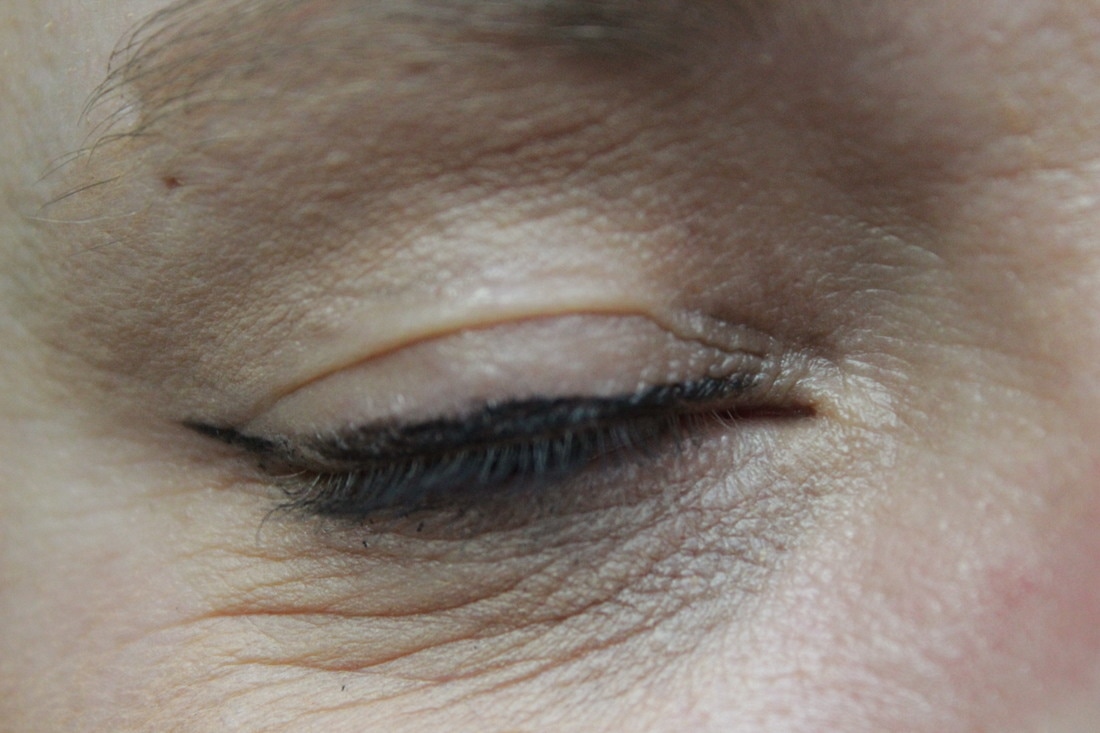

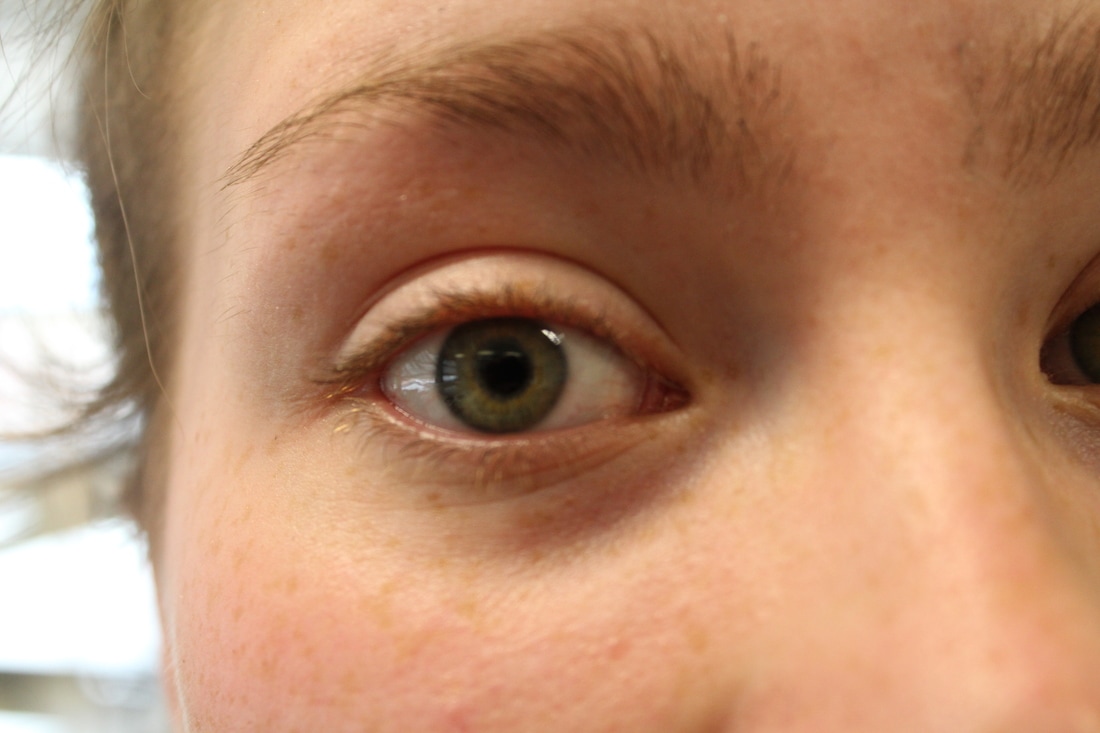

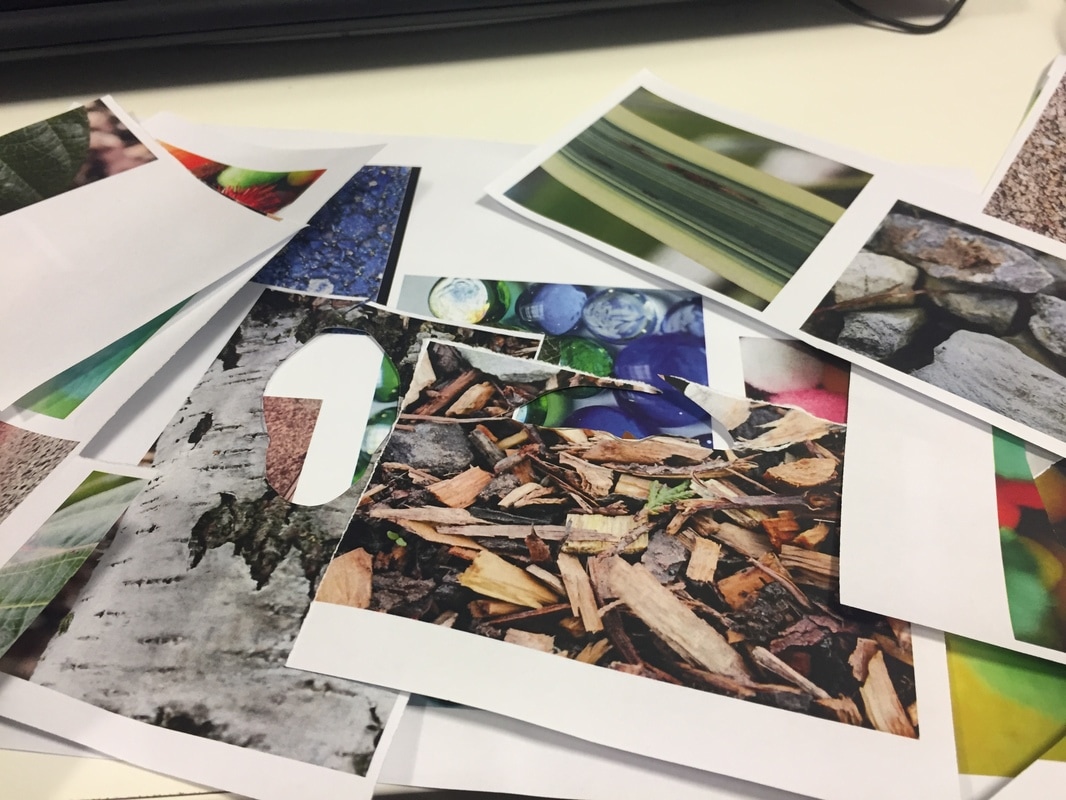
I tried to create my idea on the computer rather than physically but I struggled to get the colour to match her skin tone so I am going to experiment this idea a different way. I am going to print out one of the eyes and many of the detailed photos I have taken and cut the pupil out so I can glue the detailed images on like in a college way. I will do this on paper.

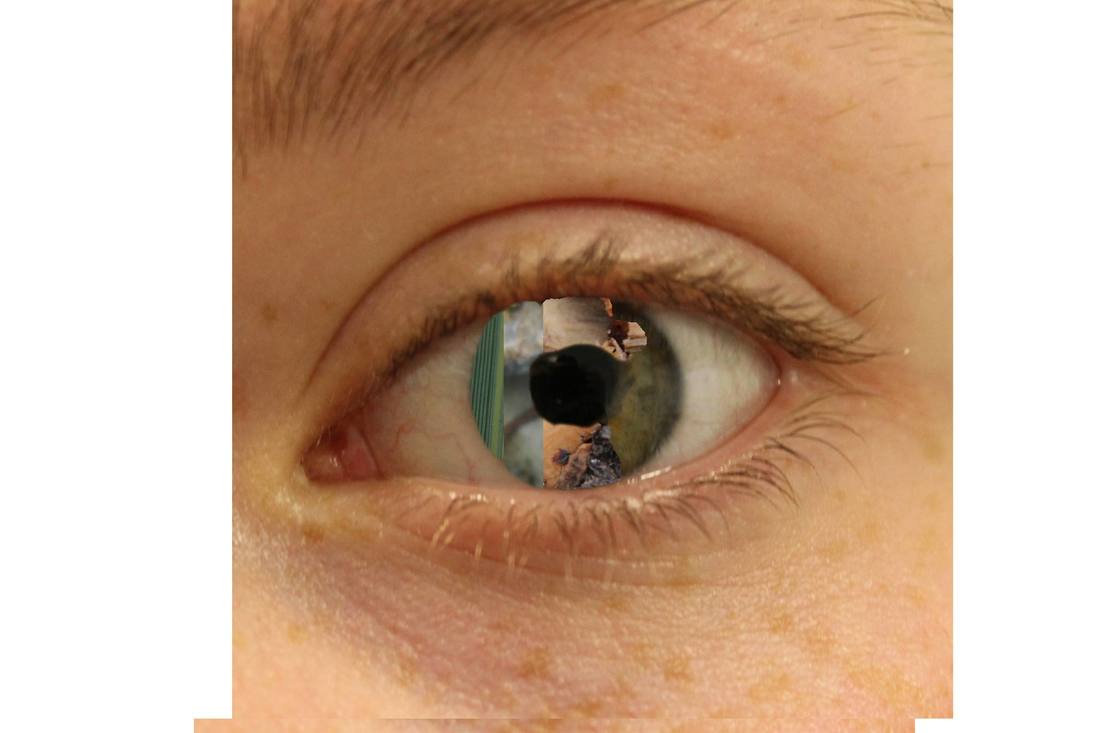
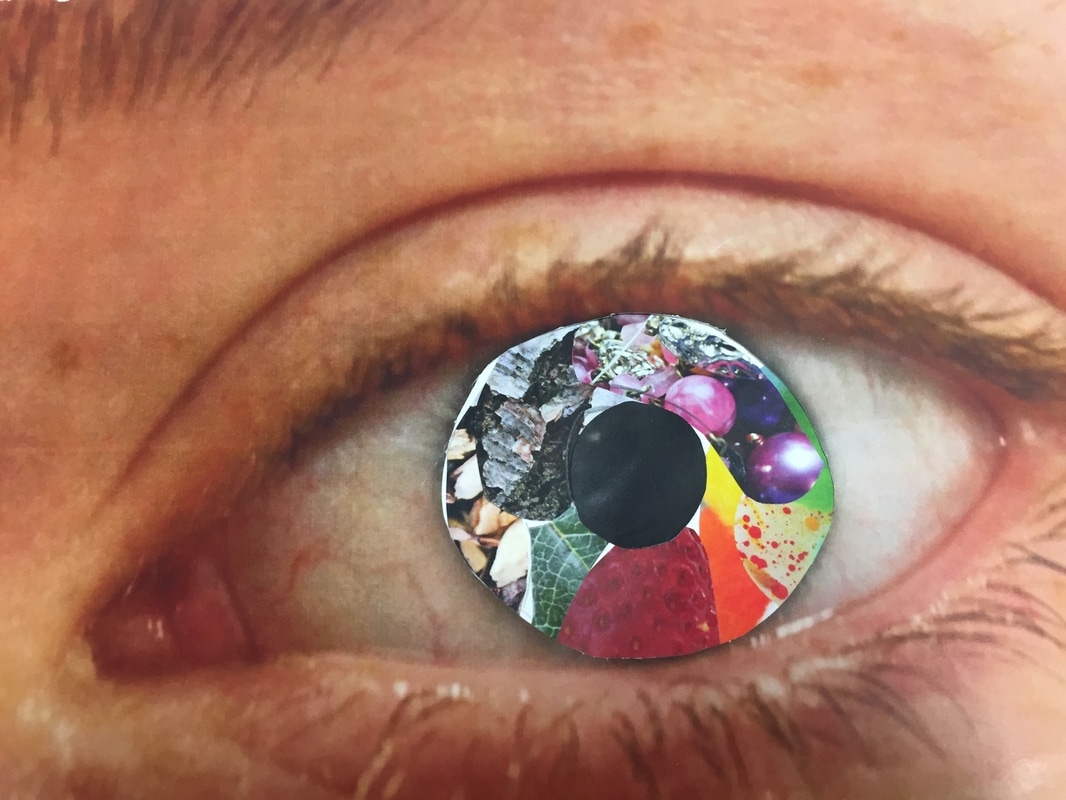
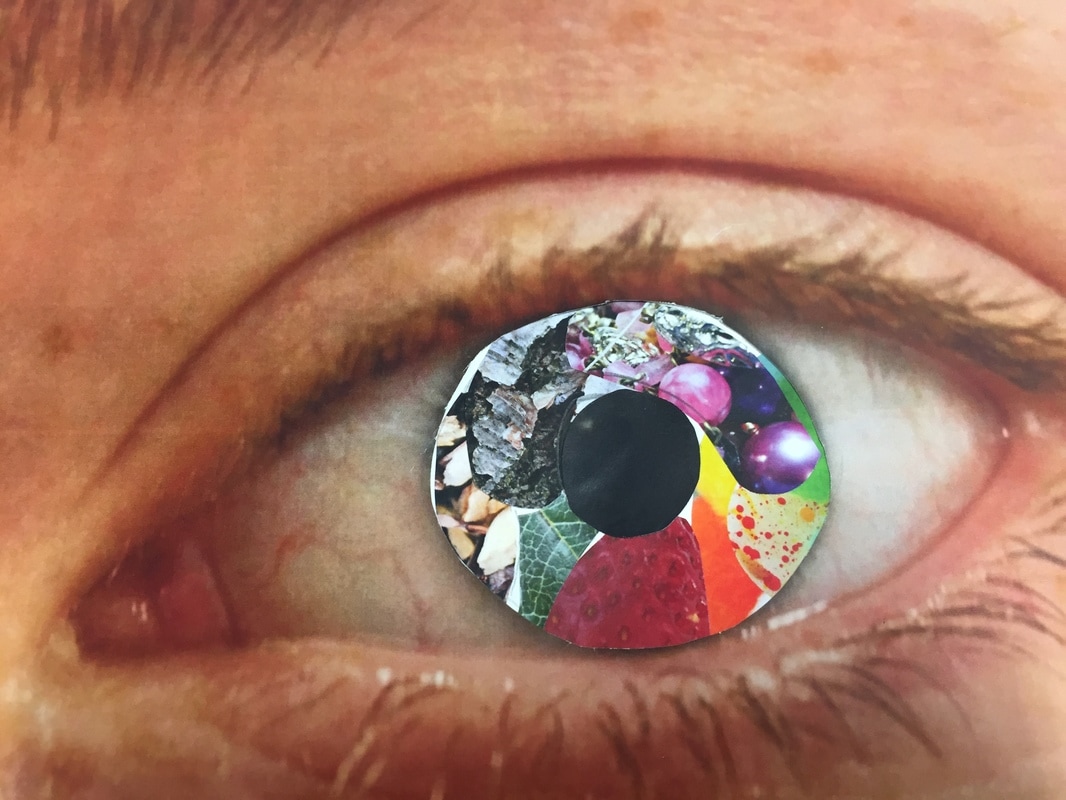
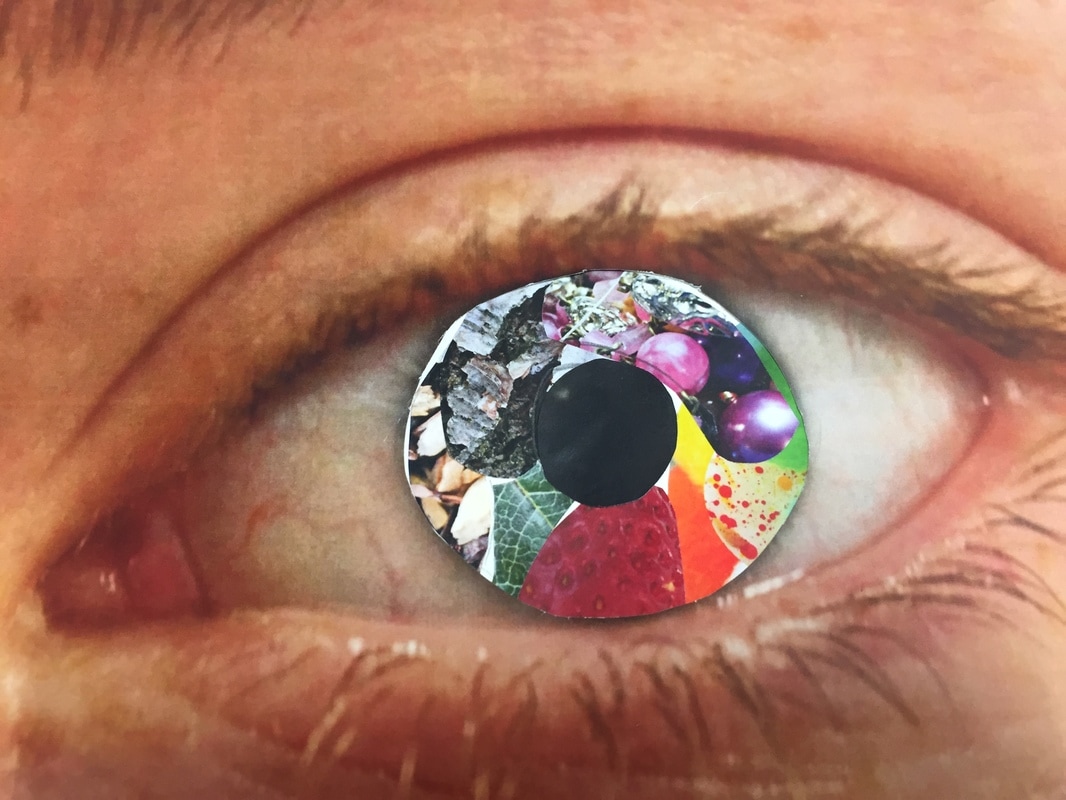

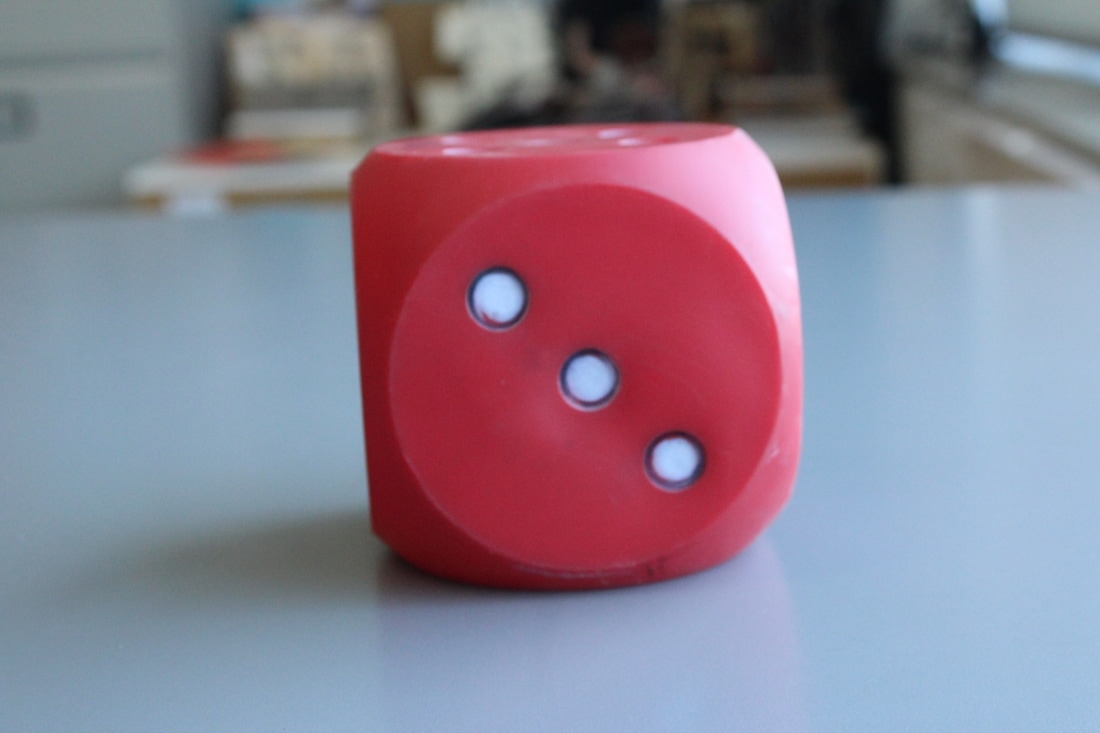
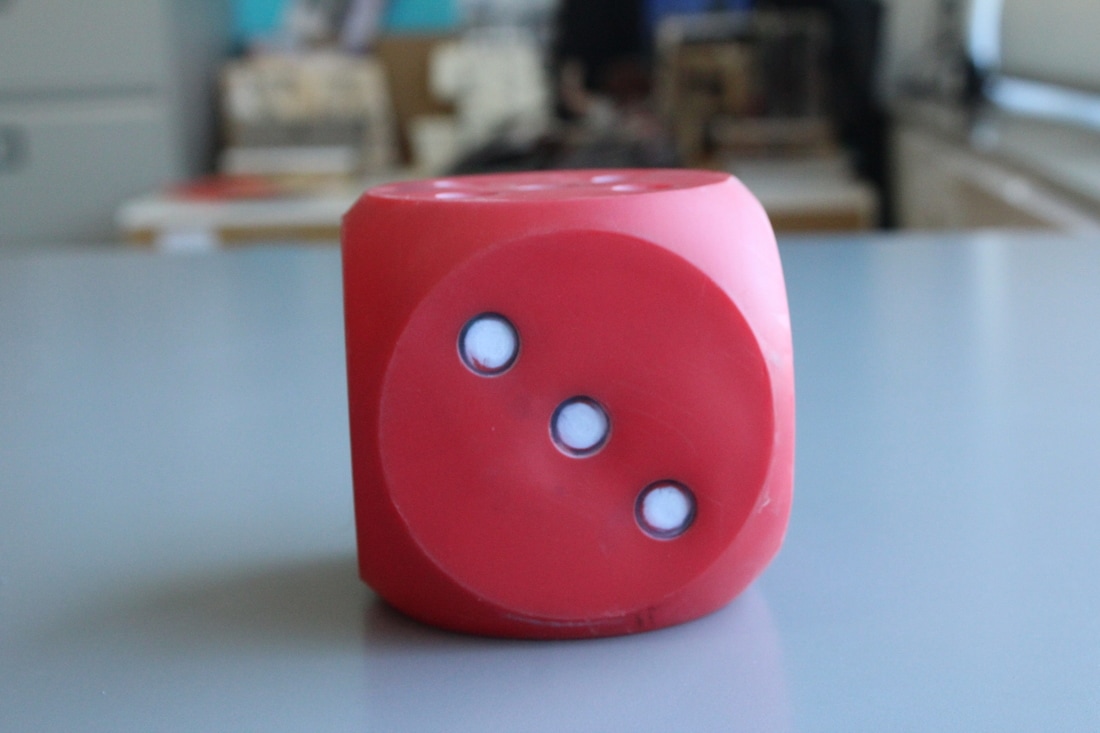
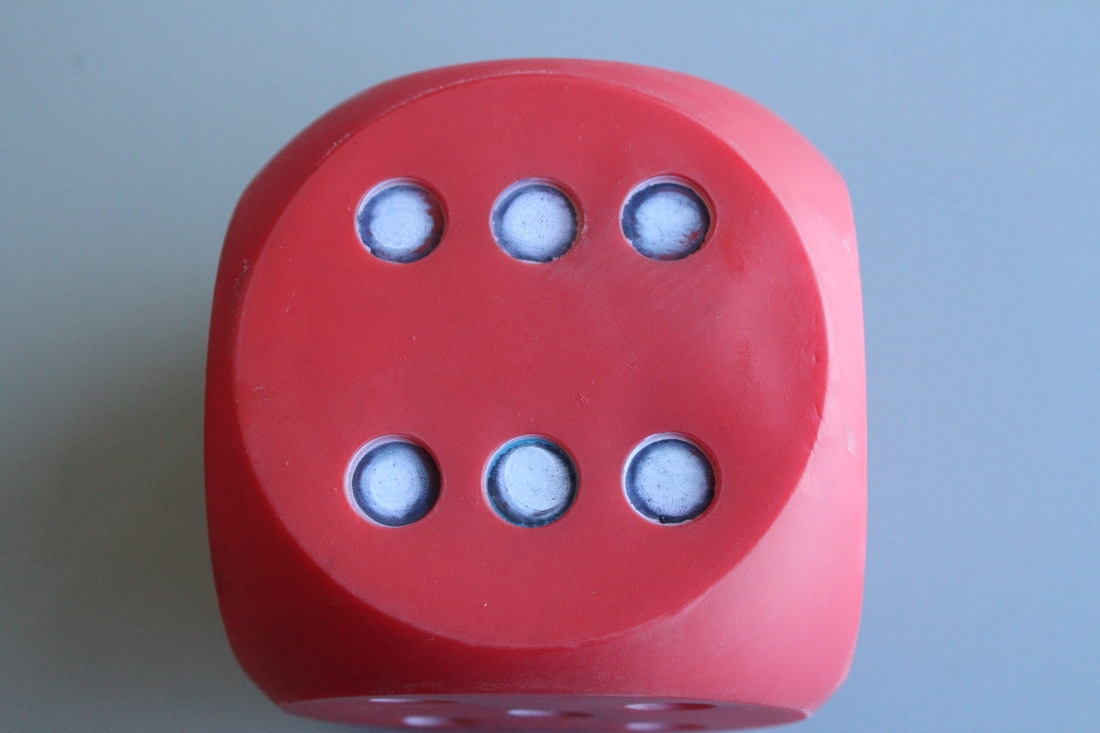
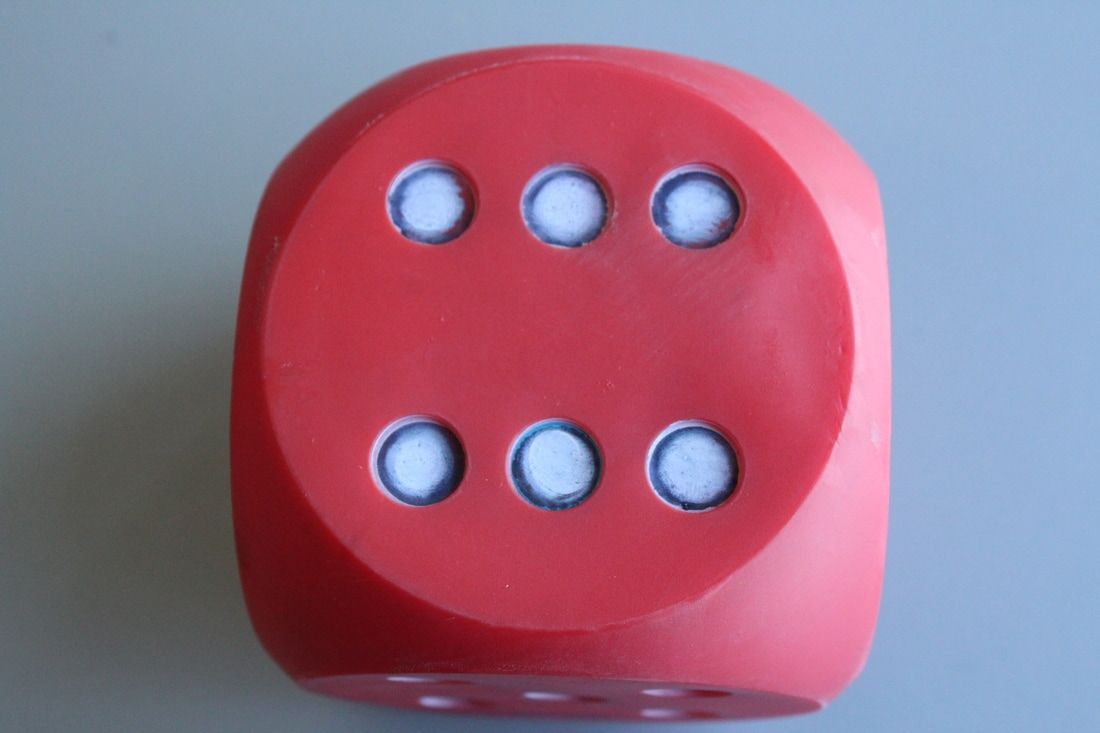
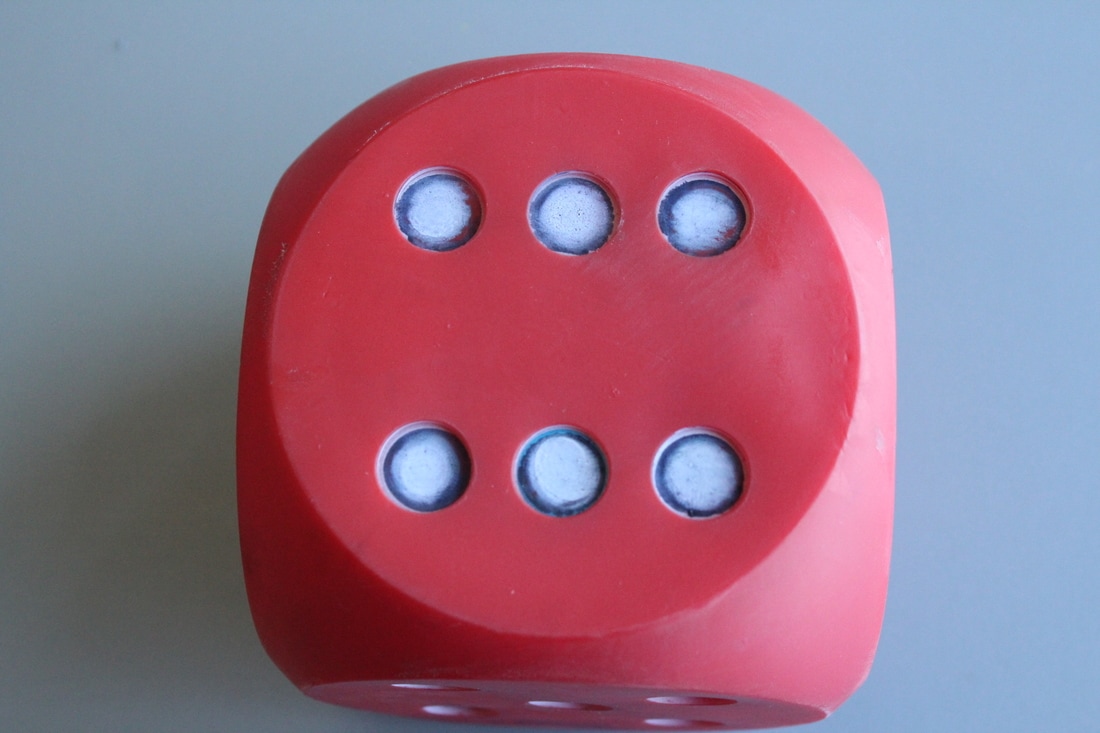
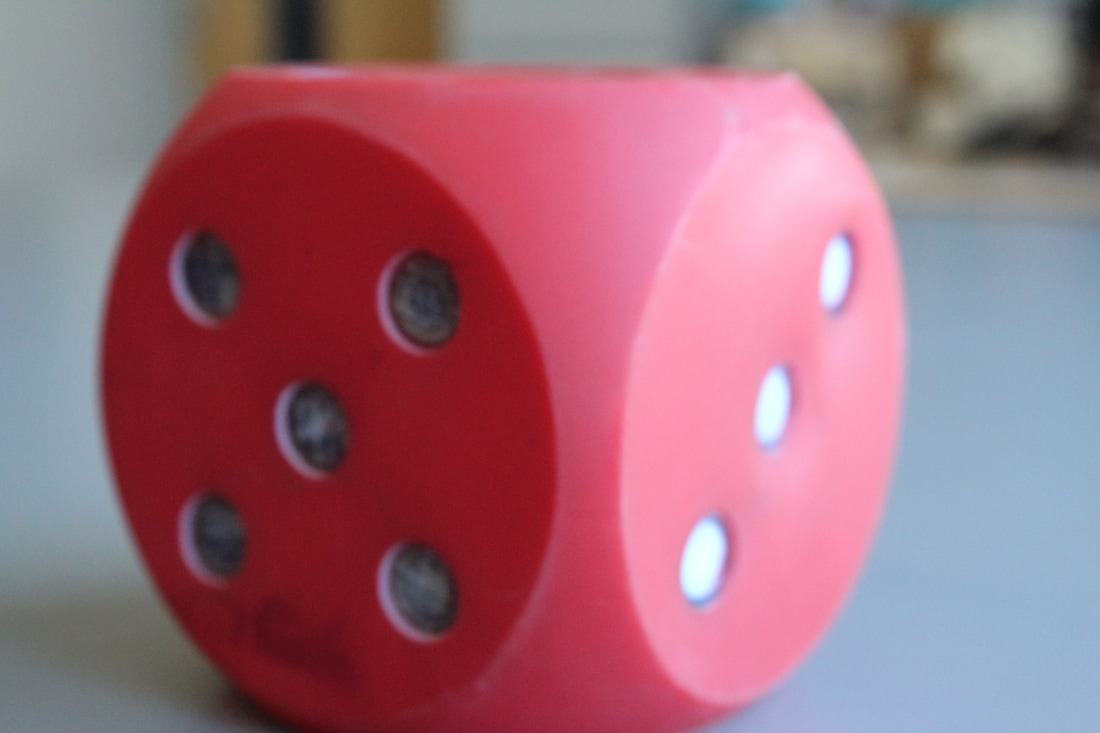
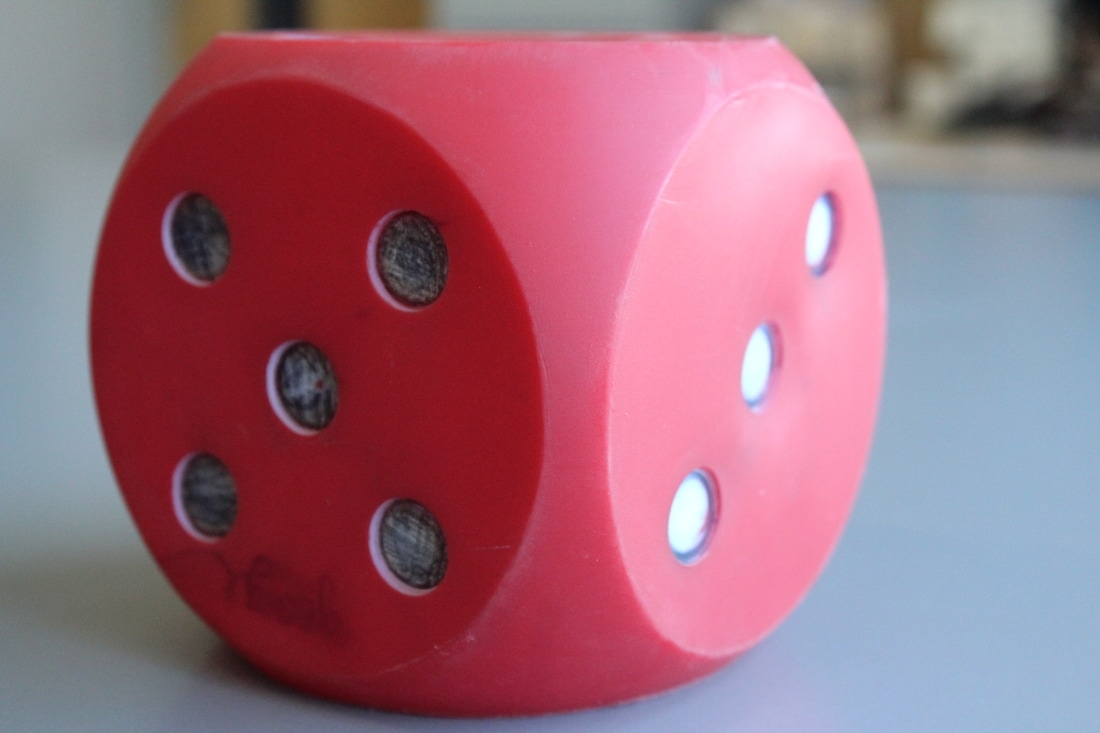
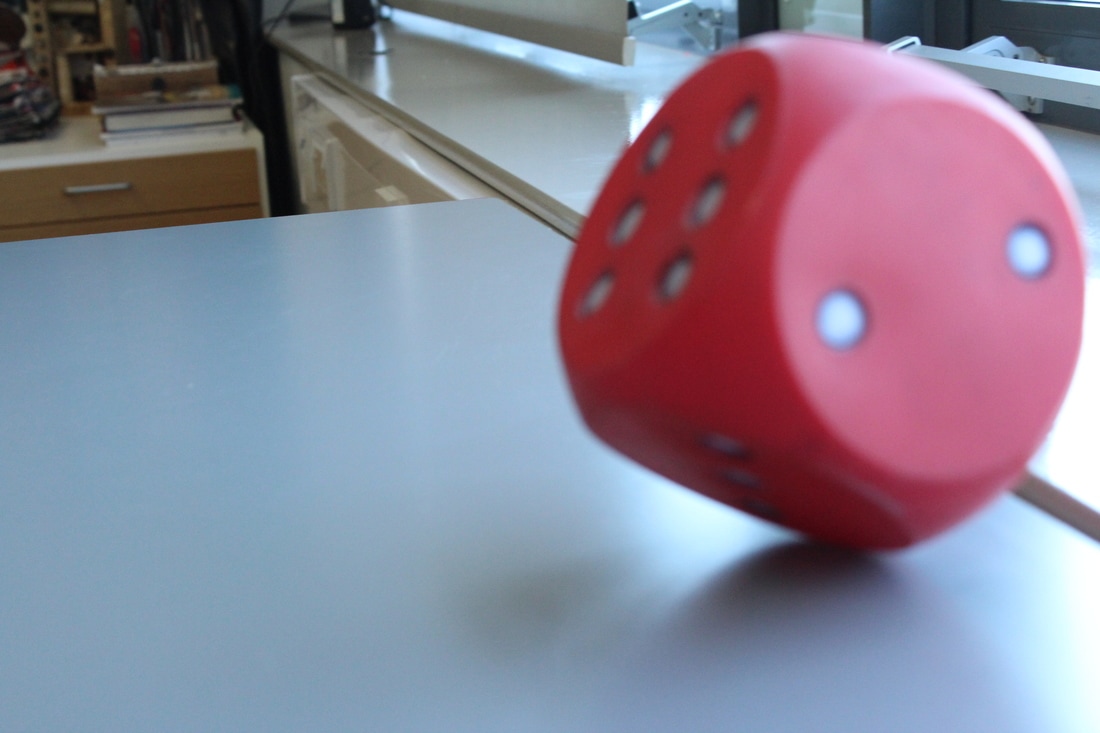
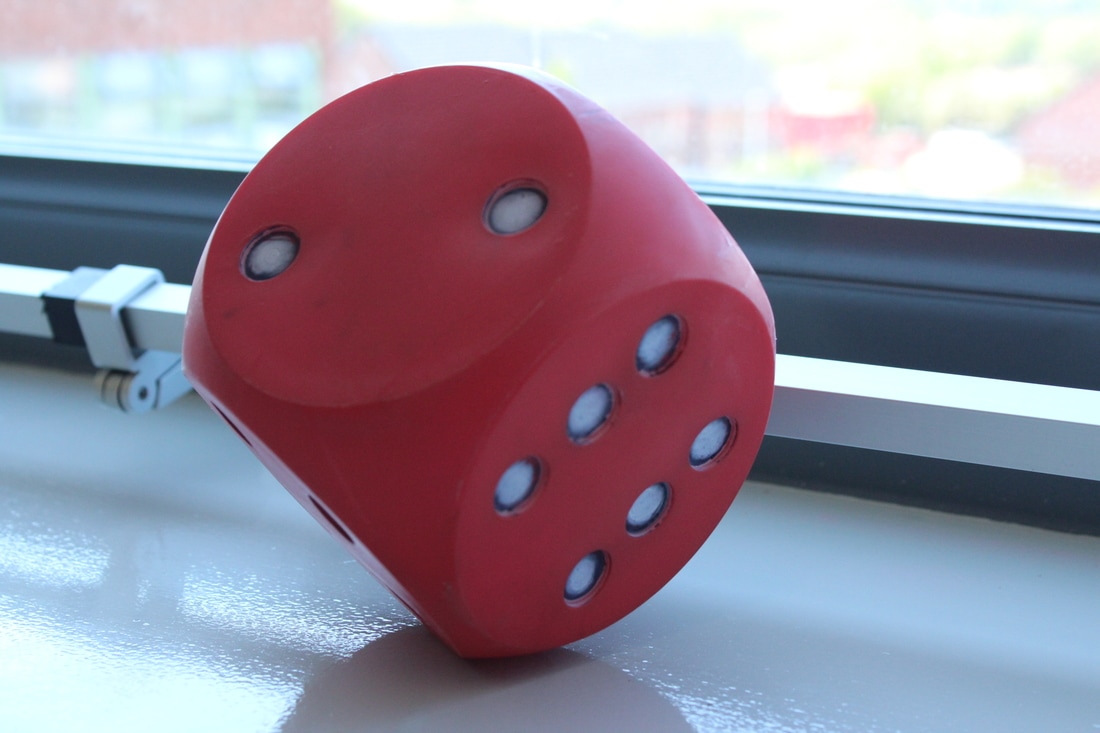
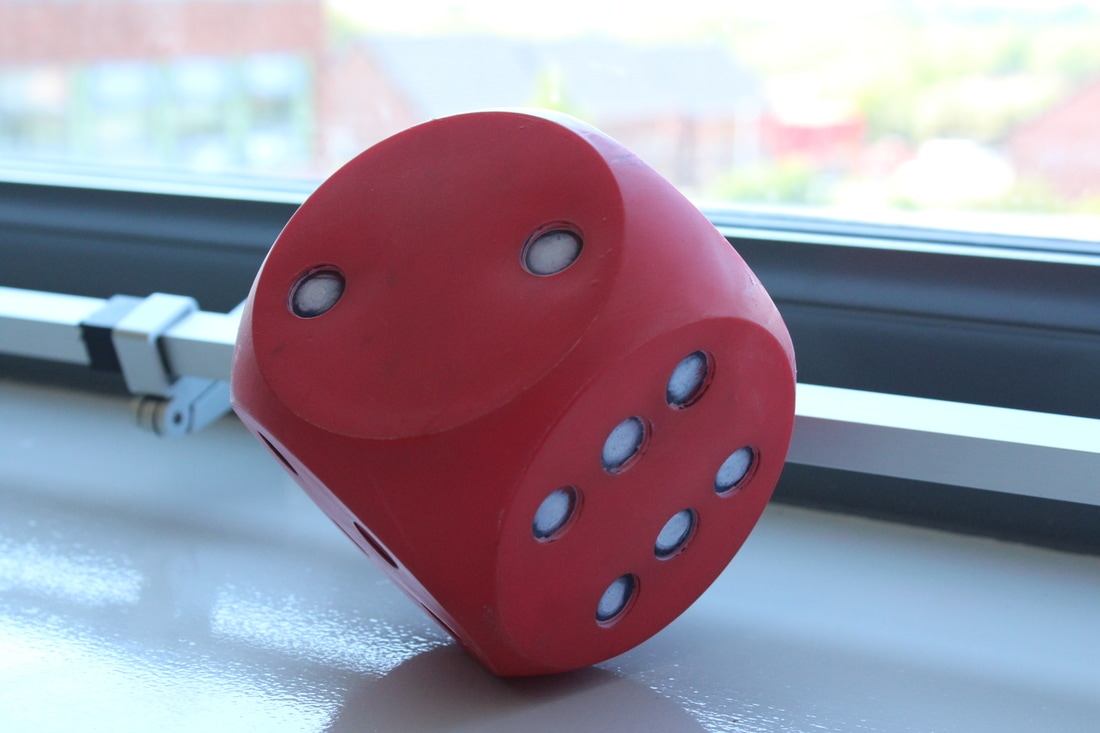
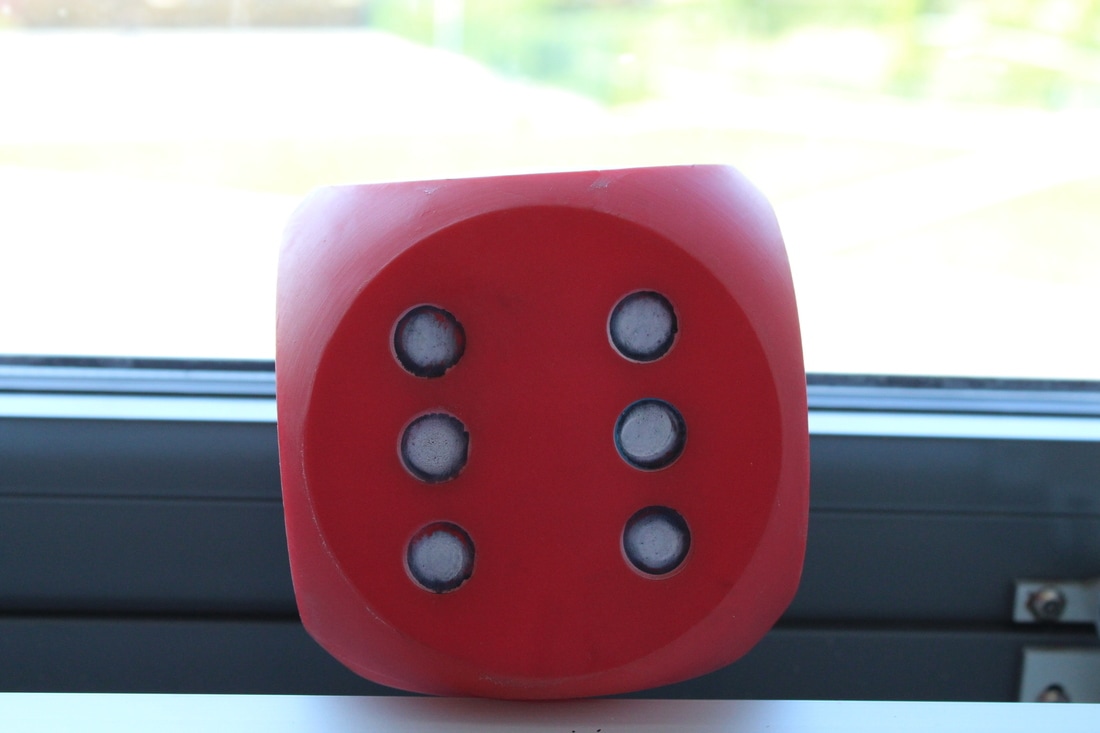
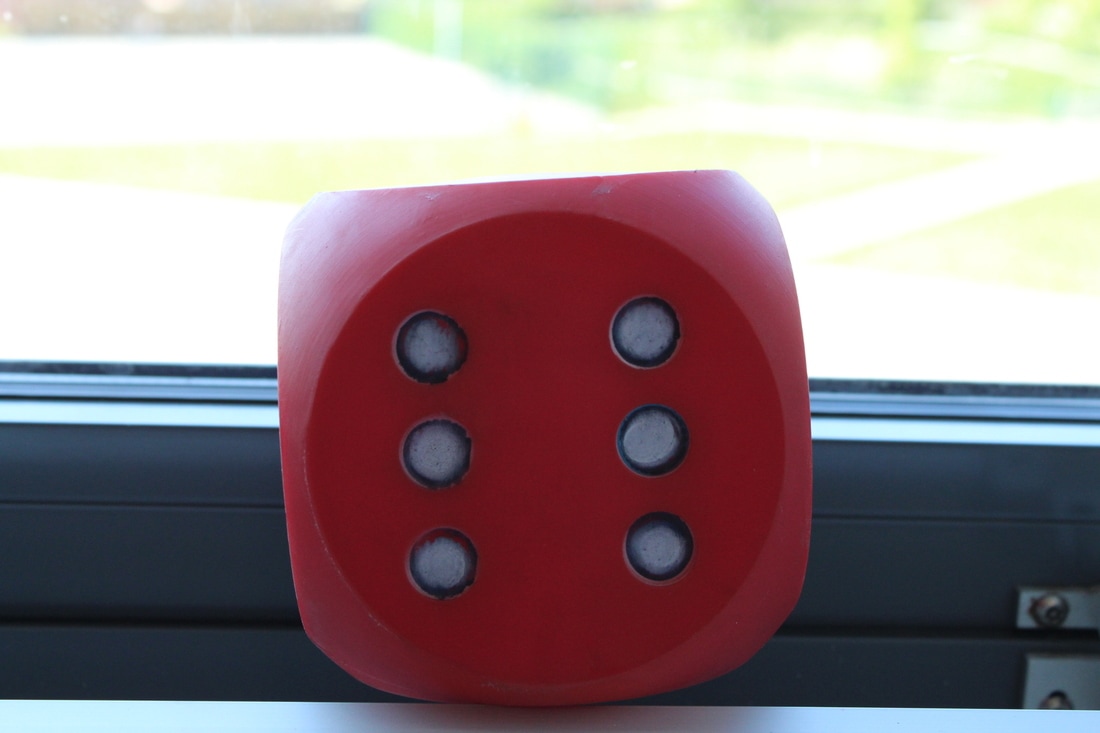
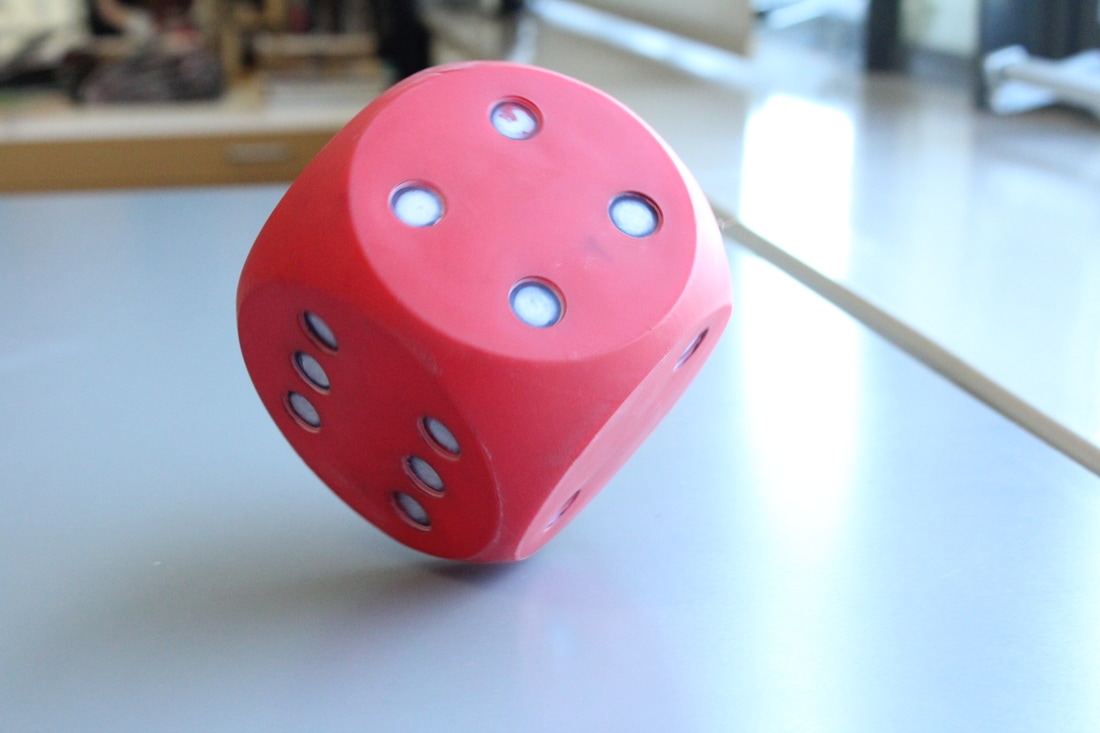
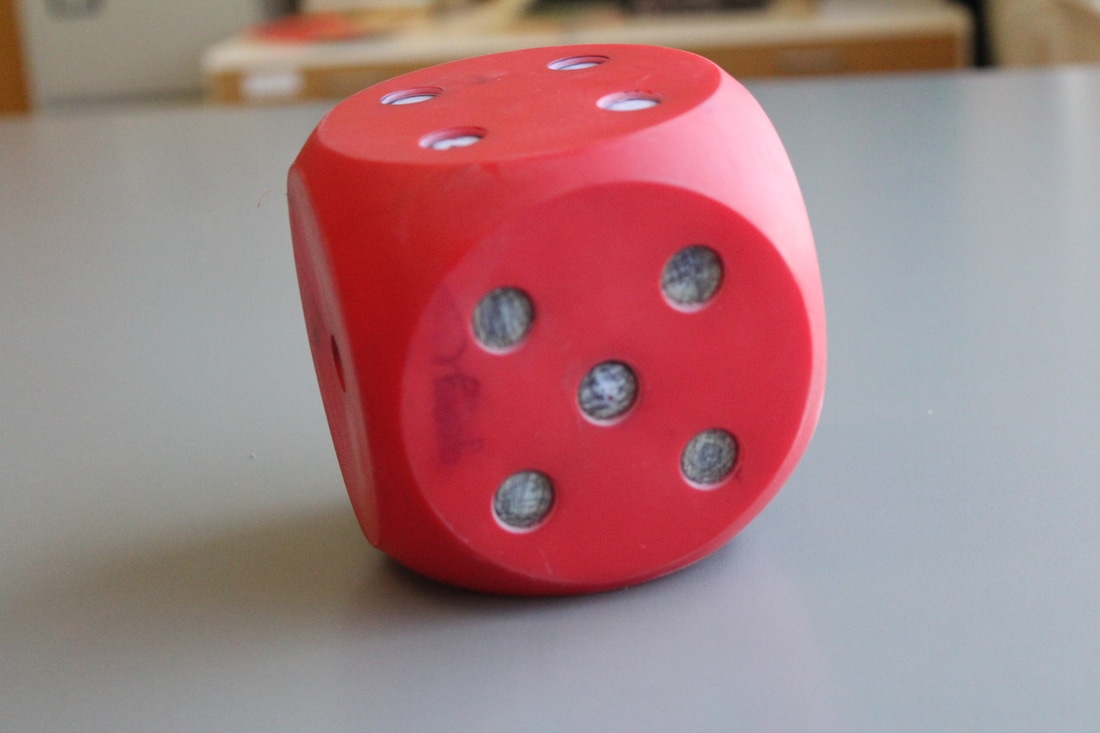
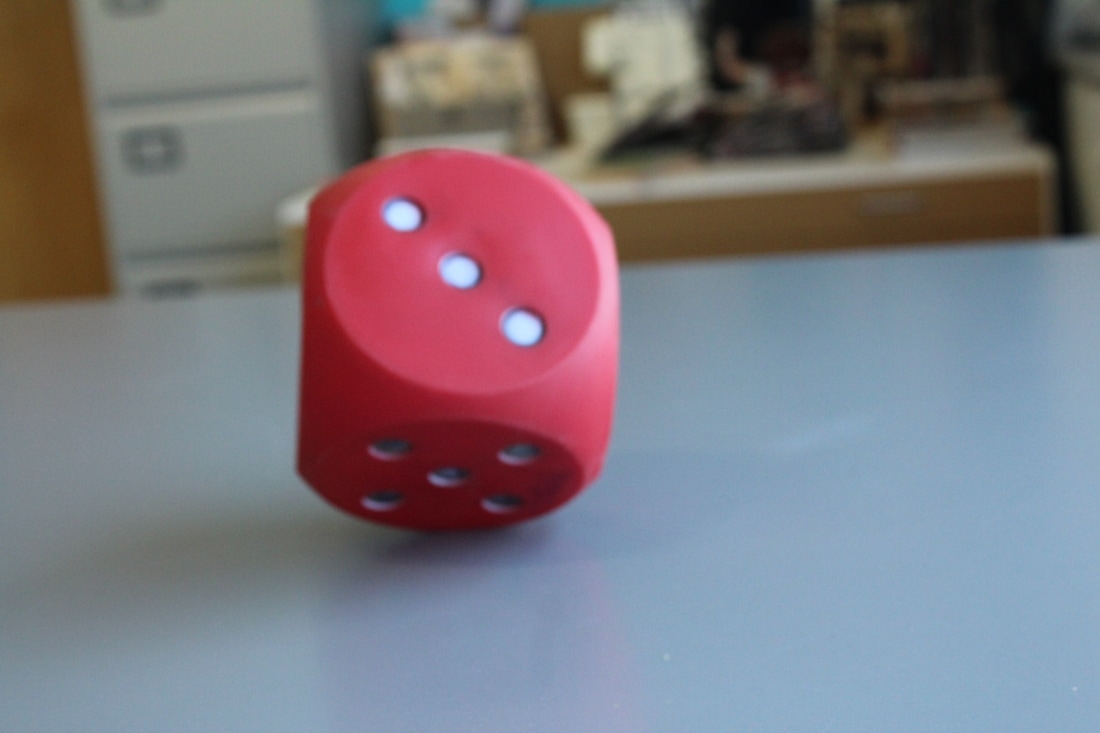
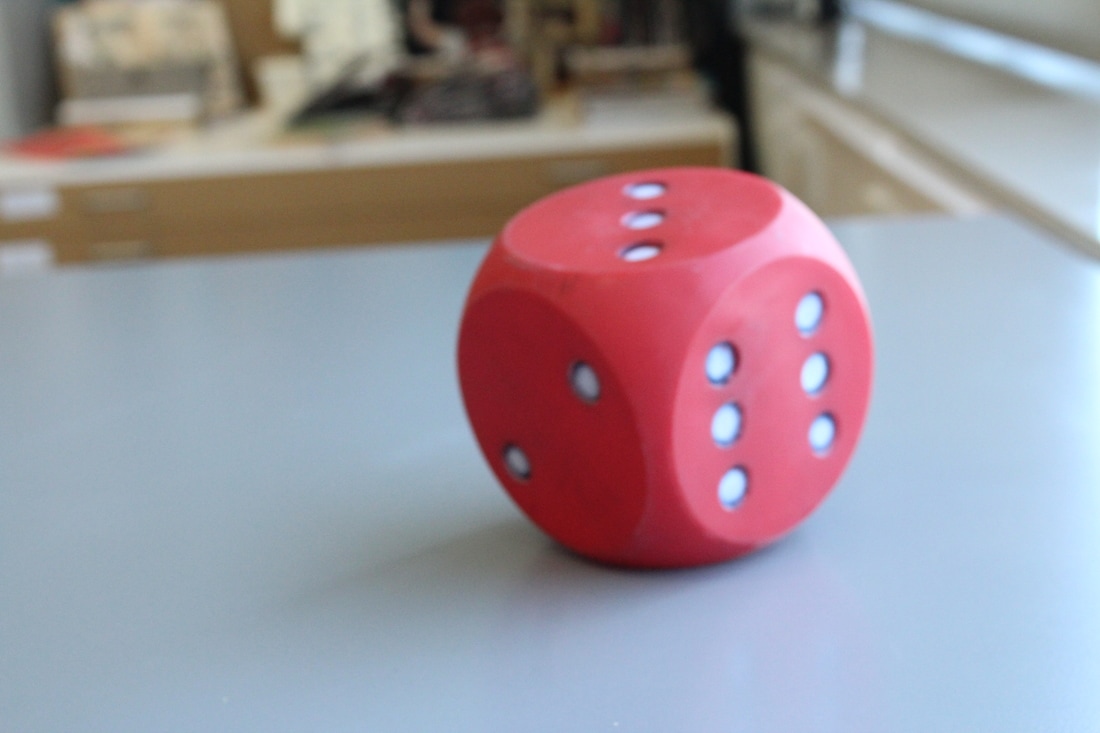
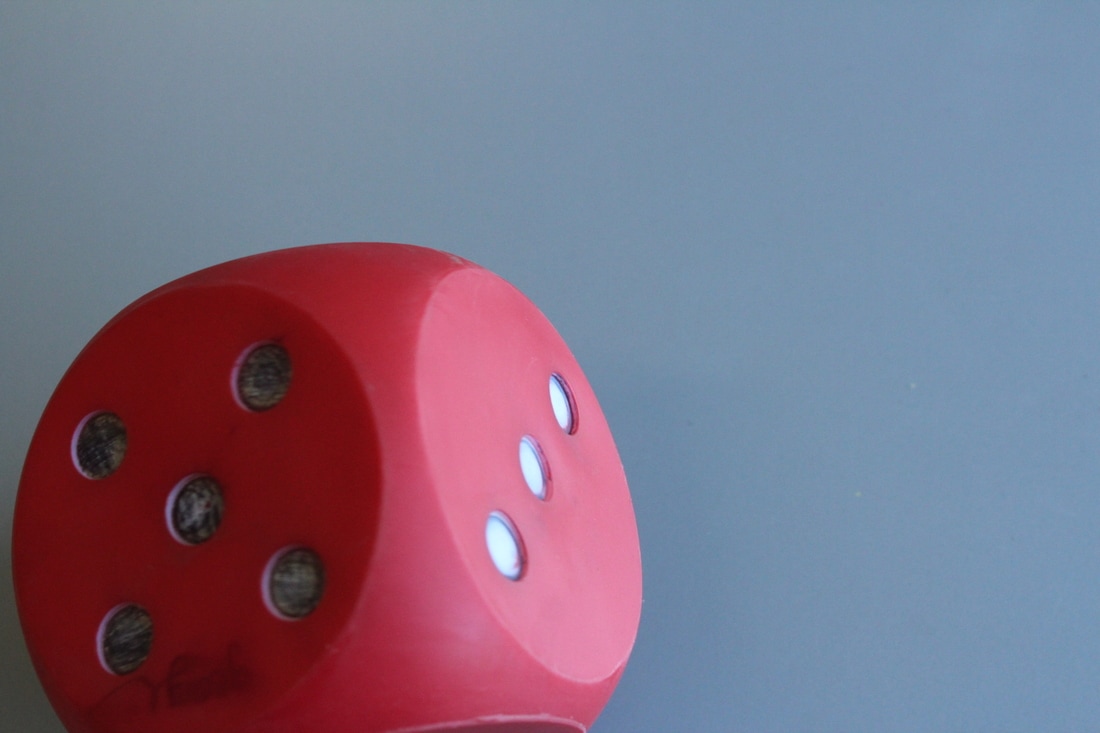
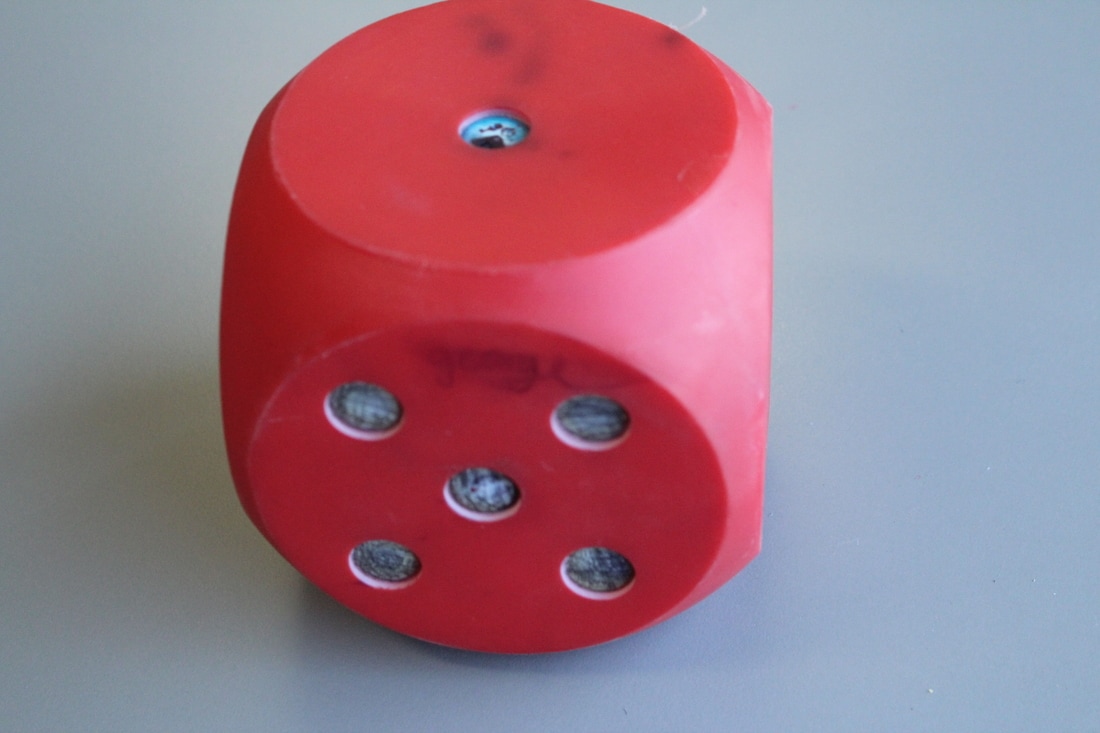
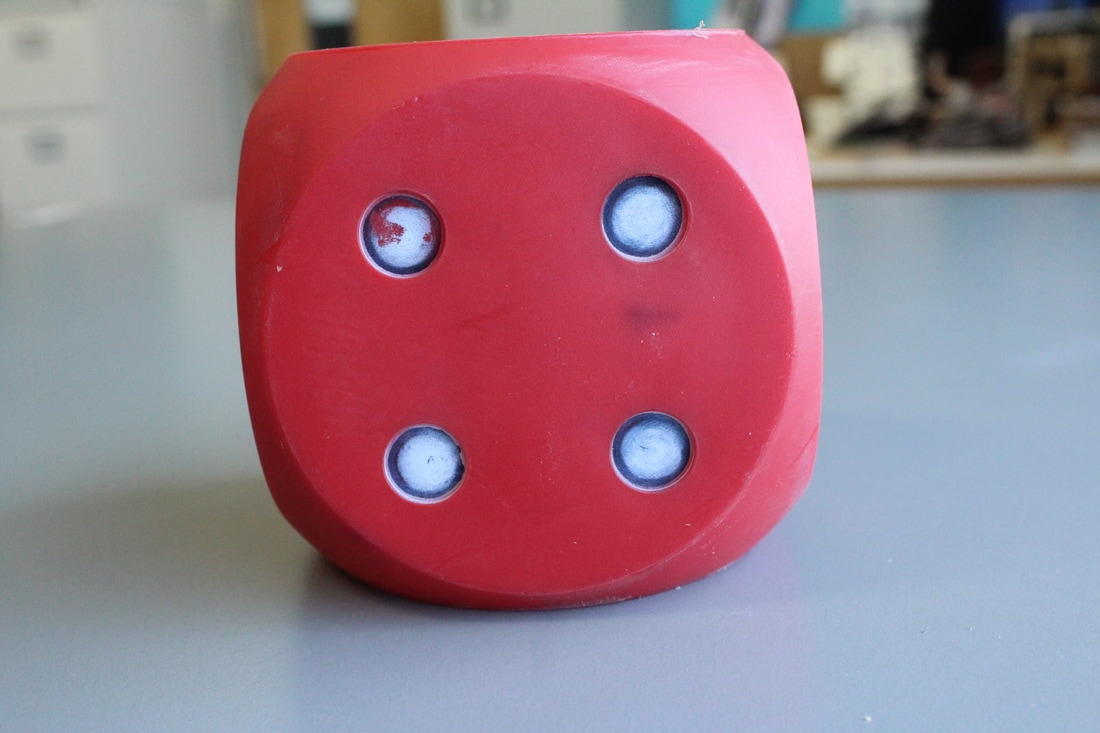
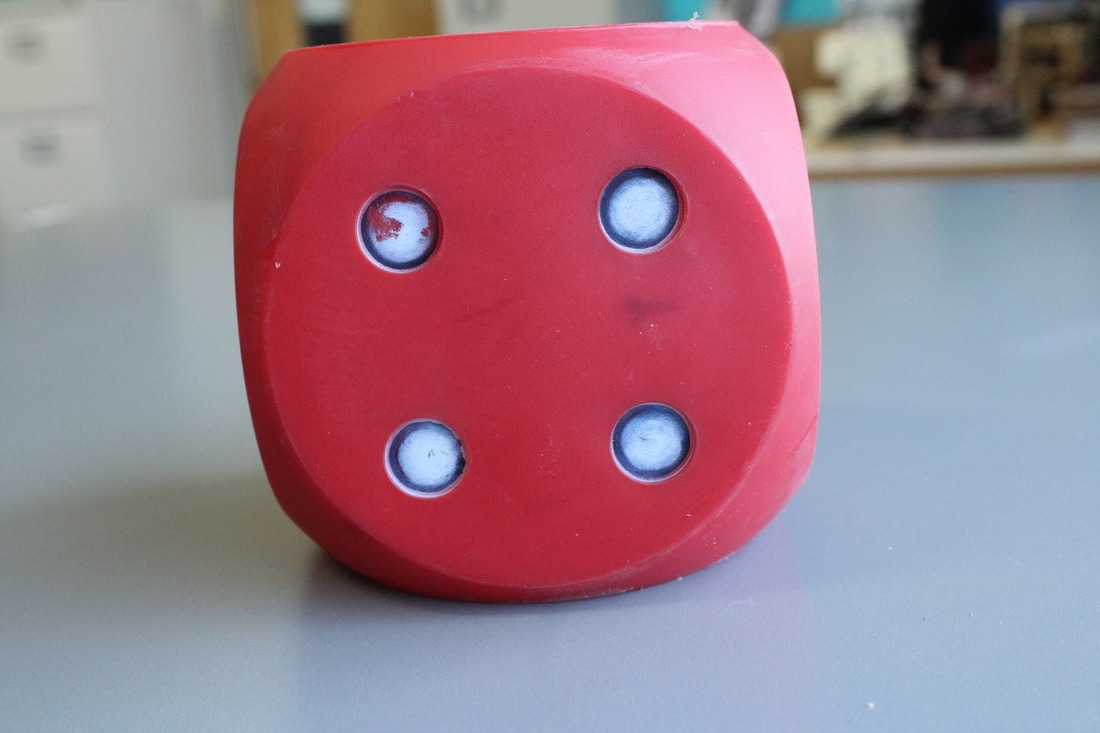
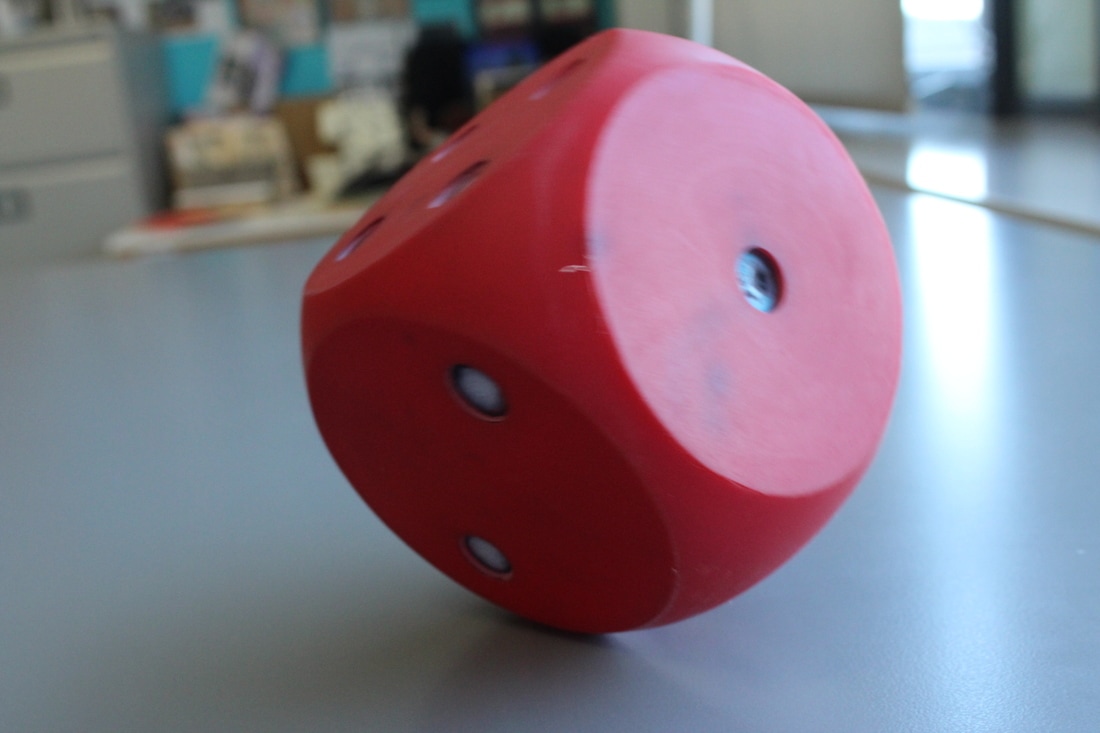
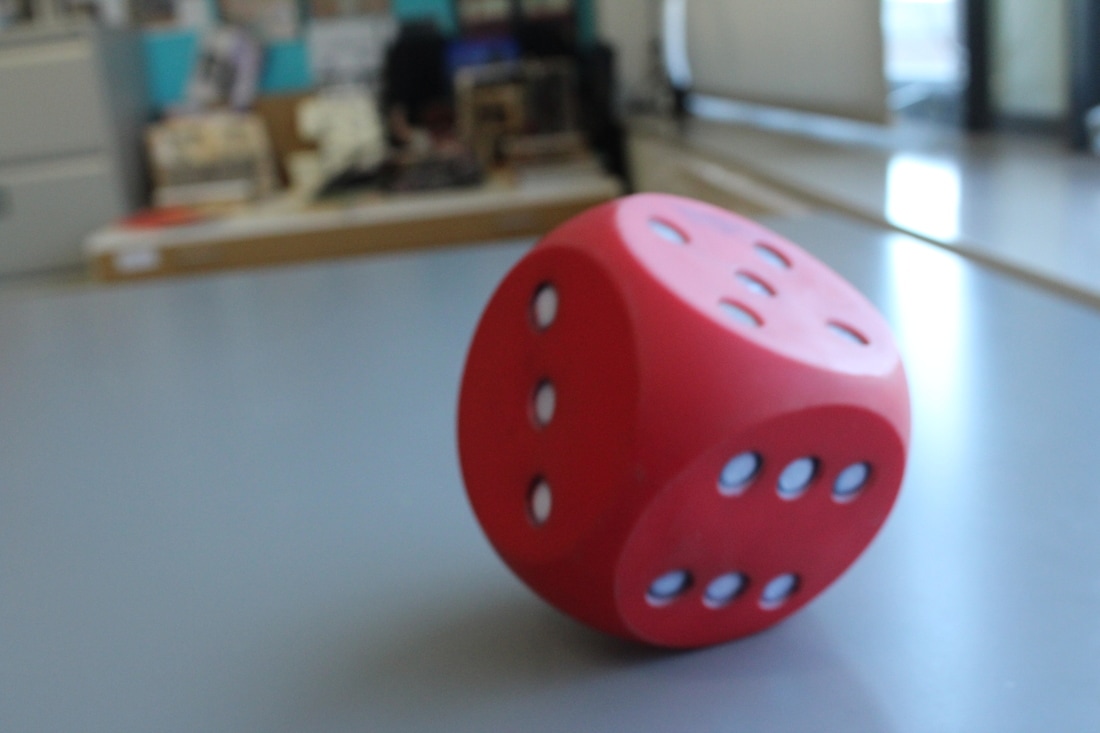
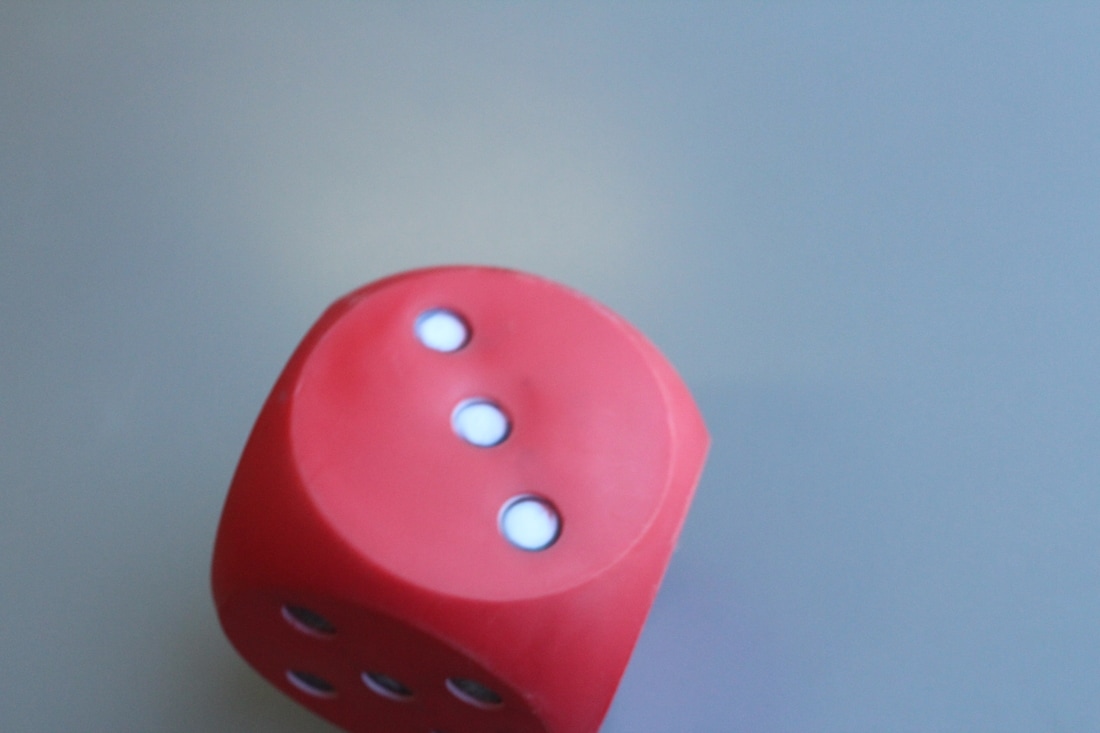
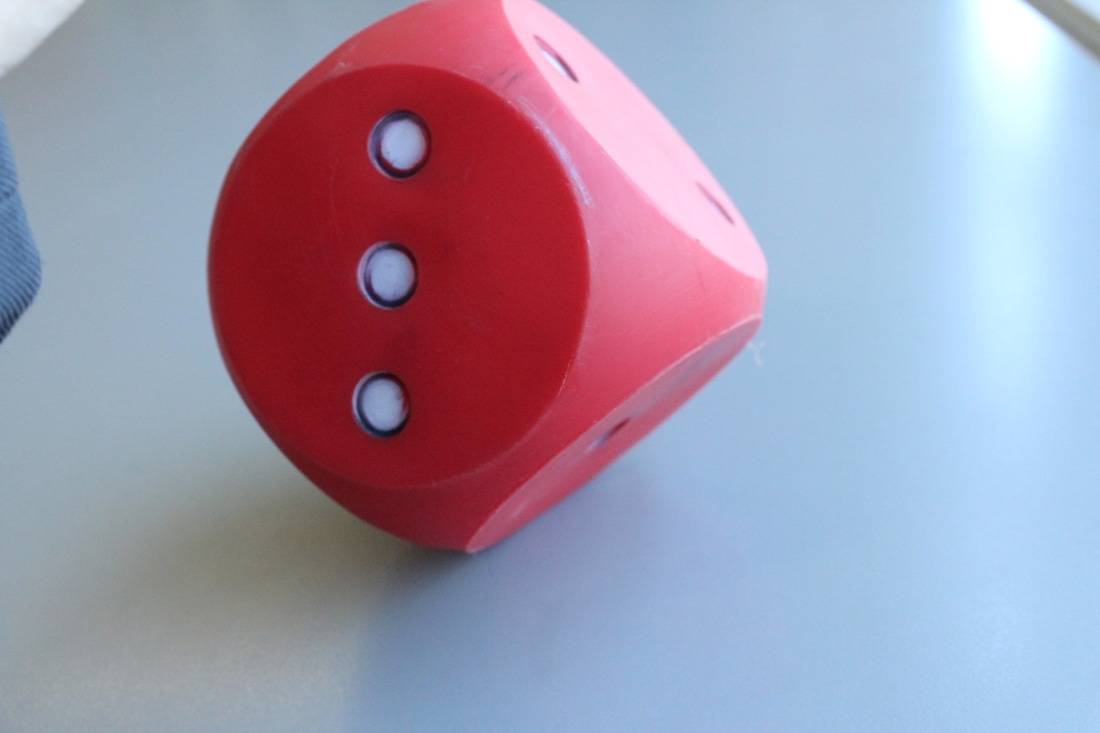
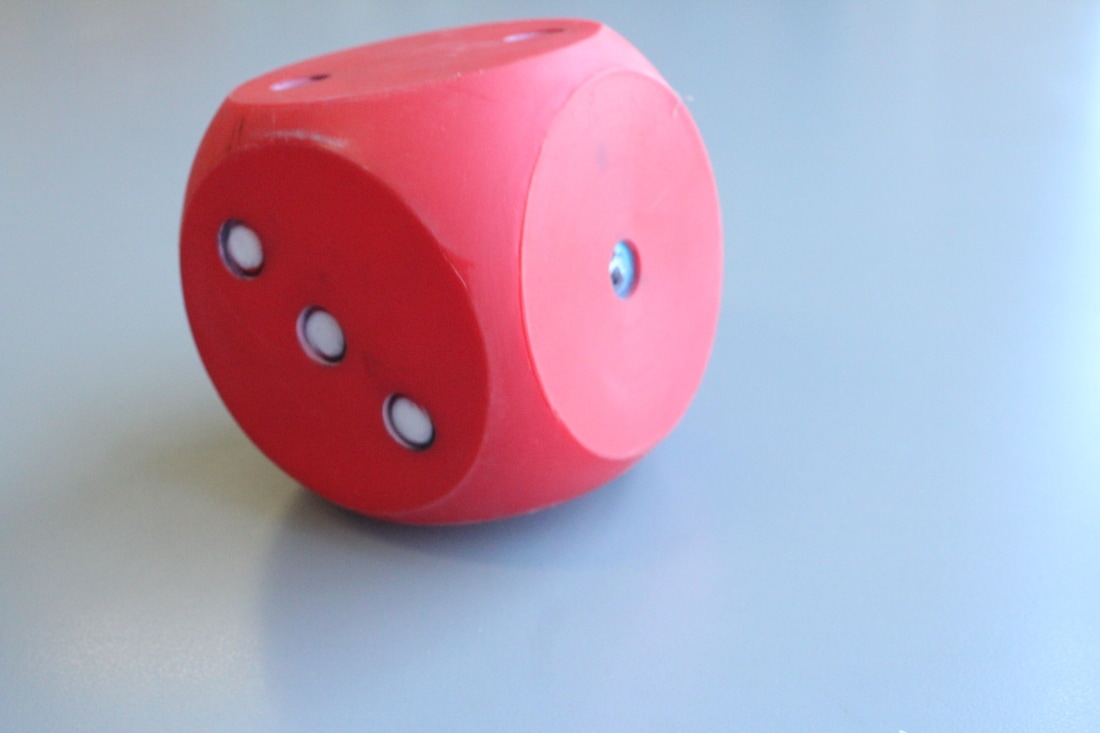
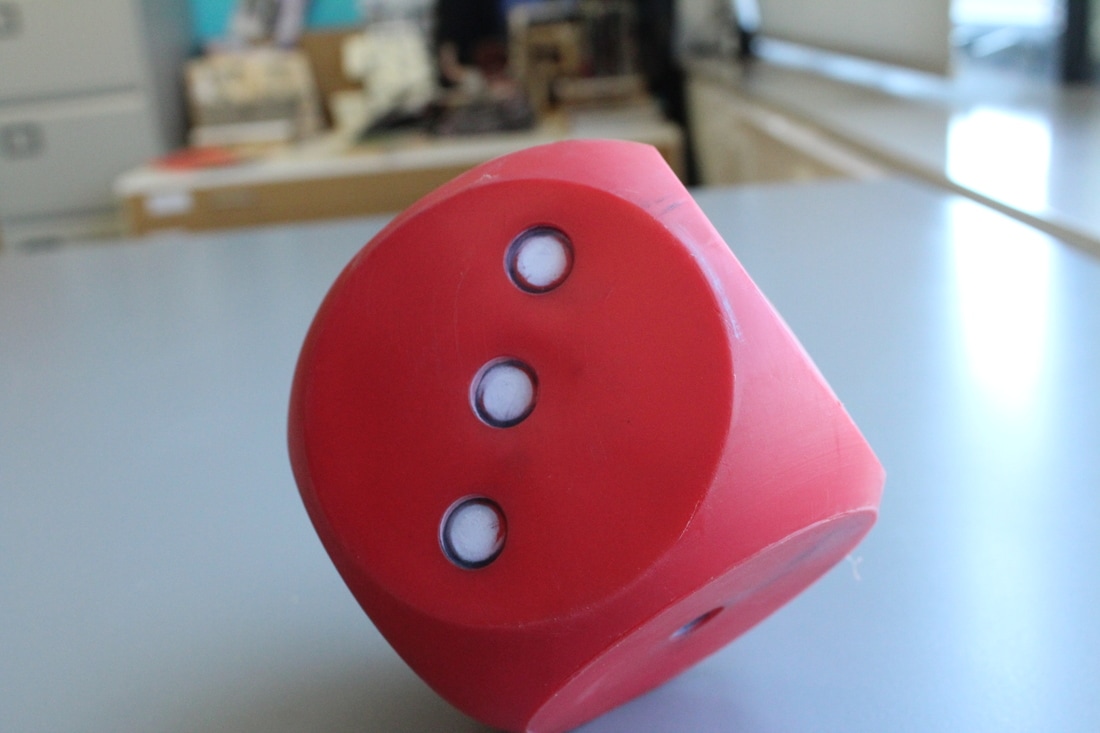
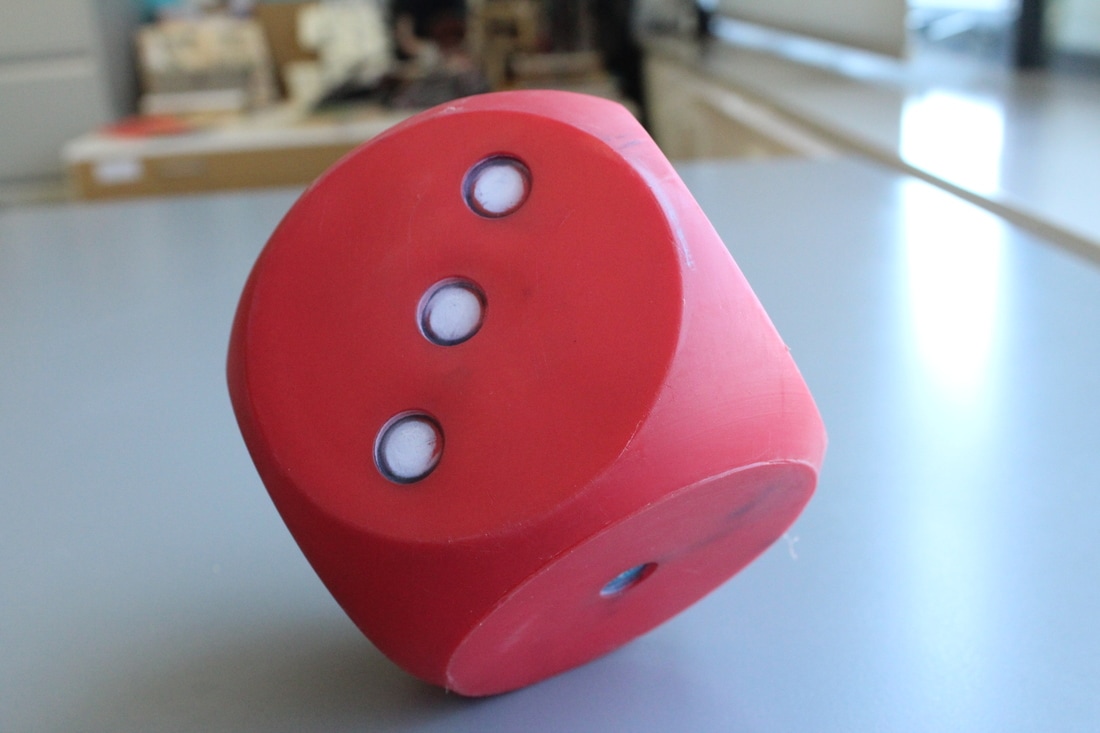
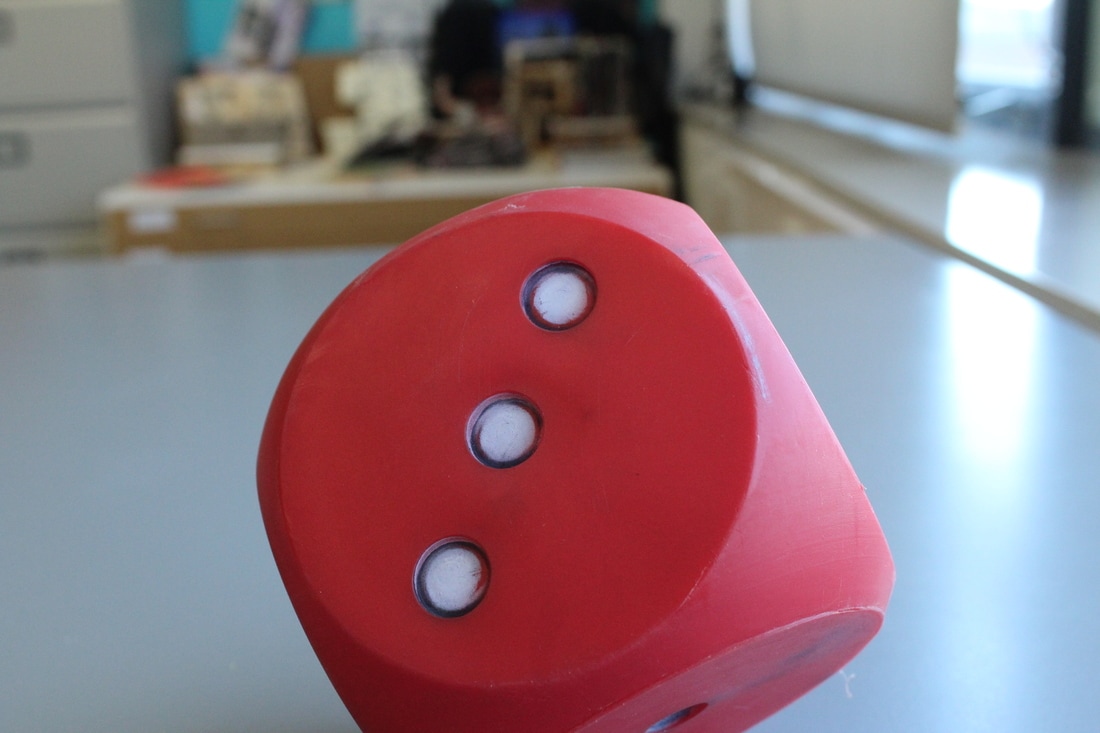
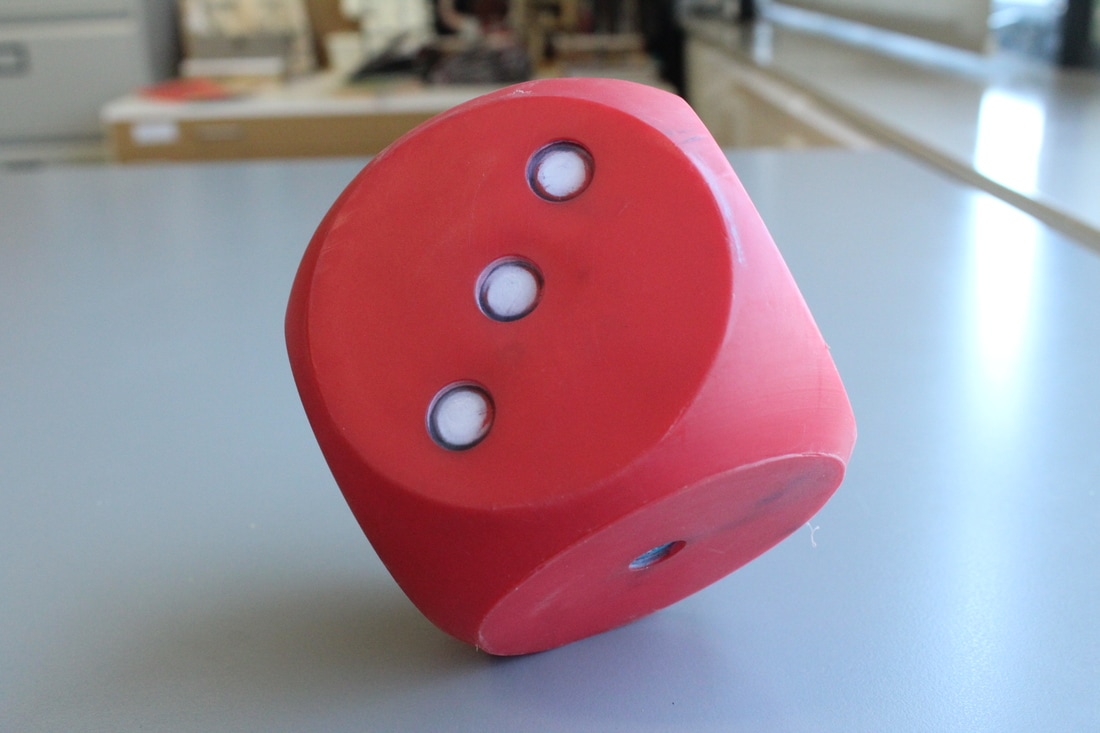
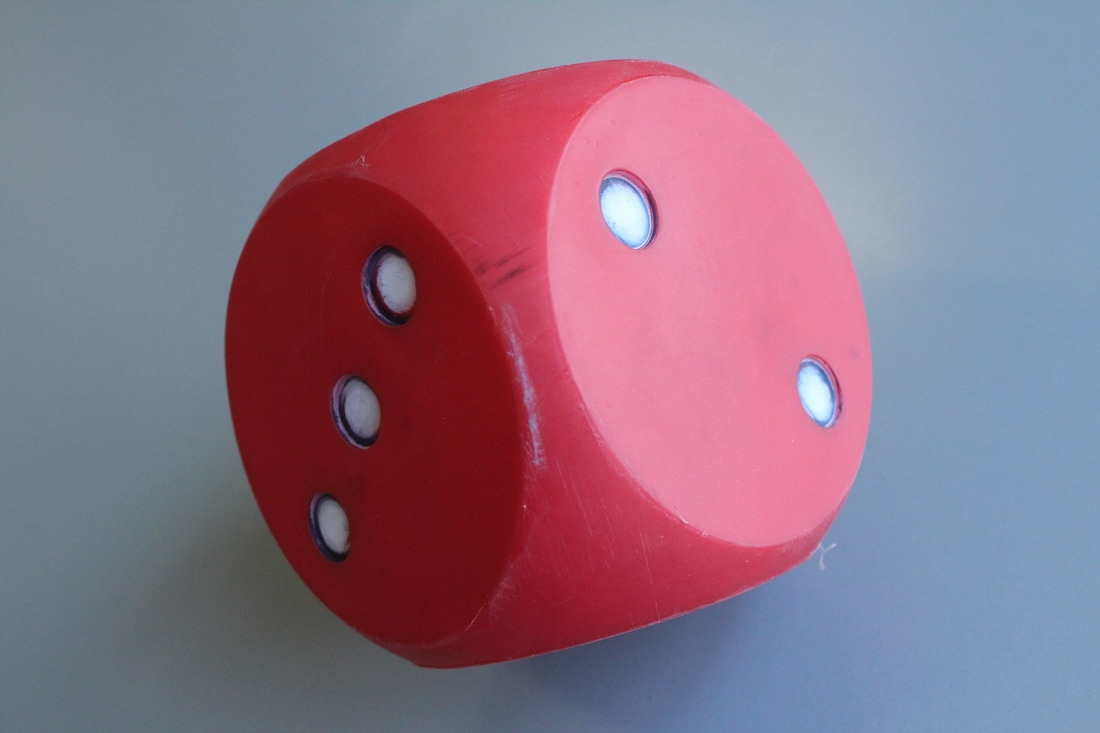
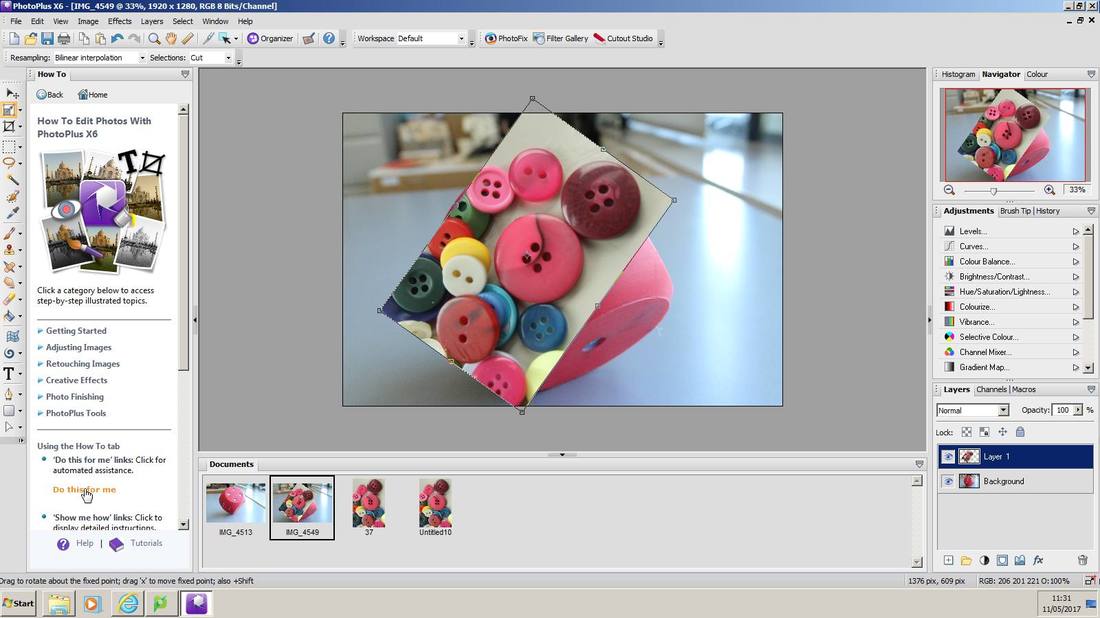
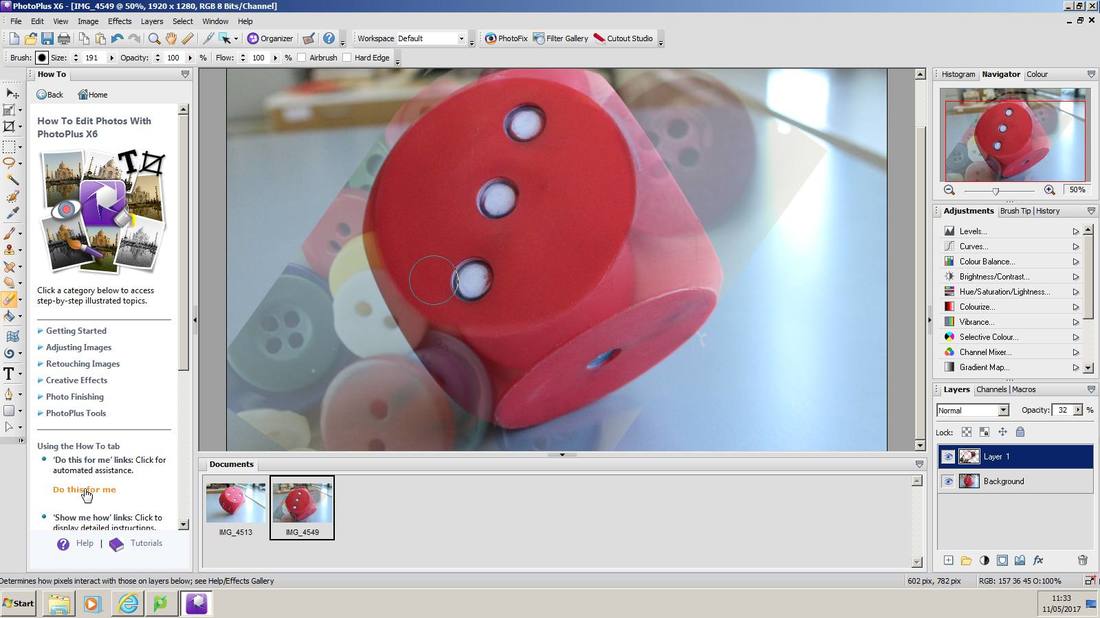
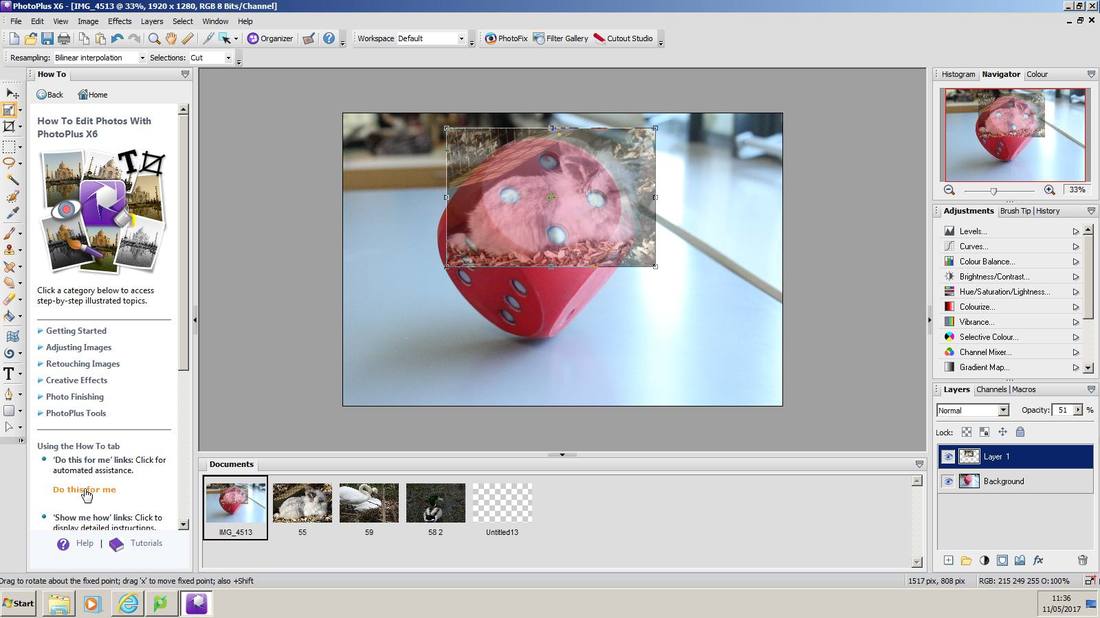
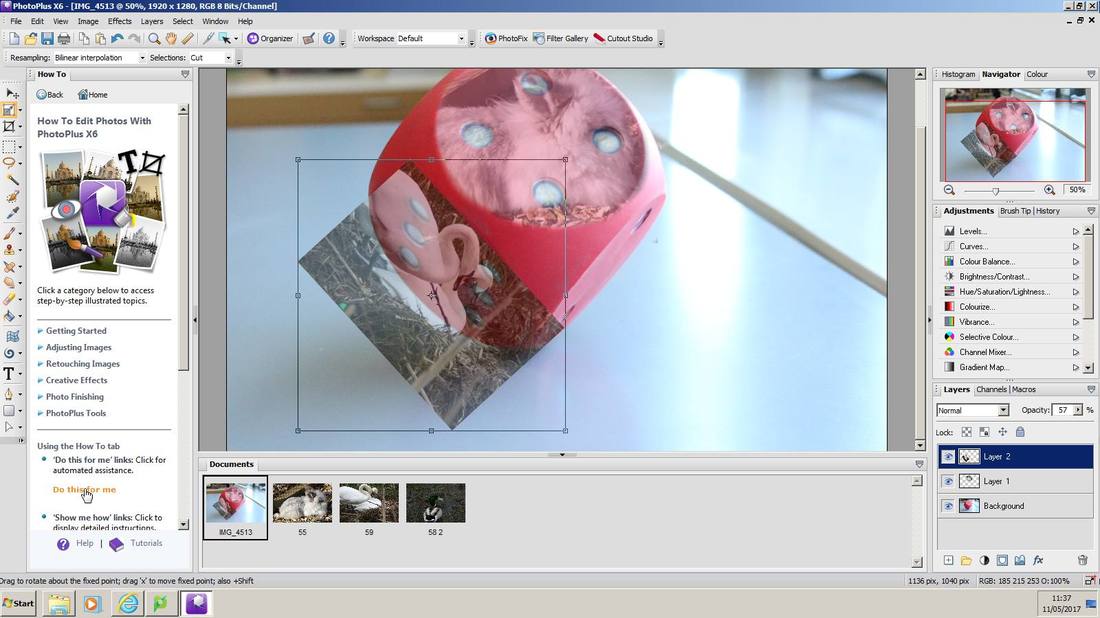
I think the outcome for my idea turned out good but I don't think it captures much detail or any of the techniques of photography so I am going to try another idea. For this idea I am going to use a big dice (where I will take photos of it at different angles and movement ) and then edit photos I have already taken on photo plus and put them onto the dice in the shape of a circle.
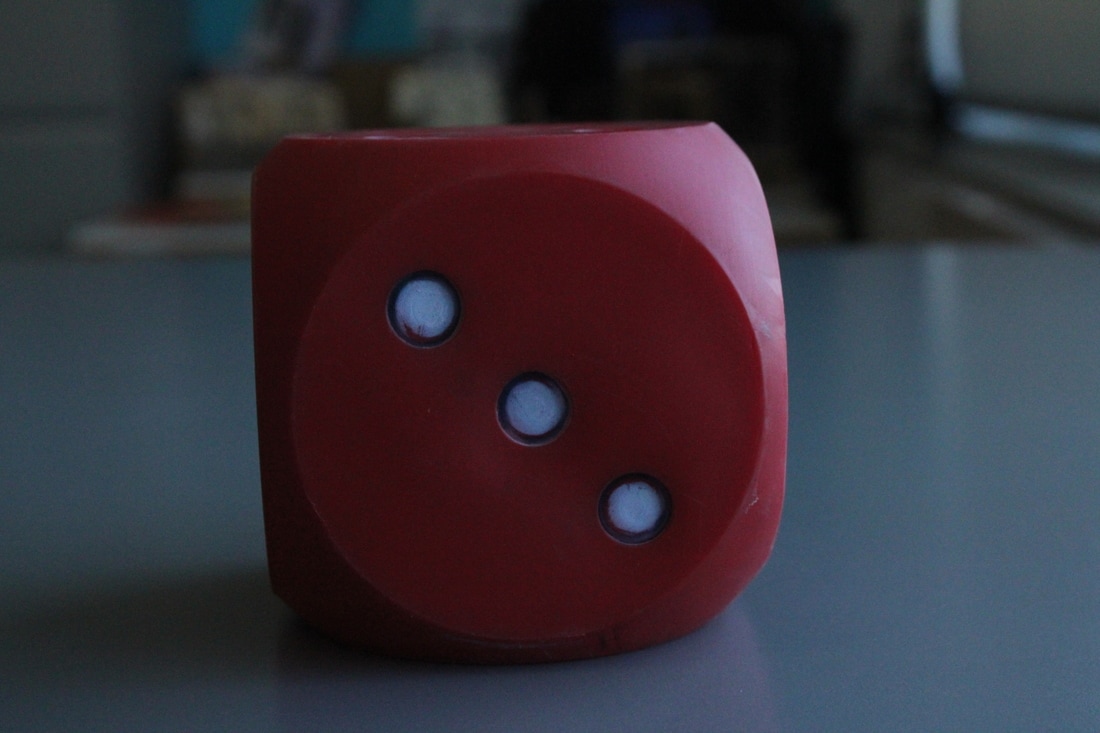
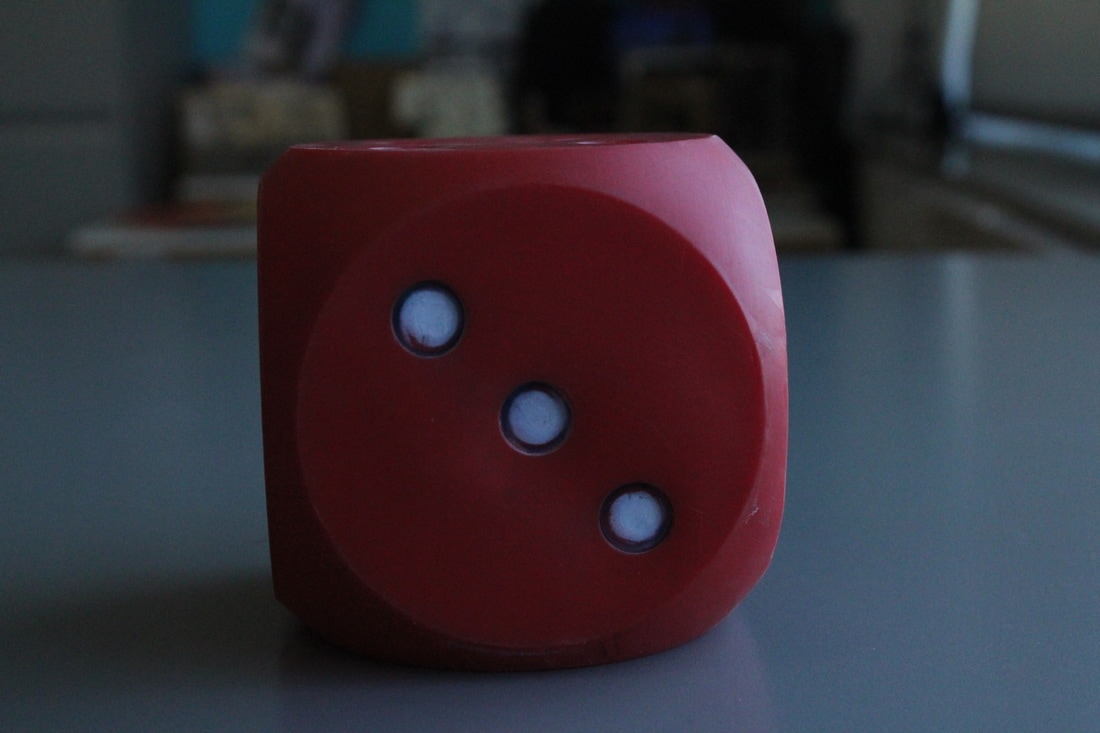
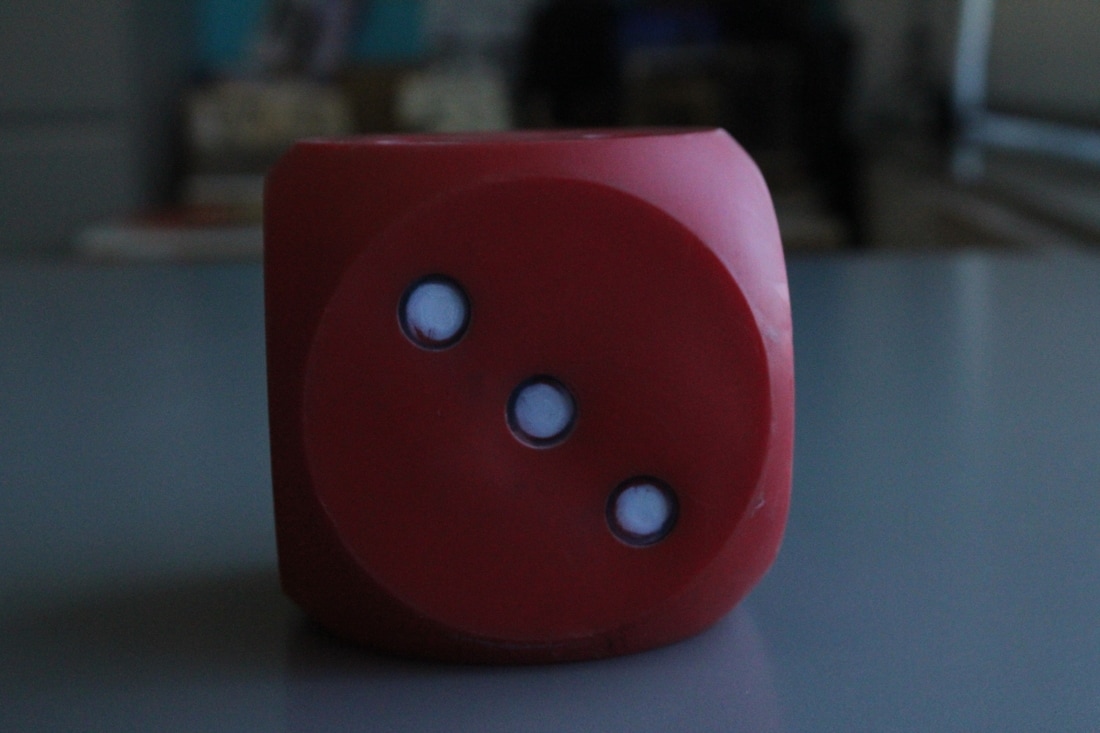
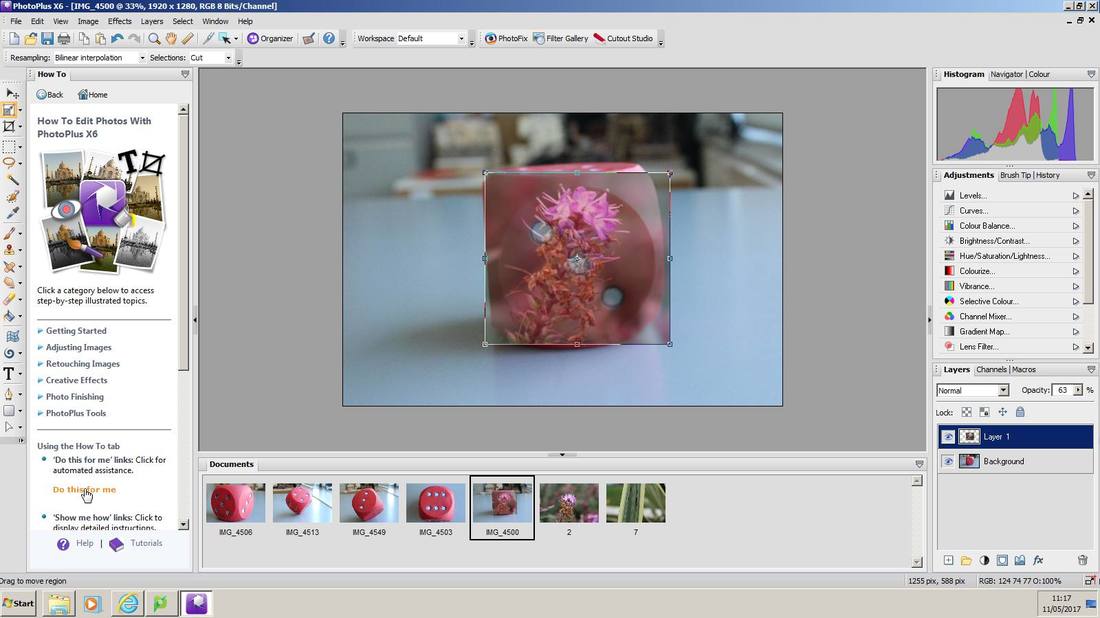
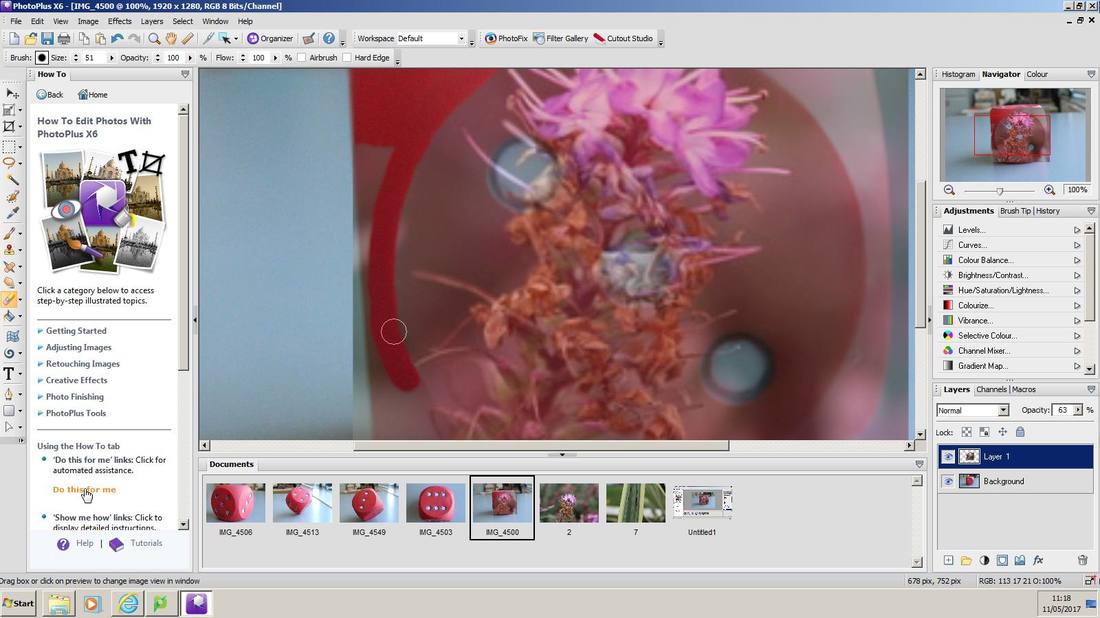
Editing Process


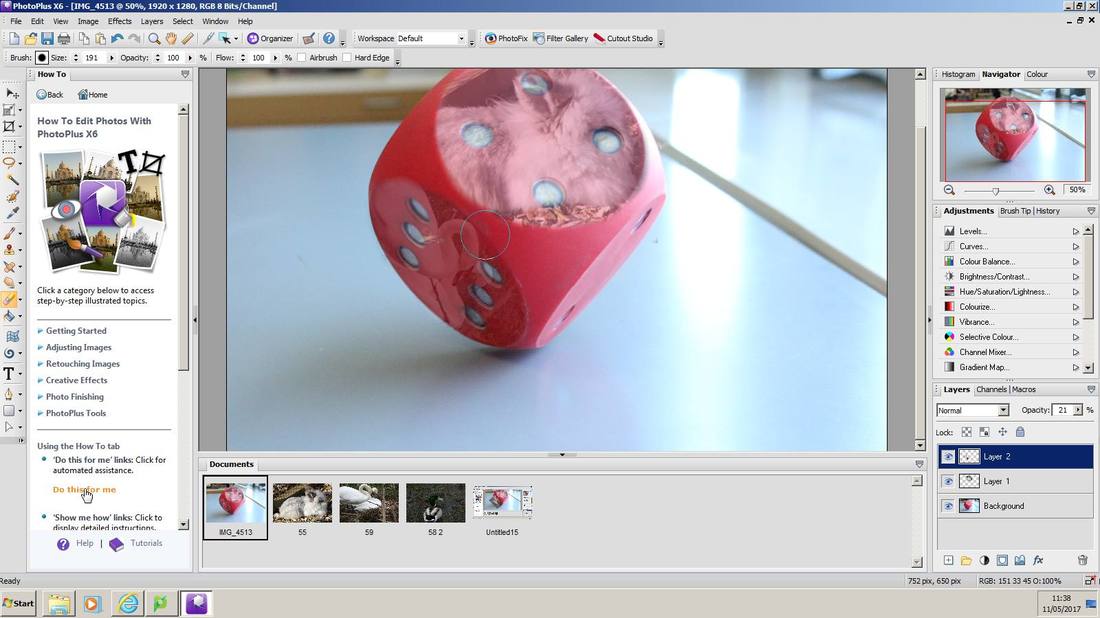
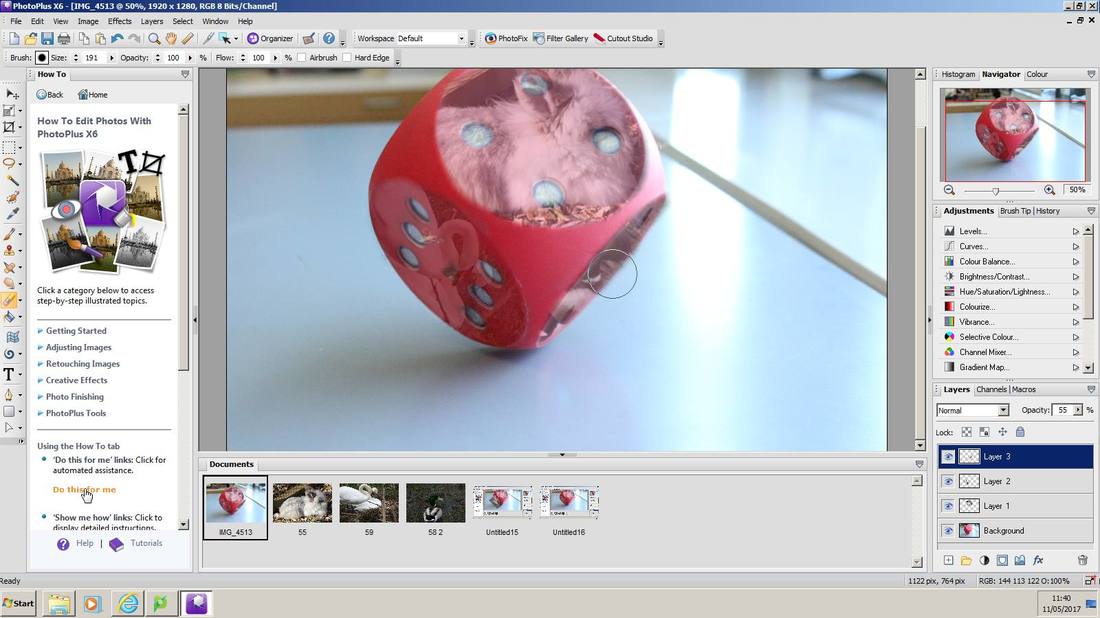

Results
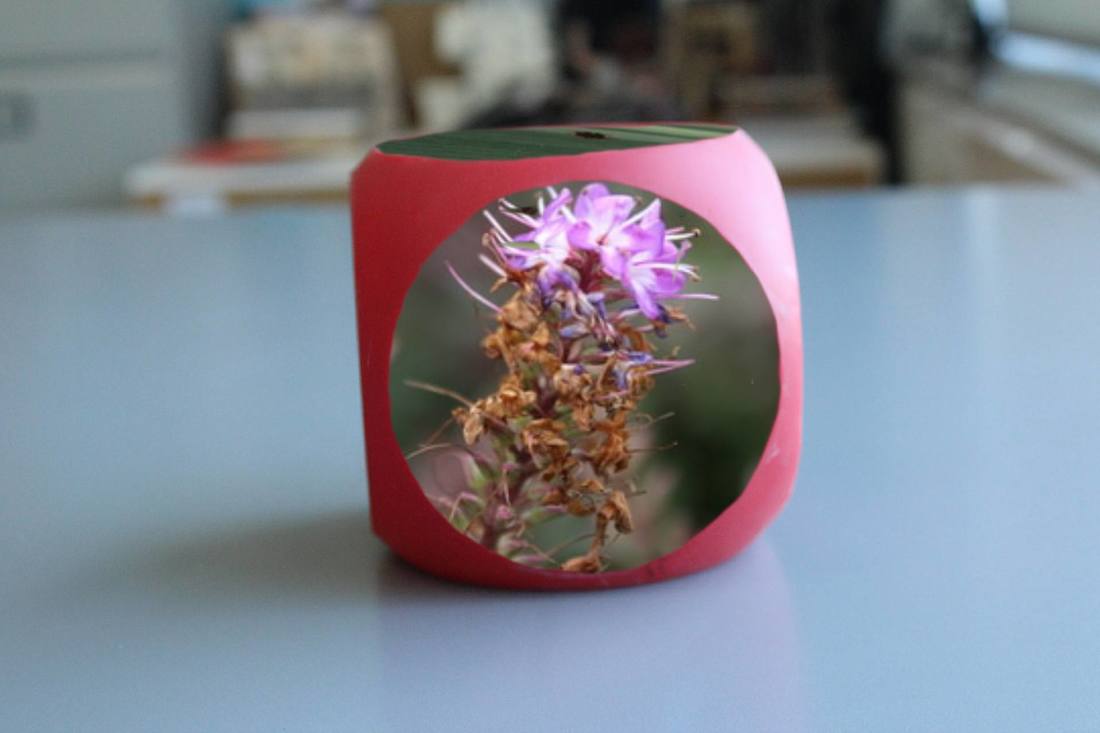
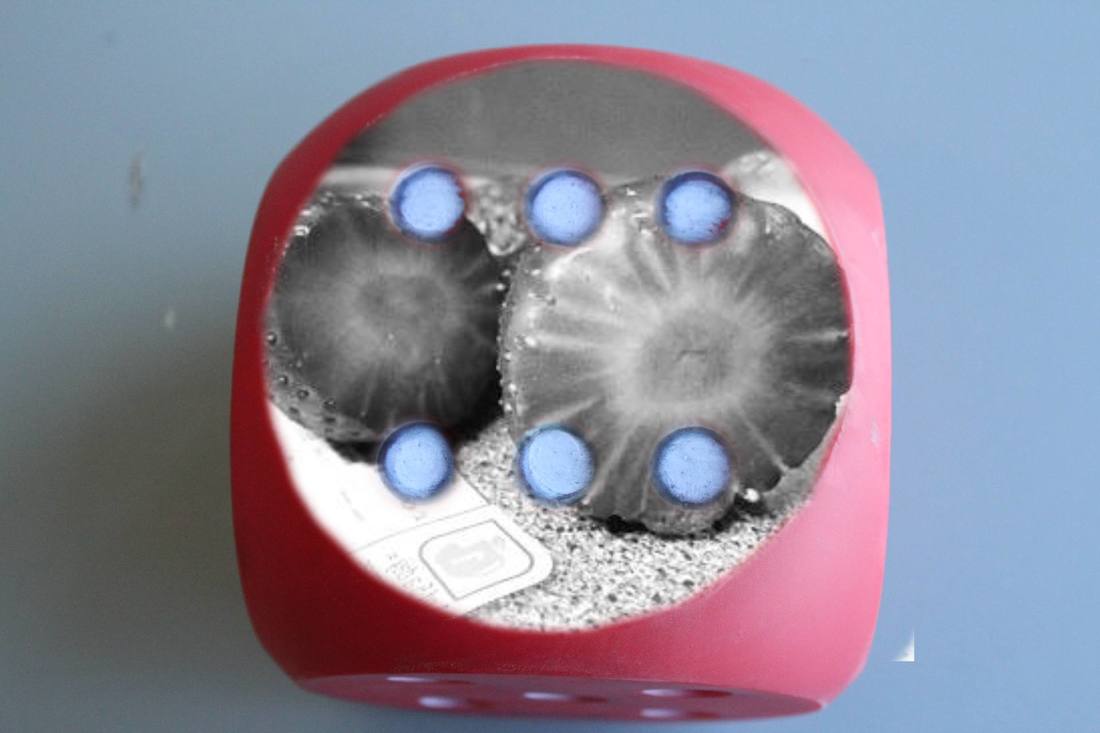
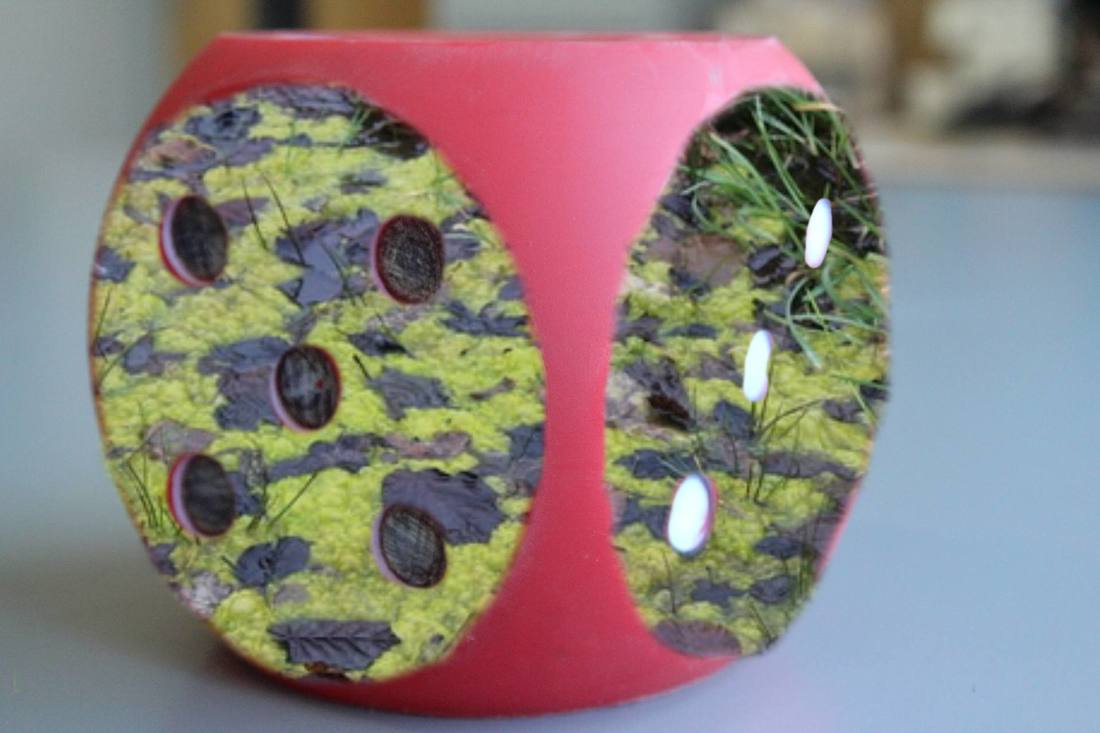
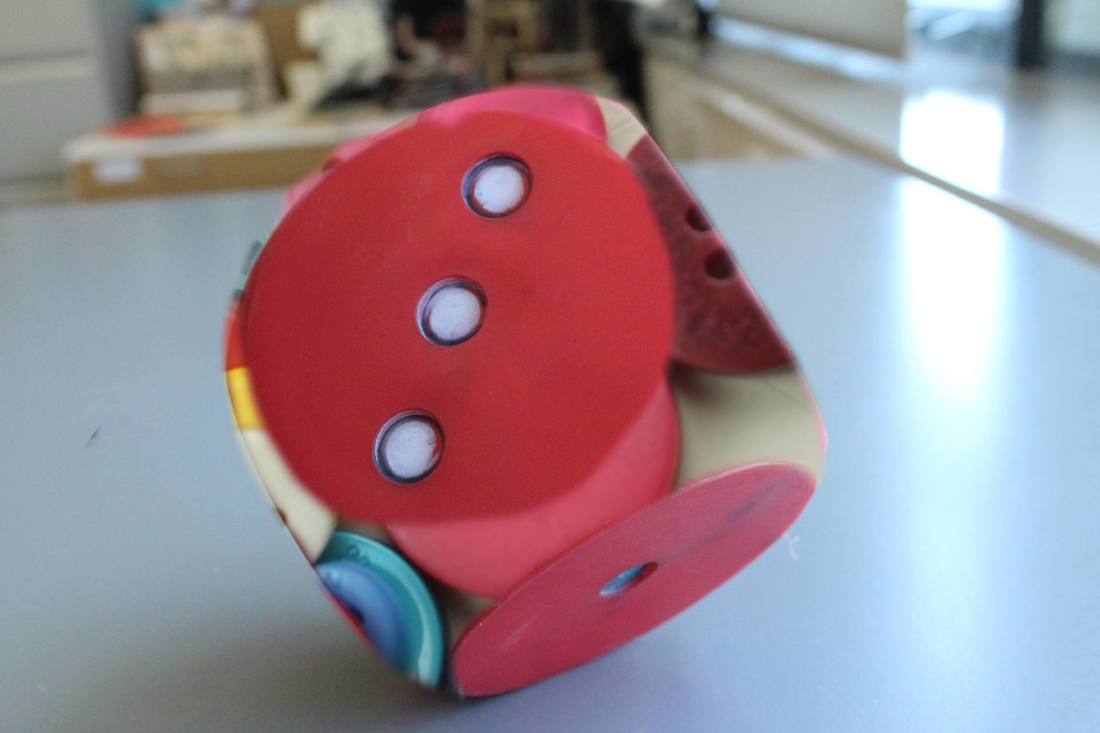

I like the way this idea has turned out because it is different and shows of the detail in a better light as I had the right exposure and aperture with the perfect depth of field which I shown with the background being blurry and the foreground in focus. However, I think I can do better and I am going to work on something else for my final piece.
Final idea
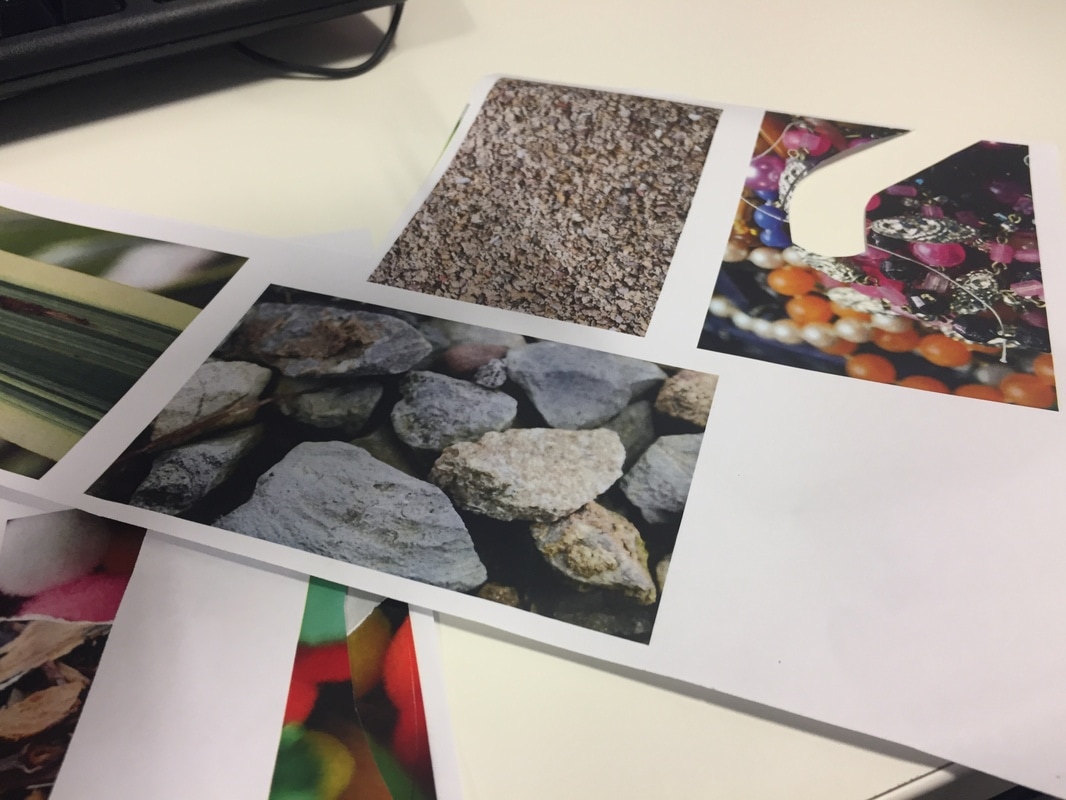
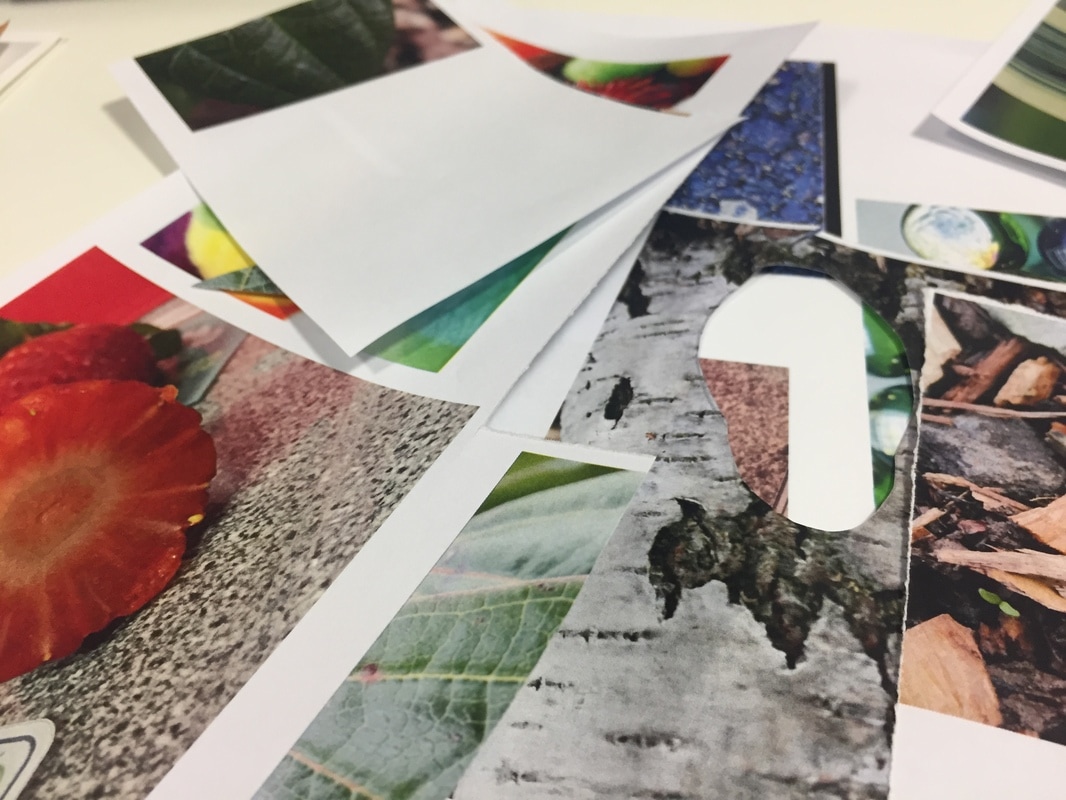
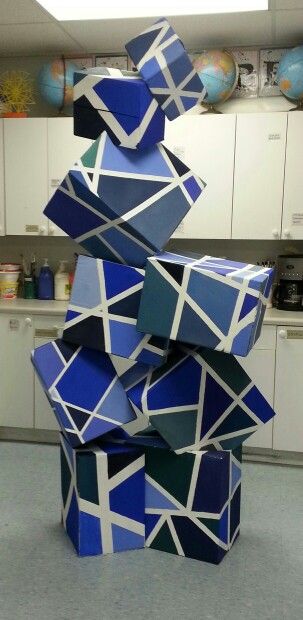
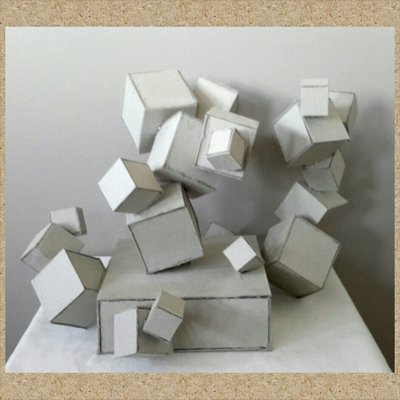
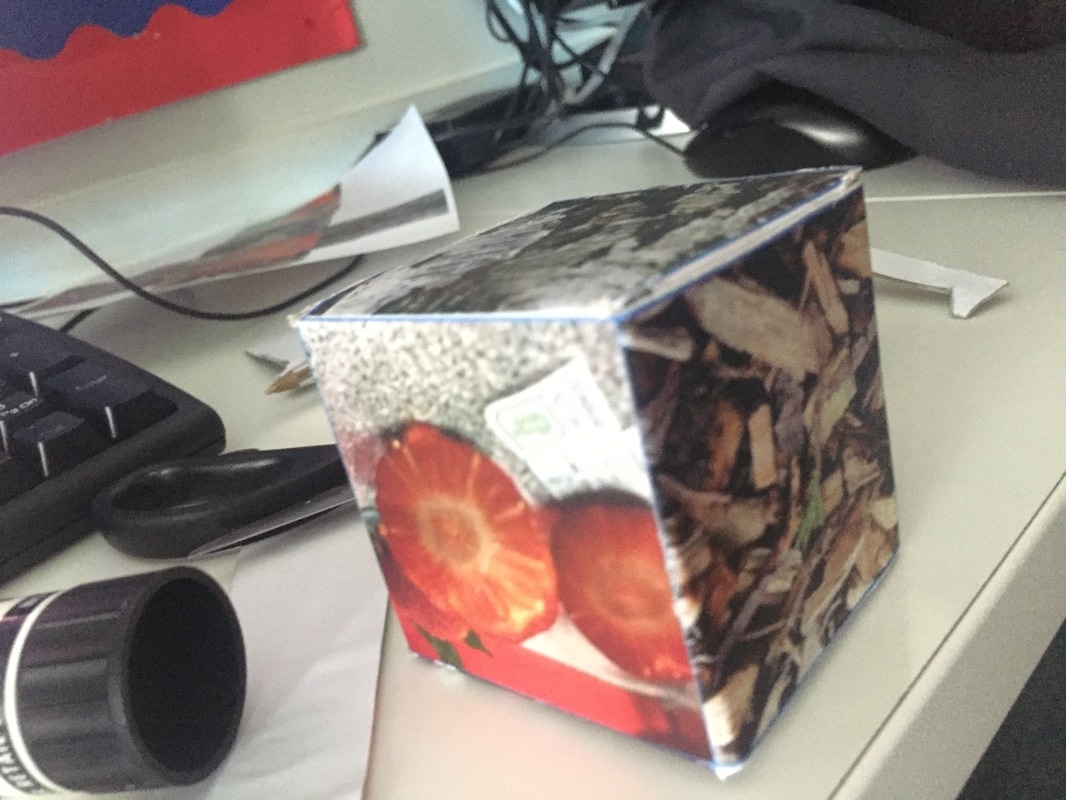
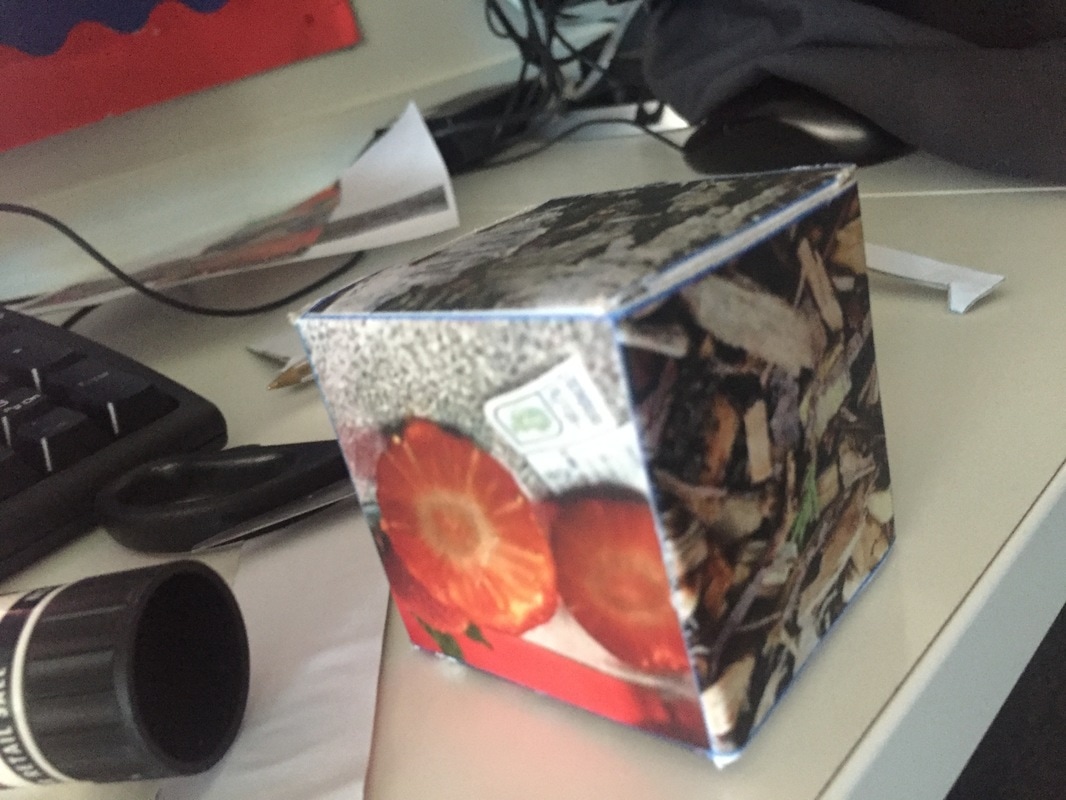
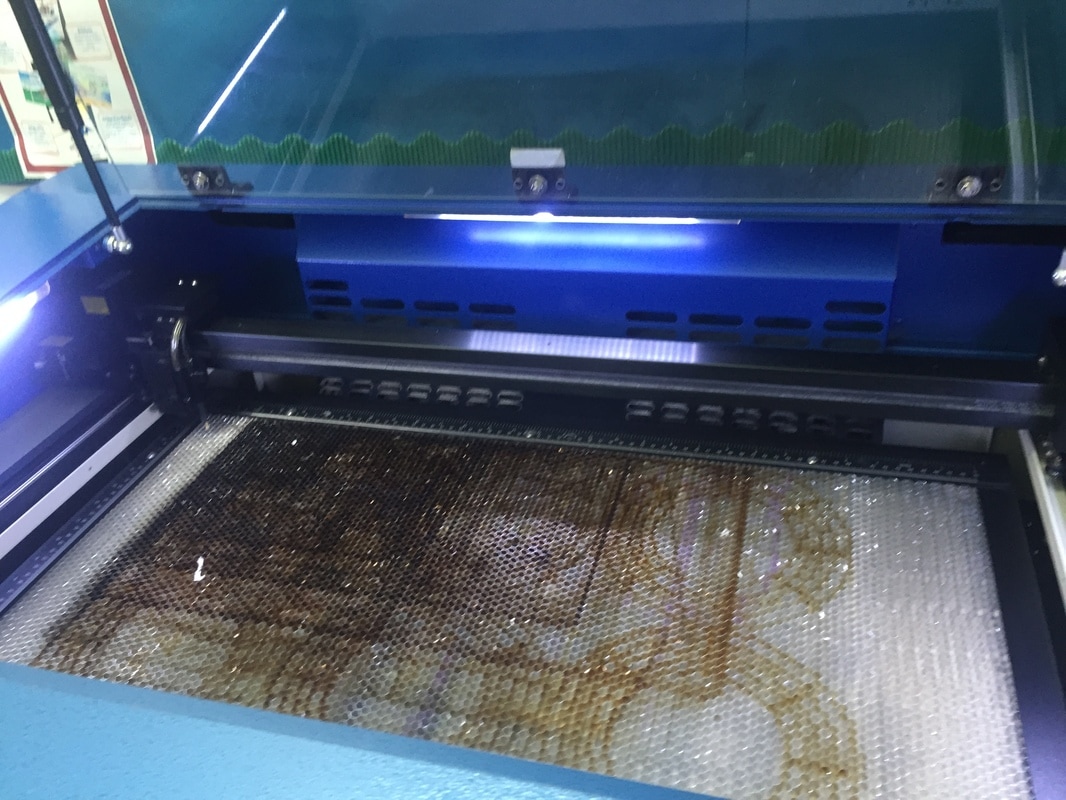
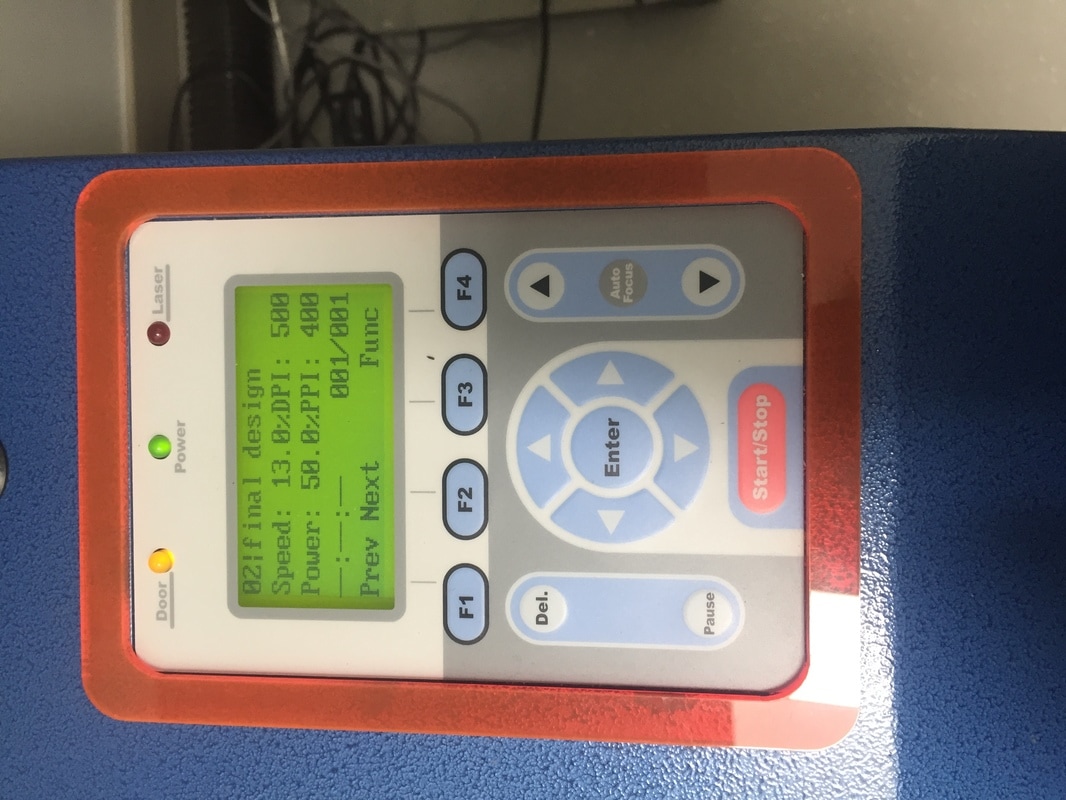
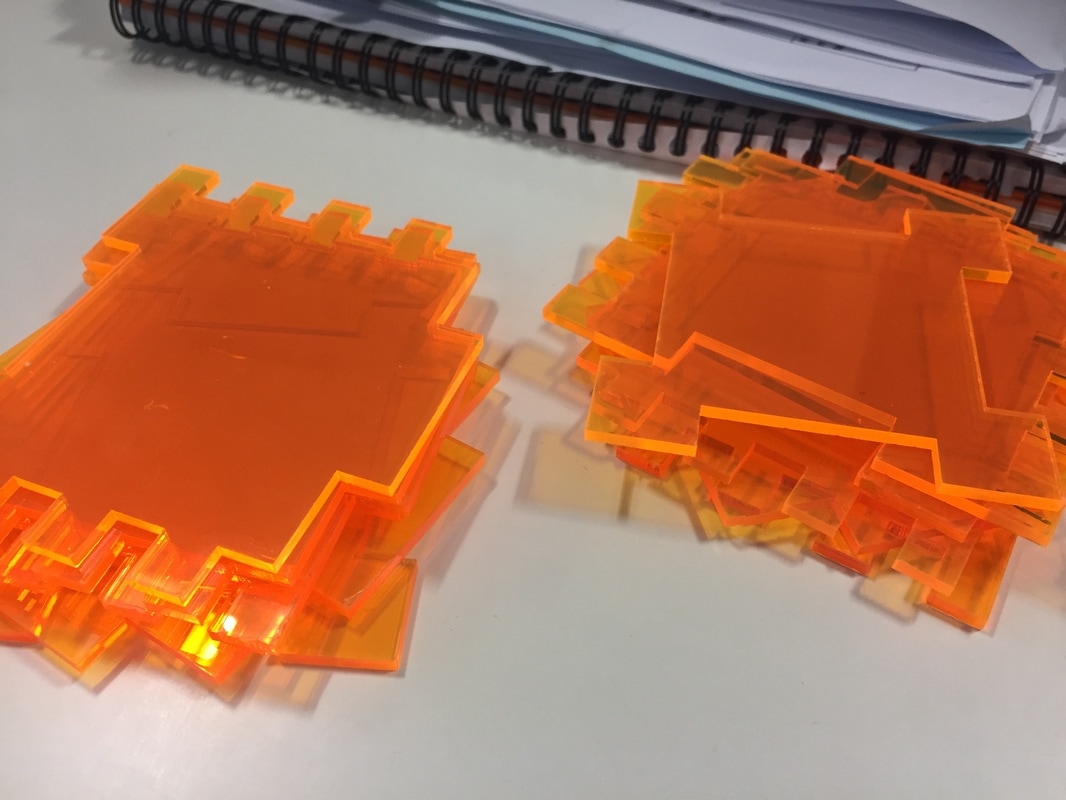
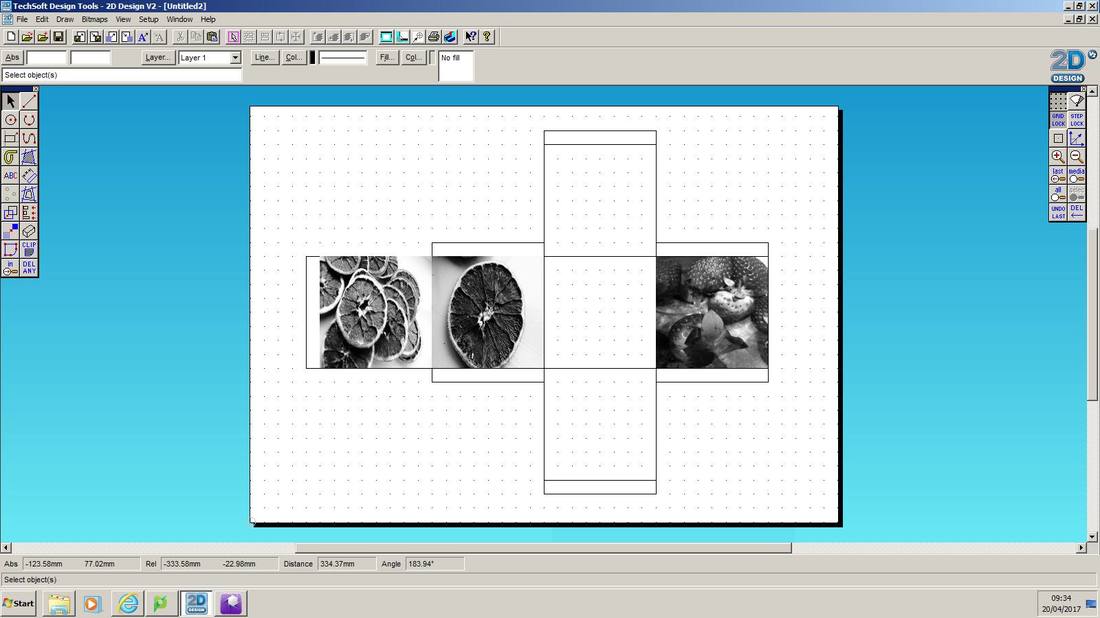
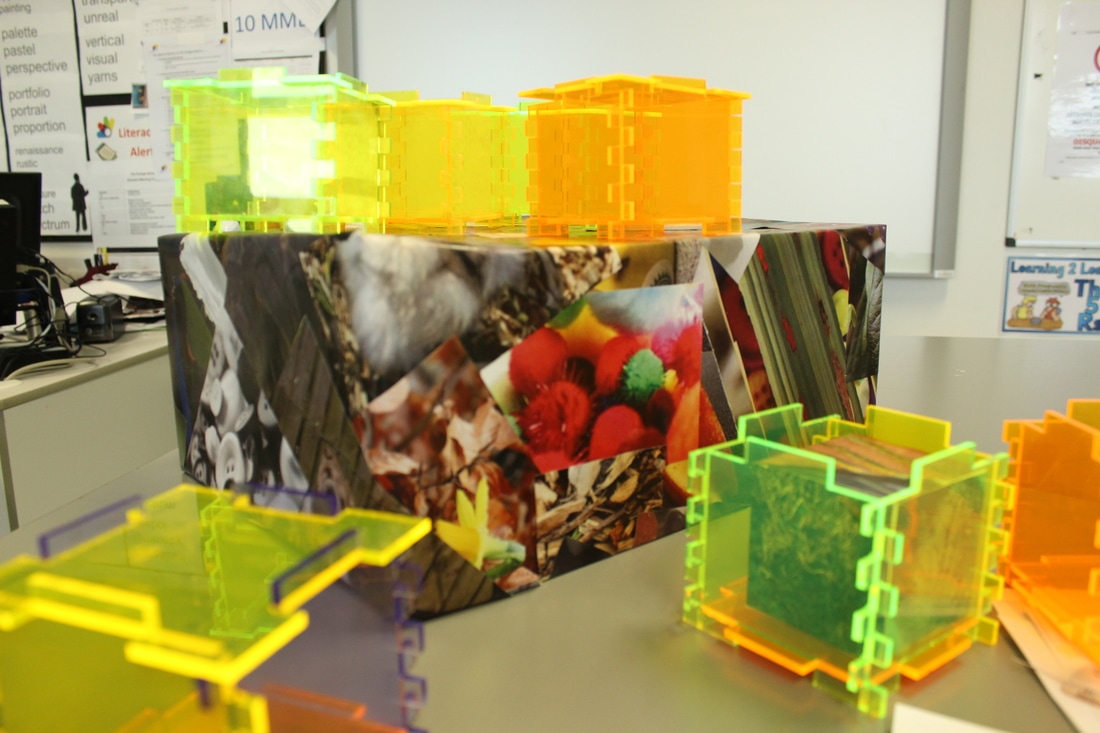
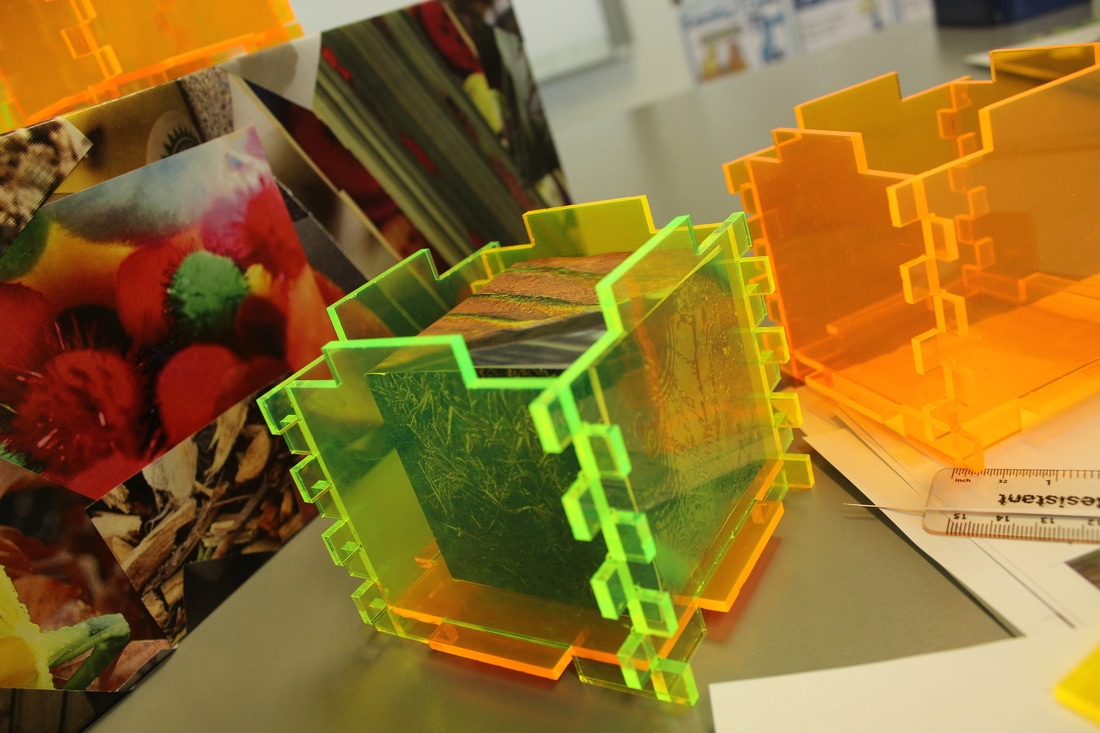
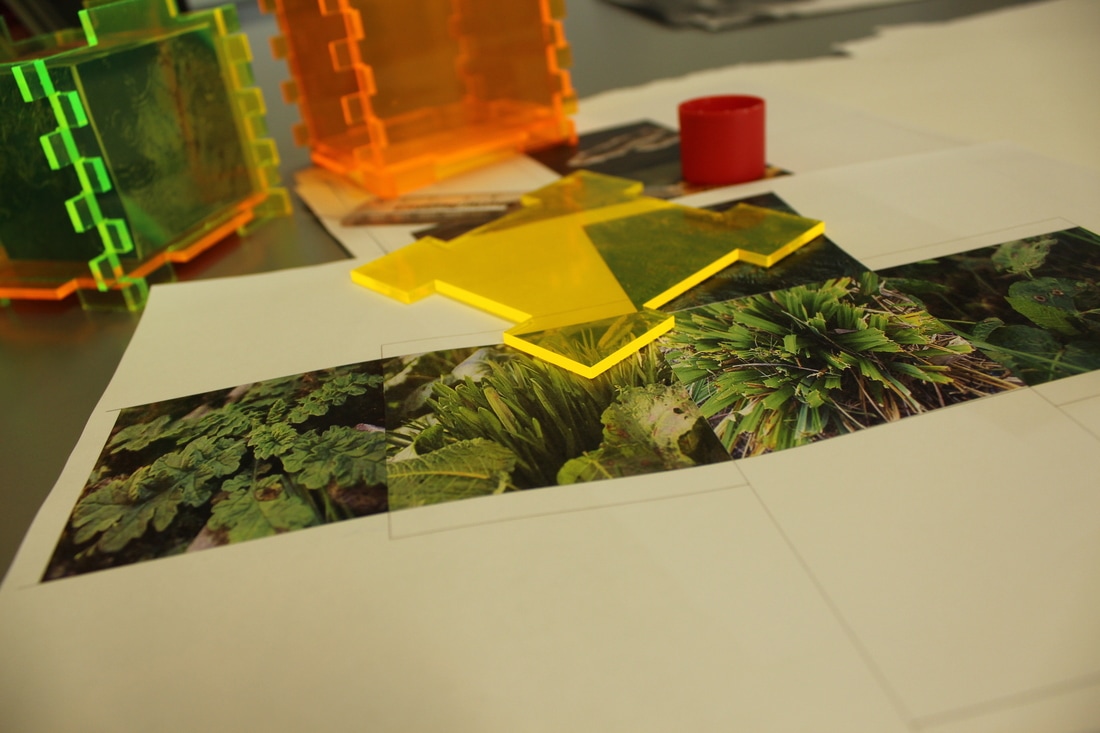
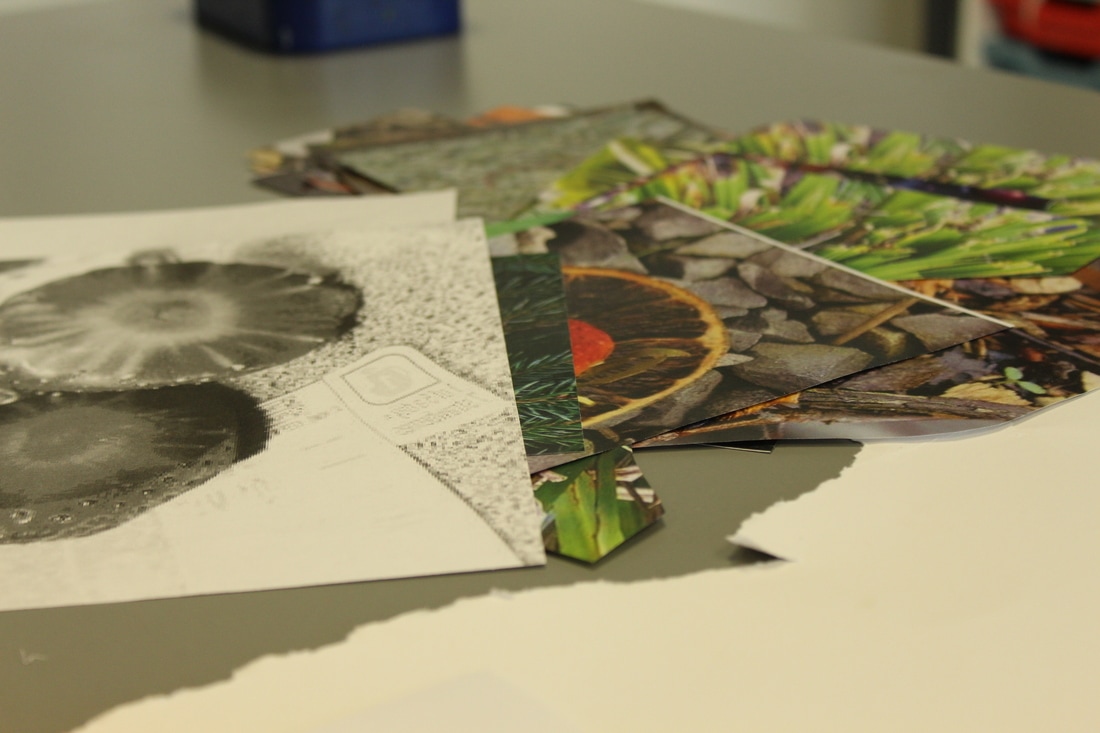
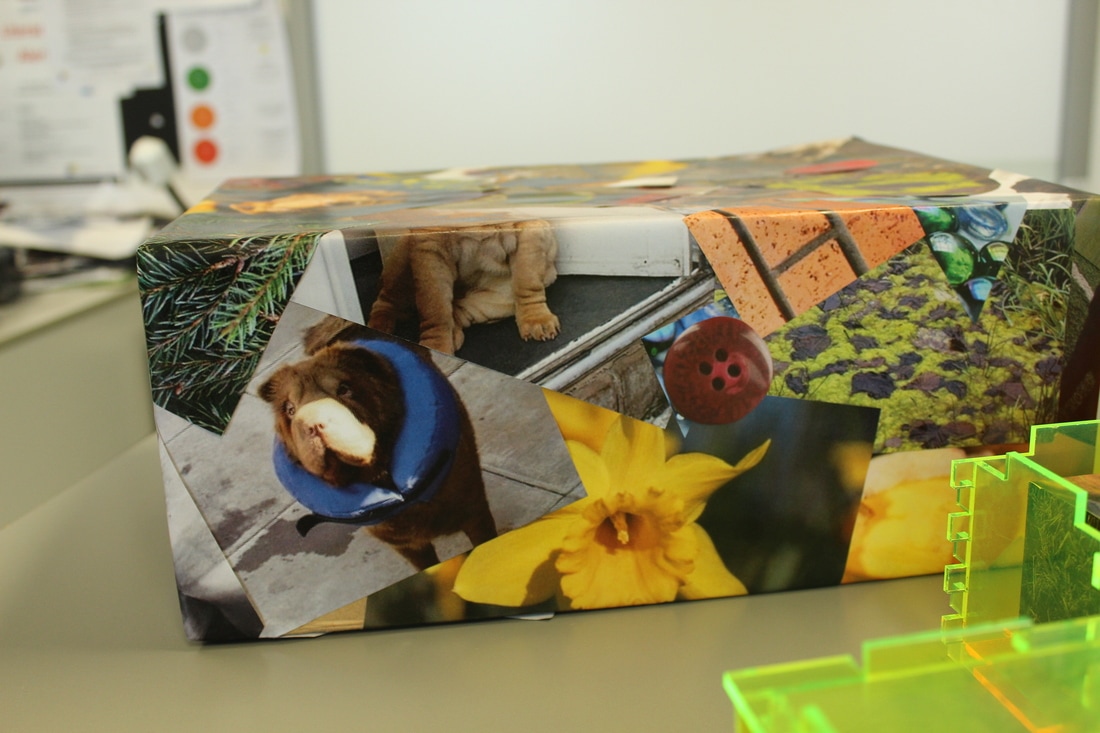
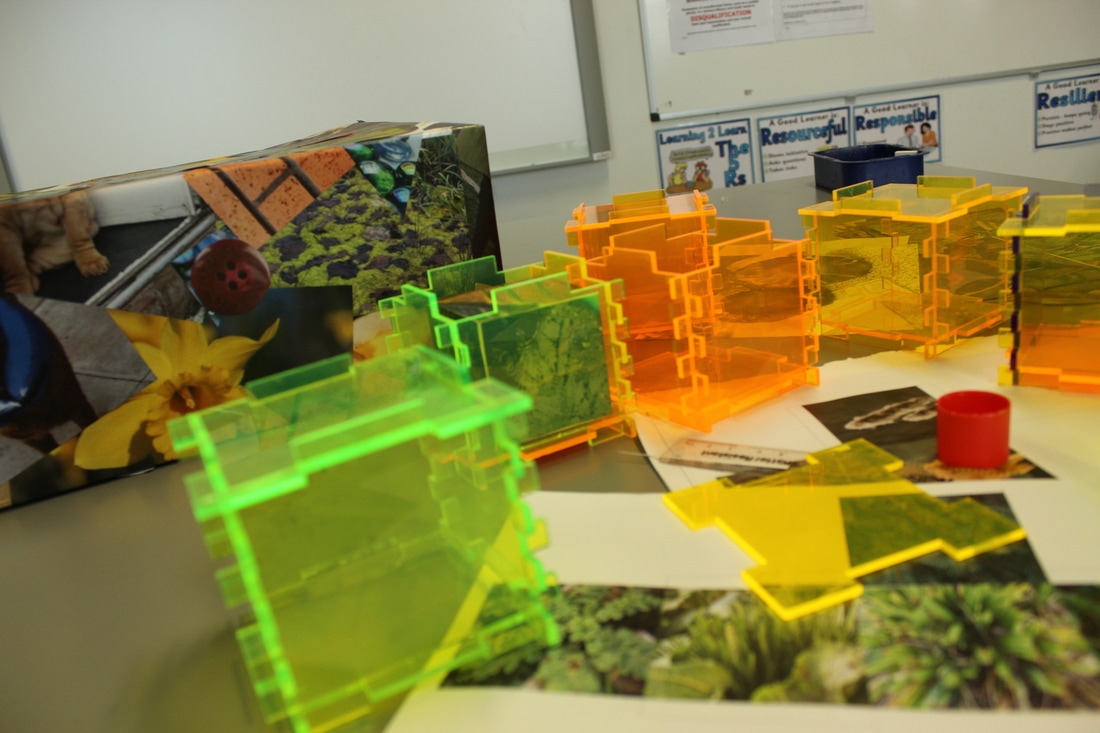
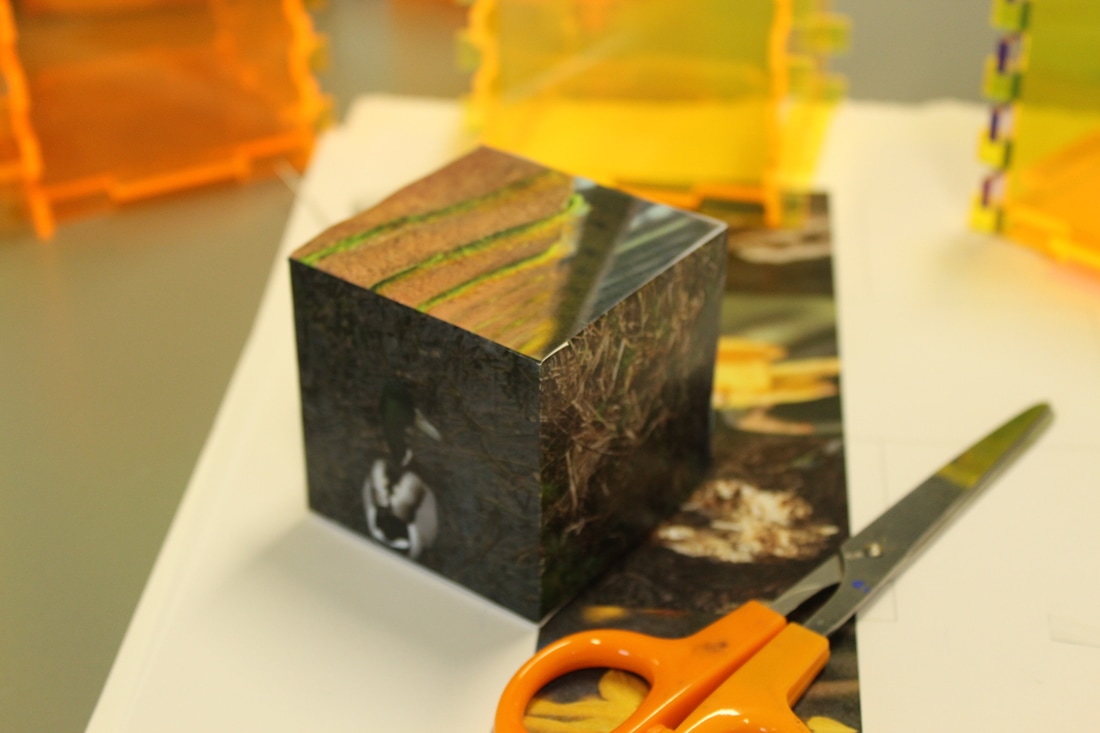
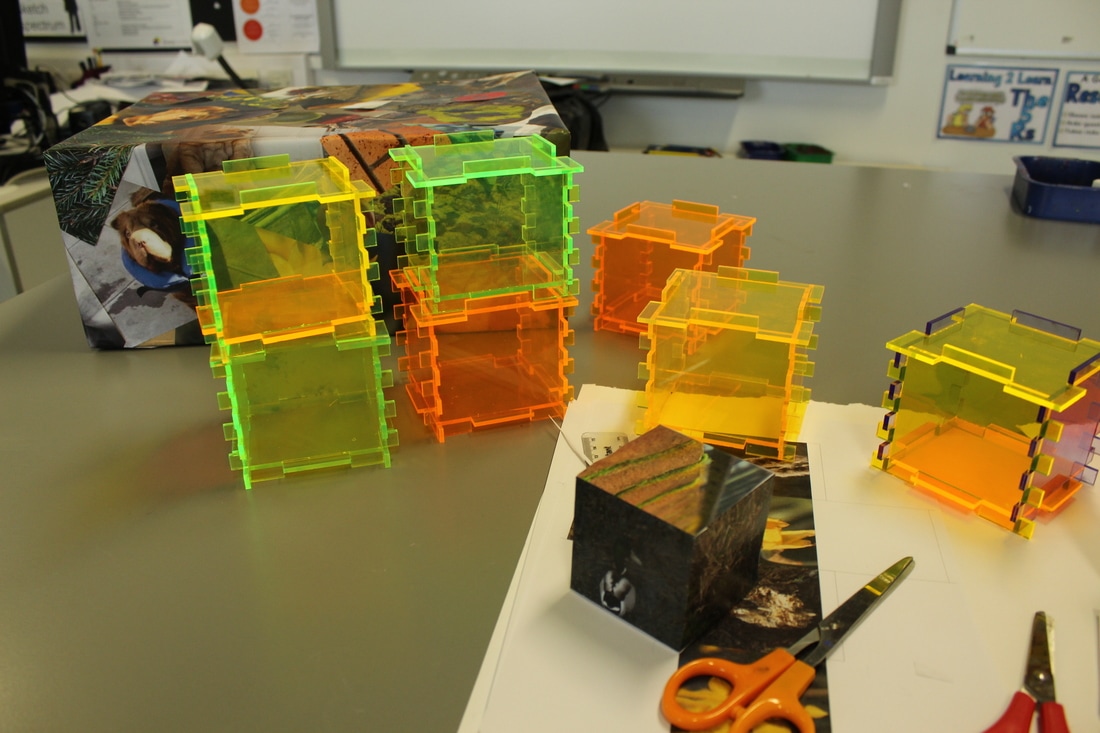
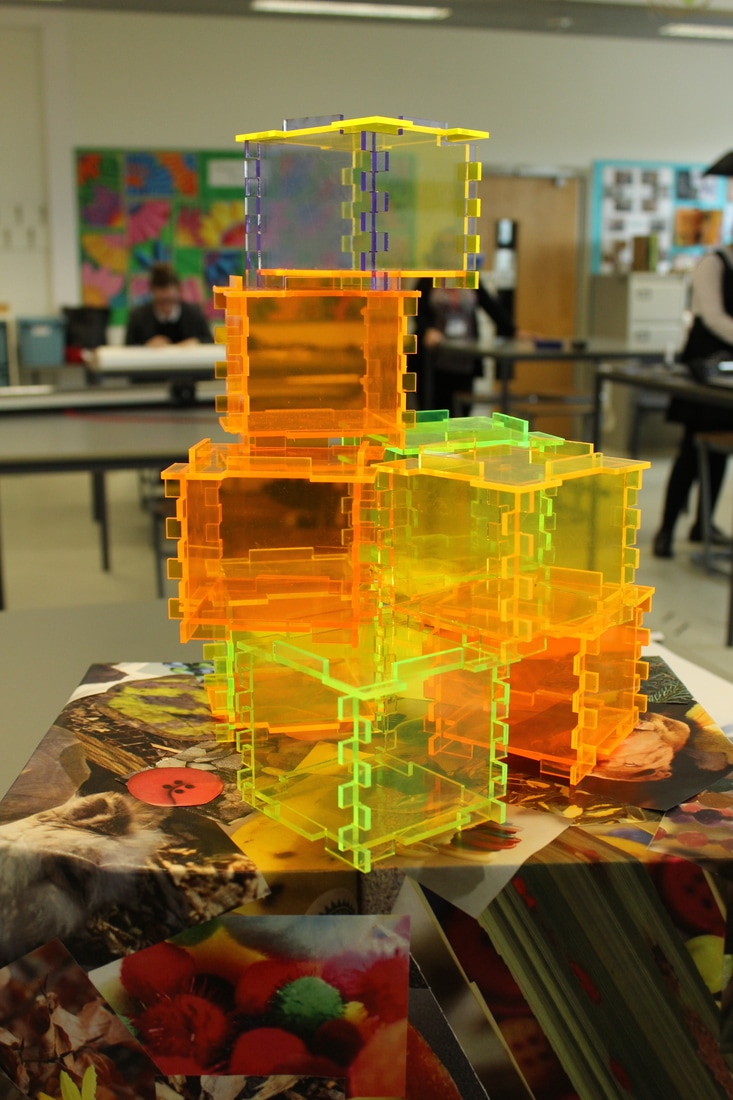
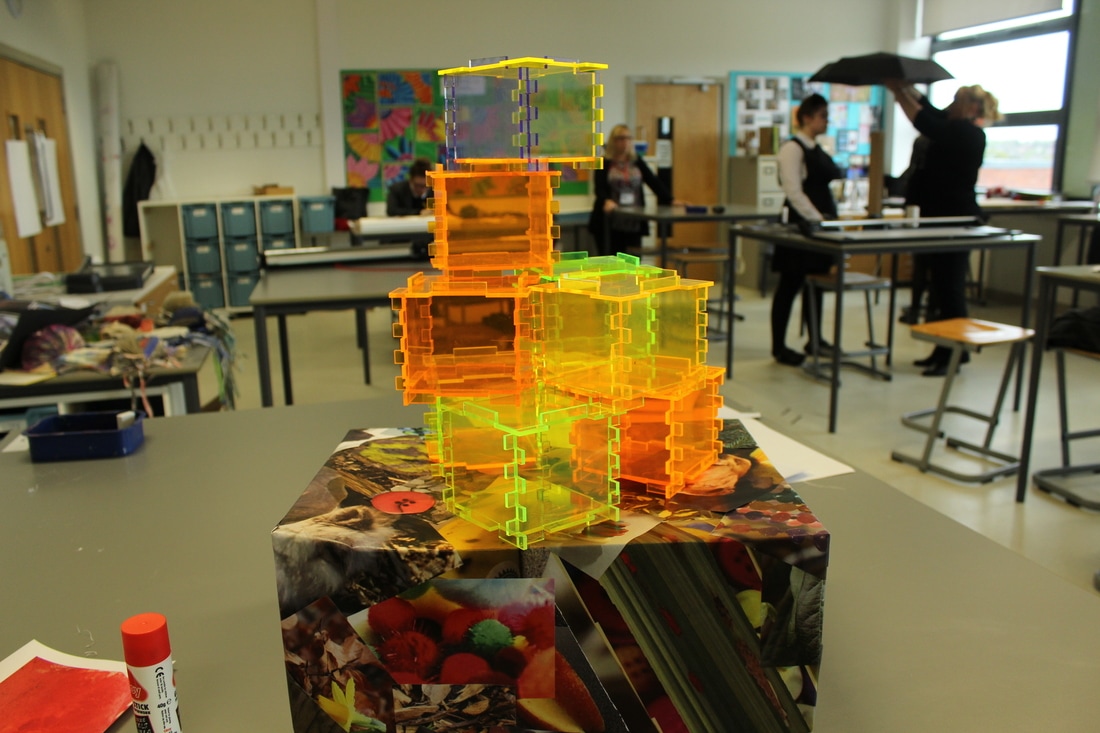
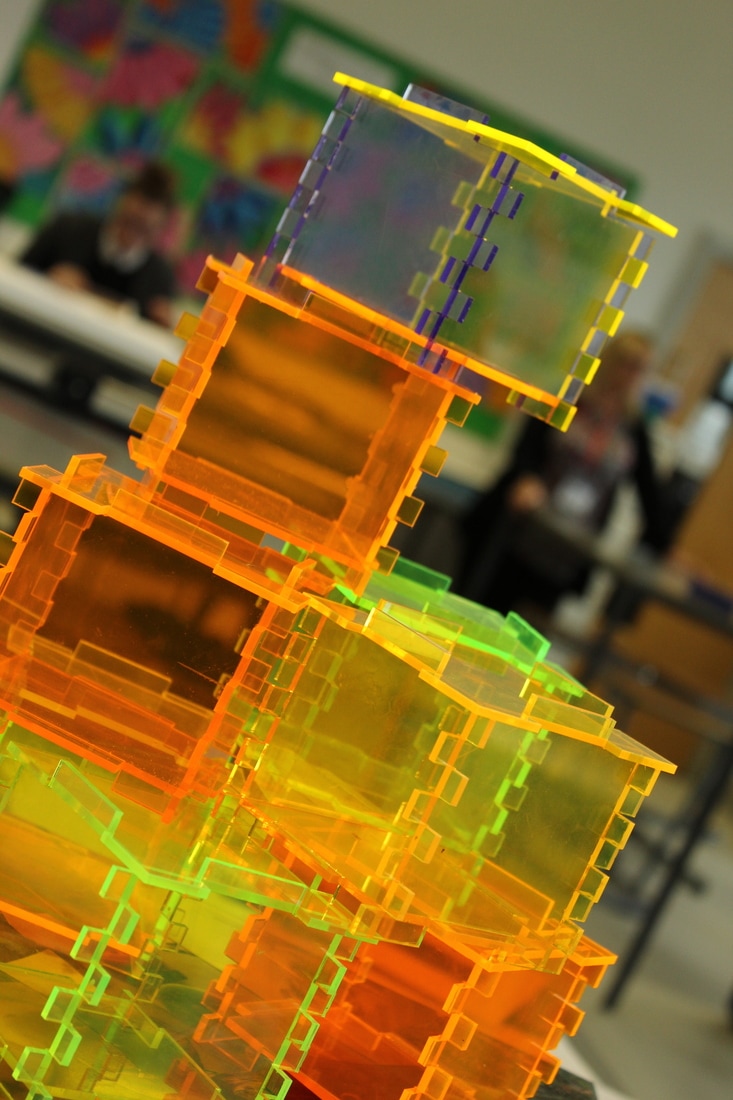
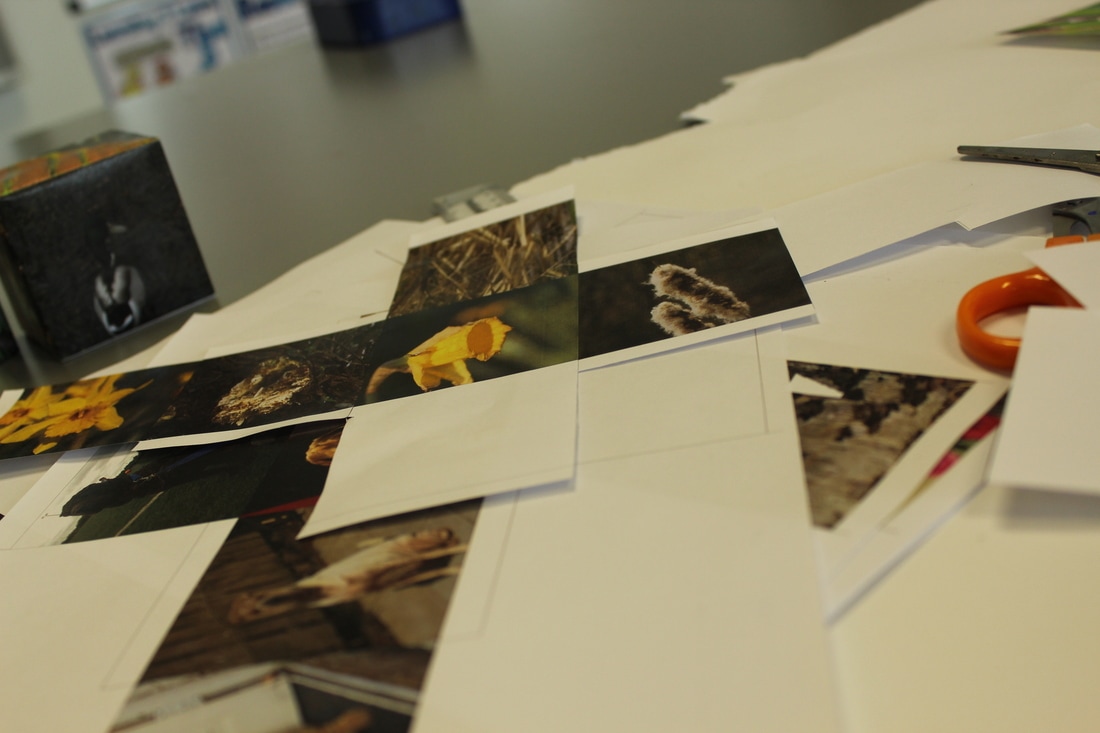
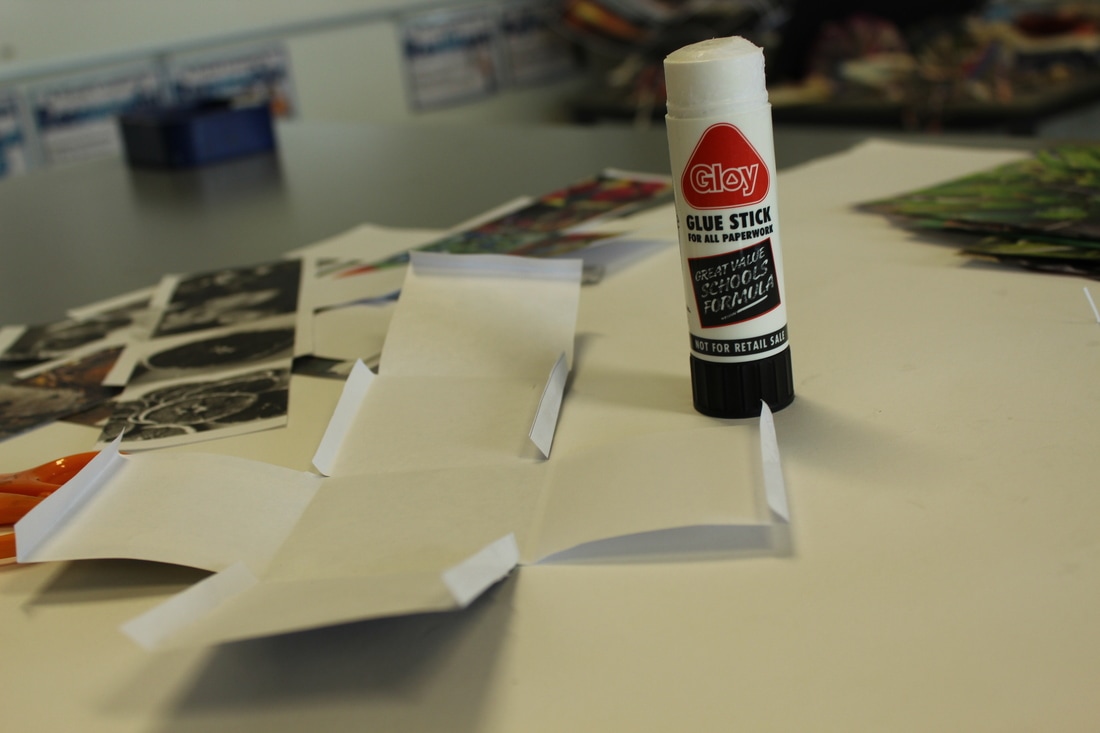
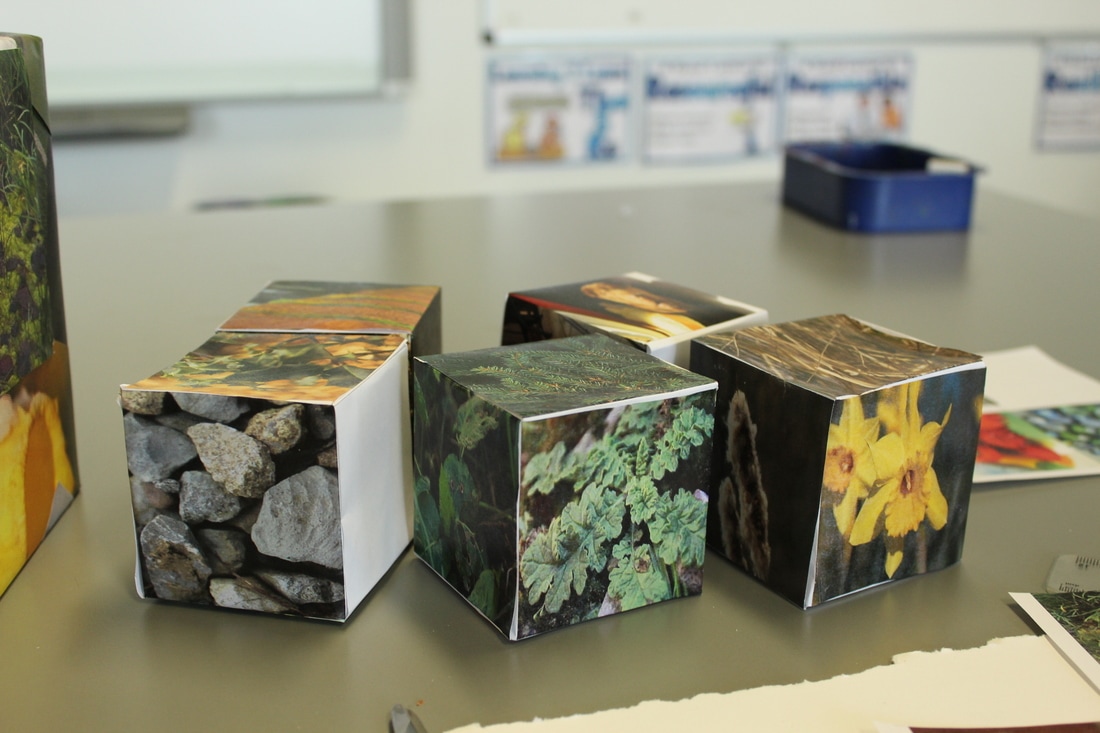
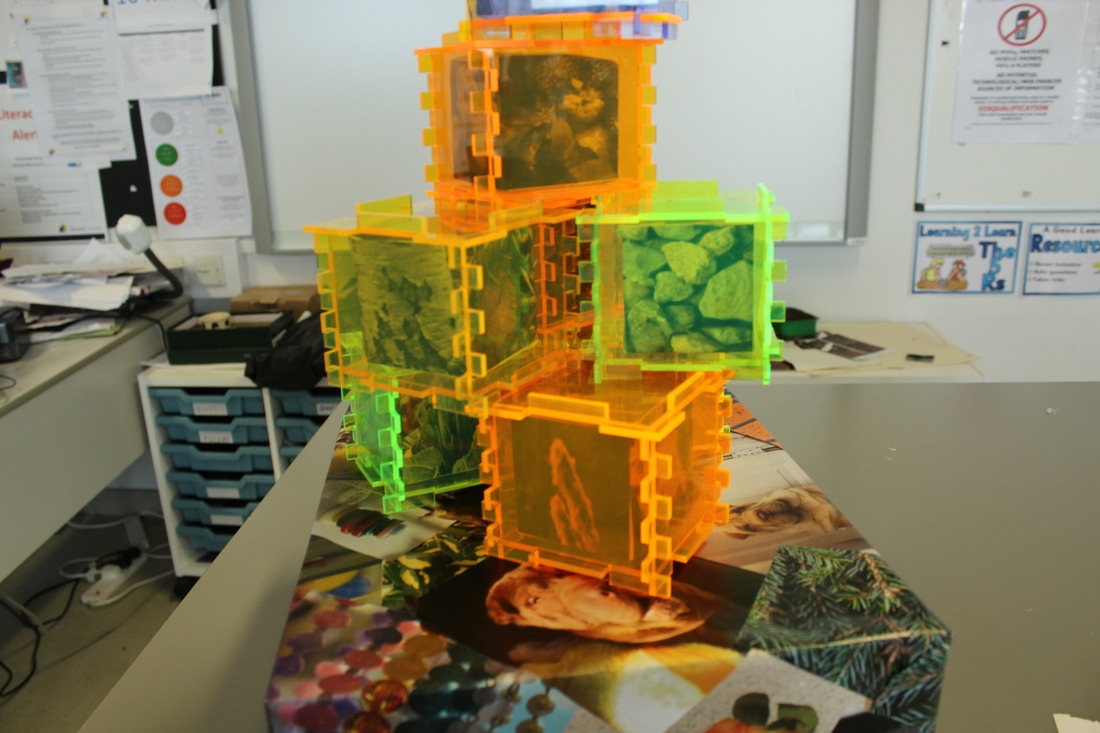
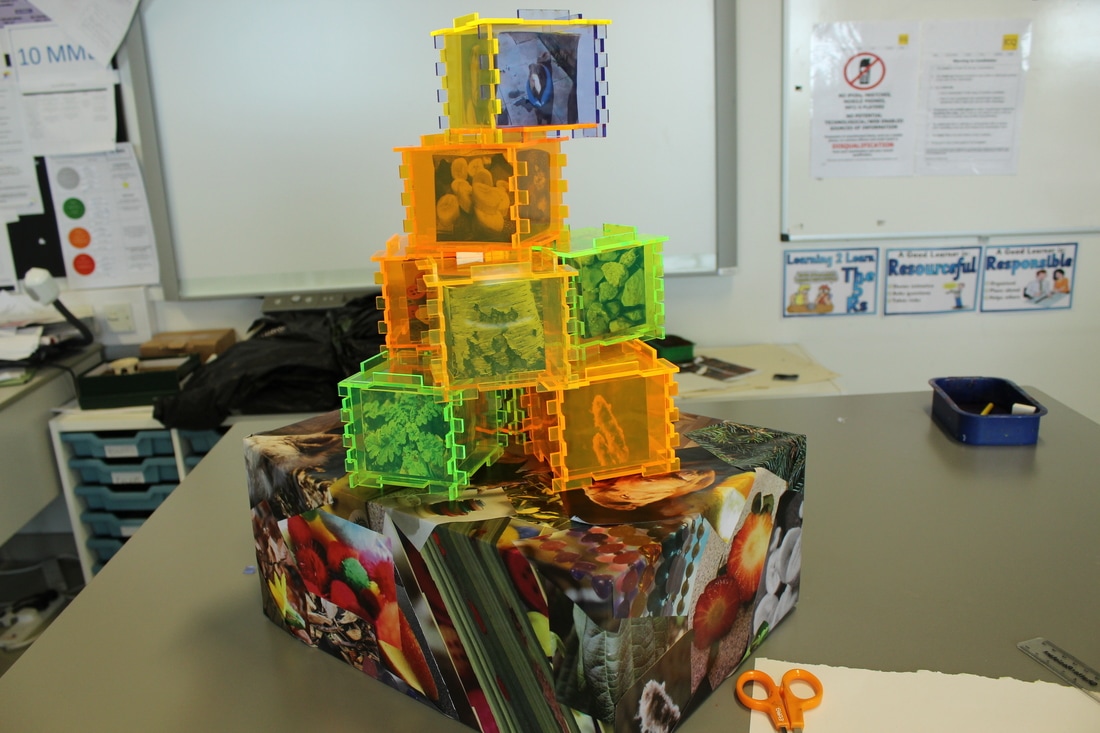
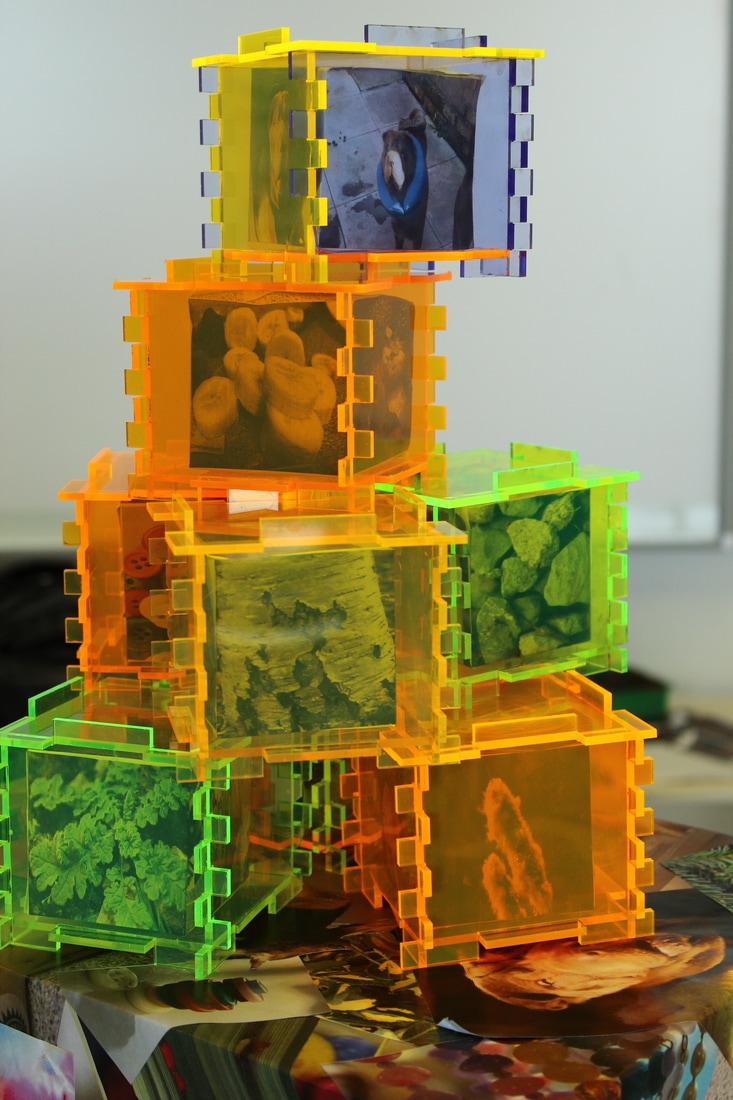
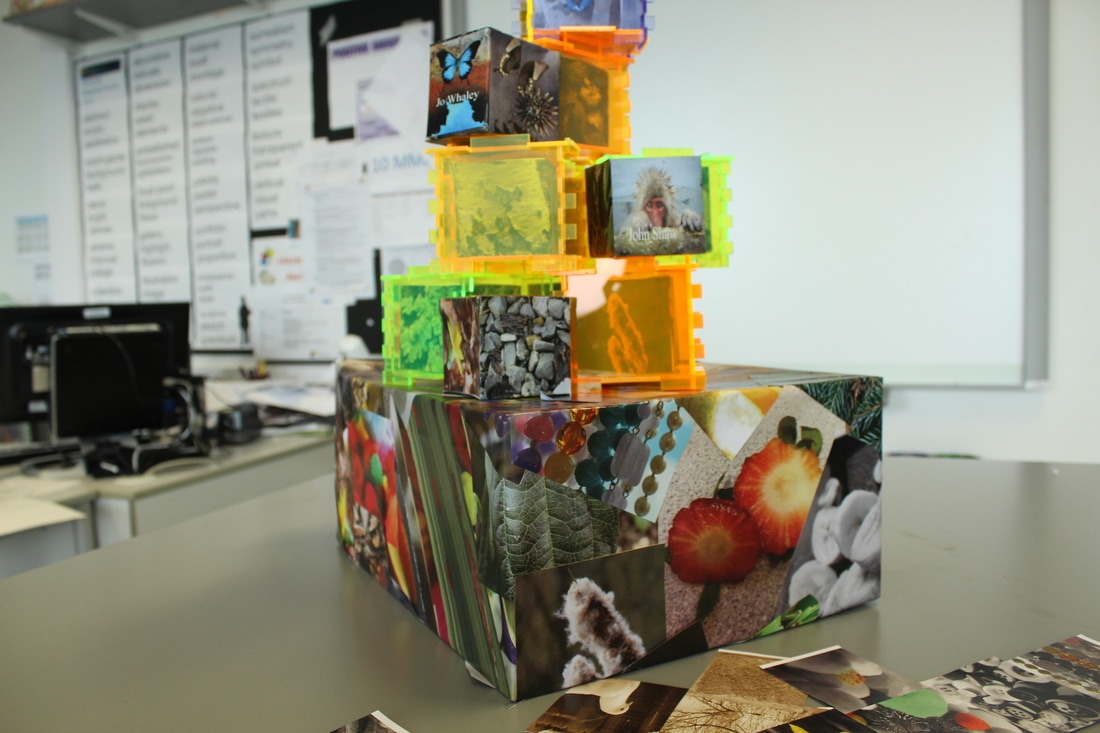
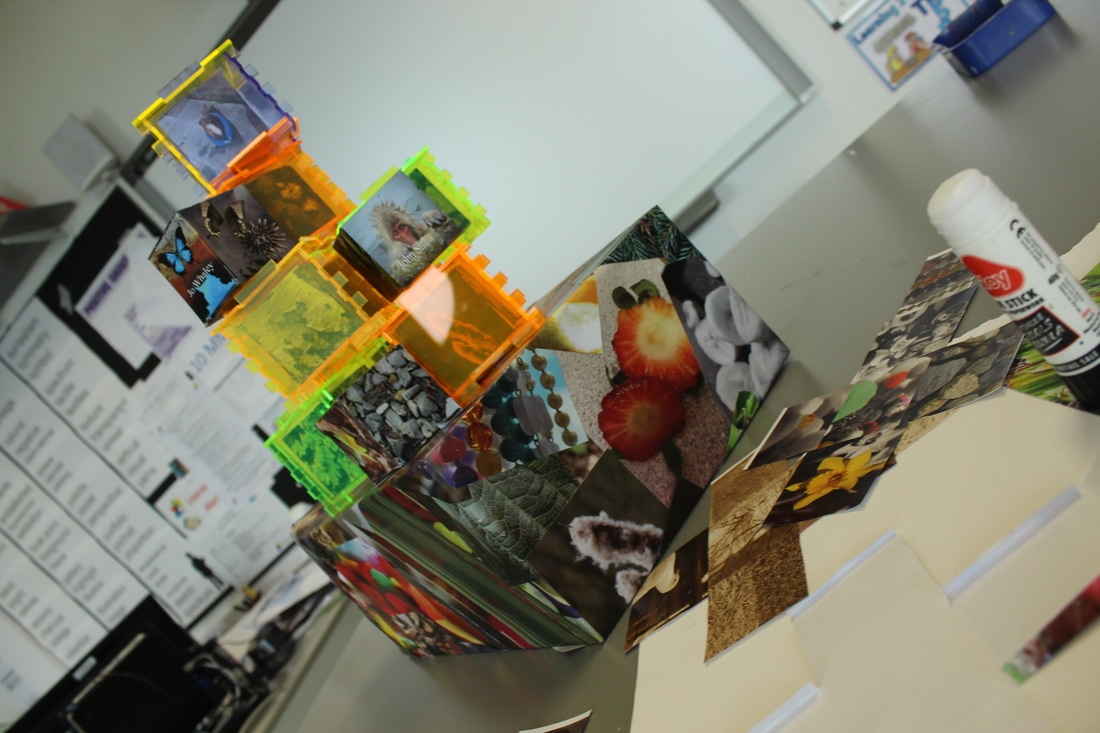
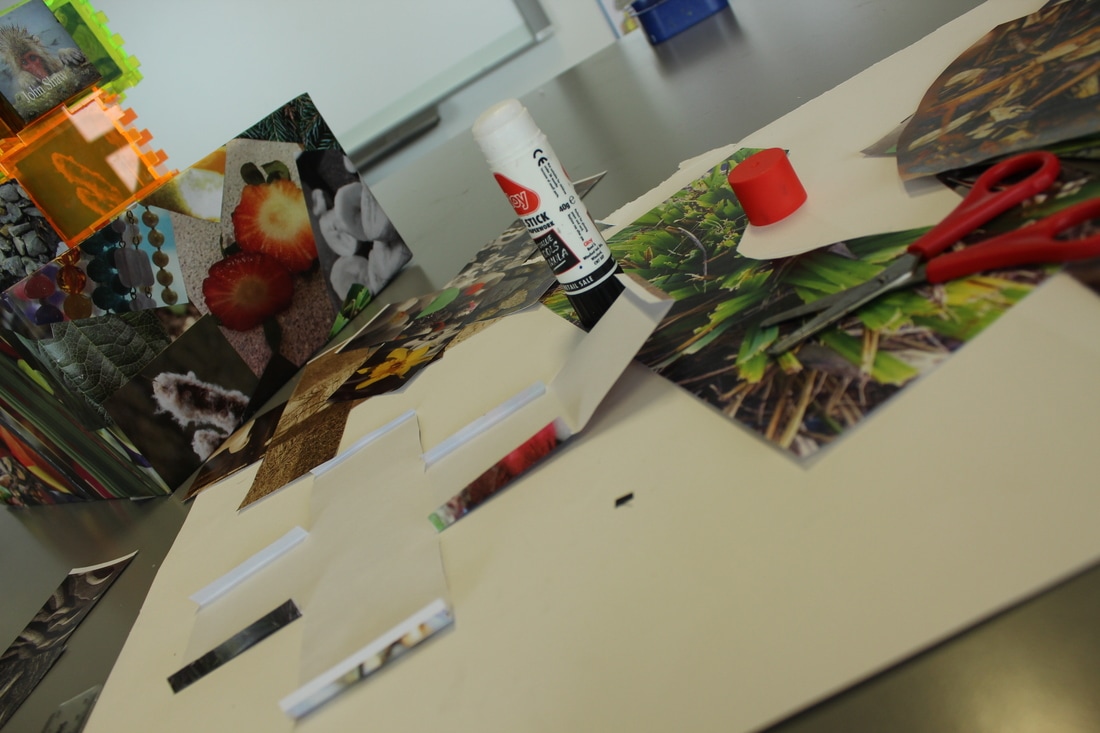
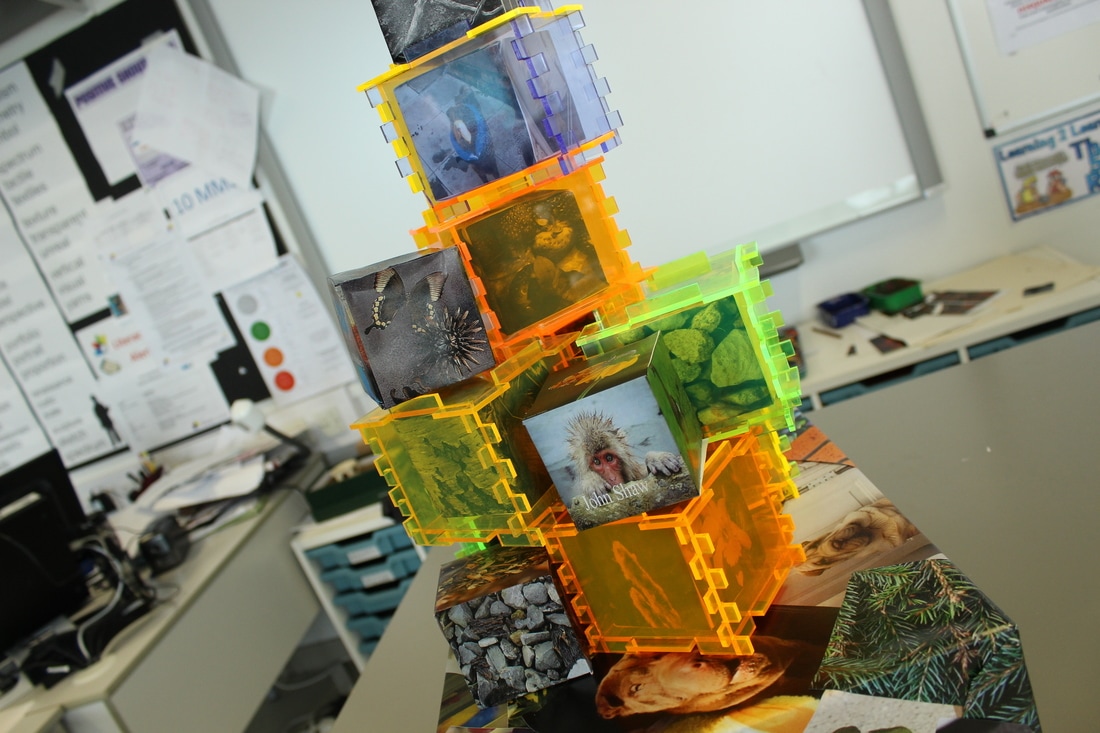
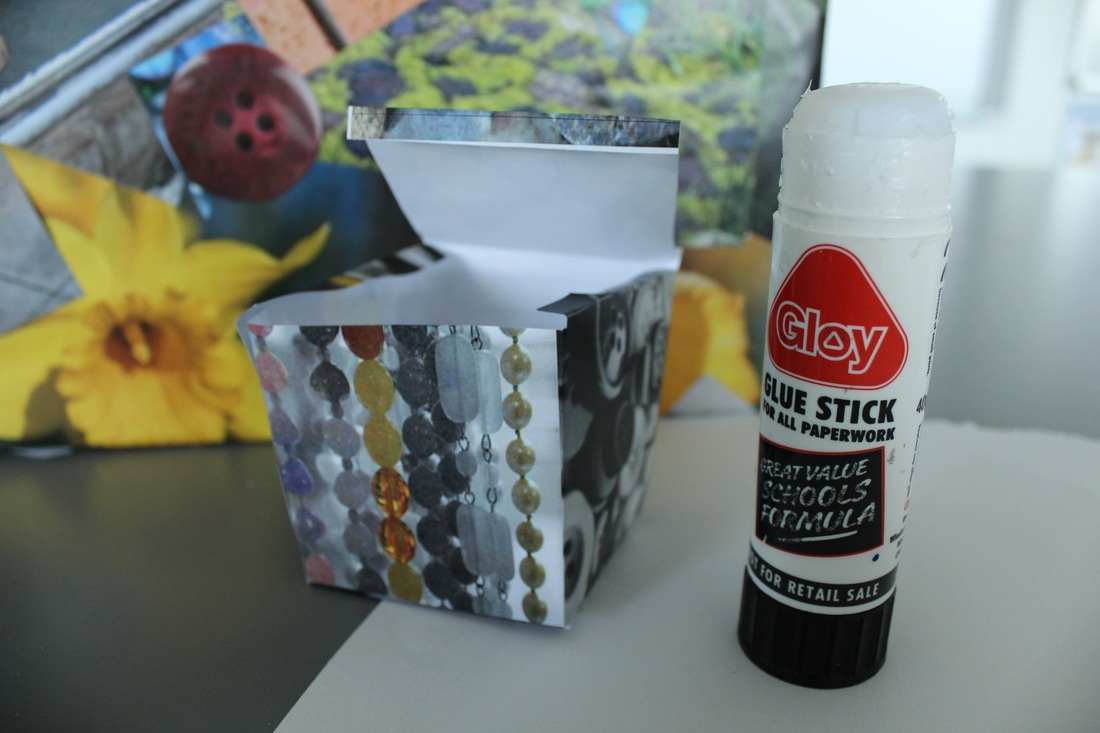
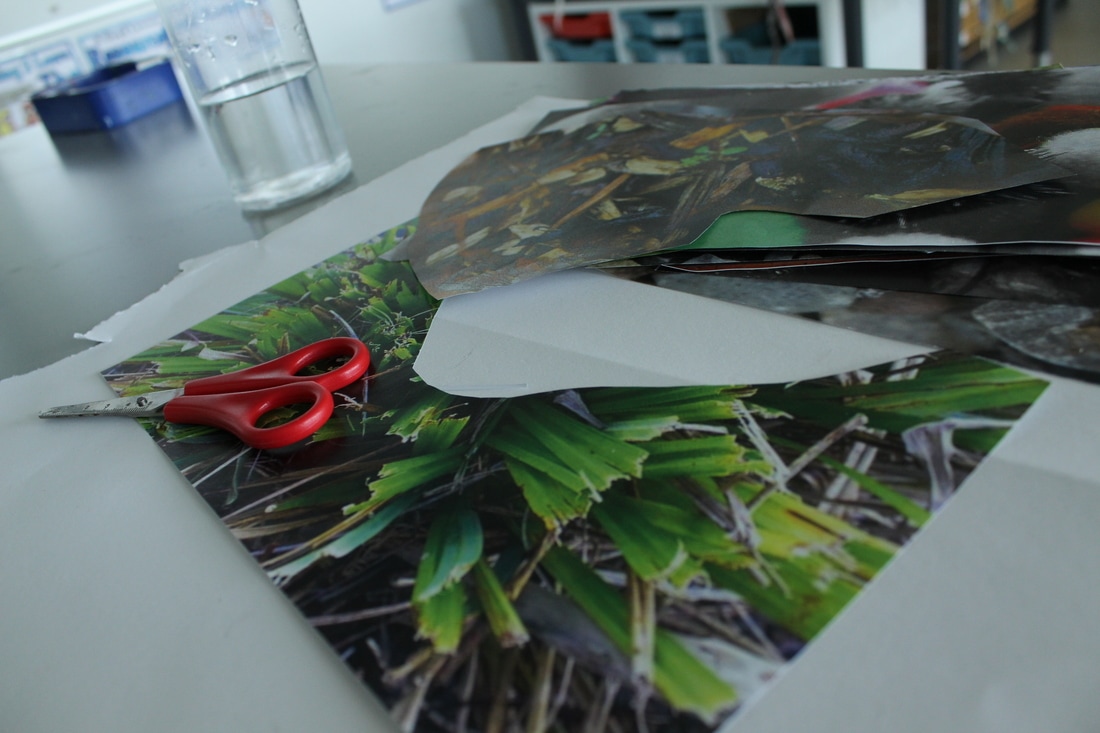
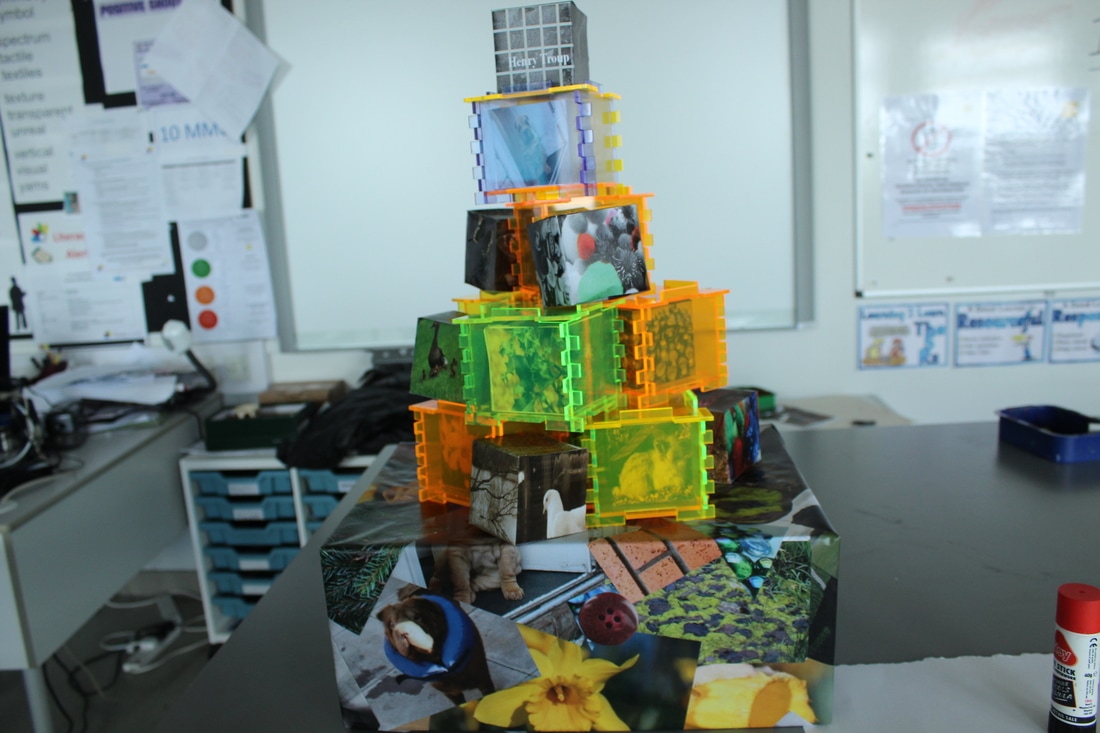
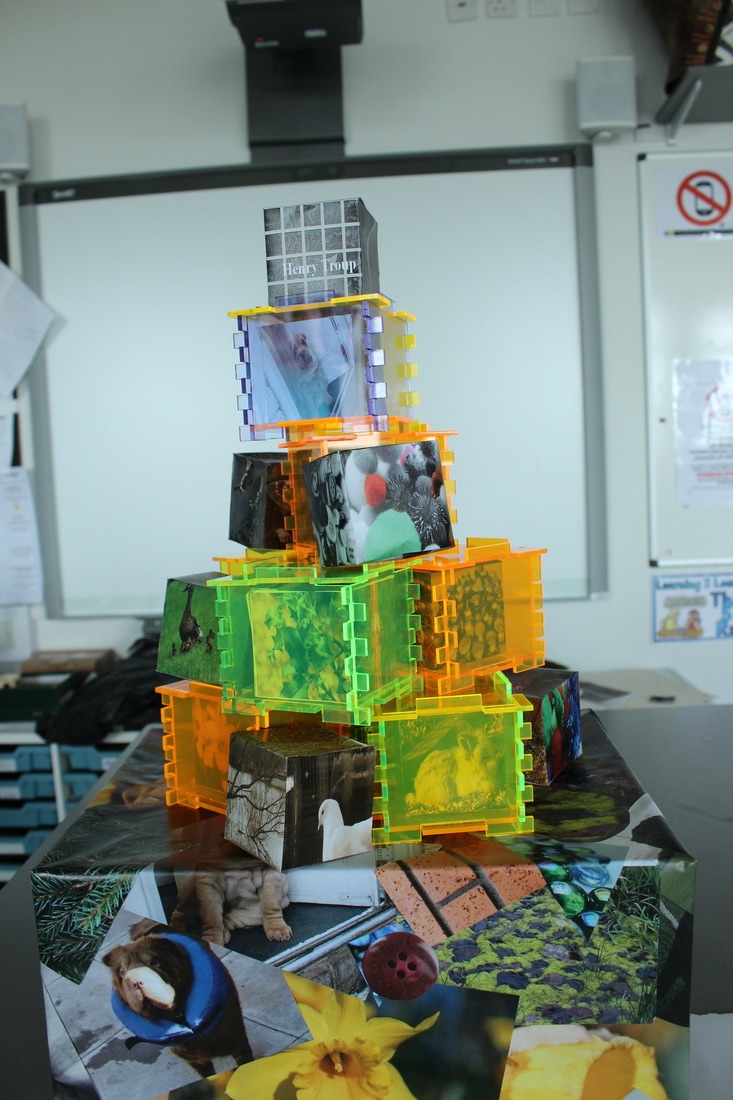
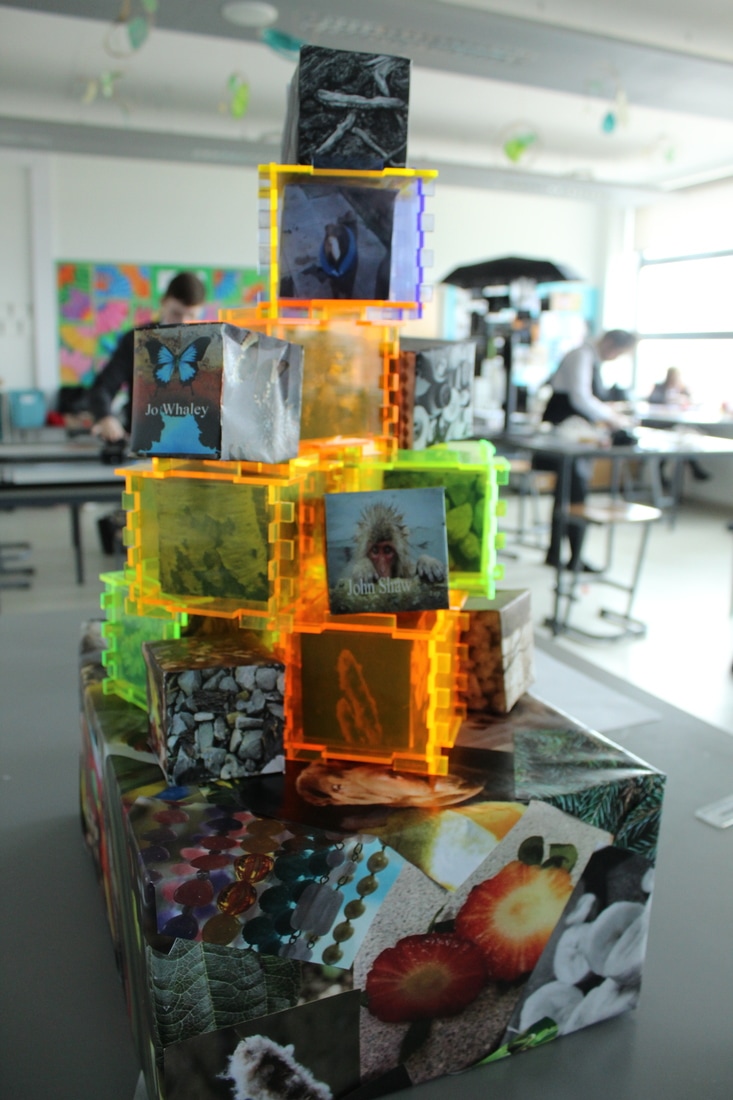
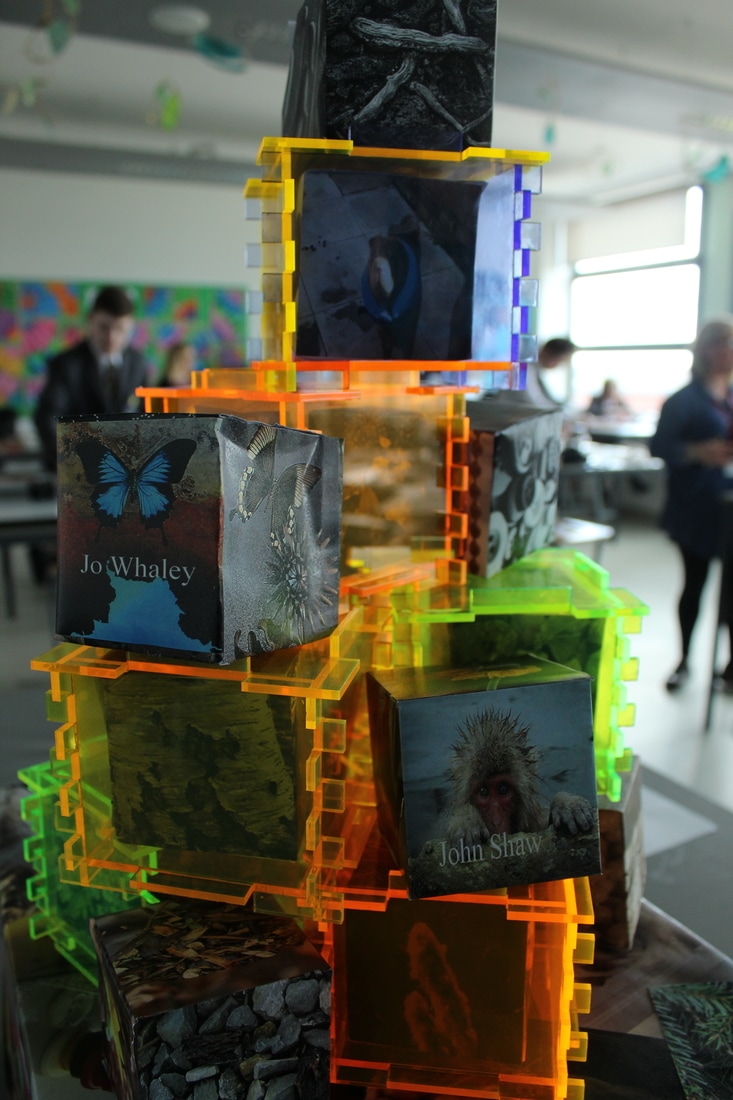
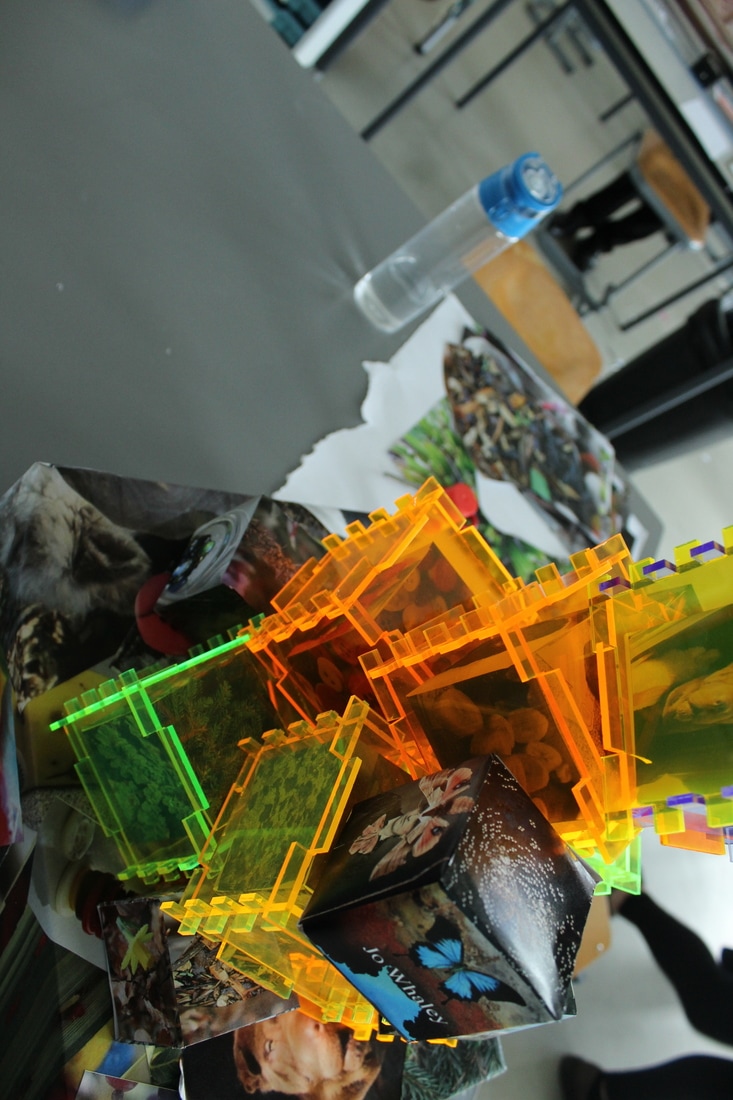
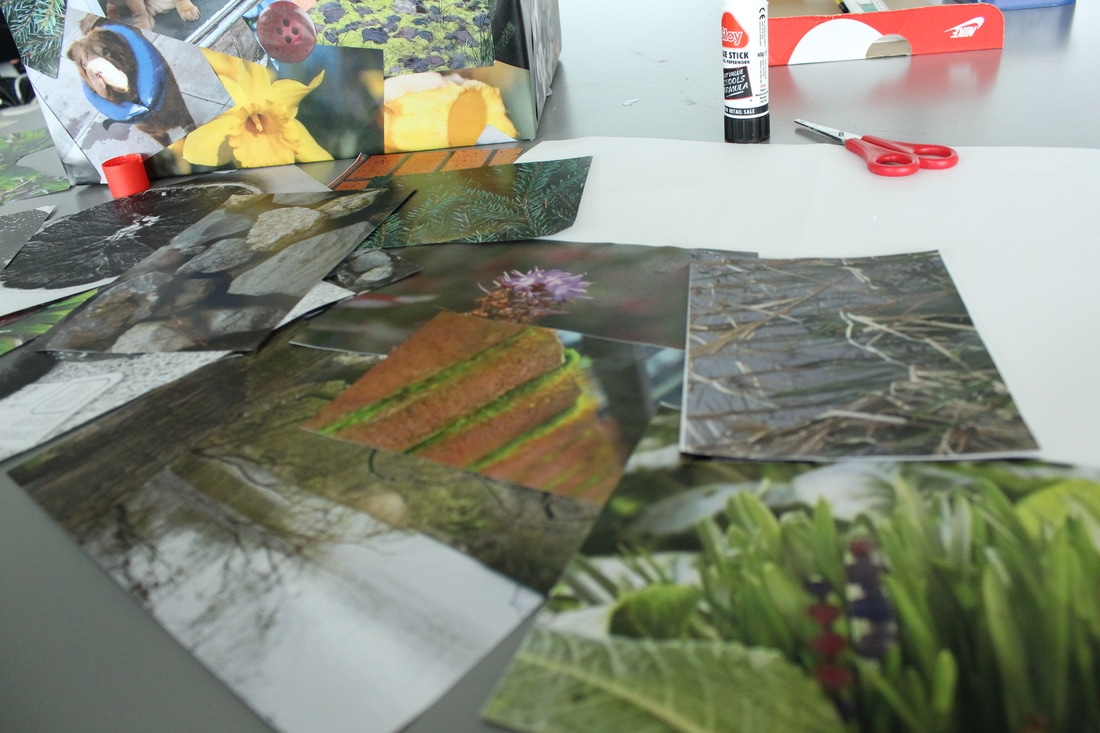
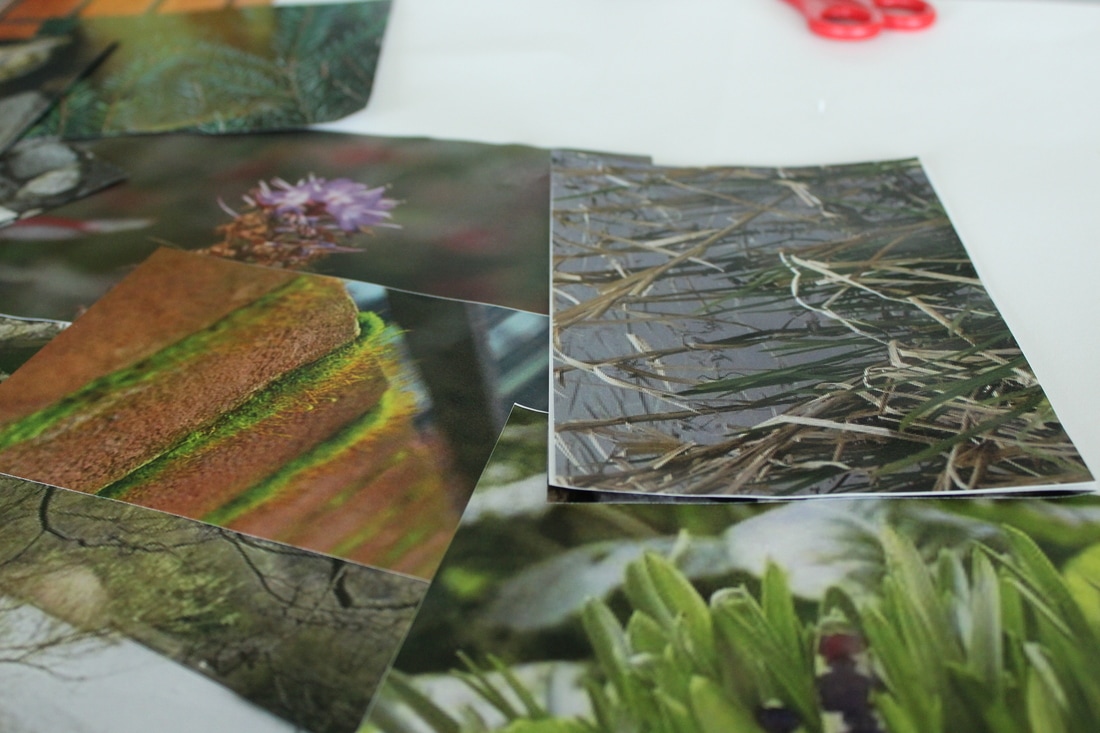
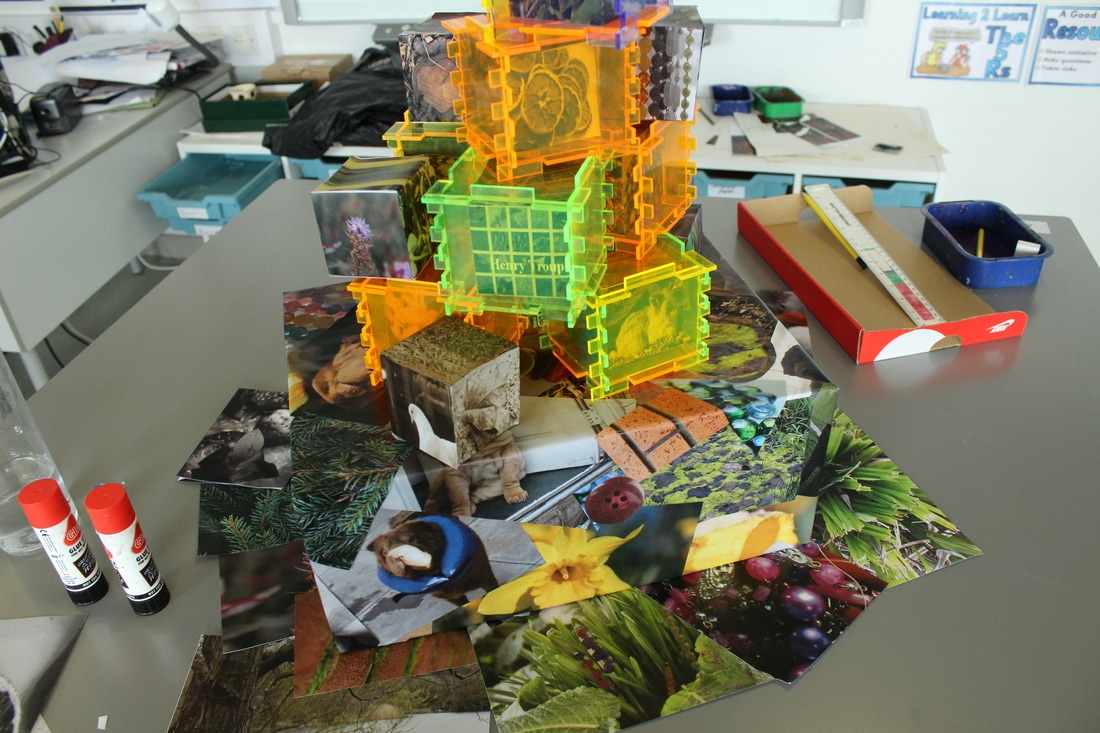
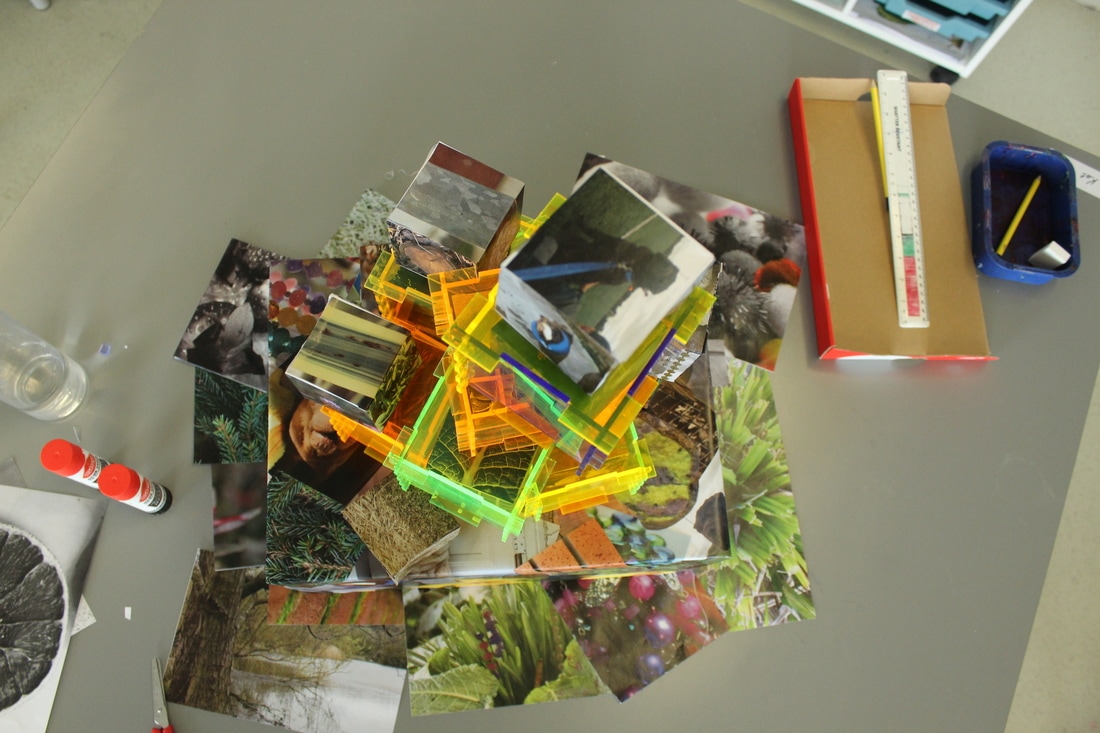
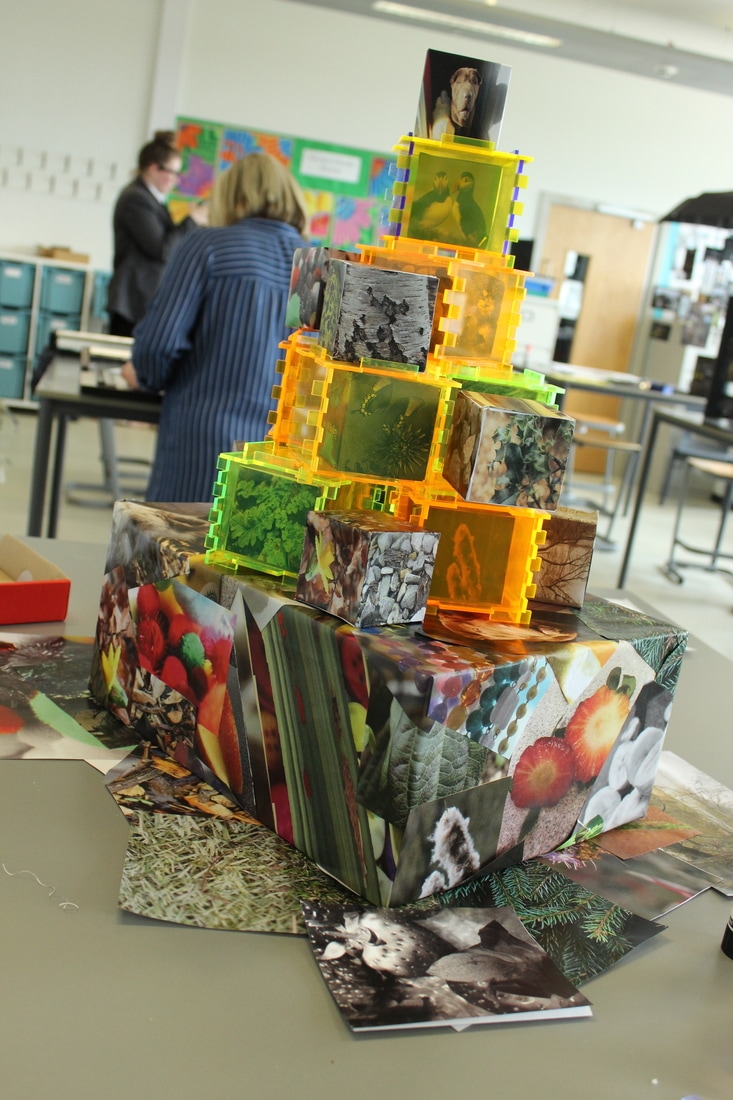
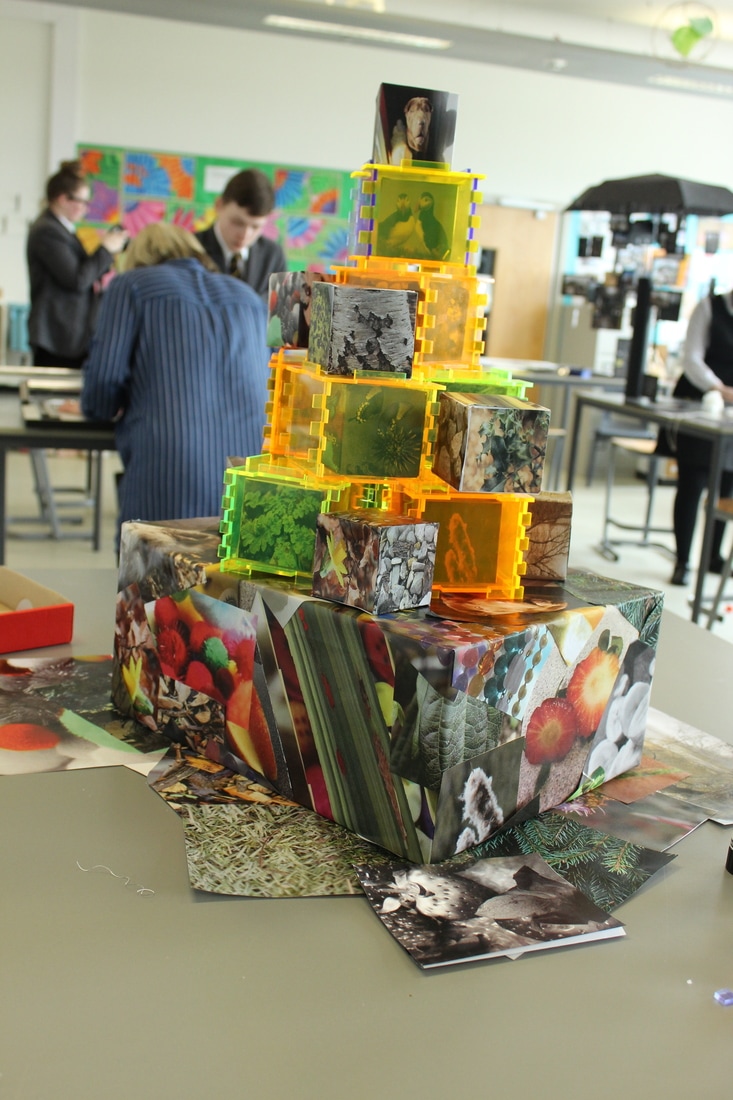
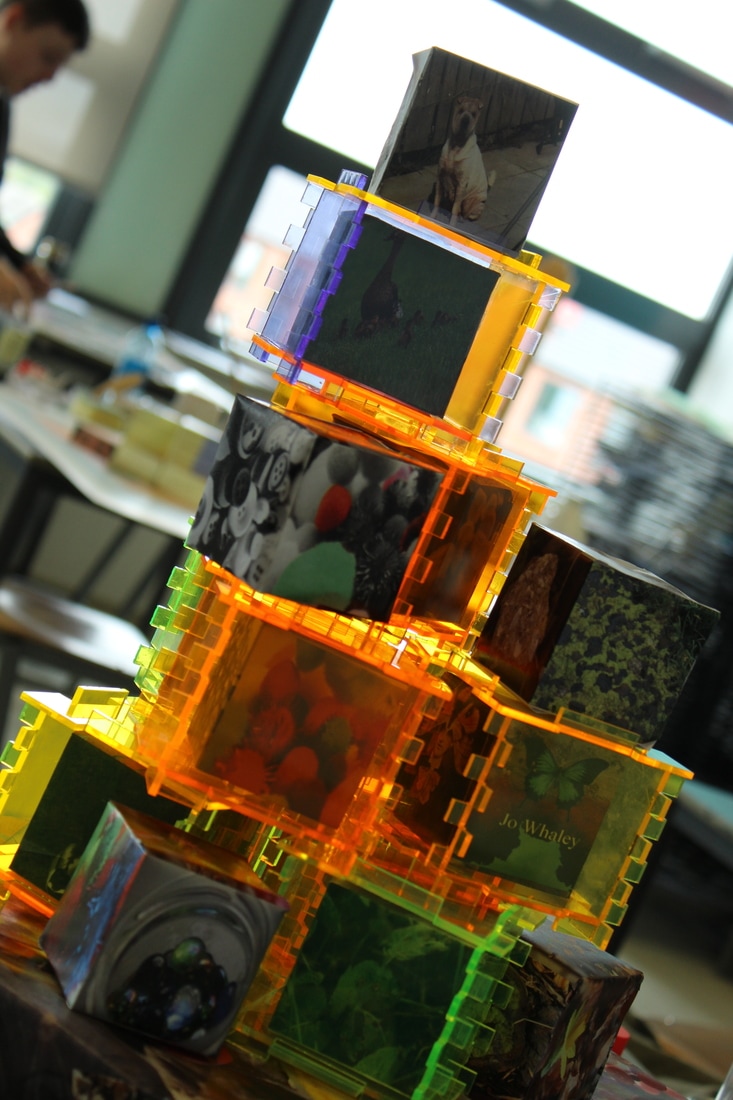
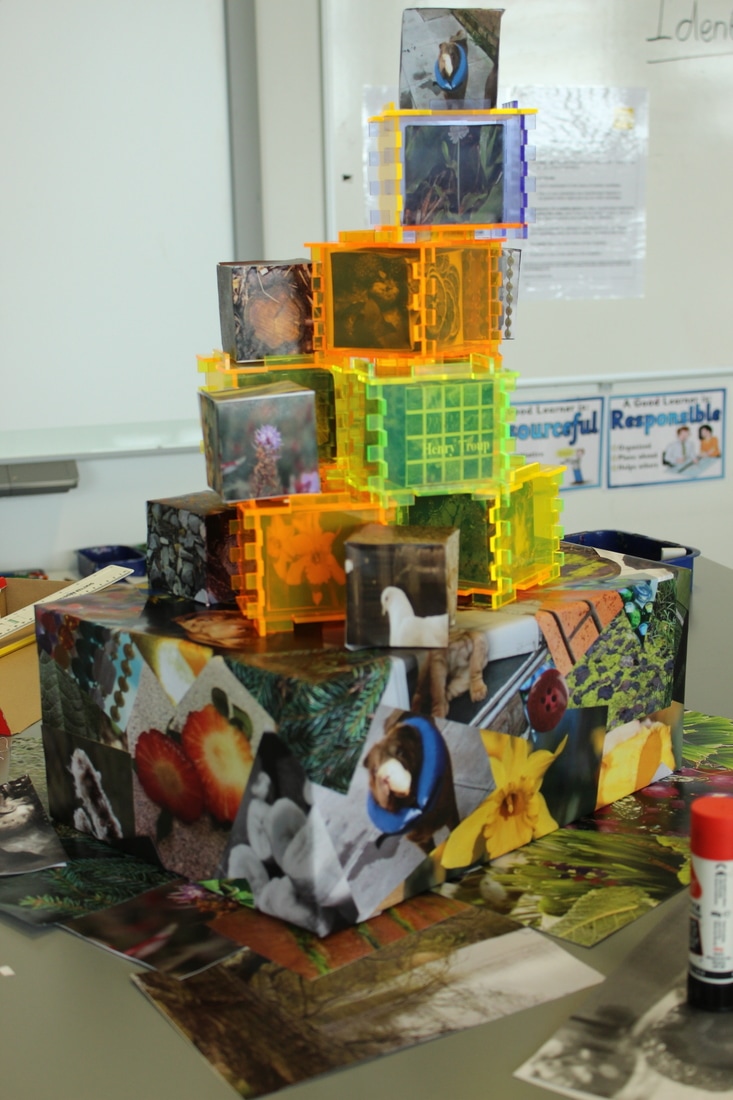
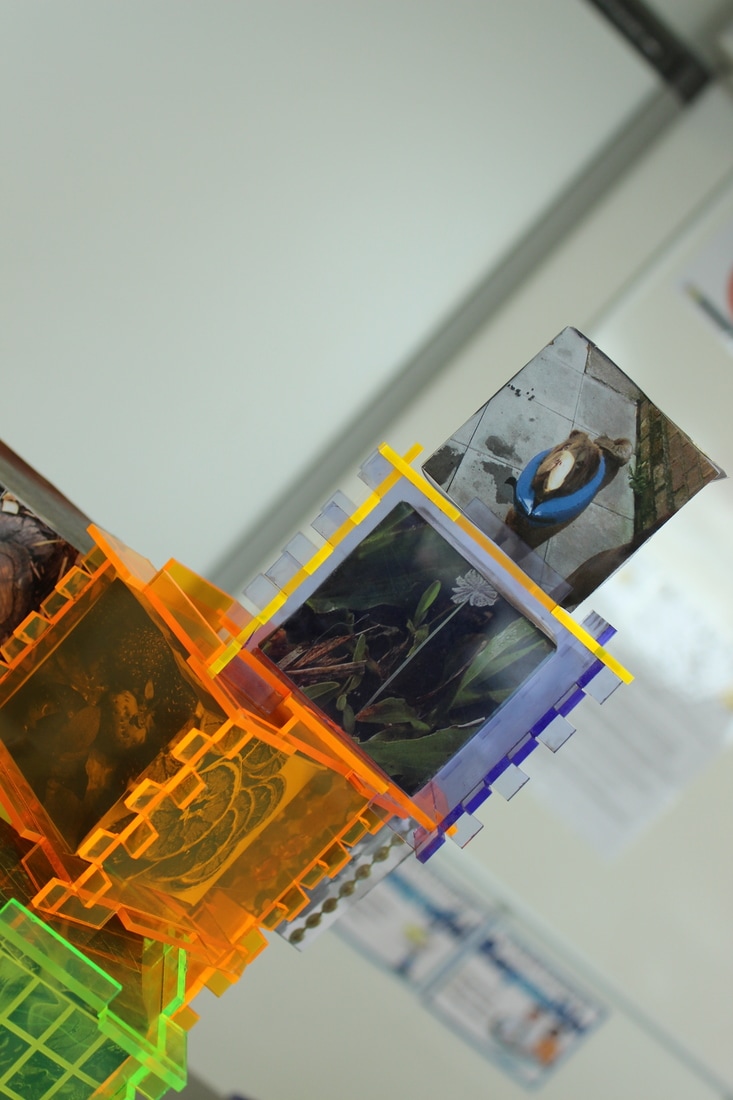
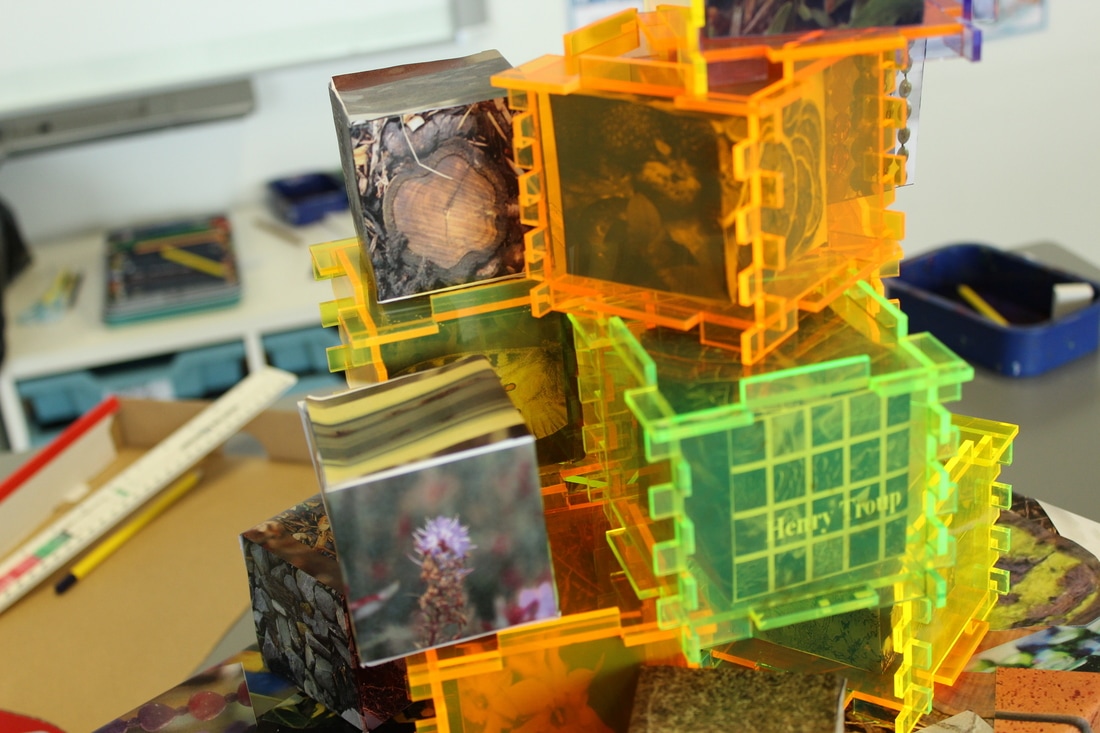
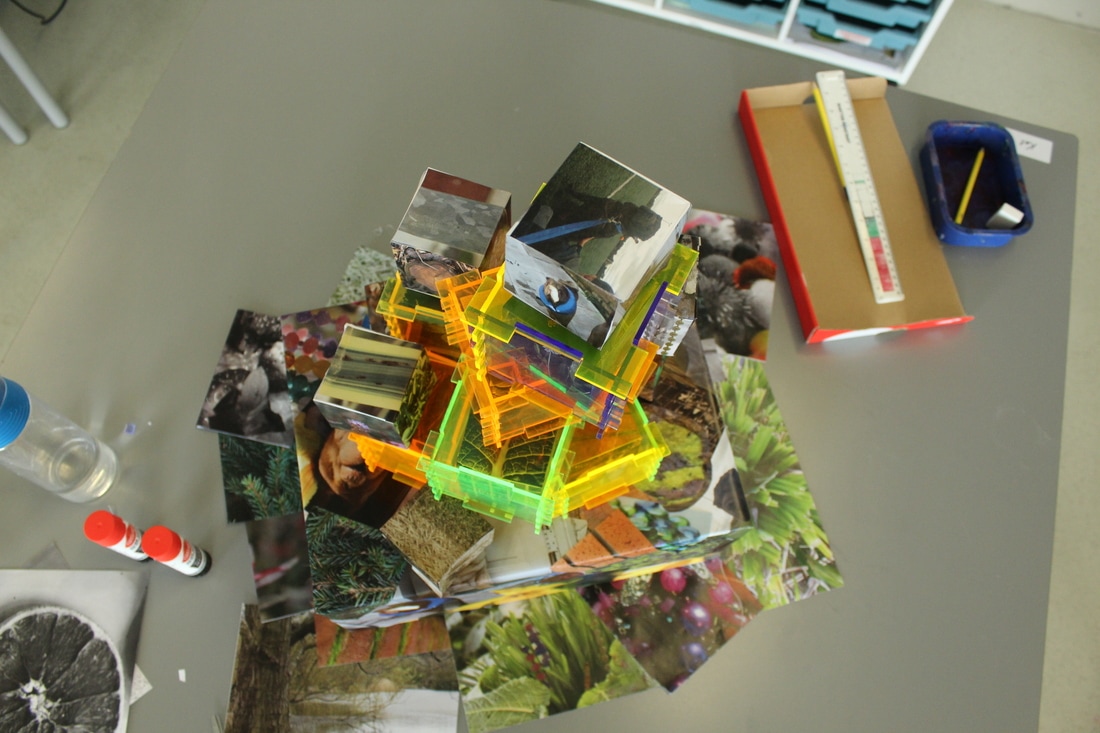
For my final piece I have changed my idea and decided I am going to make perspex acrylic boxes to create a sculpture like a rubix cube and inside the boxes will be photos of different forms of detail.I will make 12-15 Perspex boxes and find a variety of photos from my previous shoots. To begin with I am going to put the photos into a cube layout and edit them to the size my perspex boxes will be. Then I am going to put each cube together and put the inside the boxes where I will glue them together like a jigsaw using cement glue . From this I will put the boxes into a big sculpture. For the sculpture to sit on I will make a collage of photos all over a box cardboard box and have a collages of photos underneath the cardboard box.
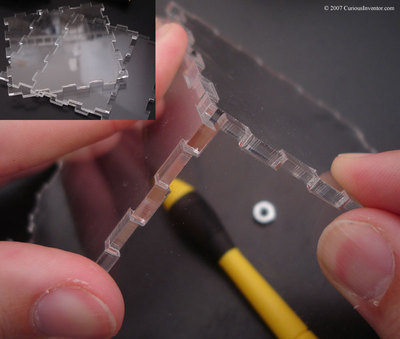
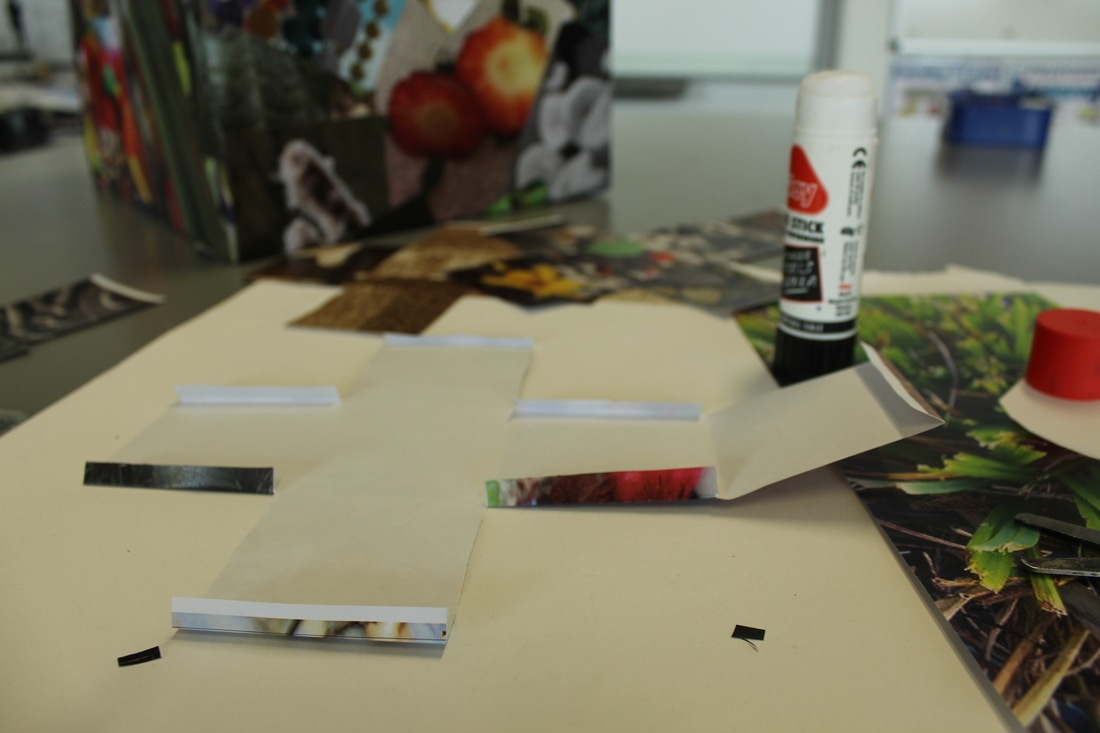
The Process: The making of the boxes
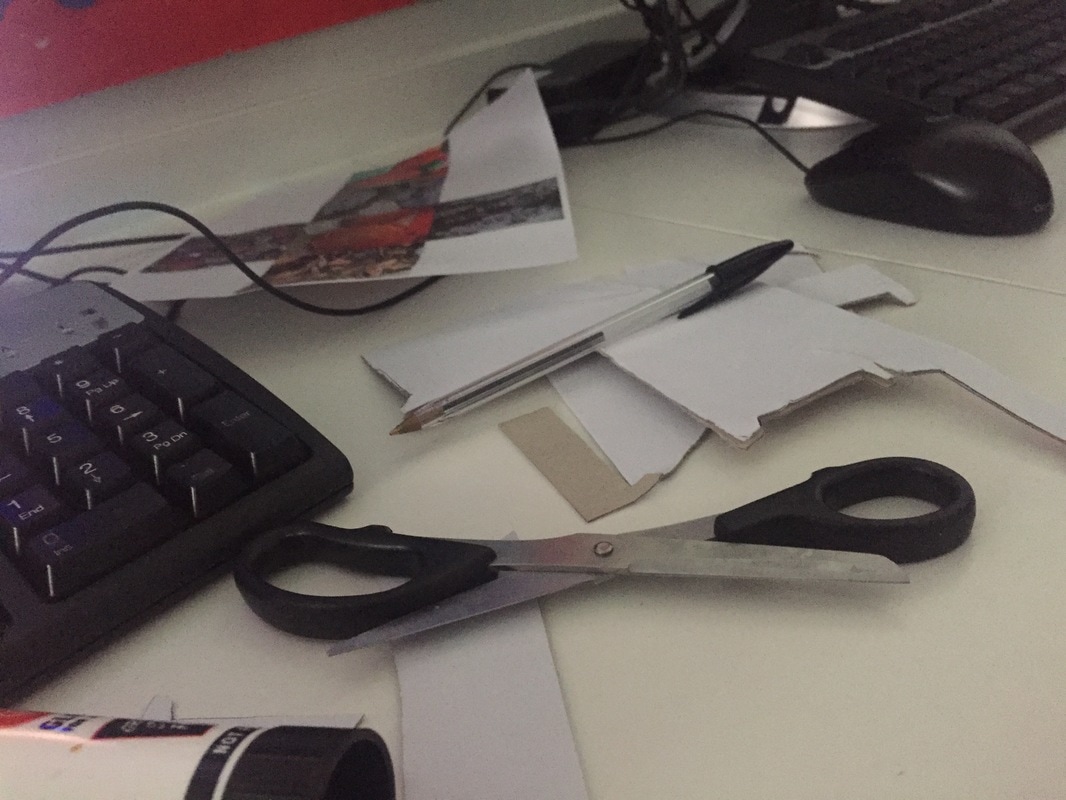
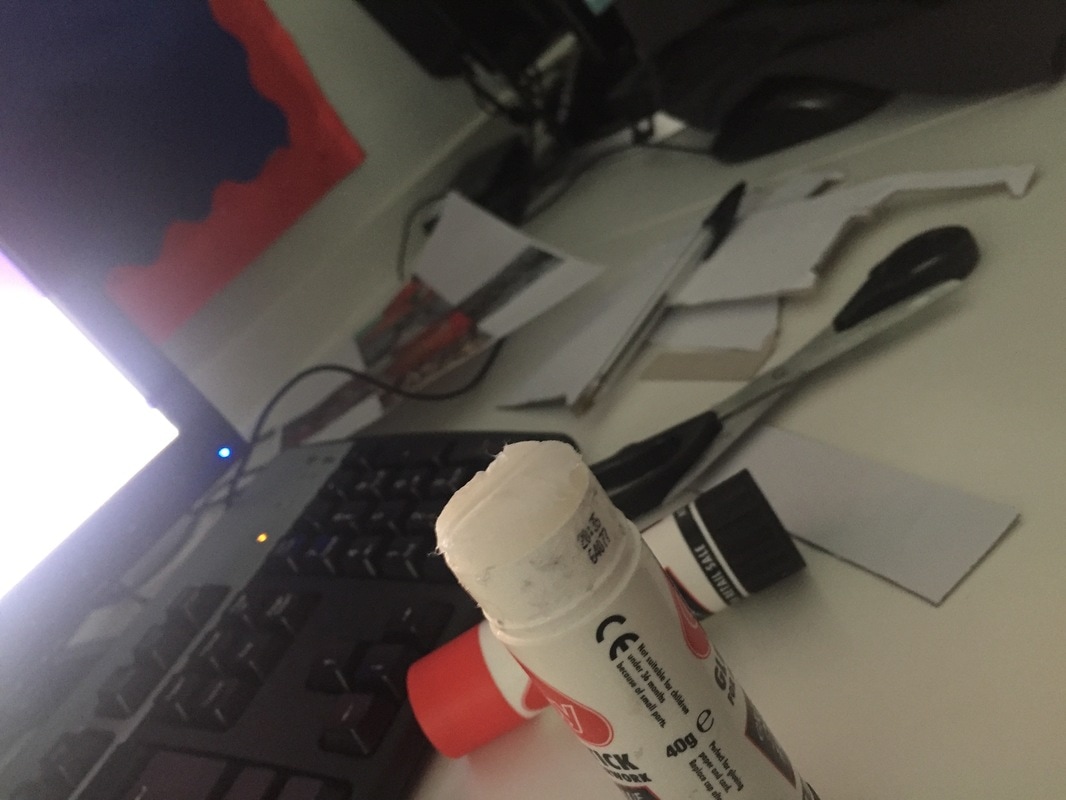
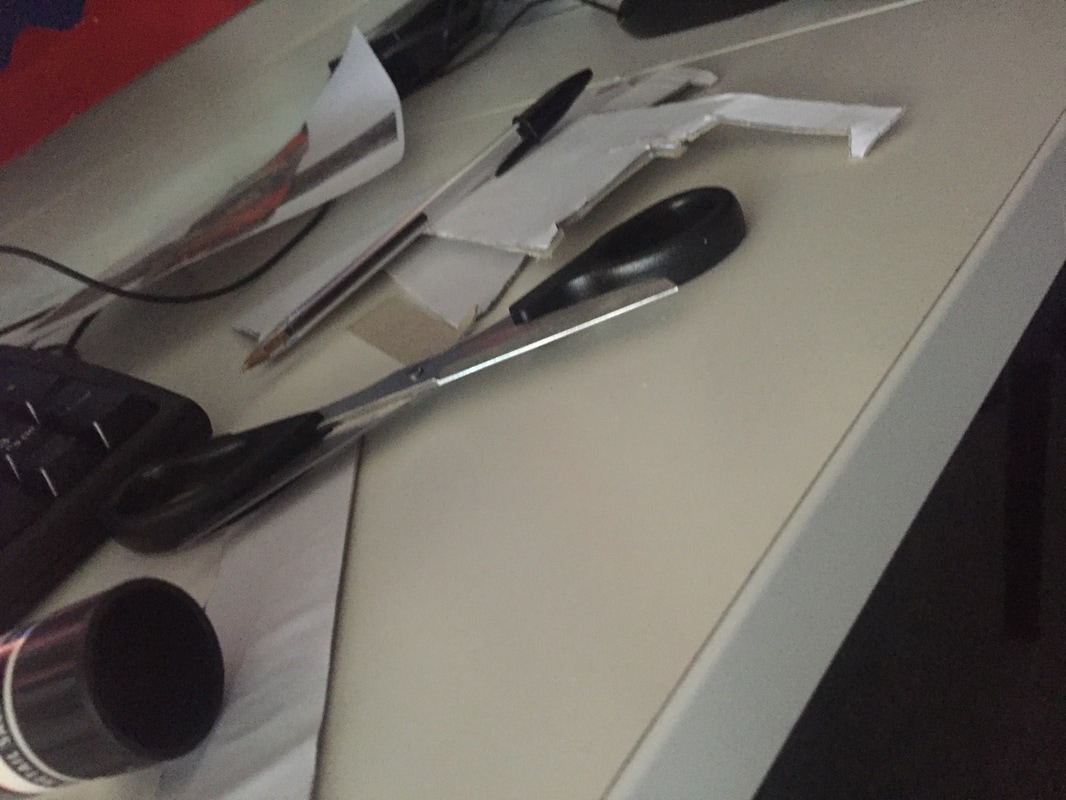
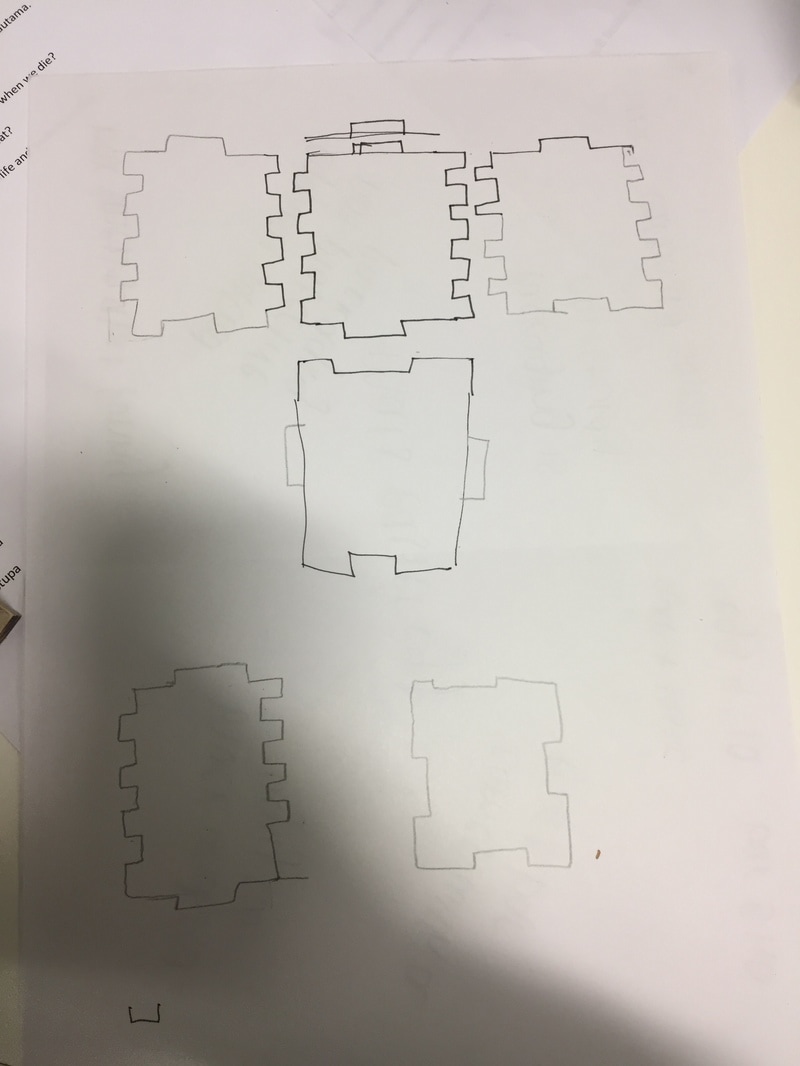

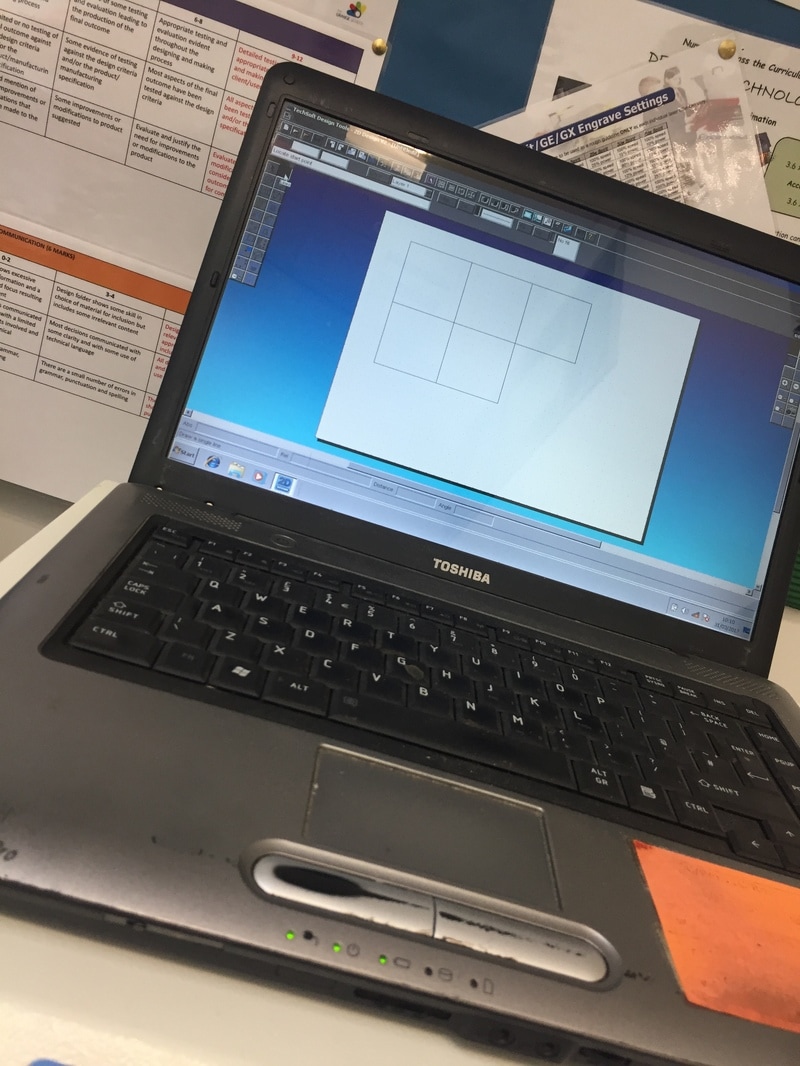
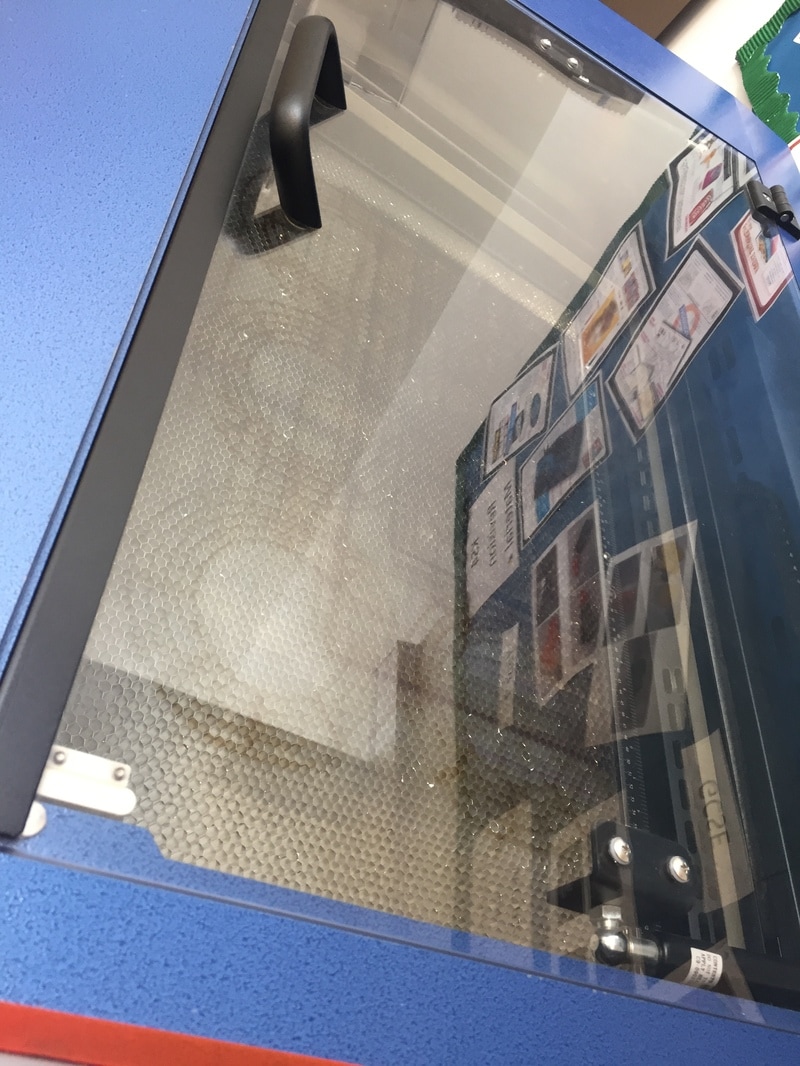
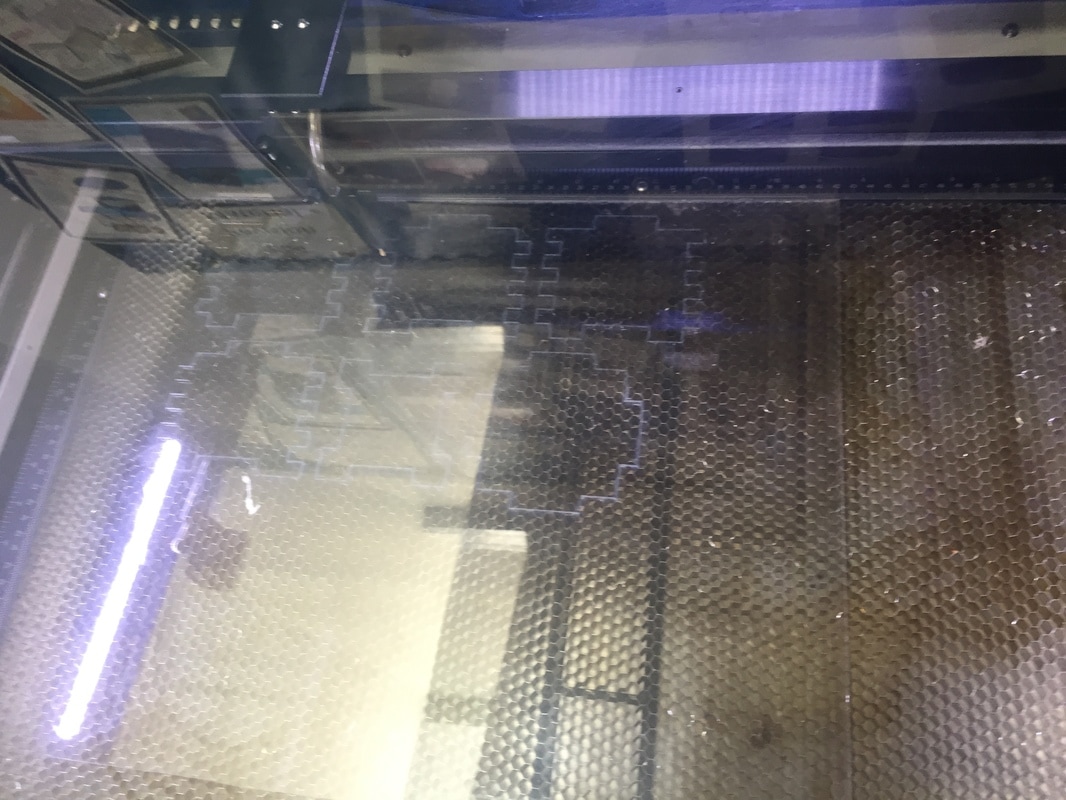
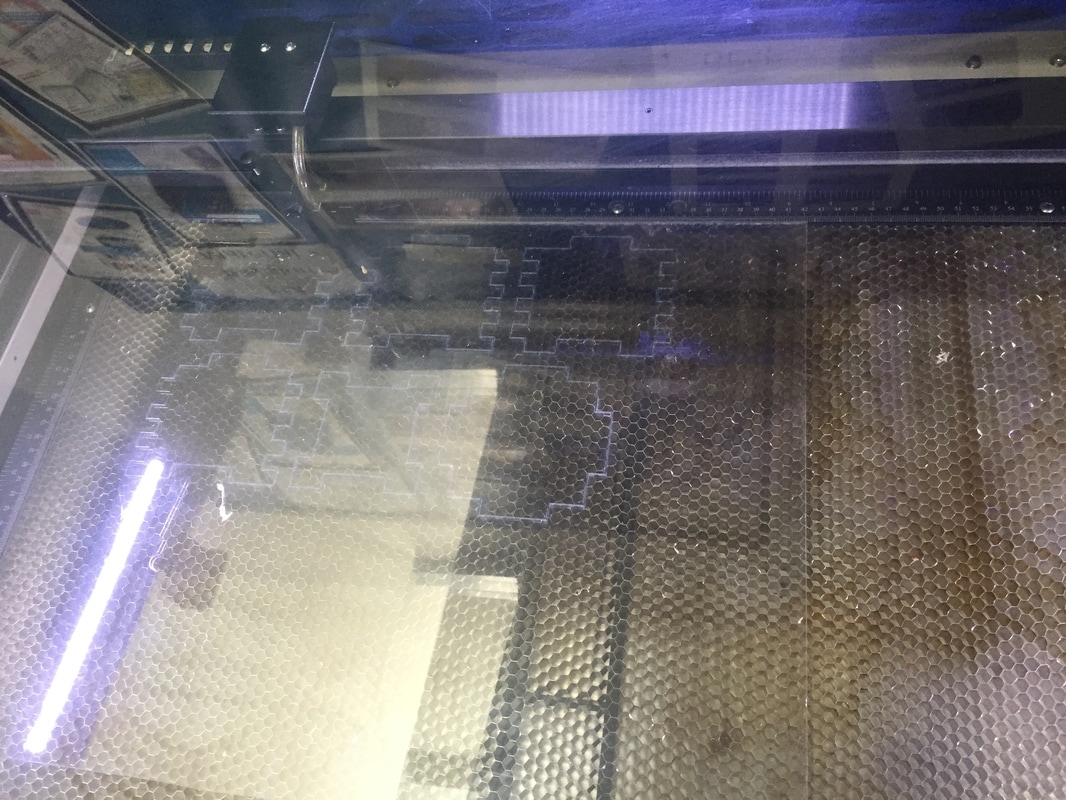


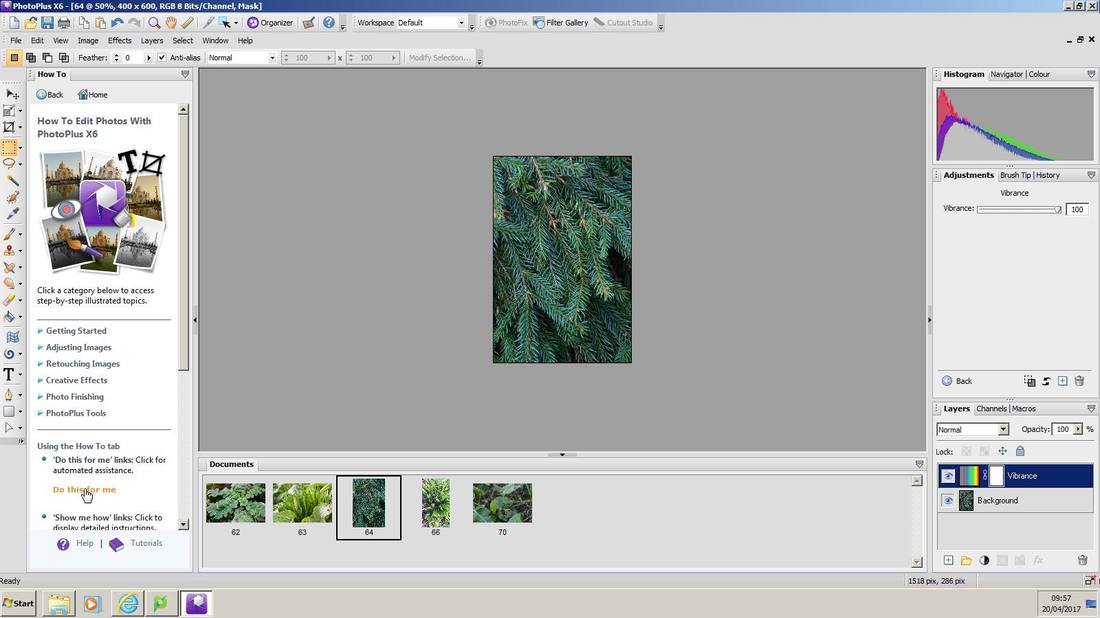

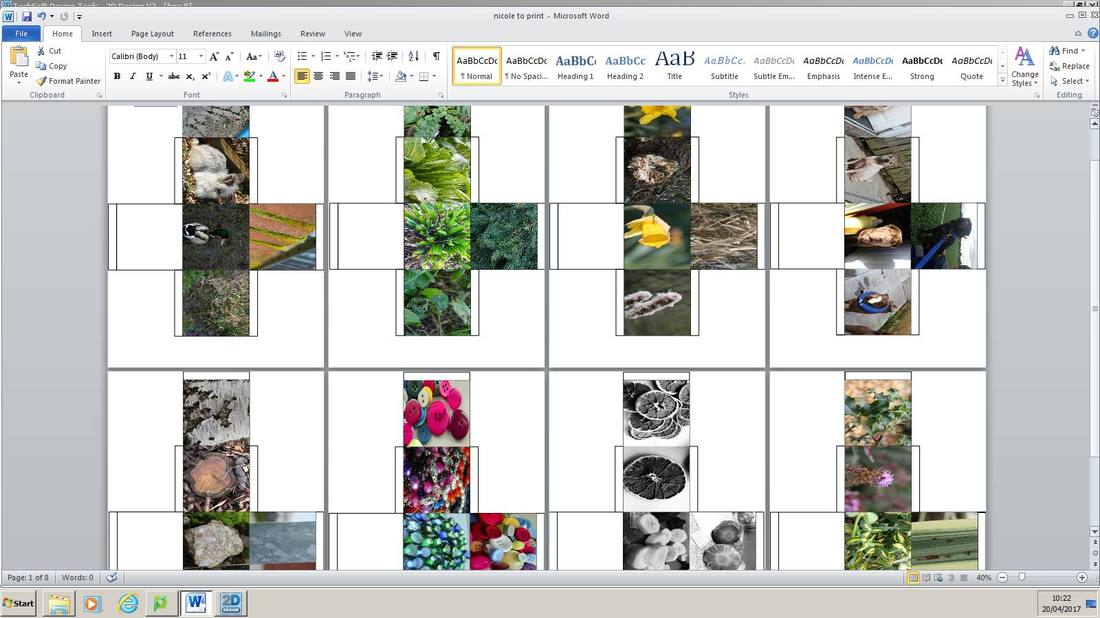
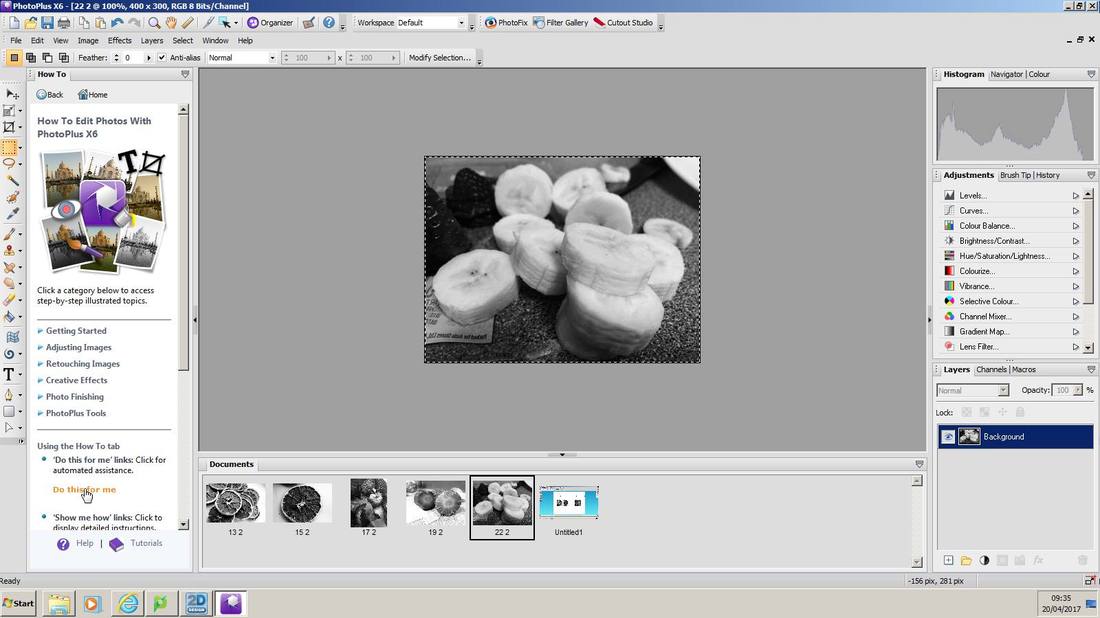
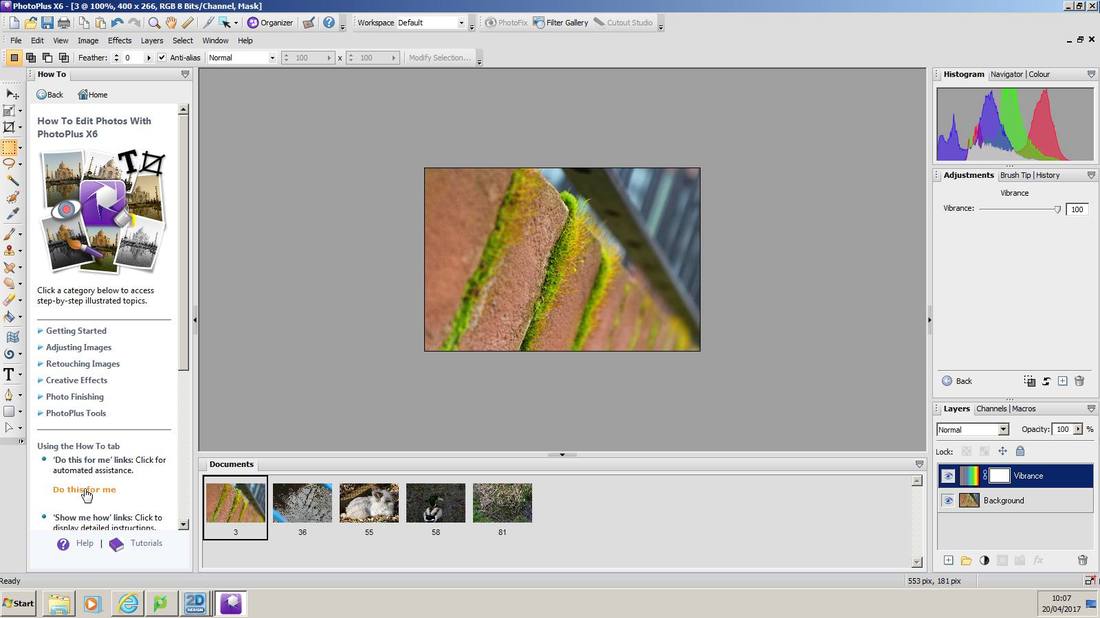
Editing


Making the final piece


Evaluation

|

|
Overall I am happy with my final piece because it is different from everyone else's final pieces. I like the bright colours of the cubes and how it makes it stand out better than anyone else's. In the beginning I researched boxes ideas and decided to make a sculpture of different cubes with different images on including images from the three artists I researched: Jo Whaley, Henry Troup and John Shaw. To make the eight Perspex acrylic cubes I used the laser cutter in DT from the programme 2D design and glued them together using cement glue. After I made the Perspex acrylic cubes I used the same programme, 2D design, to create the outline and measurement for my paper cubes but I realised I didn't need to put images on the bottom because no one would see them. For the cubes to sit on as a base, I used n cardboard box and covered it in big, small, colourful and black & white images of the best quality detailed images to show what I can do. For the images I edited them on Photo Plus to change them to black & white to make them stand out more through the colours of the boxes and for the images of the grass and leaves, I made them more vibrant to make the green bright so they are visible through the orange to show the clear detail. However, when I did the first paper cubes I didn't put images on the bottom or on the tabs but when I glued the cubes together I noticed white lines where showing on the cubes so I put images on the bottom and expand my images to fit over the tabs to show no white lines or areas. At first when I stacked the boxes together I put eight of my paper cubes inside the Perspex boxes with the artists cubes on the outside but I decided to refine my work and put the artist cubes inside the Perspex boxes. When I looked at my final piece I thought it would look better if I refined my piece and create more paper boxes using 2D design and Photo Plus and put them on the outside/around the Perspex boxes. Finally, I added a collage of my detailed photos (that were big, small, colourful, black & white and folded some and glued images on top of them so when you open the image inside was another detail image) underneath the box of collaged images with the remaining images I had left over.
